There have been a number of times that I have wanted to access my Ubuntu 20.04/20.10 PC from a Windows PC using Remote Desktop Access (RDP). This is how I have configured it to work.
Enable RDP on the Ubuntu 20.04/ 20.10 PC:
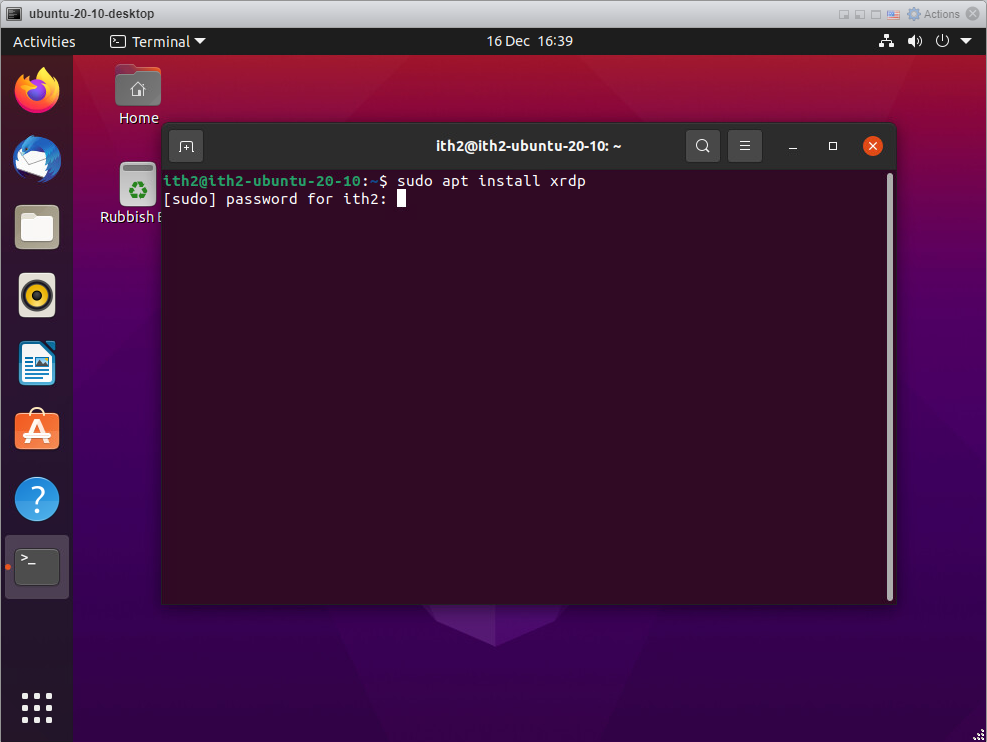
Open the terminal and type the following command:
sudo apt install xrdp
Type your password and enter.
Enter Y and enter.
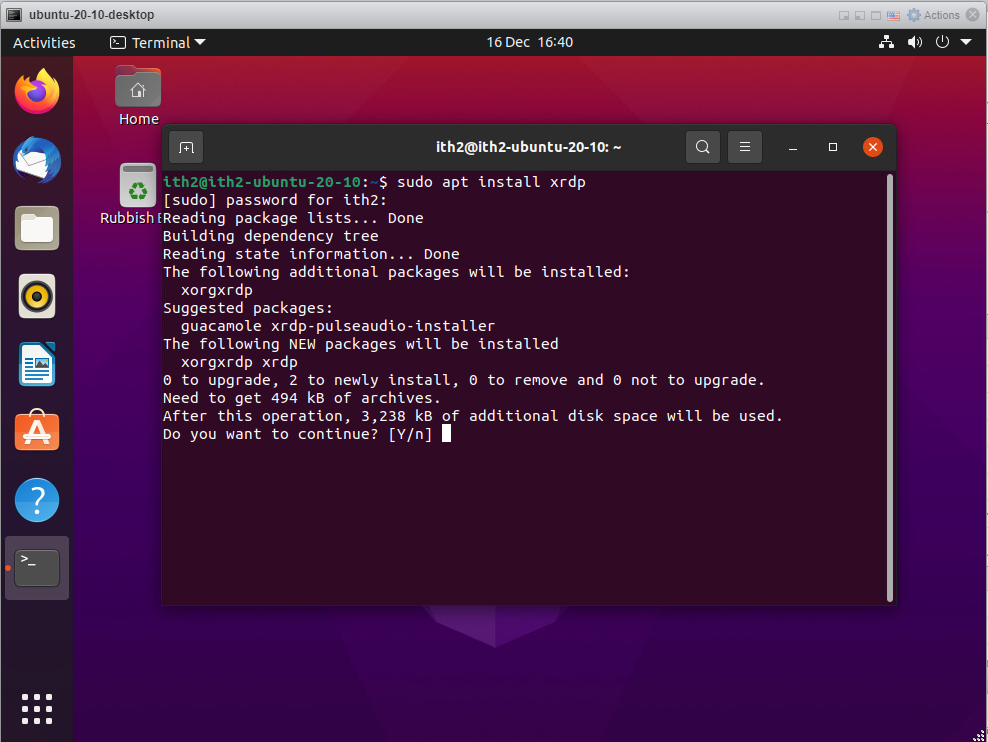
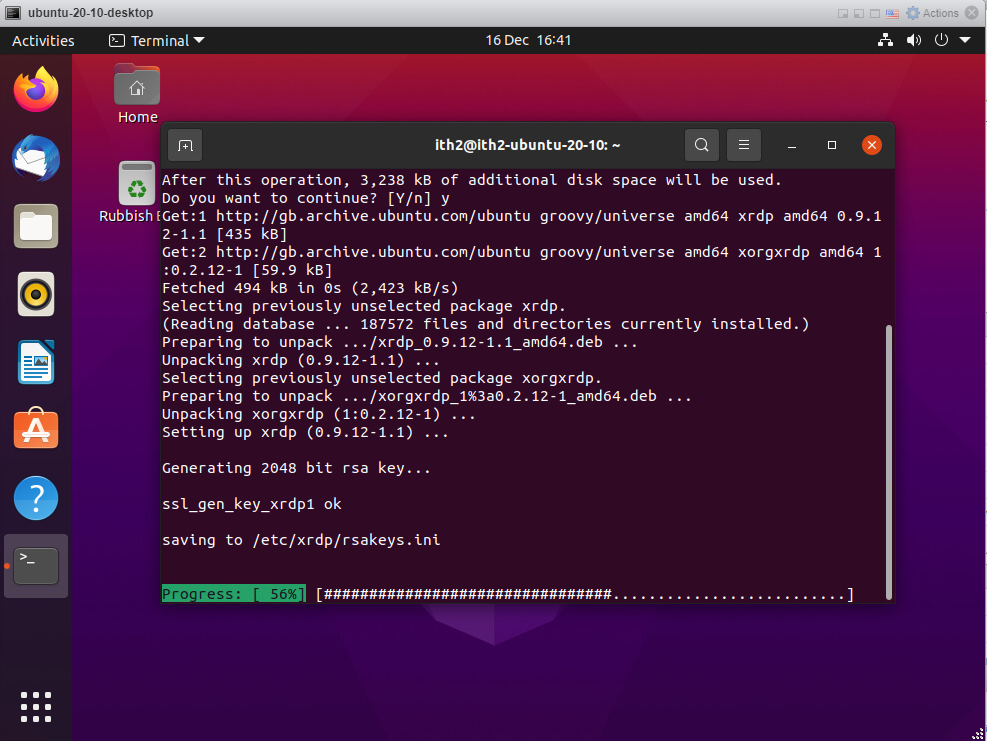
Xrdp will be installed:
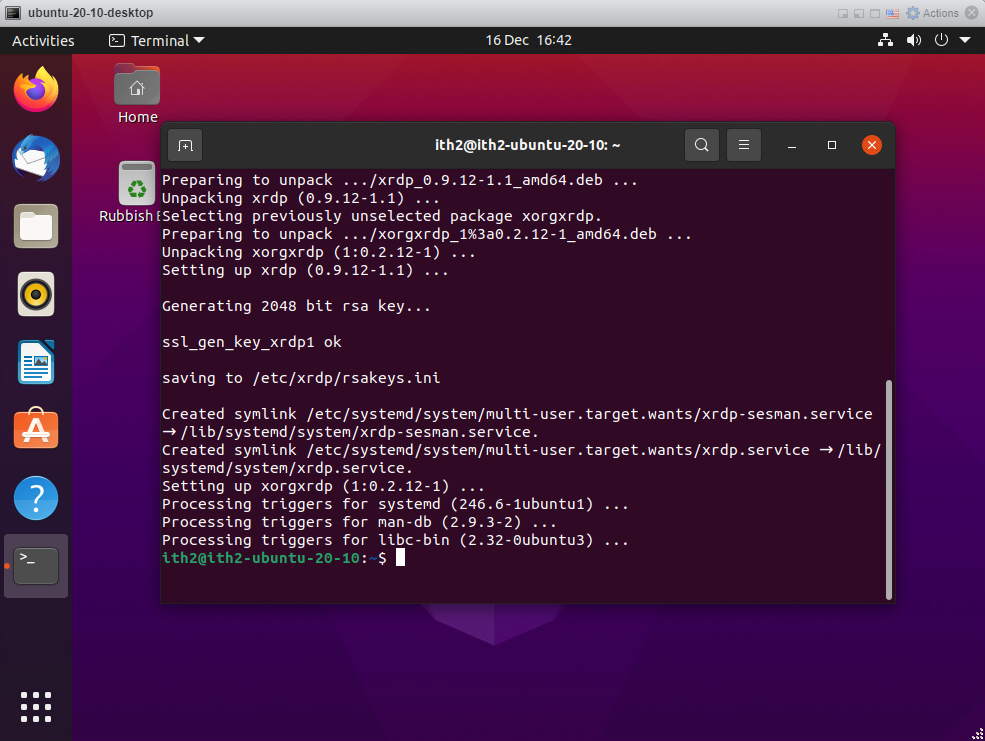
Once installed the installer will return to the command line:
Enable xrdp to start after reboot and to run now type:
sudo systemctl enable --now xrdp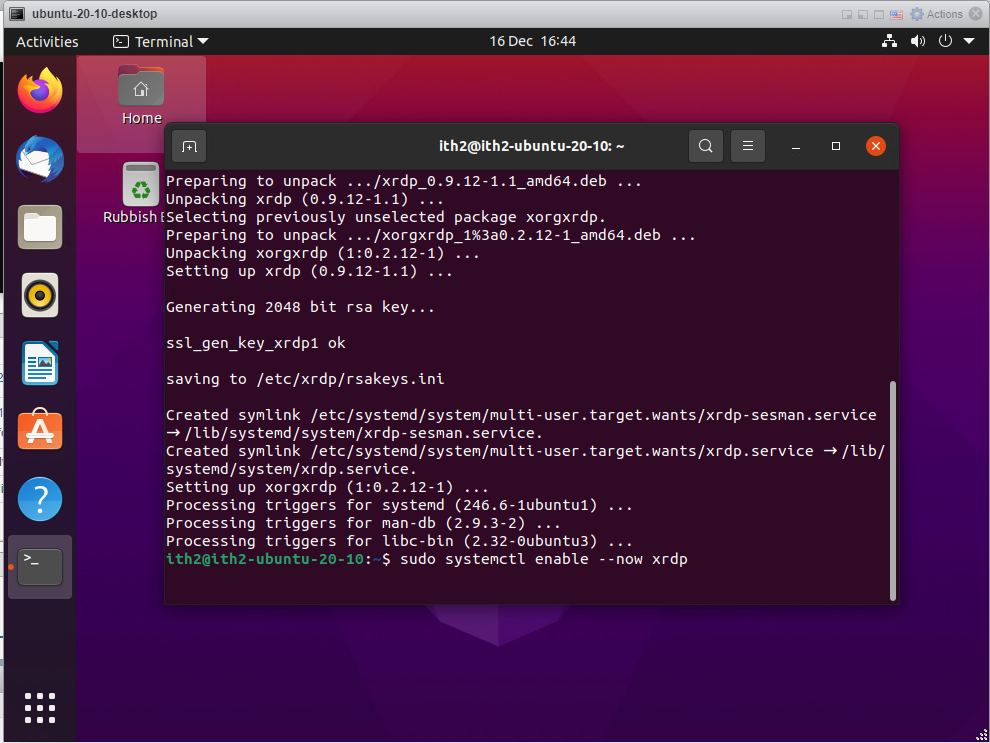
The command will run and then return to the command line:
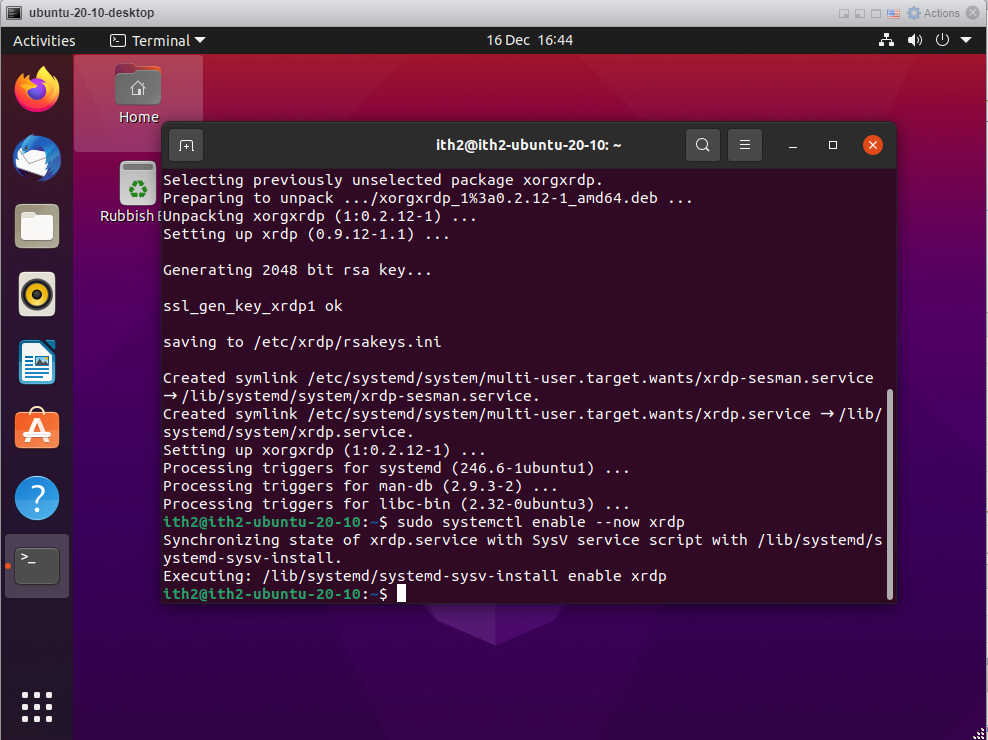
Run the following command to open the rdp port on the local firewall for incoming traffic.
sudo ufw allow from any to any port 3389 proto tcp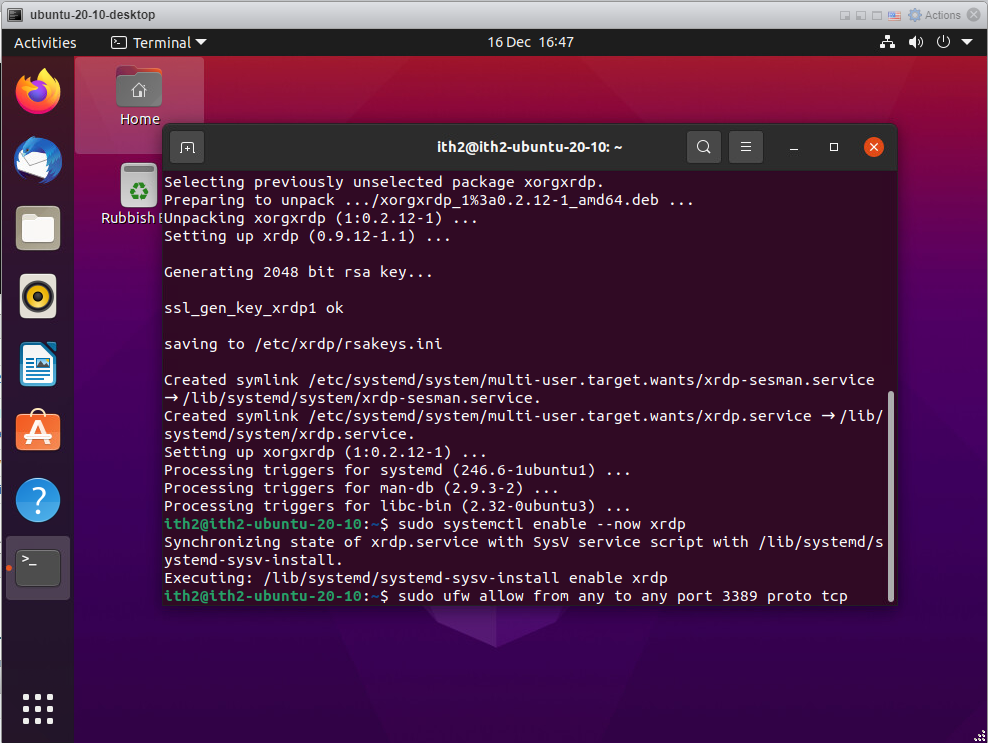
The rules will be added:
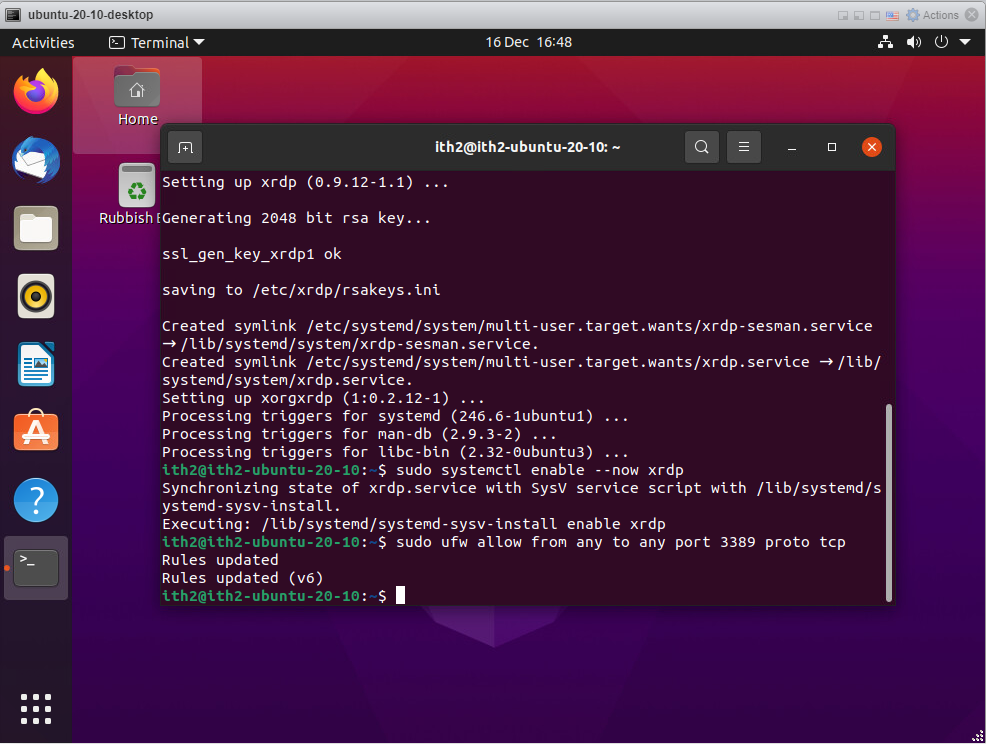
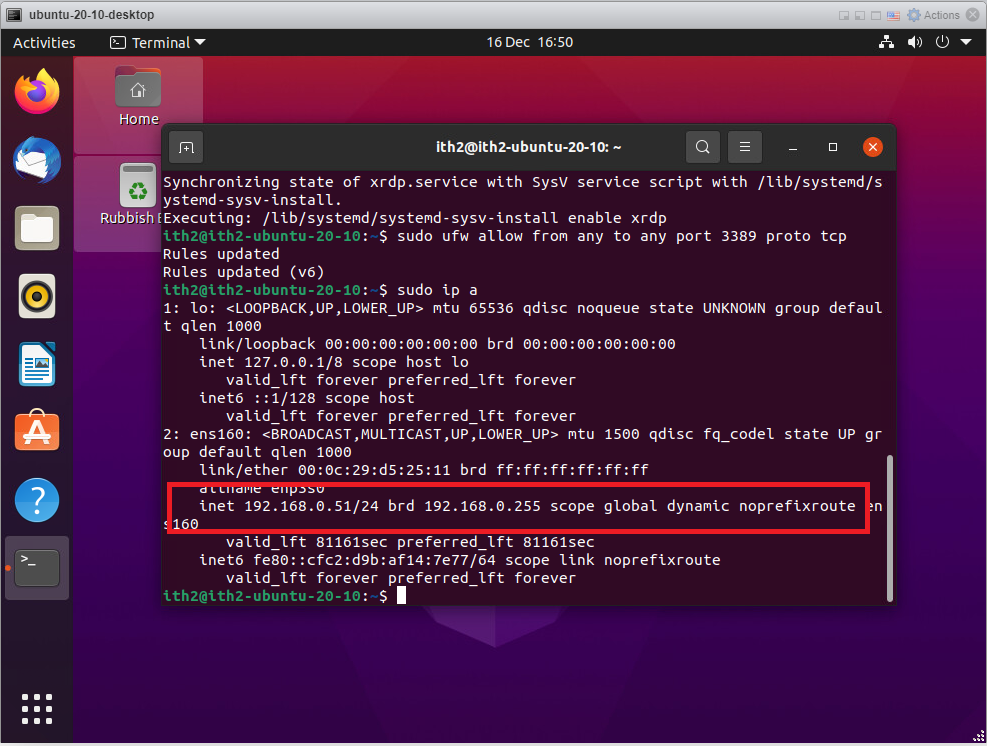
Run the following command to find the ip address of the machine. This will be needed to rdp from the windows machine.
sudo ip aThe ip address of the machine is highlighted in red:
This is all you have to do on the Ubuntu PC. Now go onto the windows PC and connect to the Ubuntu PC as follows:
Connecting to the Ubuntu PC from Windows using RDP.
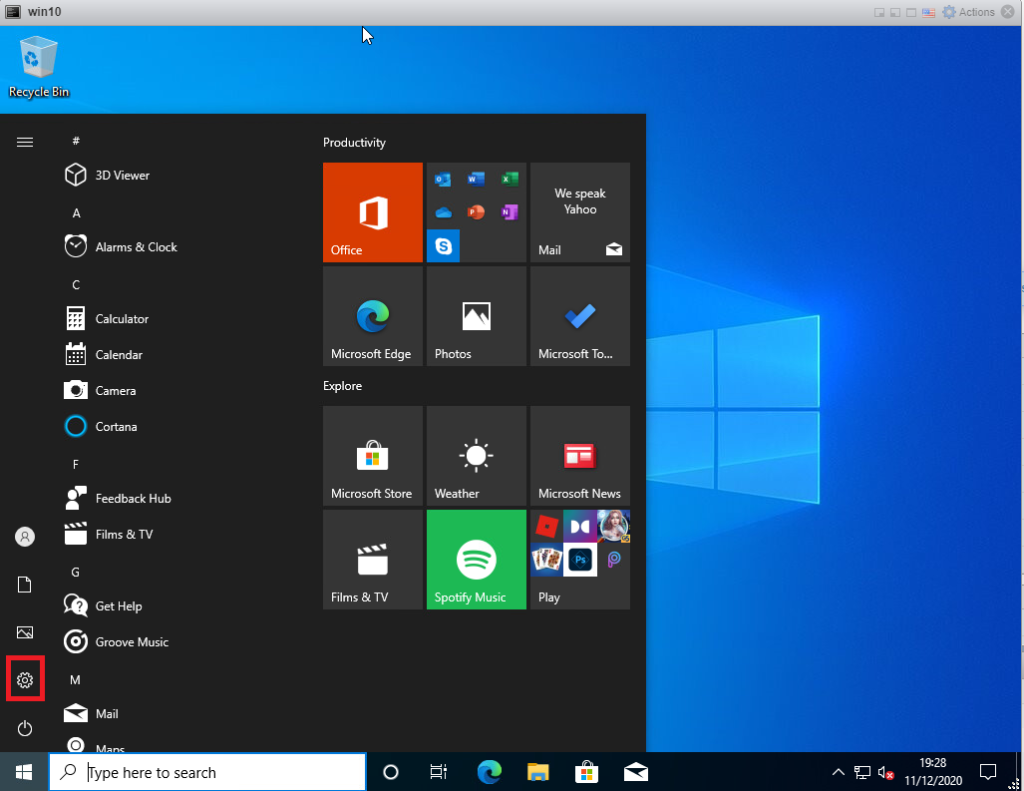
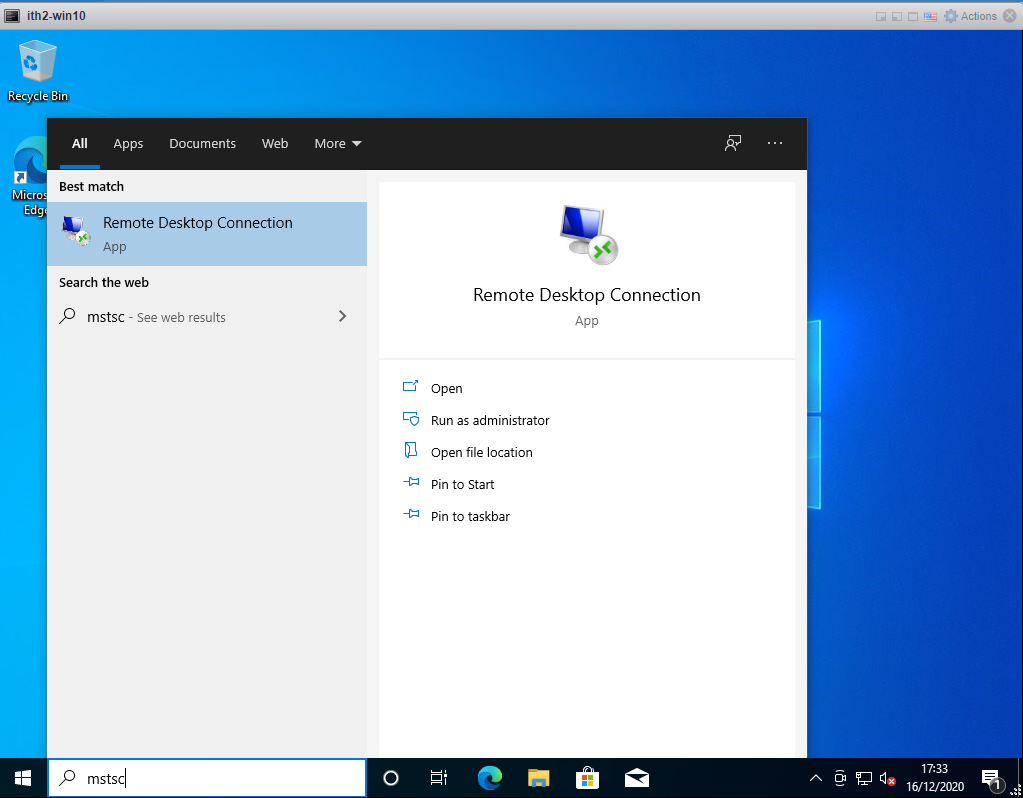
Click on the start button and type mstsc. Click on Open.
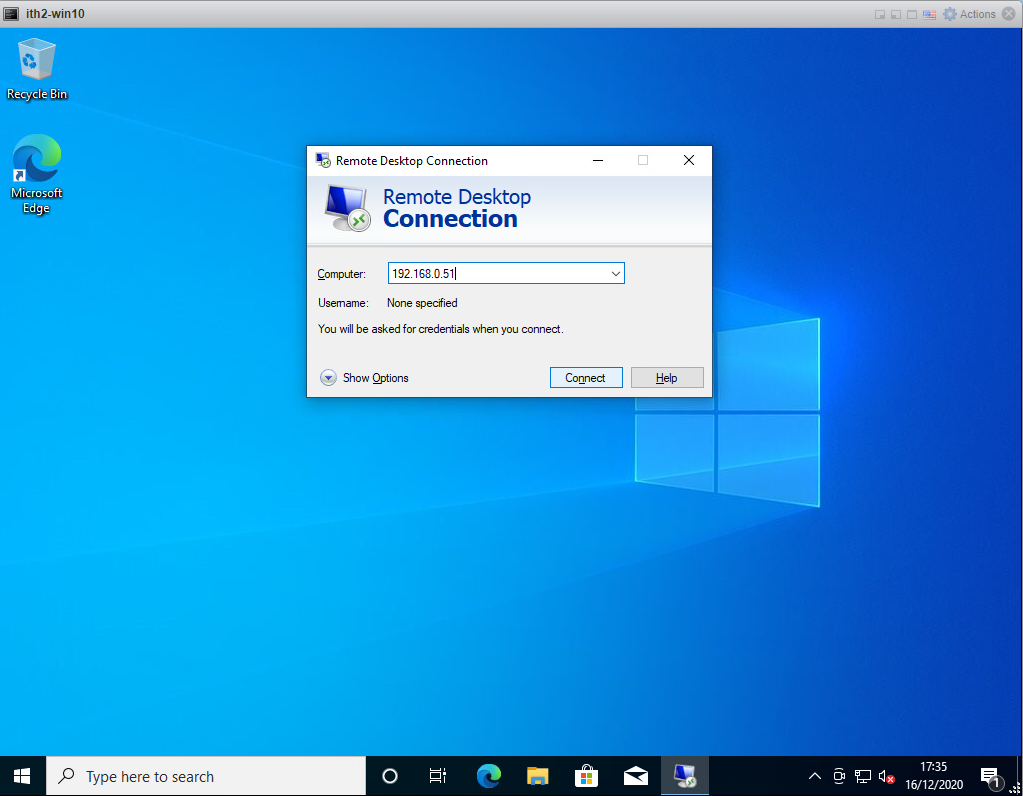
Type in the ip address of the Ubuntu PC and click Connect.
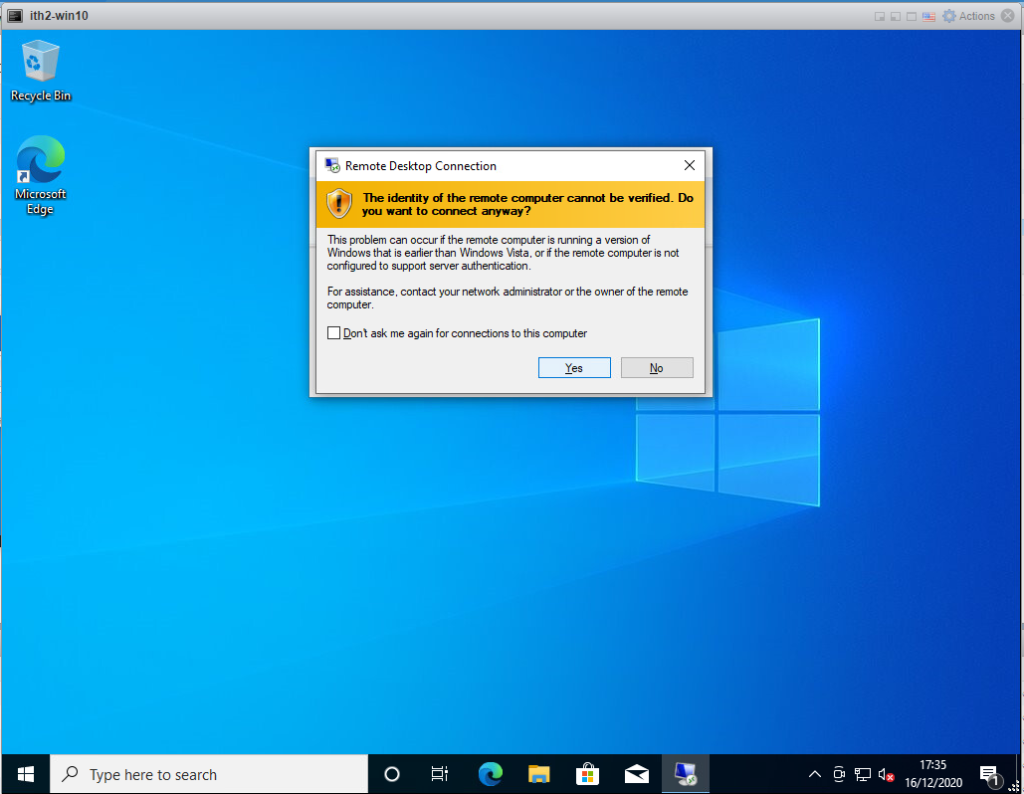
Click Yes.
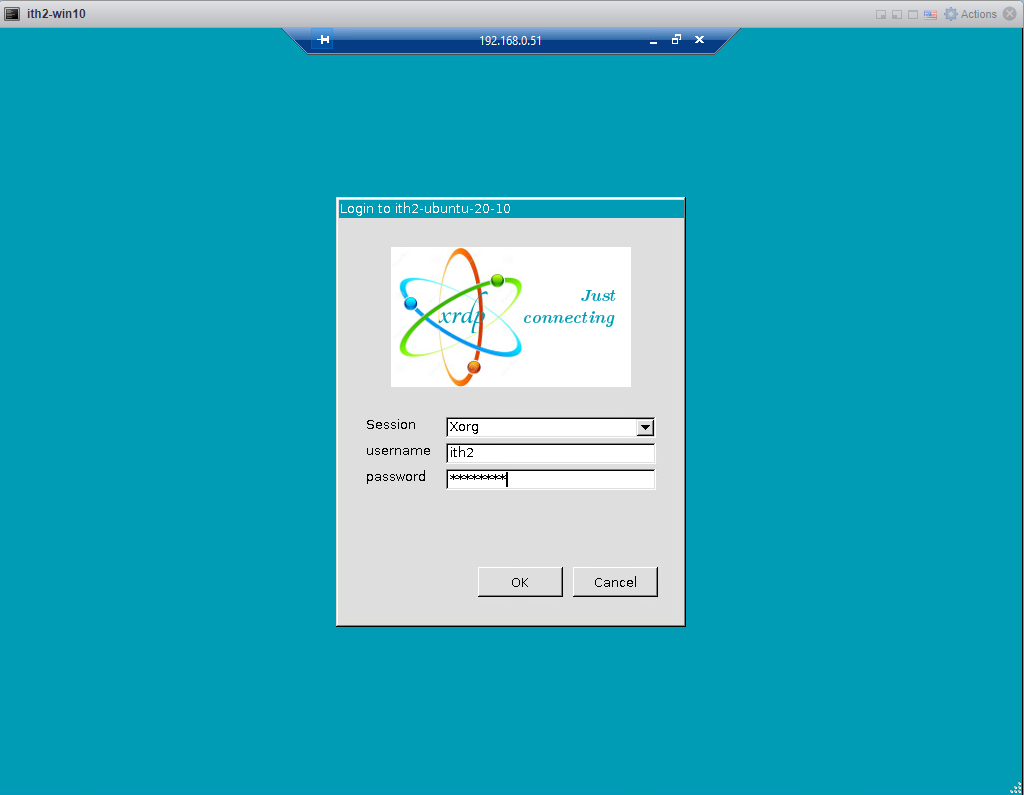
Type the username and password and click OK.
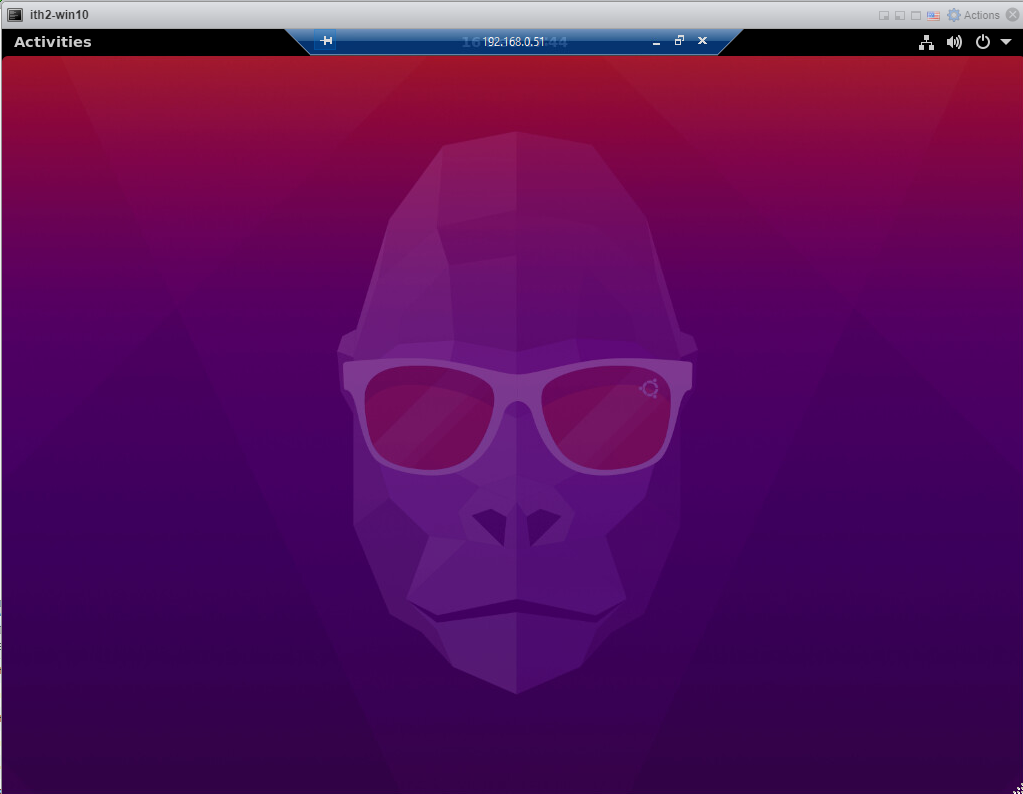
You will now have access to the linux desktop. Yay.
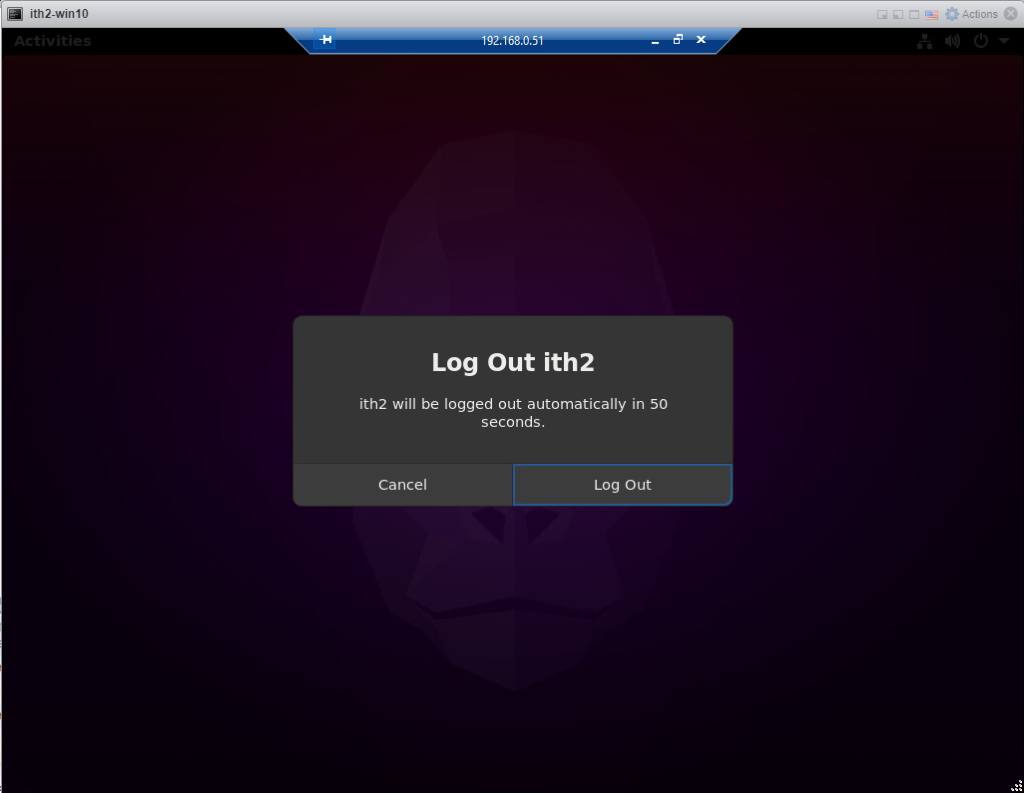
To log off again just click on the x of the RDP window or log out:

Troubleshooting:
Black Screen at logon:
If there is a user logged in on the Ubuntu PC you may get a black screen when you rdp to the PC. This can be resolved by logging off of the Ubuntu PC.
For more things to do with your new Ubuntu 20.10 Desktop go to my other articles HERE.
Authentication Required login
In some cases you will get the following window appear and even though you log in it will not disappear:
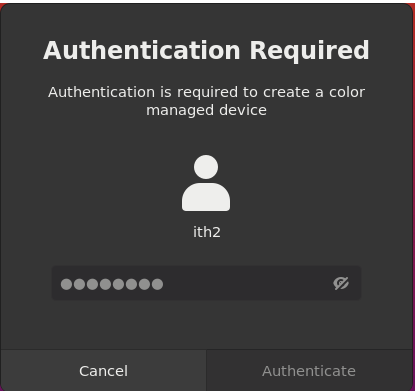
A permanent fix for this is to edit the following file:
sudo vim /usr/share/polkit-1/actions/org.freedesktop.color.policy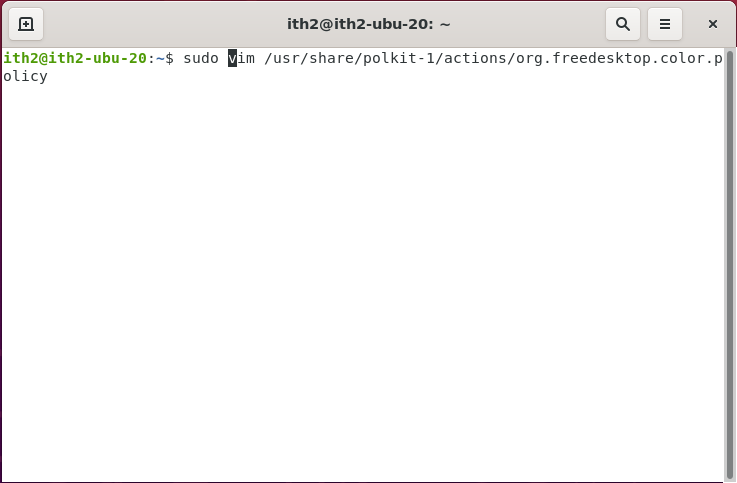
Go to the defaults section and modify no to yes
<defaults>
    <allow_any>auth_admin</allow_any>
    <allow_inactive>yes</allow_inactive>
    <allow_active>yes</allow_active>
</defaults>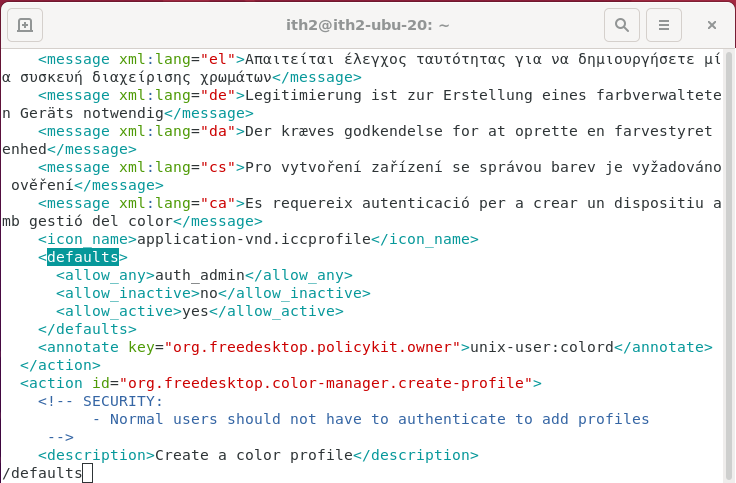
To:
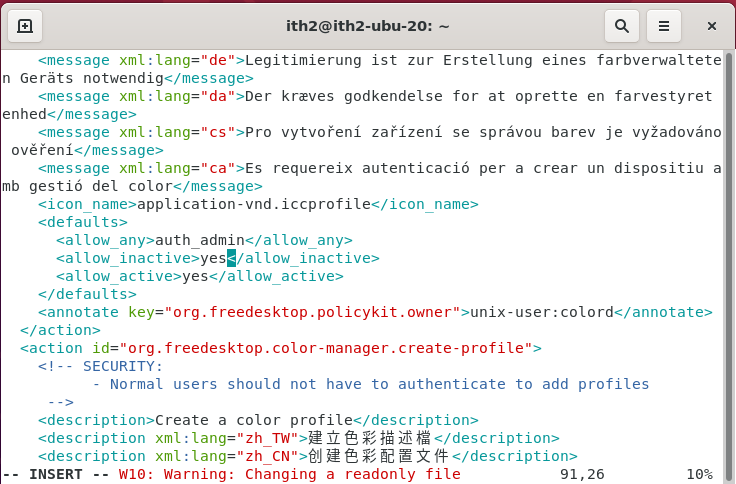
Save the changes and log off and back on again and you should not see the popup again.