Windows 10: Download and Install VirtualBox.

VirtualBox is a powerful x86 and AMD64/Intel64 virtualization product for enterprise as well as home use. Not only is VirtualBox an extremely feature rich, high performance product for enterprise customers, it is also the only professional solution that is freely available as Open Source Software under the terms of the GNU General Public License (GPL) version 2. See “About VirtualBox” for an introduction.

Windows 10: Download VirtualBox:

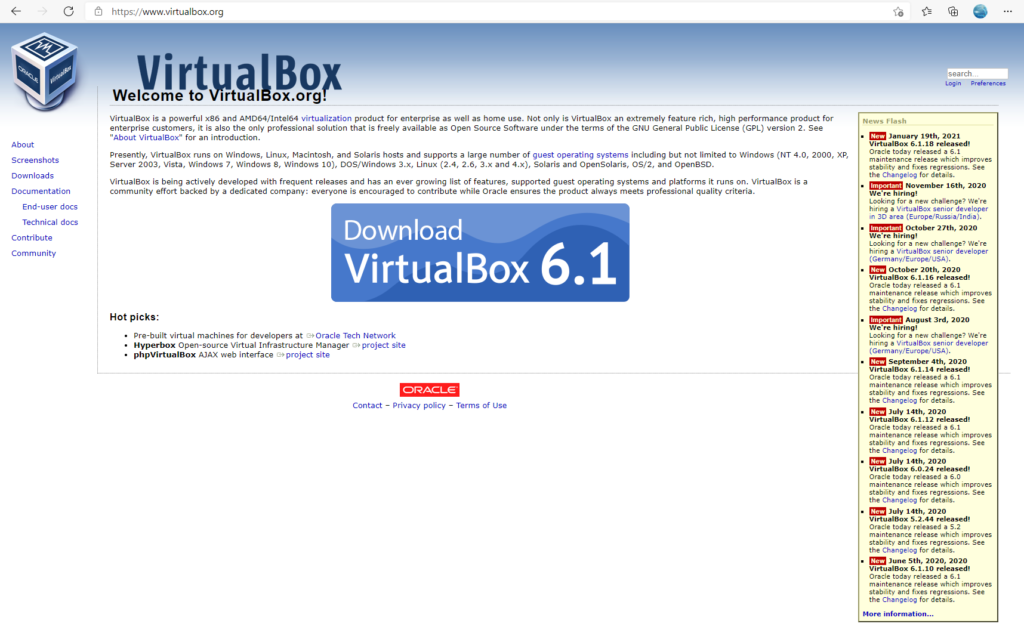
To download the latest VirtualBox Installed open a browser and go to Oracle VM VirtualBox.

Windows 10: Download and Install VirtualBox.

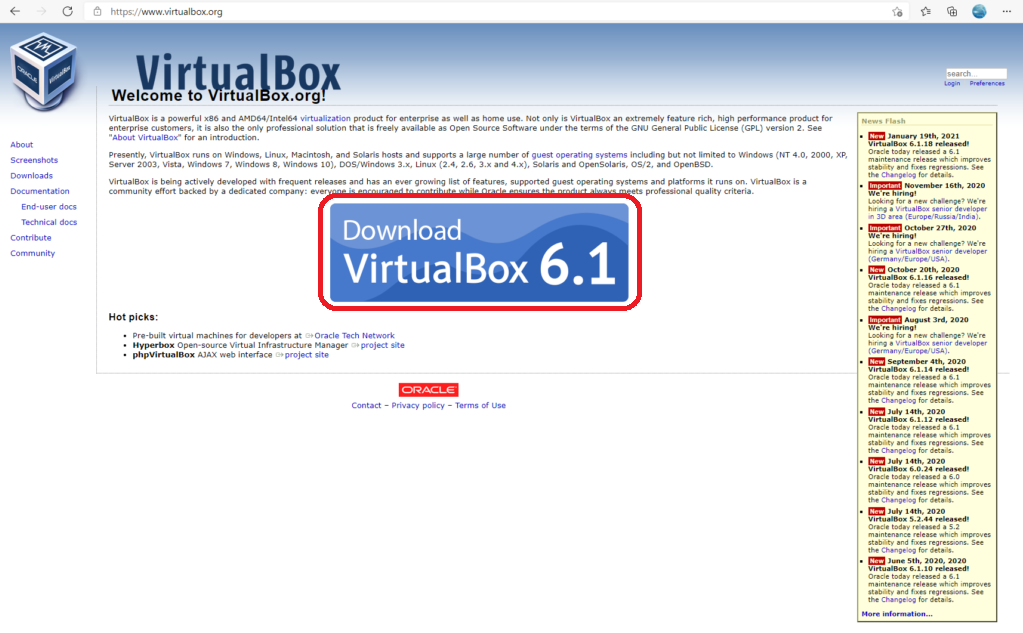
Click on the Download VirtualBox button to start the download:

This will take you to the download page:

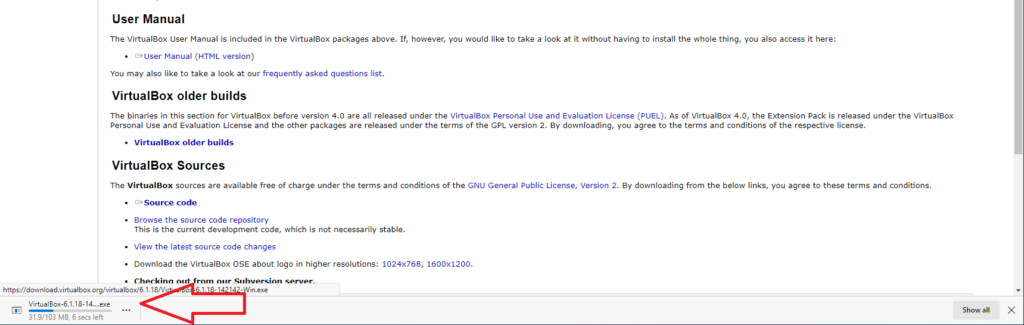
Click on the OS that you are using. In this case we want Windows hosts:

This will start the download:

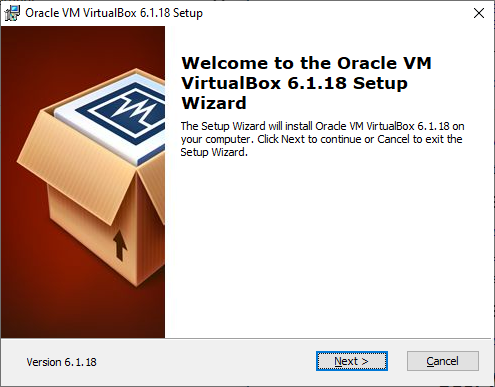
Once the installer has downloaded we are ready to install:

Installing Virtual Box:

To install Virtual Box you need to click on the Open file link under the download:

This will start the VirtualBox installation wizzard:

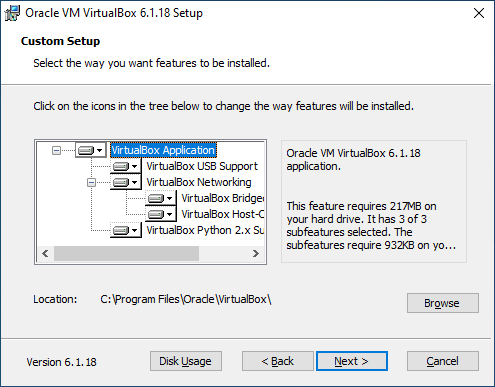
Click Next to move to the next option.

Click next to choose the default settings.
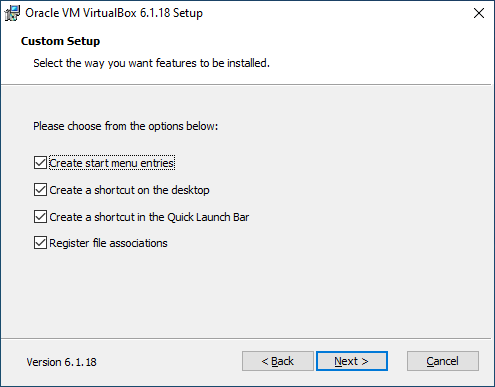
Click Next again.

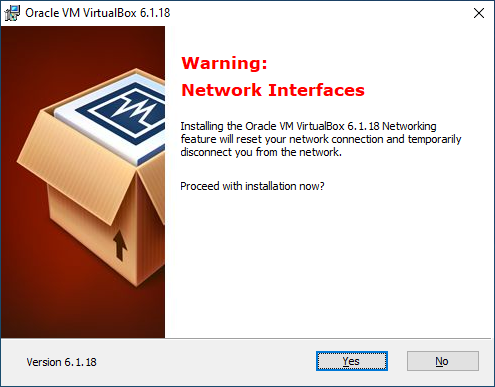
Click Yes to allow networking to be installed.
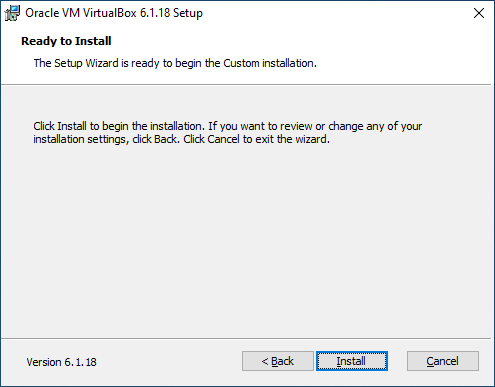
Click Install.

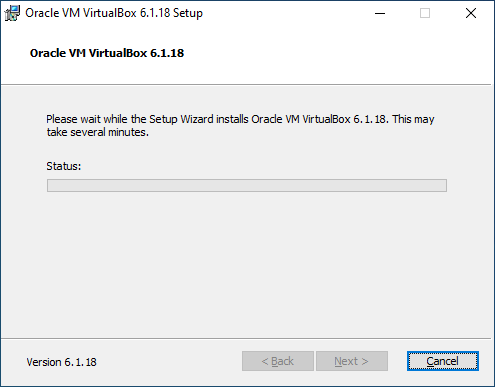
The installation will run

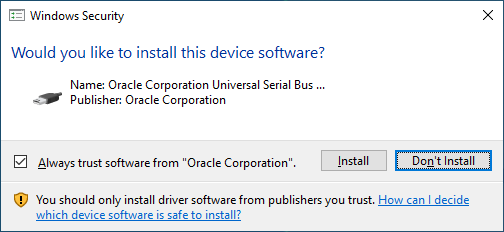
Click Yes to install the software as an administrator and also Install to install the device software:

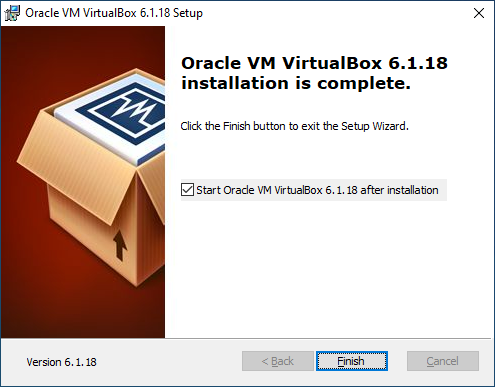
Click Finish to finish the installation and open VirtualBox:

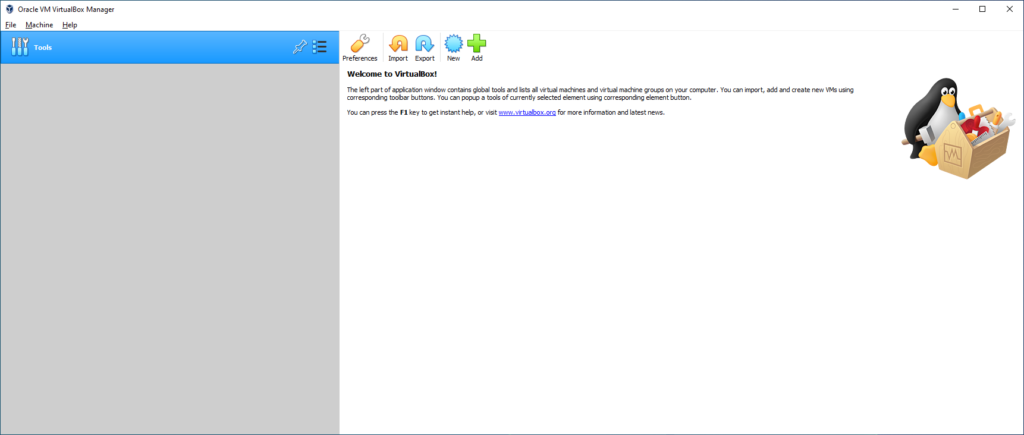
VirtualBox is now installed:

For more VirualBox How To’s go to our VirtualBox Category.

Converting VirtualBox VMs to ESXi

This morning I had to convert a VirtualBox VM to ESXi. I tried using the VMware converter but it was going to take 2 days!!! I then Stumbled across THIS article which saved my week.

Import VirtualBox VMs in VMware ESXi

Recently we’ve had a bunch of VirtualBox 4.x VMs that we needed to import into VMware ESXi 4.1. There are various tutorials on the net on how to convert the VMs by editing the OVF or OVA files. Unfortunately this method didn’t really work for us, so here are a couple of simple steps that helped us convert the VMs without issues.
  1. We do not try to convert the whole VM but only the hard drives. The VM is created on the target ESXi host easy enough.
  2. On you VirtualBox host create a clone of the VMs hard disk like that:vboxmanage clonehd in.vdi out.vmdk –format VMDK –variant Fixed,ESX
  3. This creates two files. One with the actual data and the other holding a descriptor. If the virtual hard drive is not completely filled, zipping the image will dramatically reduce its size.
  4. On your ESXi host create a new VM without hard drive. Use the advanced mode to do so.
  5. Copy the hard drive image to your ESXi host by using scp (or similar). Place it (both files) into the directory of you newly created VM.
  6. Edit the settings of your new VM and add that hard drive.
That’s all. Using this method your virtual hard drive should now be a SCSI hard drive as expected by ESXi even if it was a SATA drive in VirtualBox before. Our Linux guests had no problem with this transition. Hopefully it works for other guests as well.