Why KeePass? Today, you have to remember many passwords. You need a password for a lot of websites, your e-mail account, your webserver, network logins, etc. The list is endless. Also, you should use a different password for each account, because if you would use only one password everywhere and someone gets this password, you would have a problem: the thief would have access to all of your accounts.
KeePass is a free open source password manager, which helps you to manage your passwords in a secure way. You can store all your passwords in one database, which is locked with a master key. So you only have to remember one single master key to unlock the whole database. Database files are encrypted using the best and most secure encryption algorithms currently known (AES-256, ChaCha20 and Twofish). For more information, see the features page.
Is it really free? Yes, KeePass is really free, and more than that: it is open source (OSI certified). You can have a look at its full source code and check whether the security features are implemented correctly.
Installing Keepass on Ubuntu 20.04:
Keypass can be installed on Ubuntu 20.04 really quickly and easily in 3 quick commands:
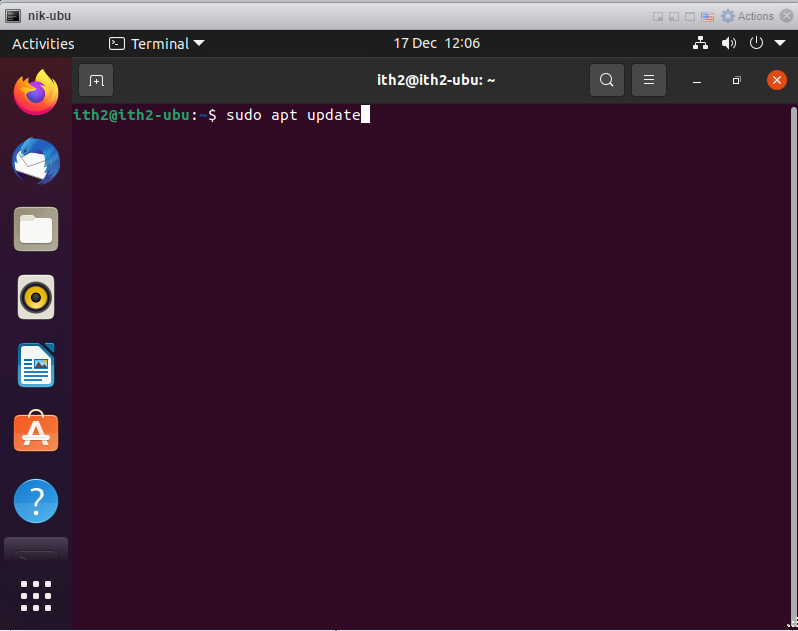
Update Ubuntu 20.04.
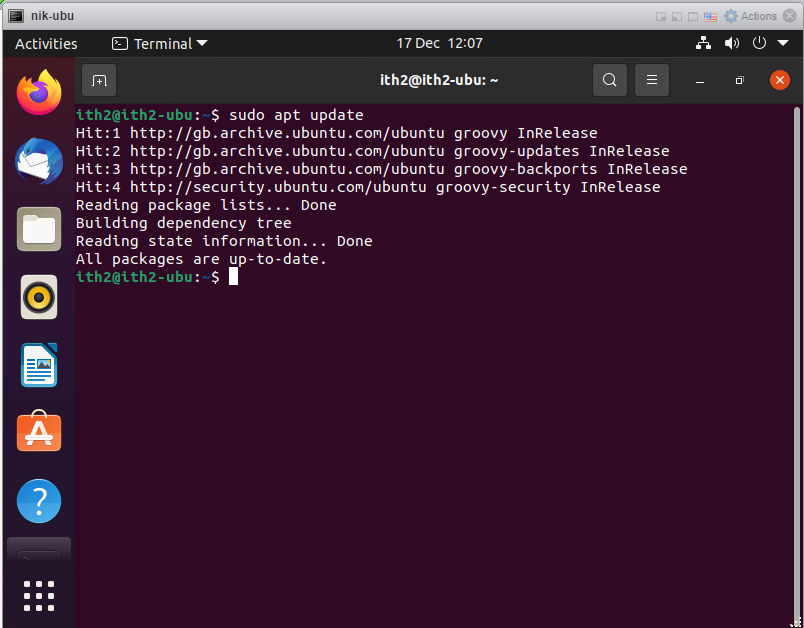
sudo apt update
Wait for the updater to check for updates and finish:
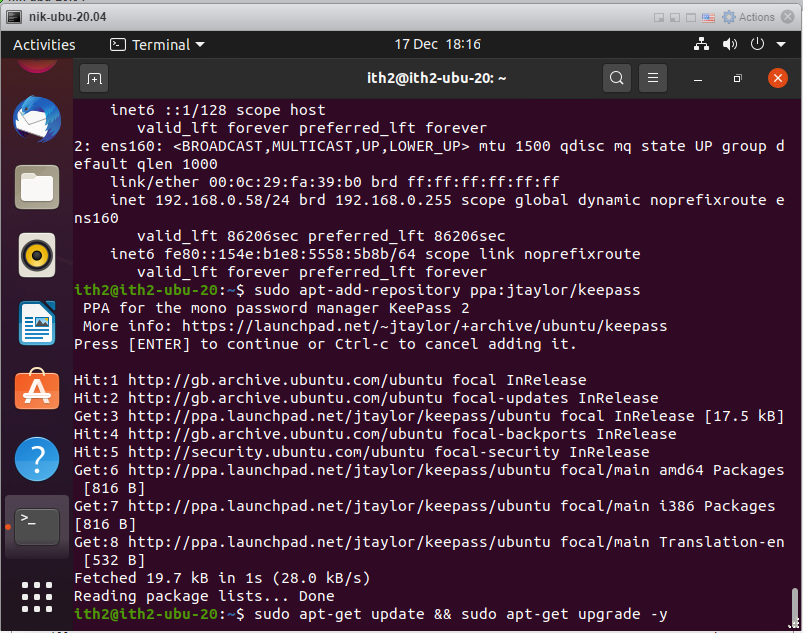
Add the repository into apt by running the following command.
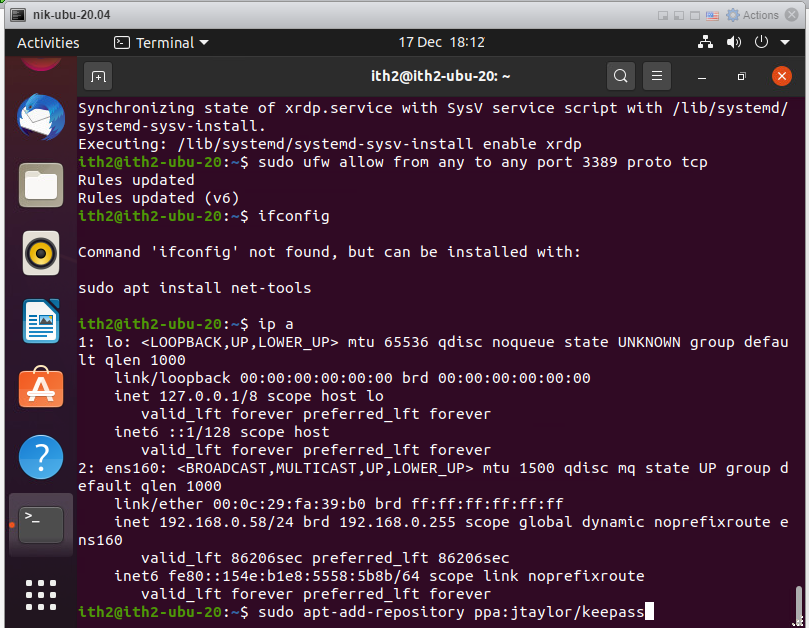
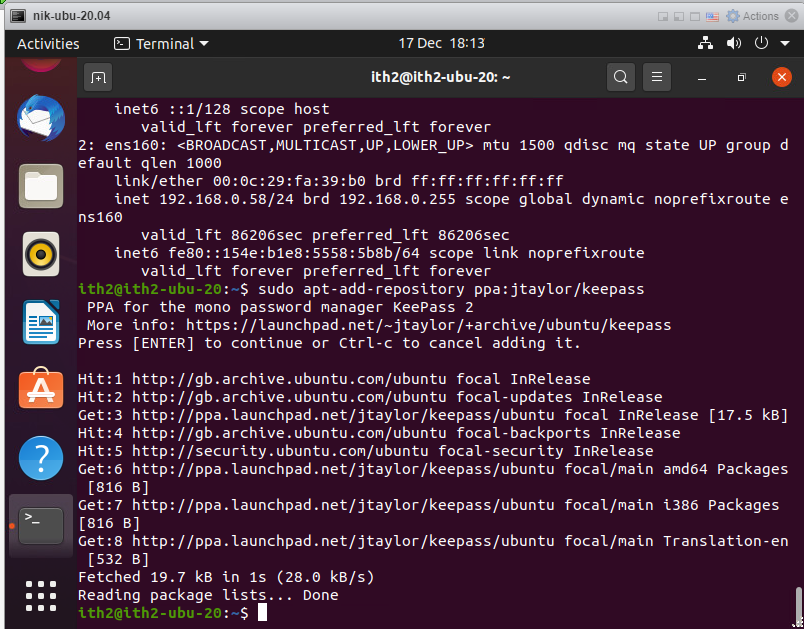
sudo apt-add-repository ppa:jtaylor/keepass
Press Enter to add the repository.
Once finished the installer will go back to the command line:
Run updates again to add the repository.
sudo apt-get update && sudo apt-get upgrade -y
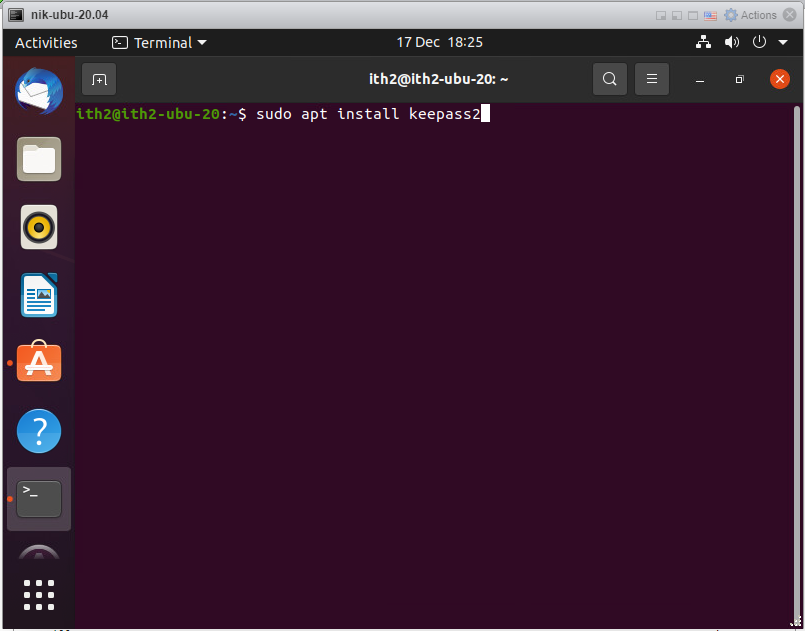
Install keypass by running.
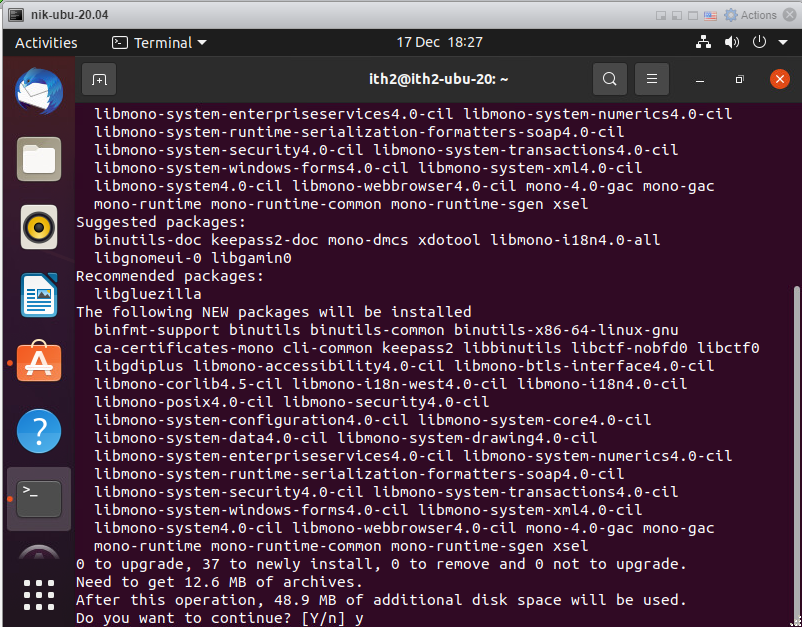
sudo apt-get install keepass2 -y
Type y and enter to install keepass2.
Wait for keepass to install.
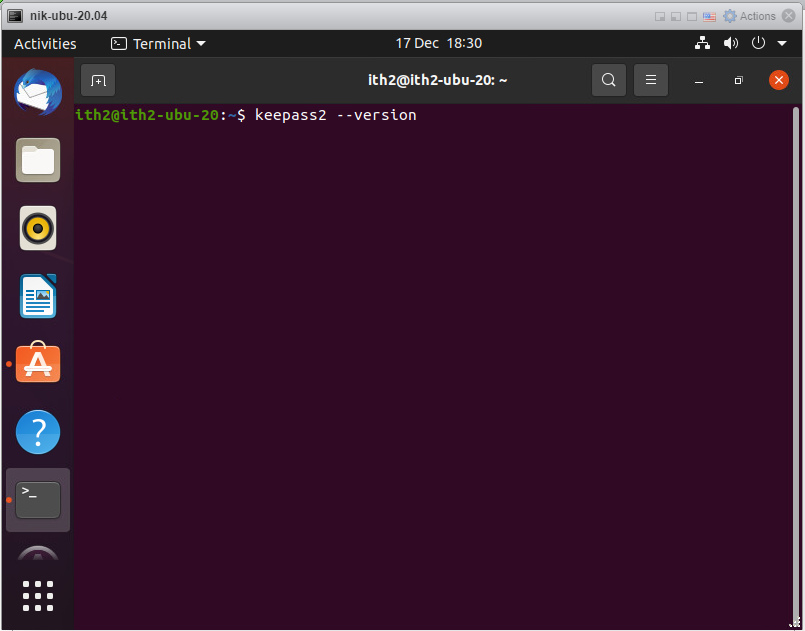
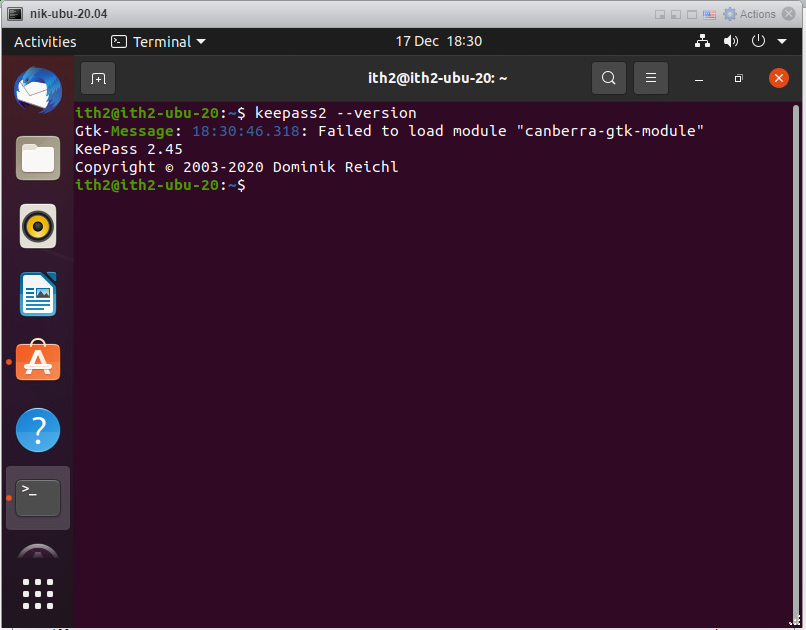
Check the version of keepass2 by typing keepass2 –version.
keepass2 --version
This will show the current installed verions.
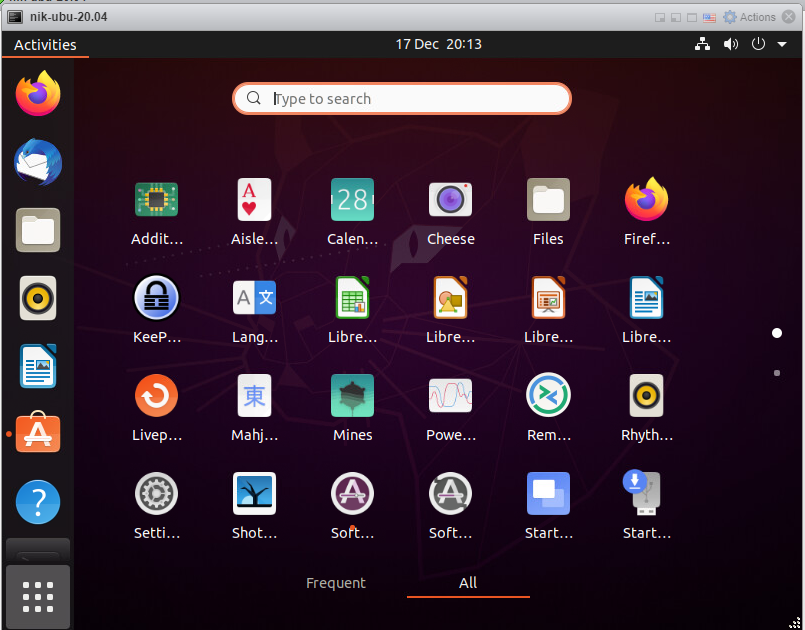
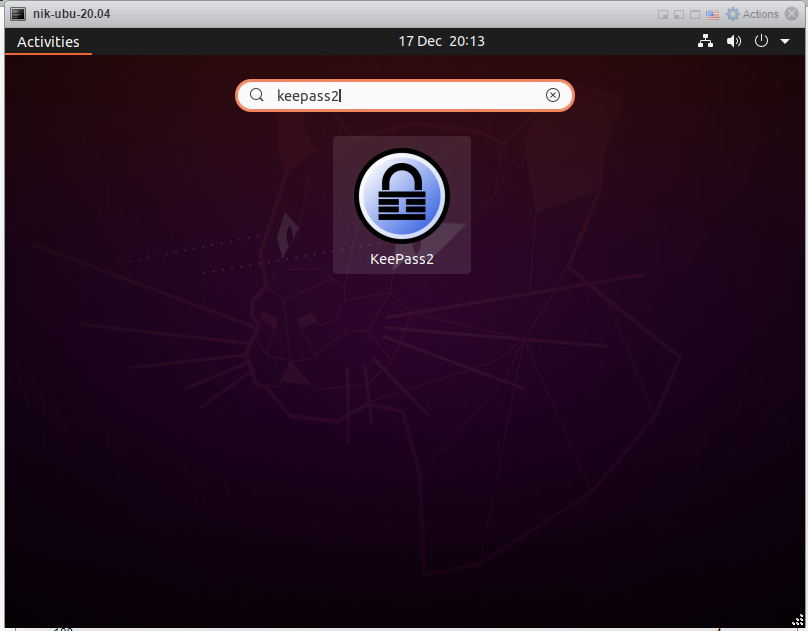
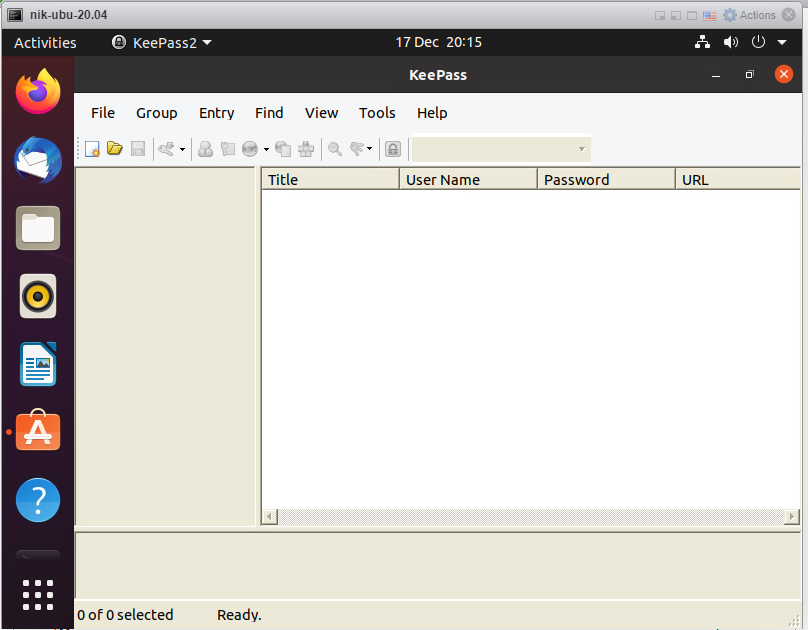
To open Keepass click on Show Applications
Type Keepass2
Click on the KeePass2 Icon. KeePass will Open.
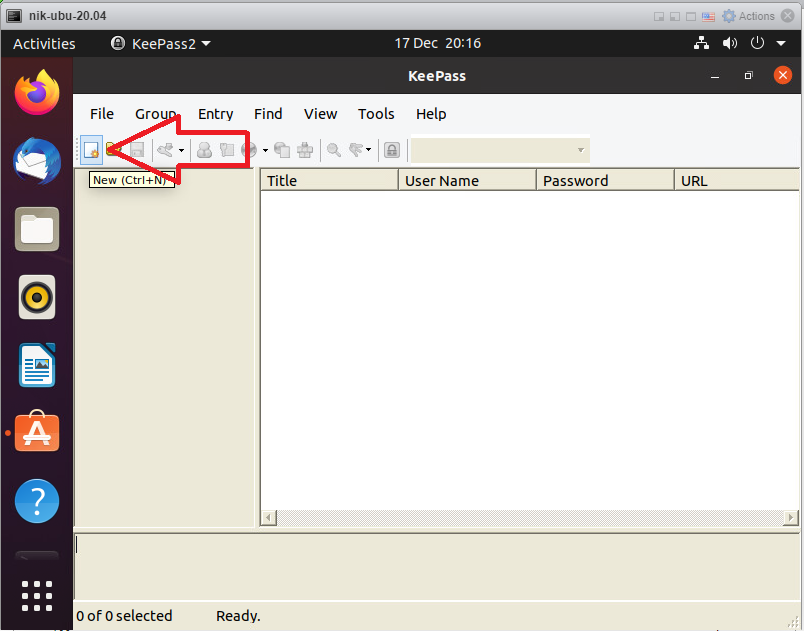
To create a new database click on New.
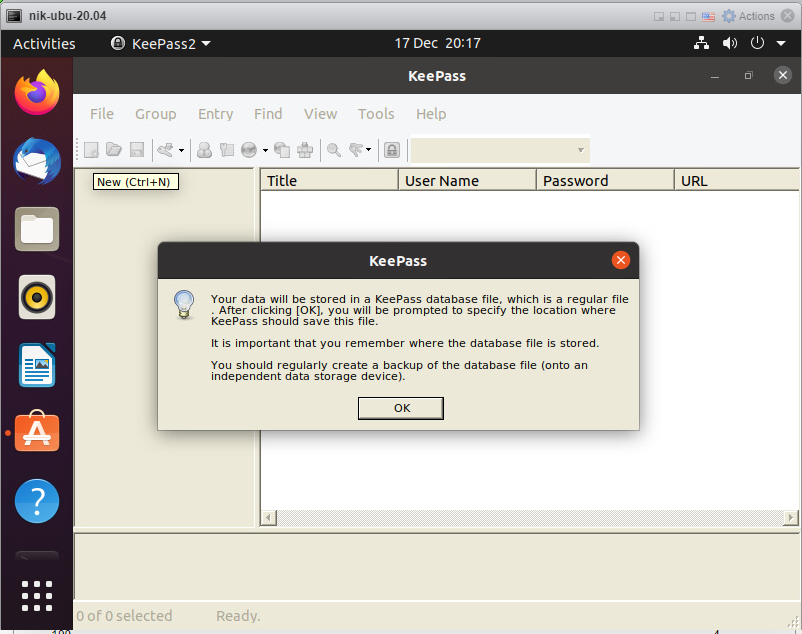
Click OK.
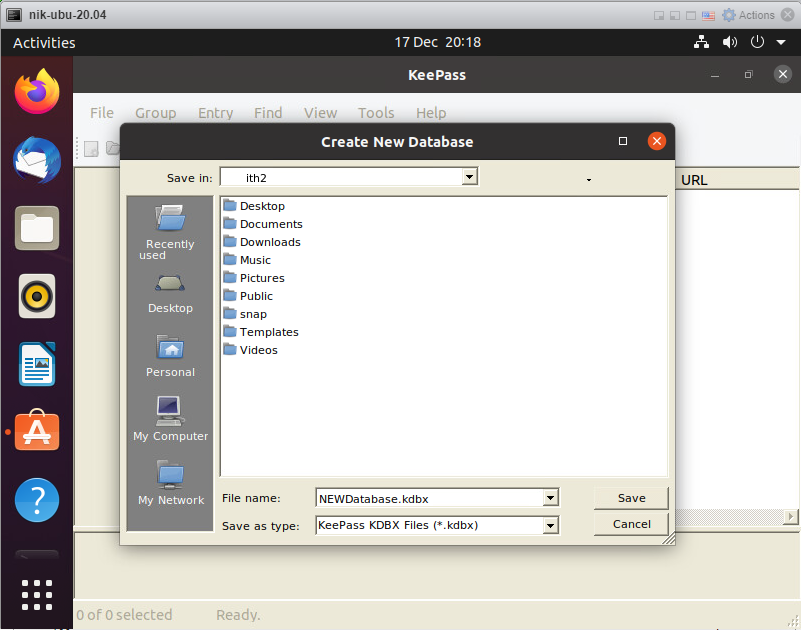
Type the new name for the database and click Save.
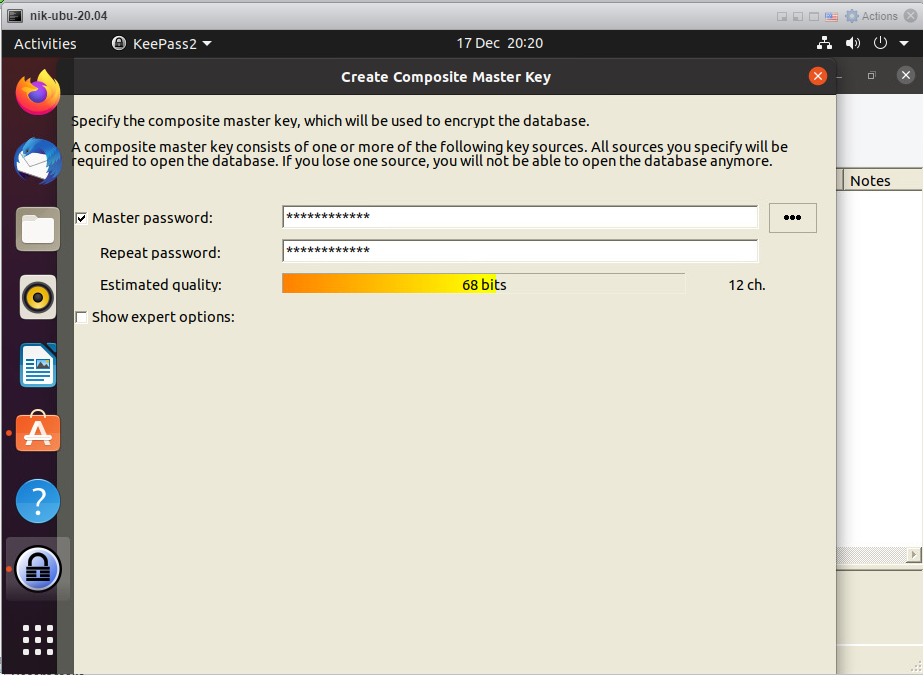
Type in a new master password and press enter.
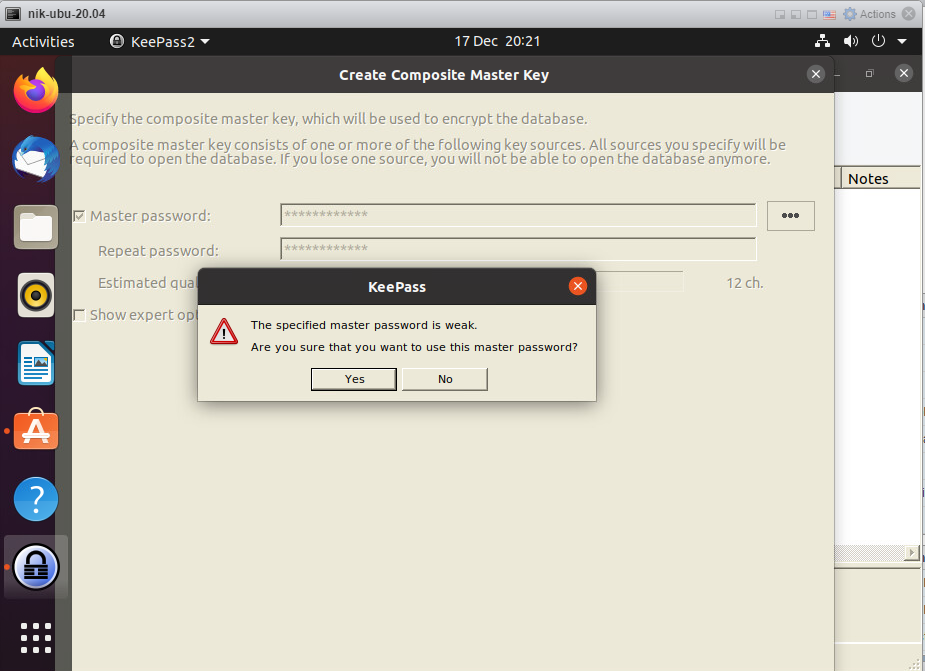
Click Yes to use the password
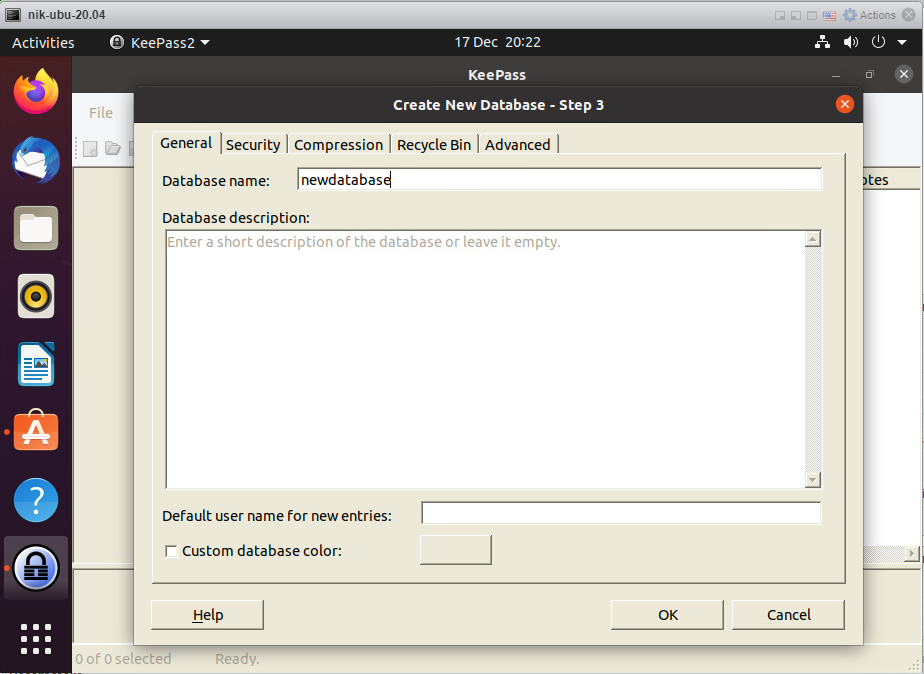
Add a database name and click OK.
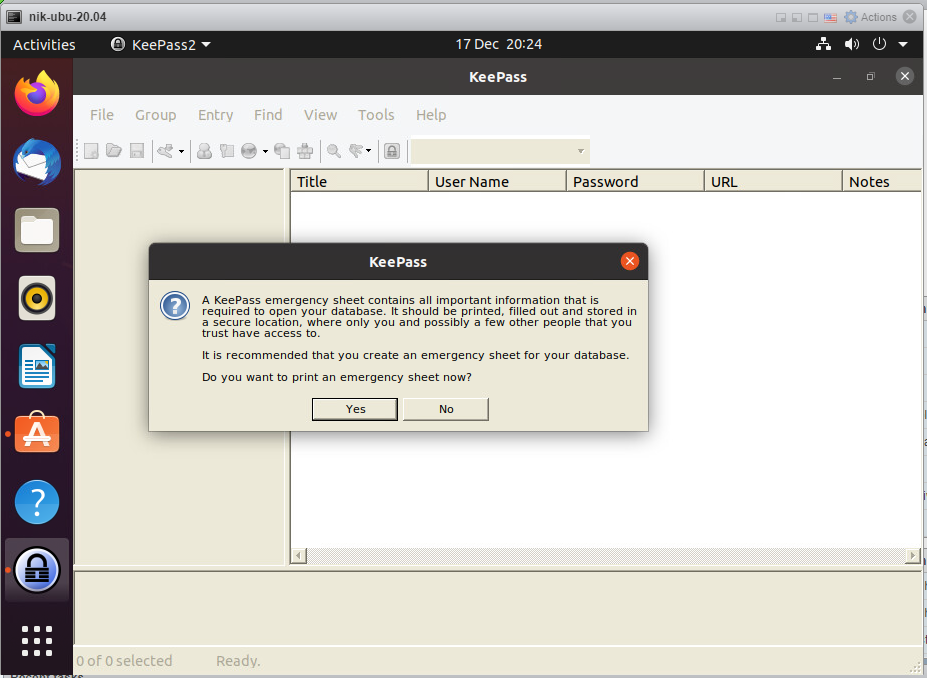
Choose Yes or No to print an emergency sheet or not.
The database is ready to use.
For more Ubuntu articles as how too’s click on our Ubuntu Category.
There have been a number of times that I have wanted to access my Ubuntu 20.04/20.10 PC from a Windows PC using Remote Desktop Access (RDP). This is how I have configured it to work.
Enable RDP on the Ubuntu 20.04/ 20.10 PC:
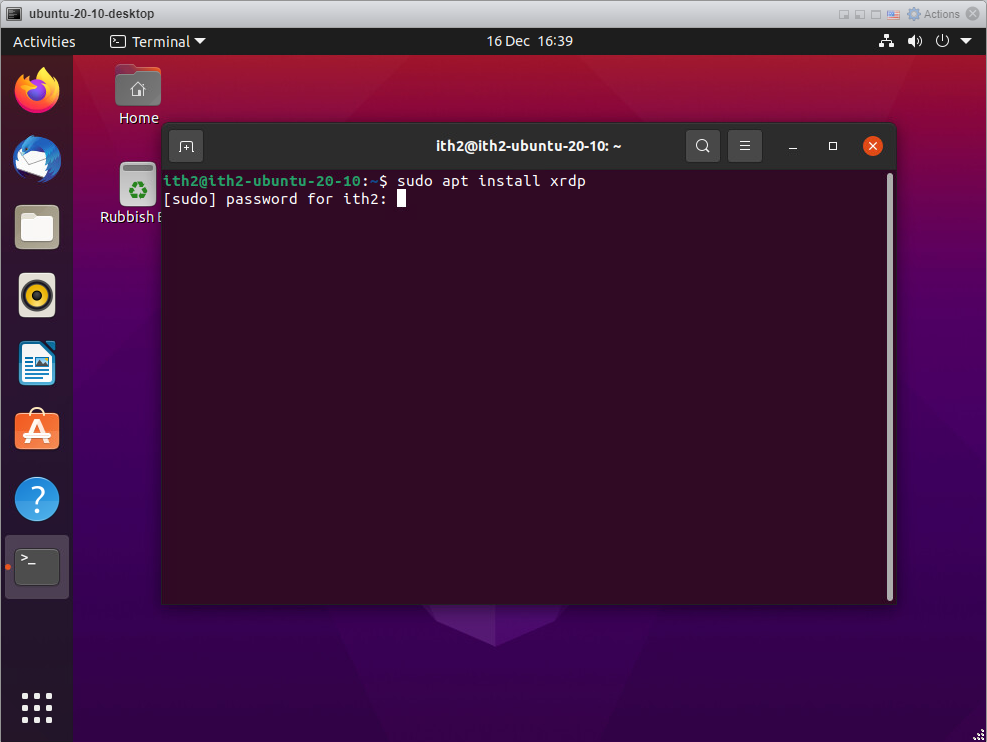
Open the terminal and type the following command:
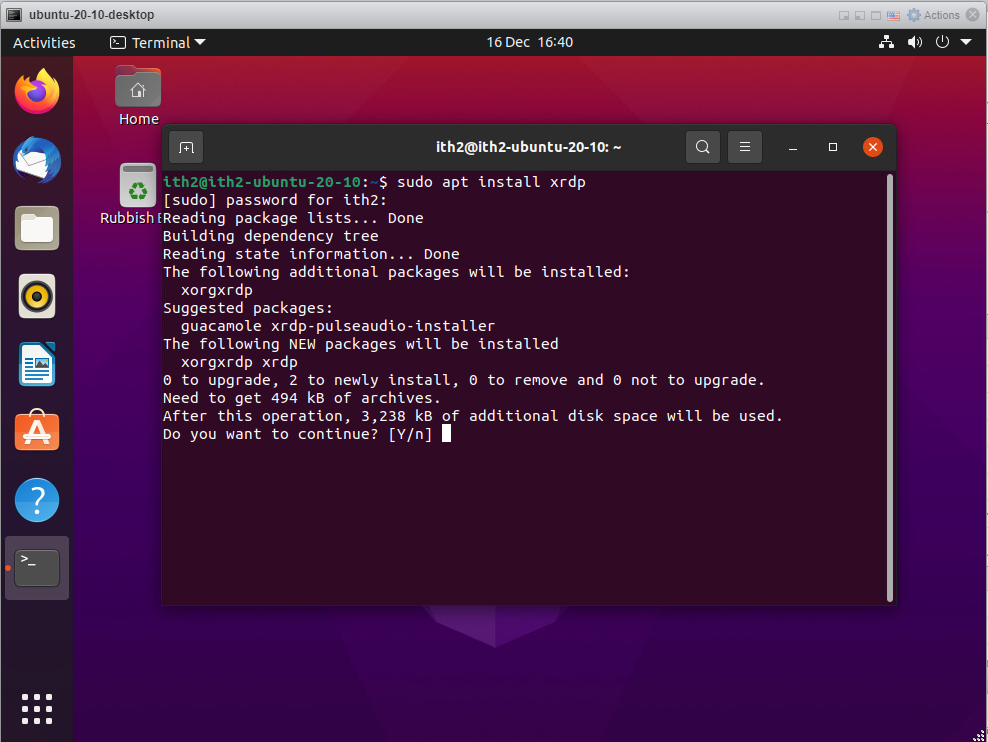
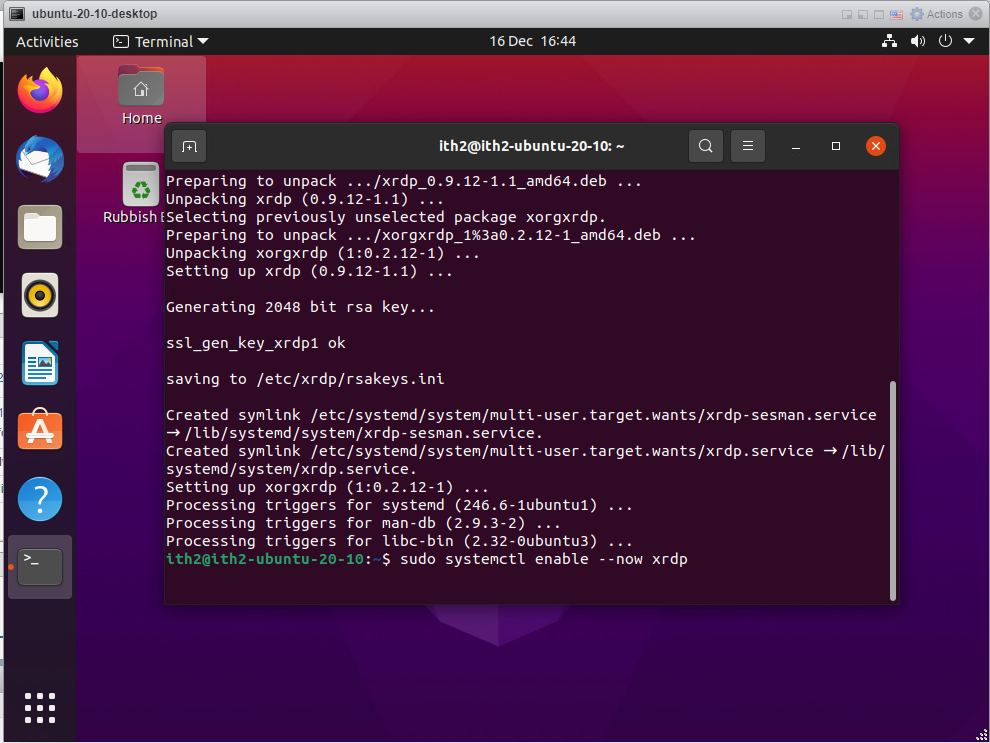
sudo apt install xrdp
Type your password and enter.
Enter Y and enter.
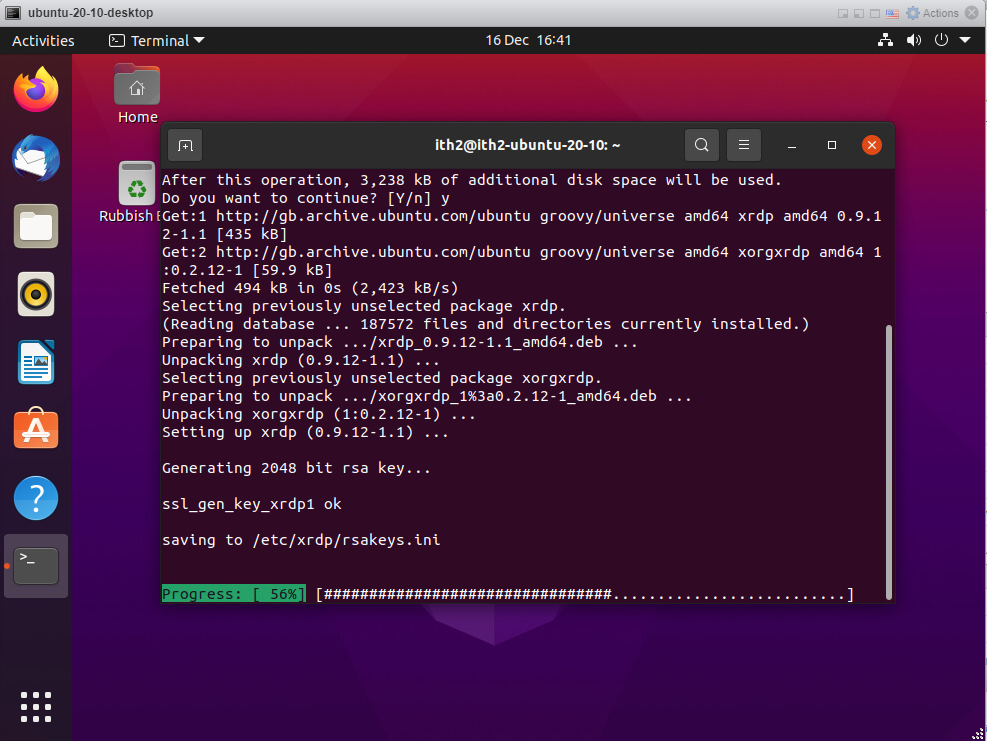
Xrdp will be installed:
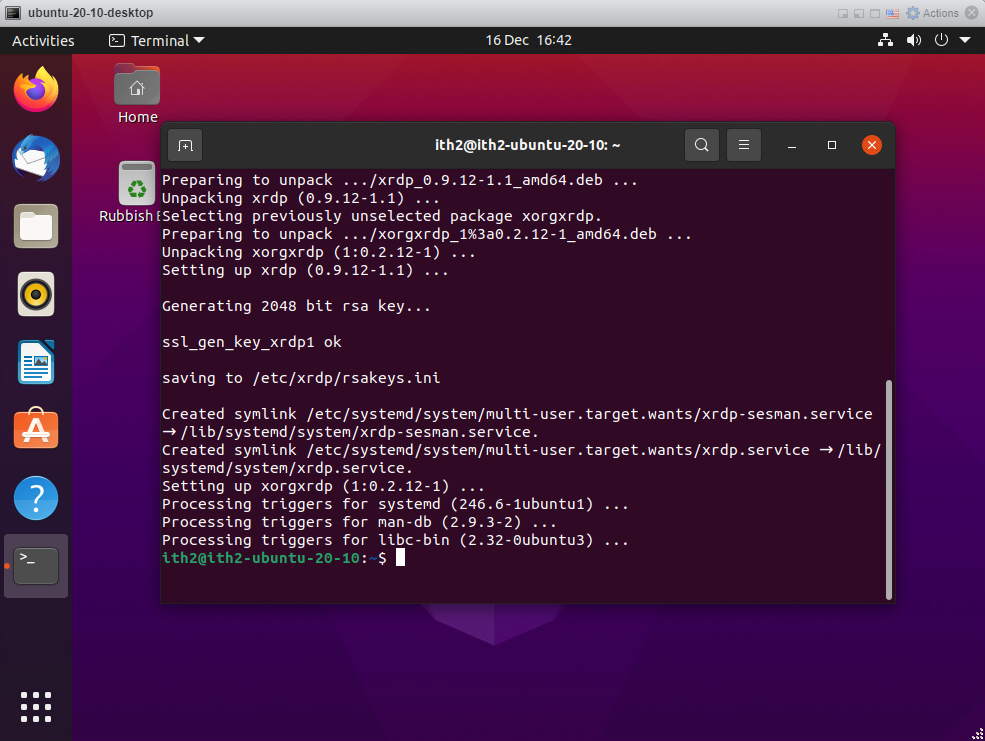
Once installed the installer will return to the command line:
Enable xrdp to start after reboot and to run now type:
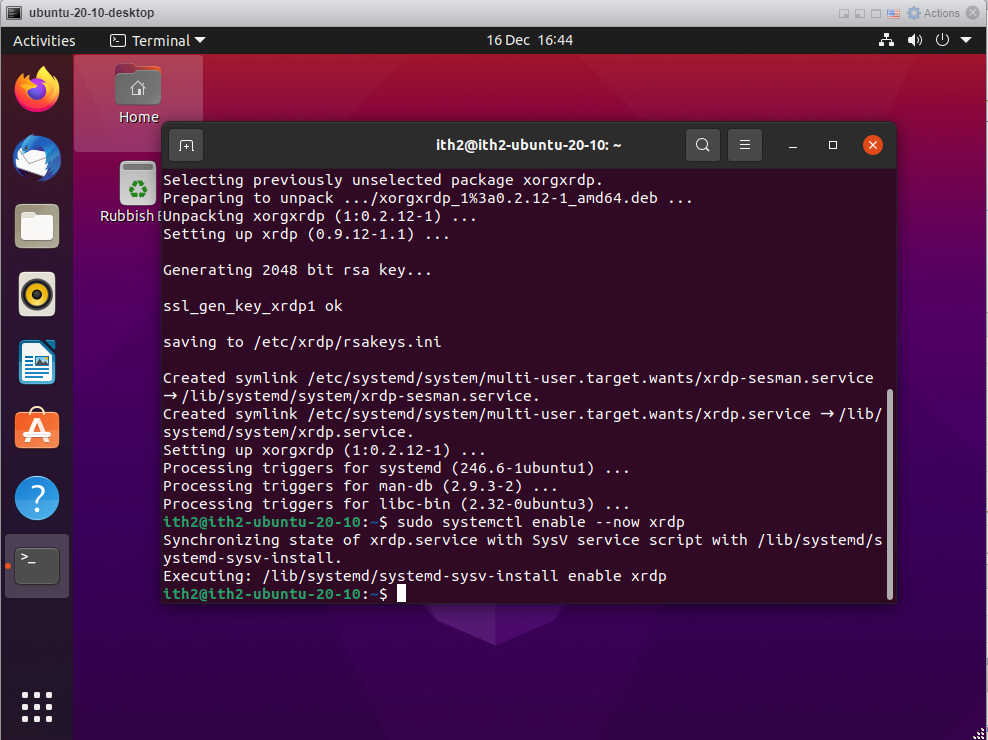
sudo systemctl enable --now xrdp
The command will run and then return to the command line:
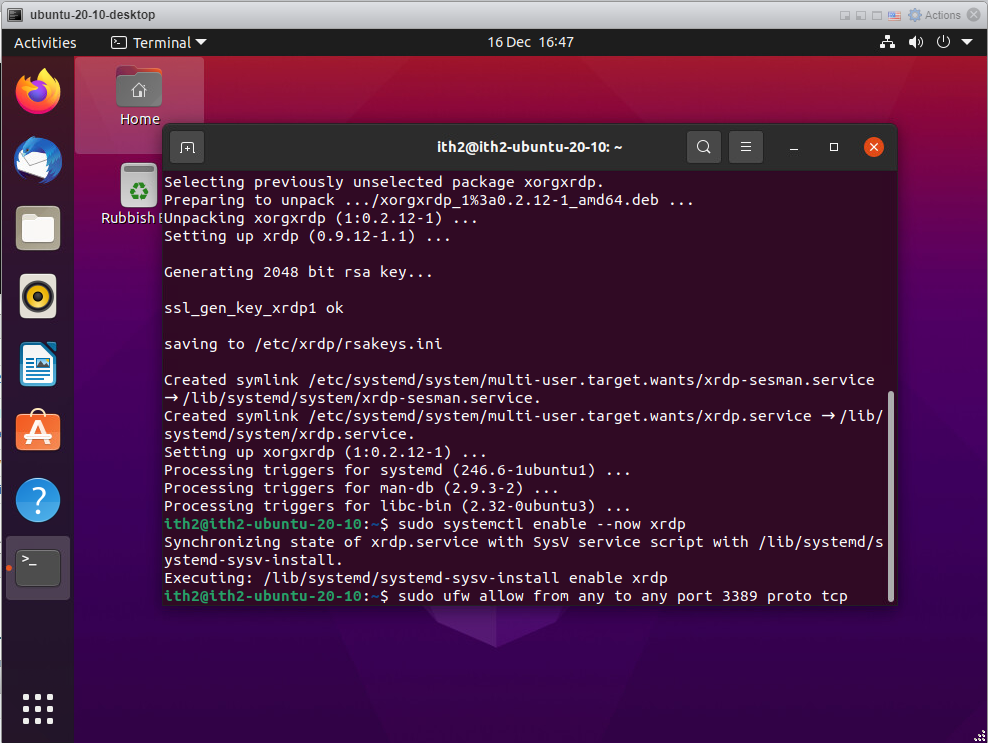
Run the following command to open the rdp port on the local firewall for incoming traffic.
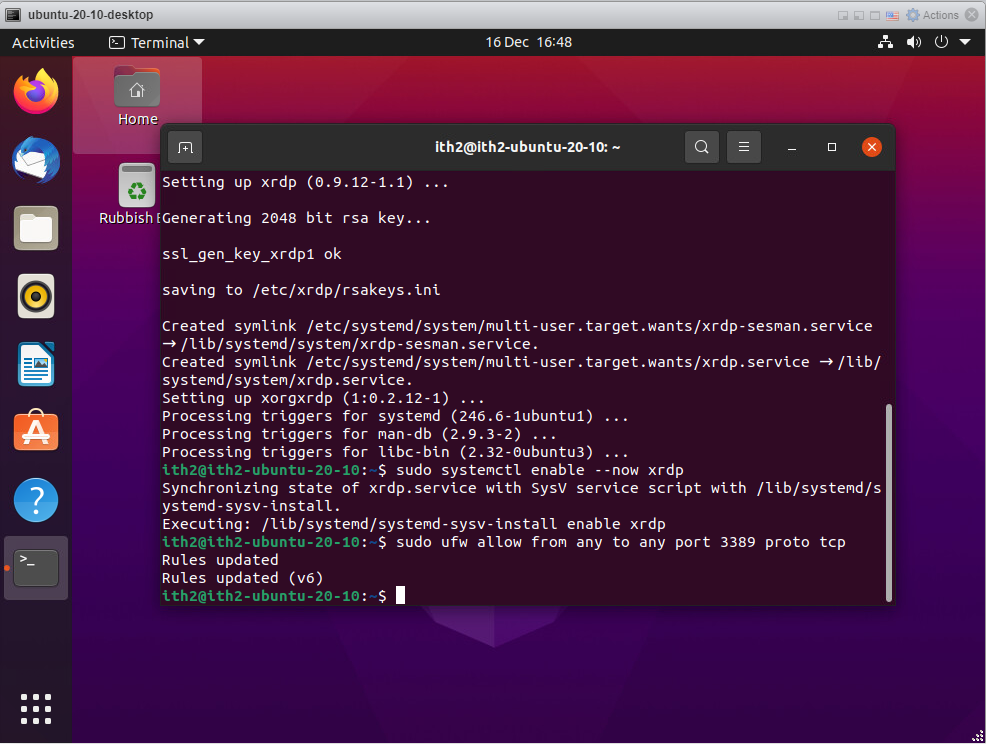
sudo ufw allow from any to any port 3389 proto tcp
The rules will be added:
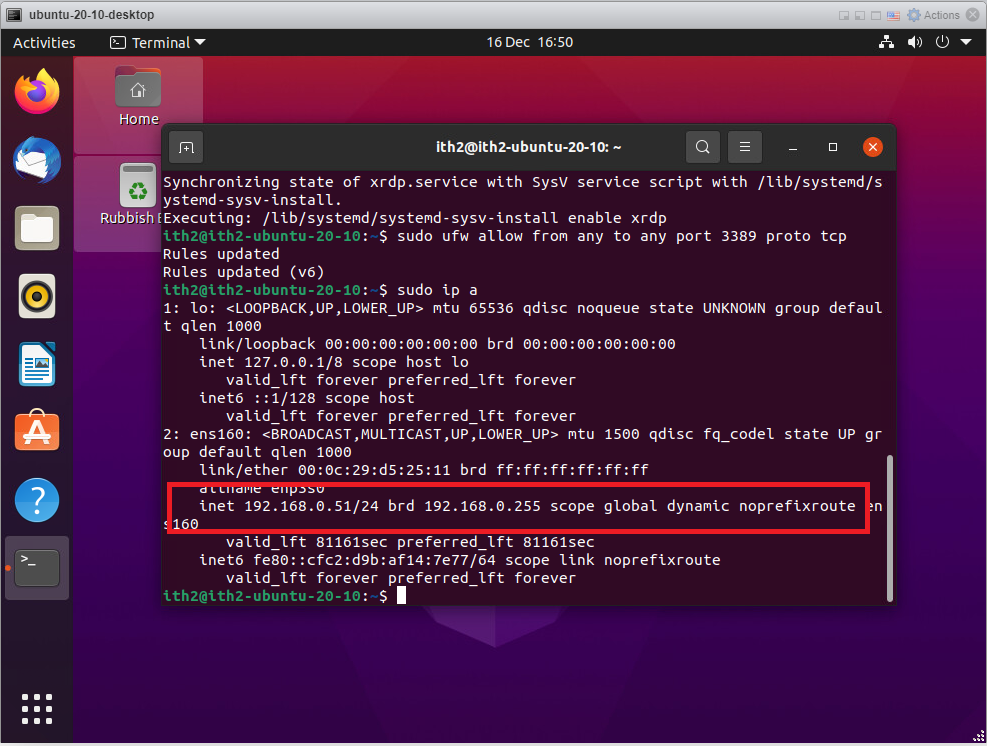
Run the following command to find the ip address of the machine. This will be needed to rdp from the windows machine.
sudo ip a
The ip address of the machine is highlighted in red:
This is all you have to do on the Ubuntu PC. Now go onto the windows PC and connect to the Ubuntu PC as follows:
Connecting to the Ubuntu PC from Windows using RDP.
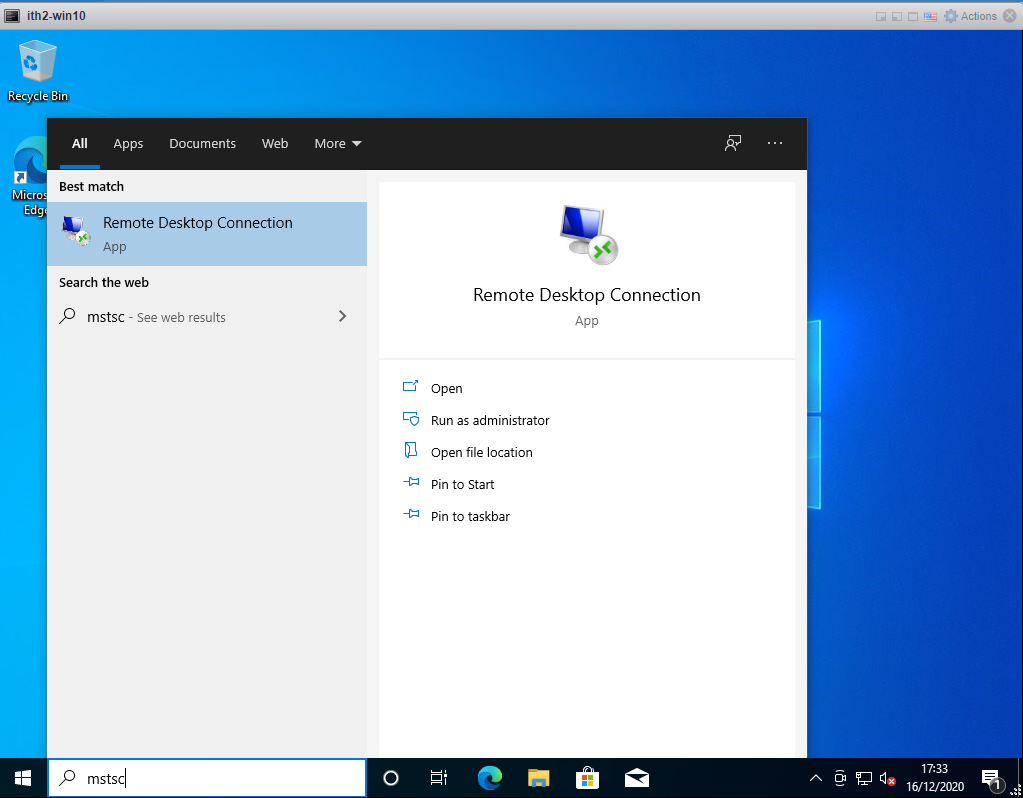
Click on the start button and type mstsc. Click on Open.
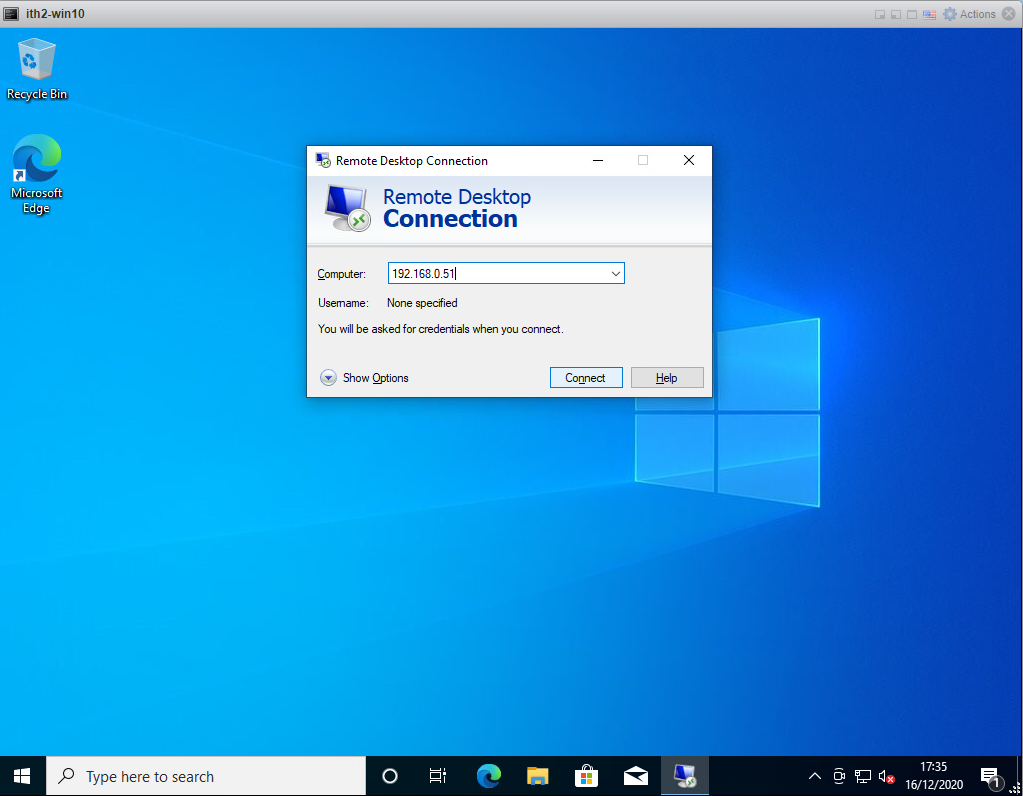
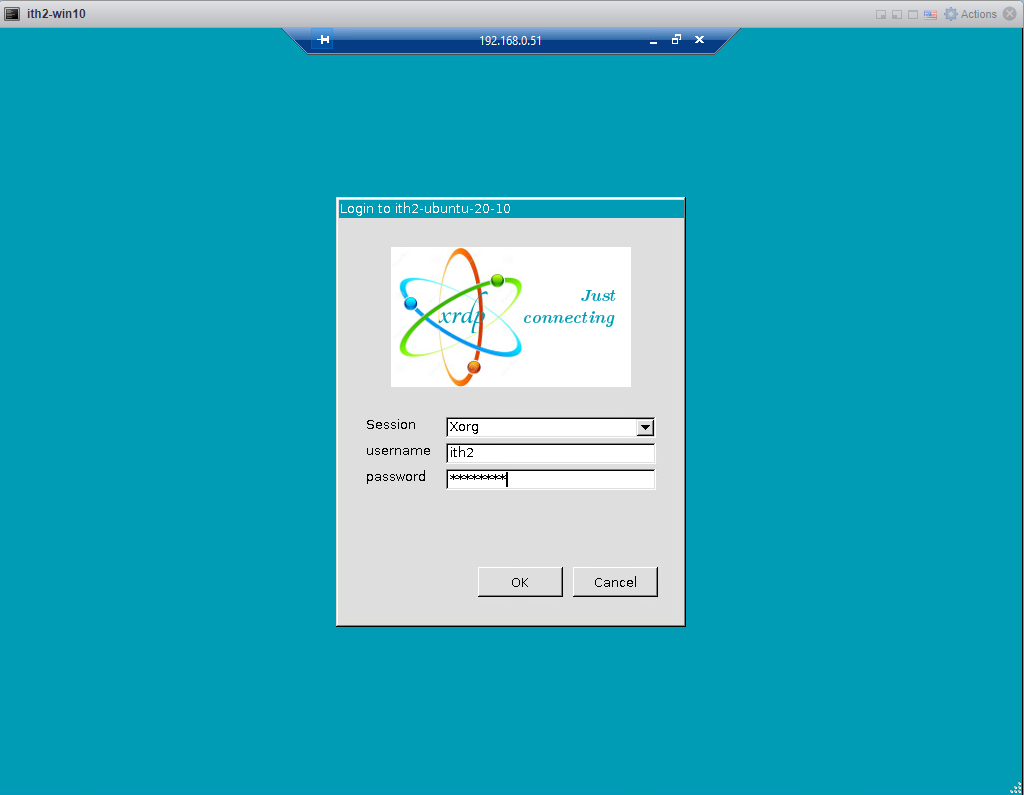
Type in the ip address of the Ubuntu PC and click Connect.
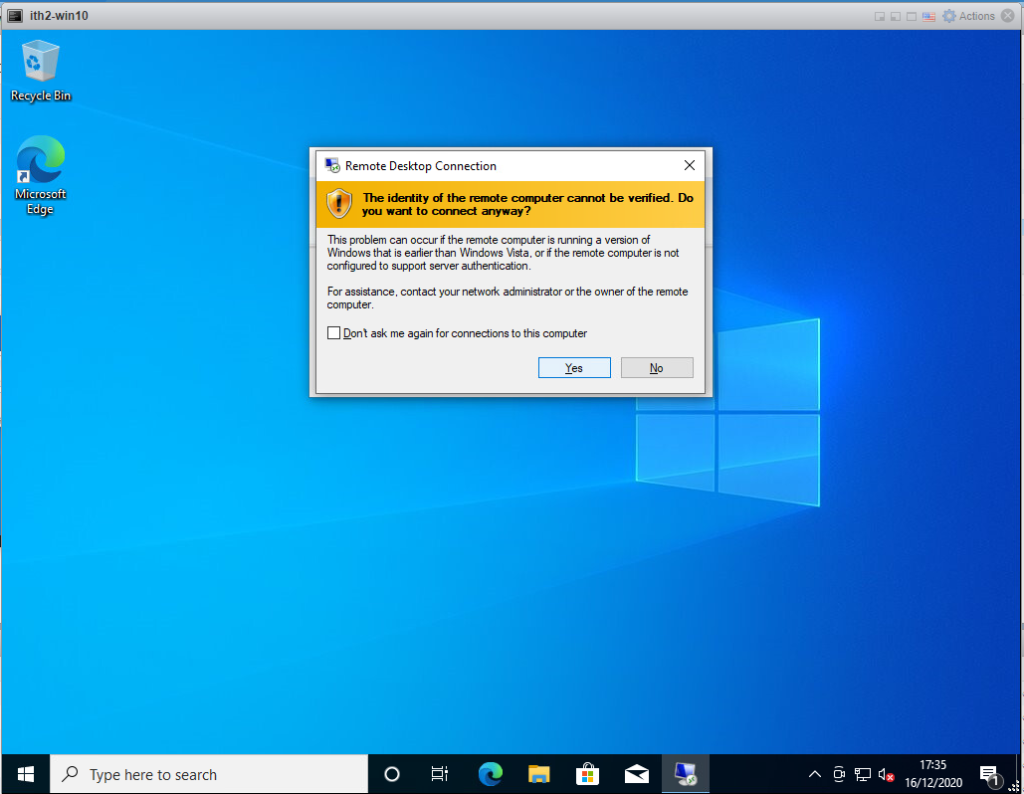
Click Yes.
Type the username and password and click OK.
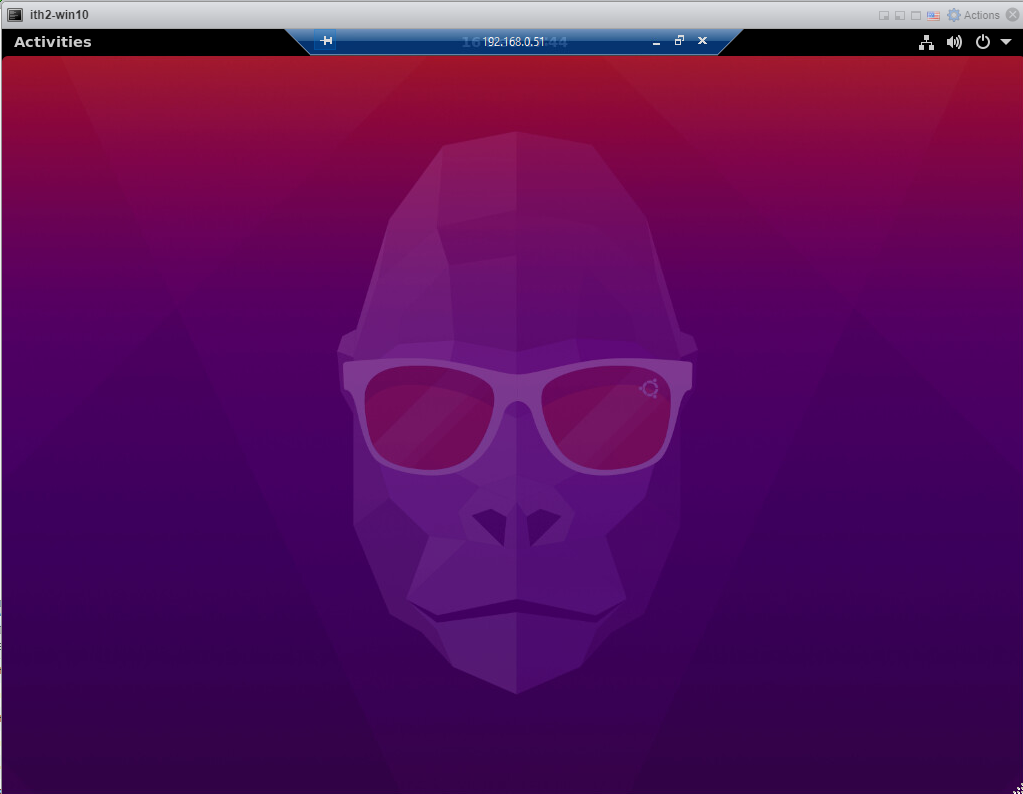
You will now have access to the linux desktop. Yay.
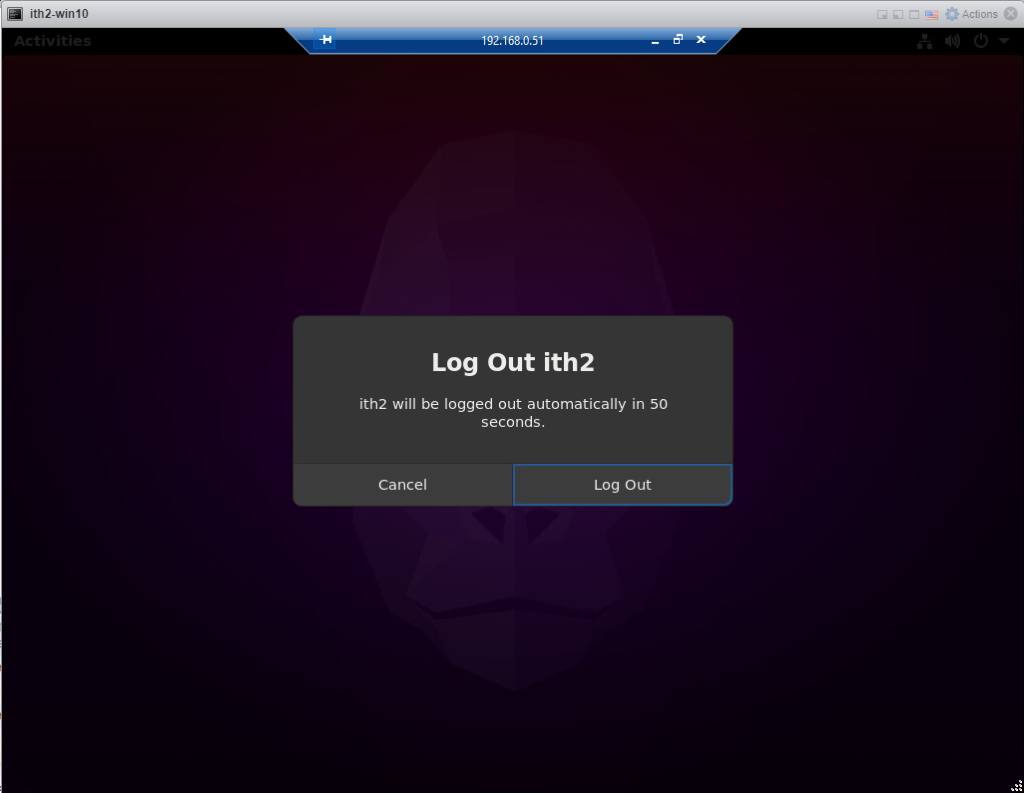
To log off again just click on the x of the RDP window or log out:
Troubleshooting:
Black Screen at logon:
If there is a user logged in on the Ubuntu PC you may get a black screen when you rdp to the PC. This can be resolved by logging off of the Ubuntu PC.
For more things to do with your new Ubuntu 20.10 Desktop go to my other articles HERE.
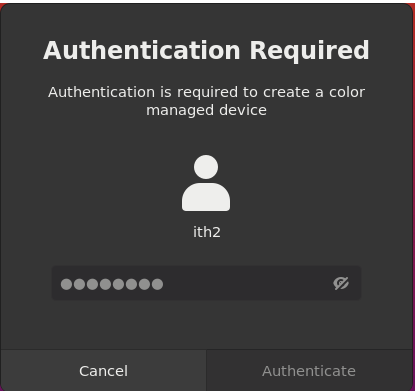
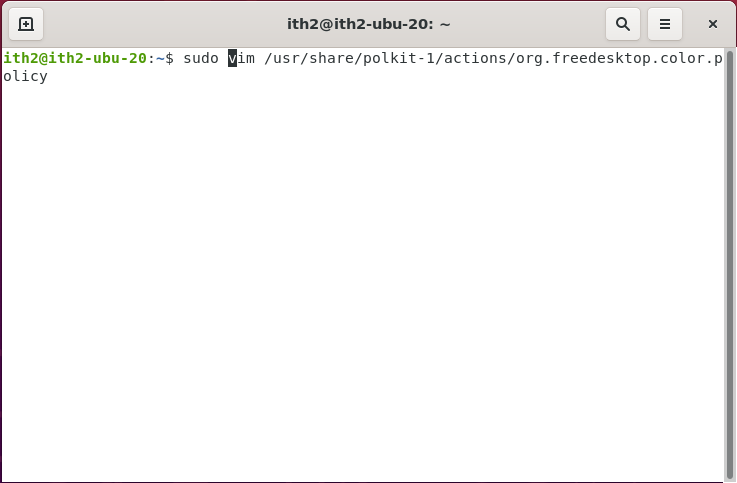
Authentication Required login
In some cases you will get the following window appear and even though you log in it will not disappear:
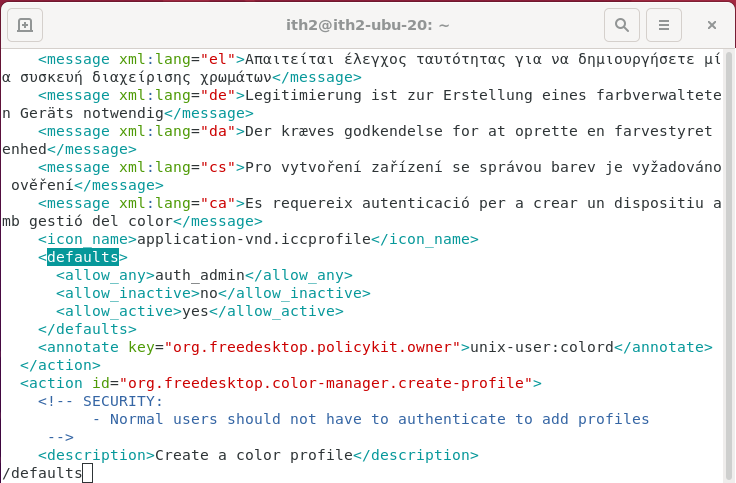
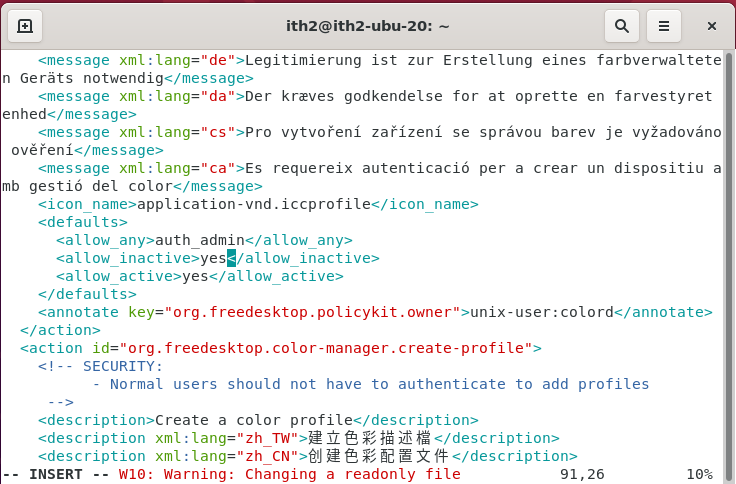
A permanent fix for this is to edit the following file:
sudo vim /usr/share/polkit-1/actions/org.freedesktop.color.policy
Ubtuntu 20.04 is the newest version of the popular Ubuntu OS and we are going to install the Desktop Version today.
The Ubuntu 20.04 Desktop can be downloaded from HERE.
Once the ISO has been downloaded make the boot media and boot off of it.
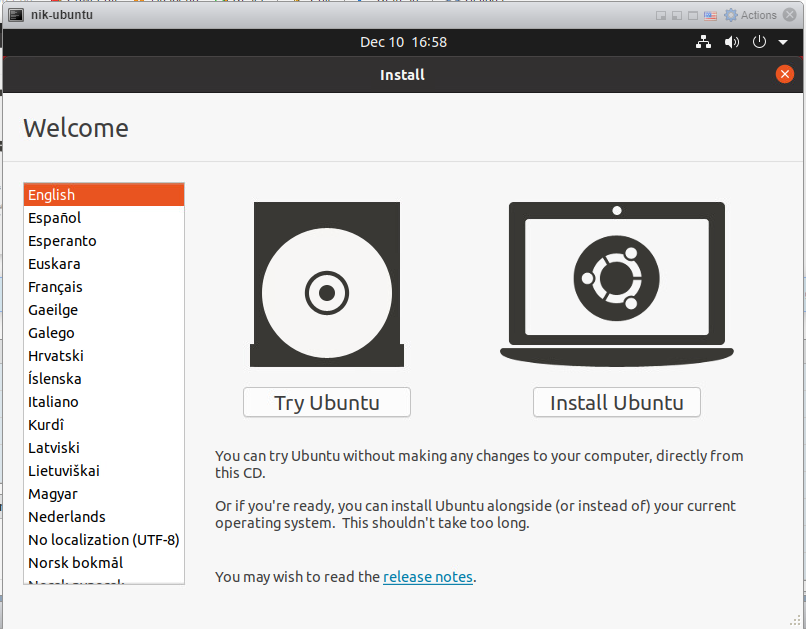
Install Ubuntu 20.04 Desktop:
The First Screen that will appear is the Install Screen. This screen has the installation language selection and options to Try Ubuntu which will boot ubuntu from the boot media and not install it on the machines hard drive. The second Option is Install Ubuntu which as its name suggests will install Ubuntu:
Click the Install Button to Start the Install Wizard:
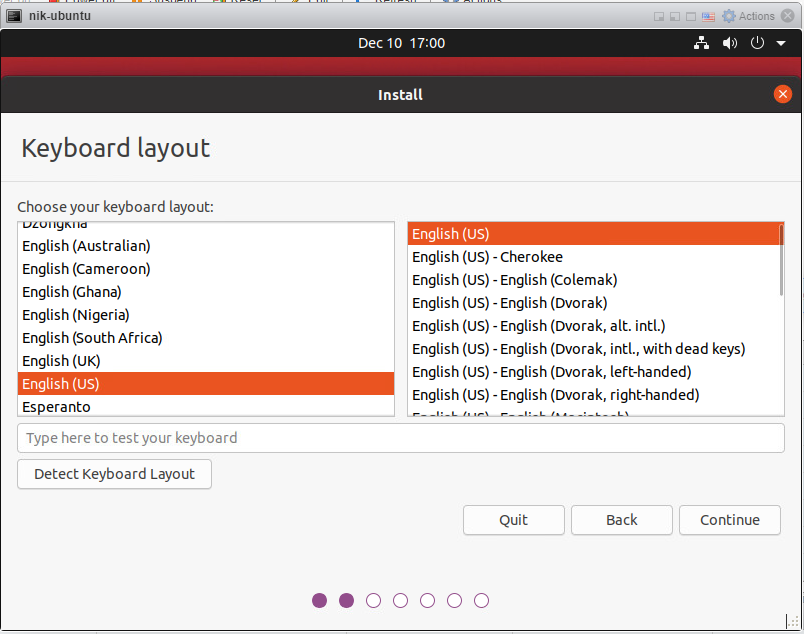
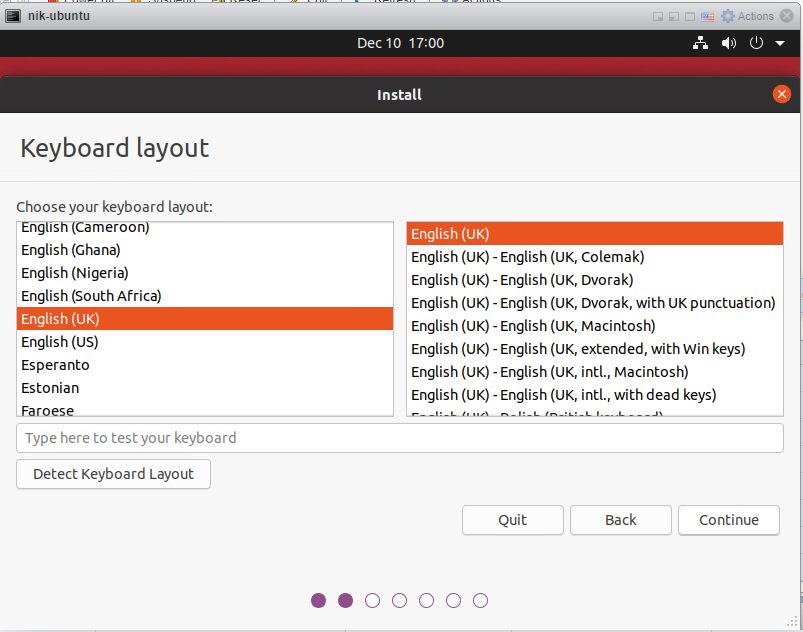
Select the default Keyboard Layout and click Continue to go to the next page.
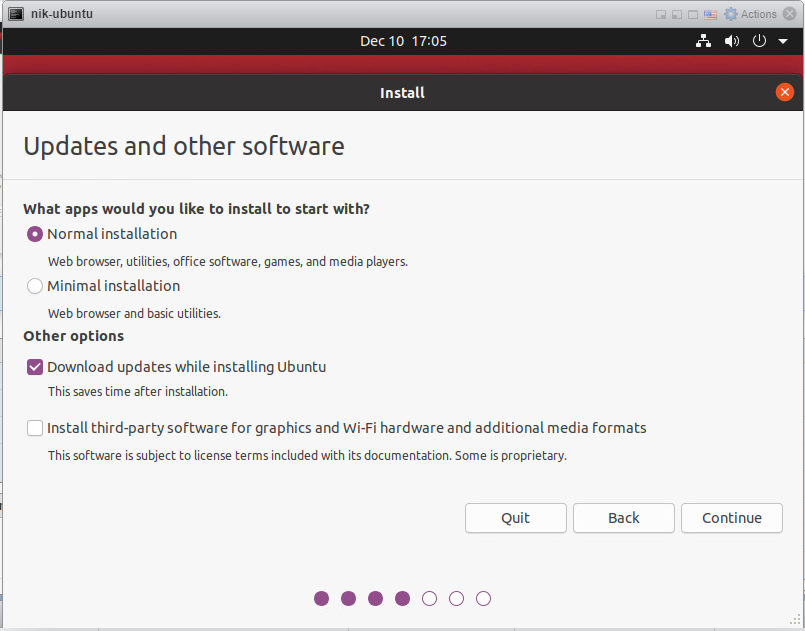
Leave the default as they are for the Updates and other software to run a Normal Installation and Download updates during the installation. There is currently a bug where the Install third-party software option breaks the installation so its probably a good idea to avoid that option for now. Click on Continue to move to the next page.
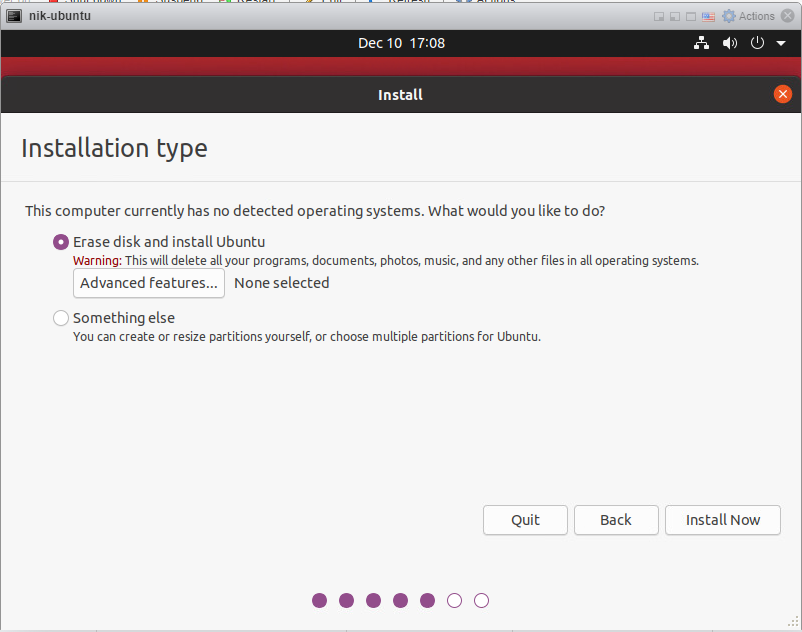
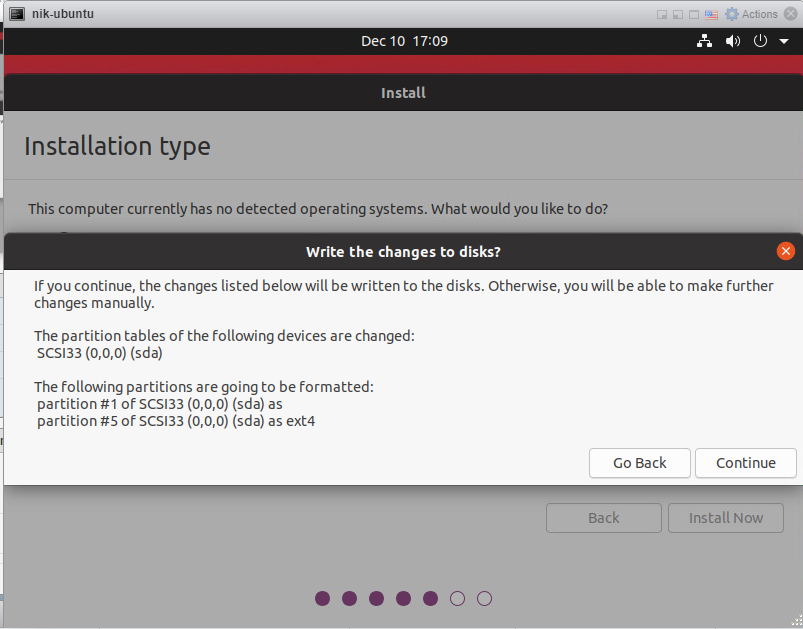
Again choose the default options for the Disk setup unless you want to do any advanced formatting. Click Install Now to start the installation.
Click on Continue ti format the disk
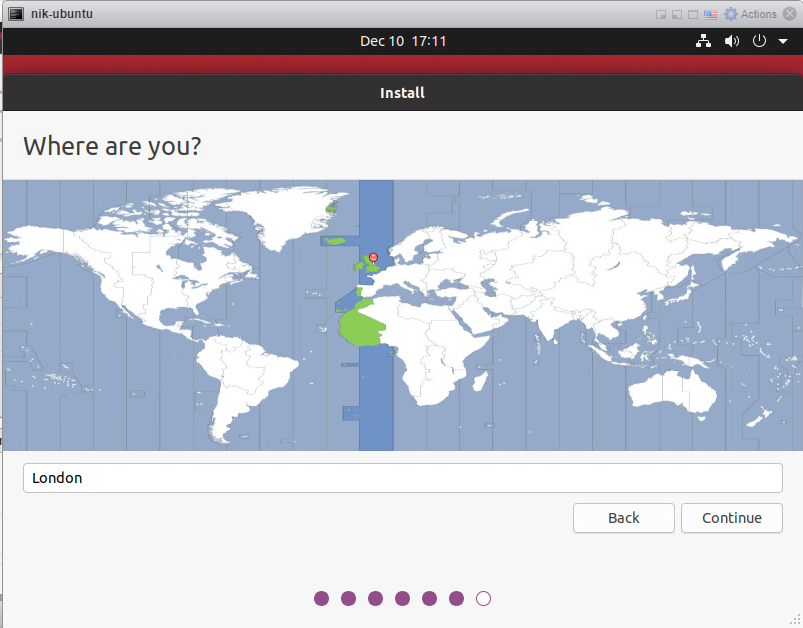
Choose your location and click continue to progress
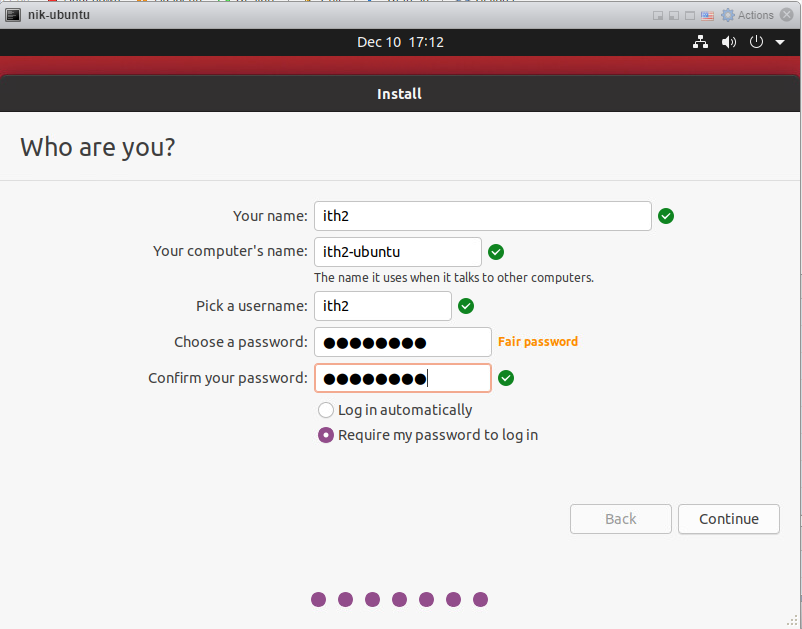
Add your admin user details and select continue to start the instalation
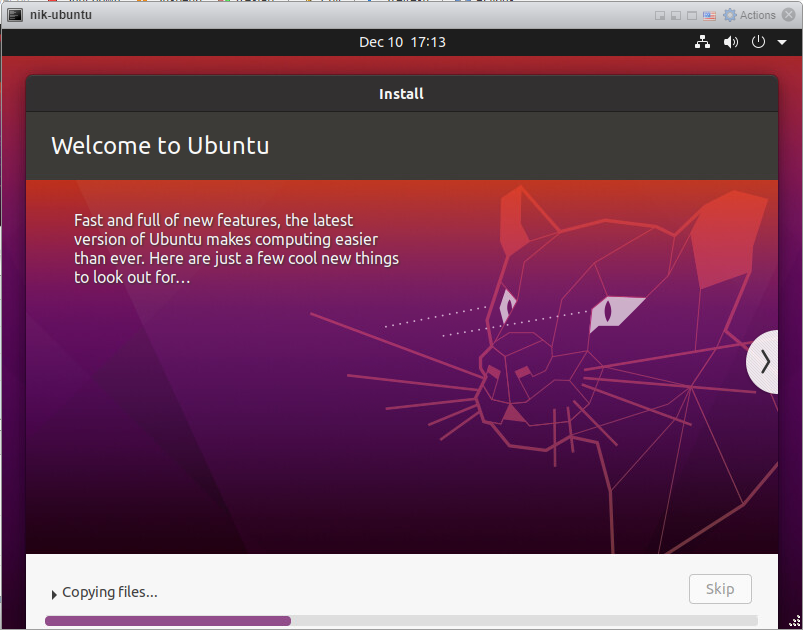
The installation wizard will now install Ubuntu 20.04:
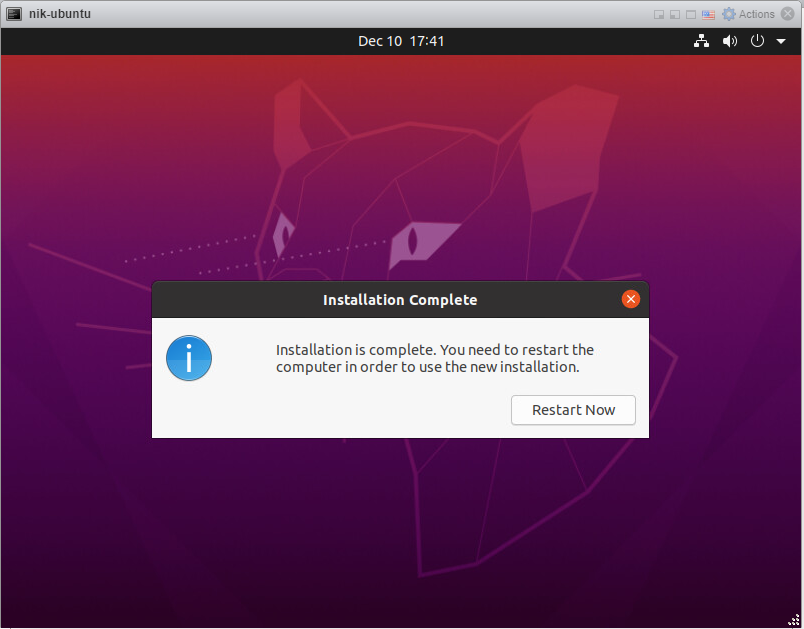
Click on Restart now to restart the Machine and finish the installation.
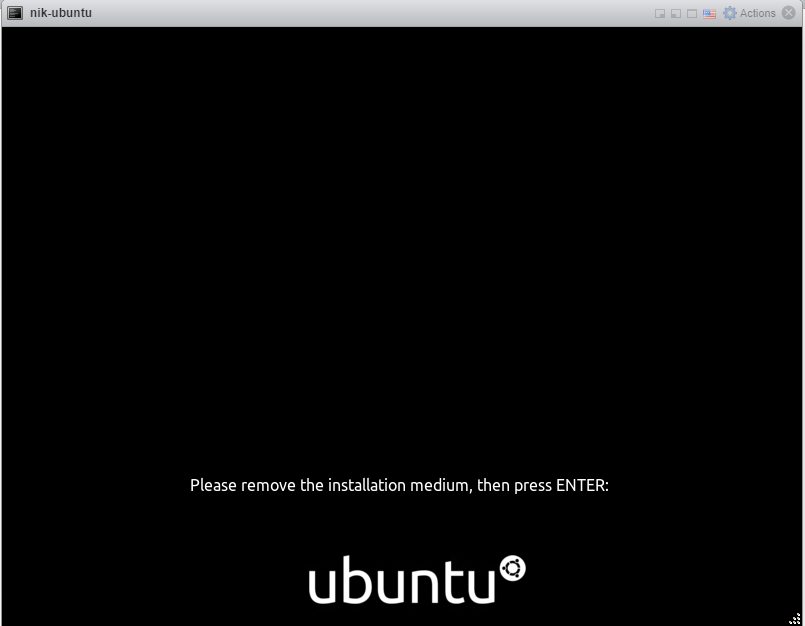
Remove the Installation Media and press enter to restart:
The Machine will now boot to the login screen.
The PC is now ready to log in and start using.
For ideas on what to do next got to my other Ubuntu 20.04 posts HERE.
It is also highly recommended that you check for updates which is covered HERE.
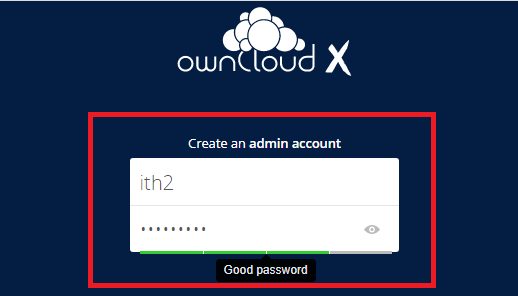
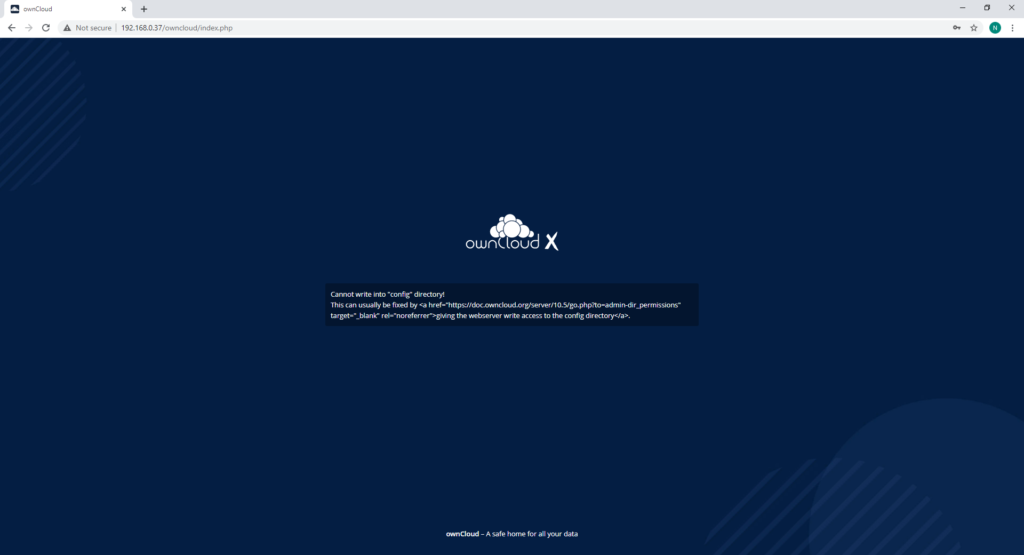
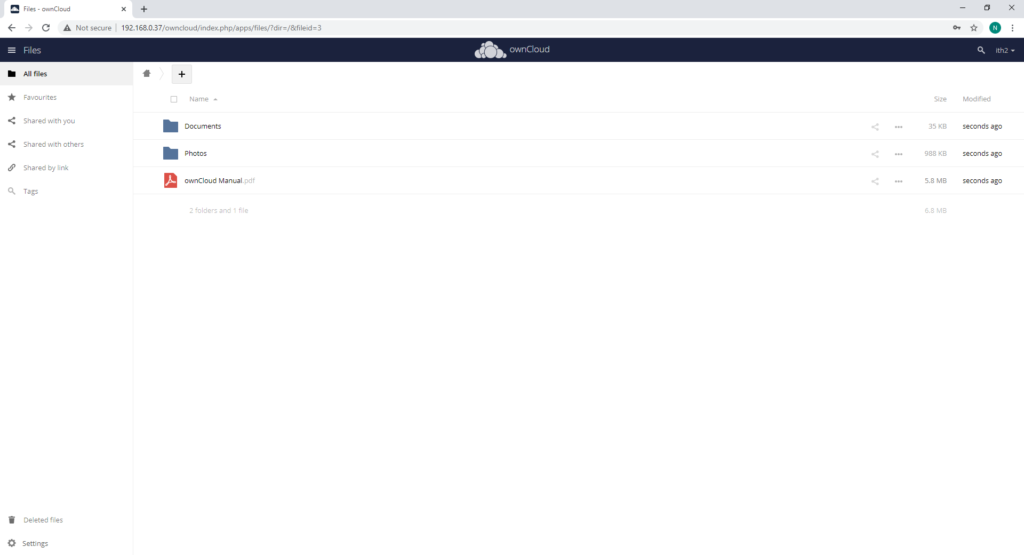
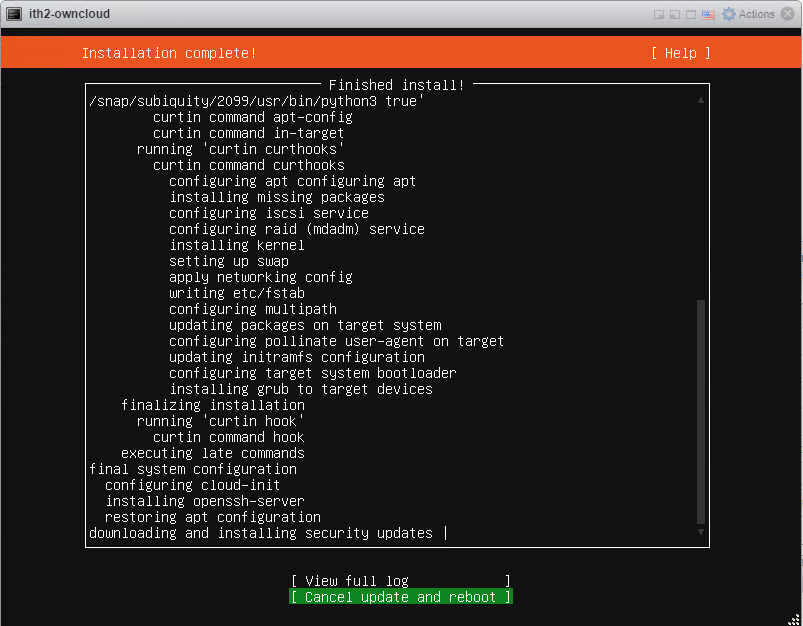
This post gives a walkthrough of How too install OwnCloud on Ubuntu 20.04 Server which elaborates on Owncloud’s own documentation on their website.
ownCloud is a file server that enables secure storage, collaboration and sharing. It is convenient to store files in the cloud, so they are available on any device and can be shared with a few clicks. There are a lot of popular providers like Google, Apple, Facebook, Twitter and Dropbox.
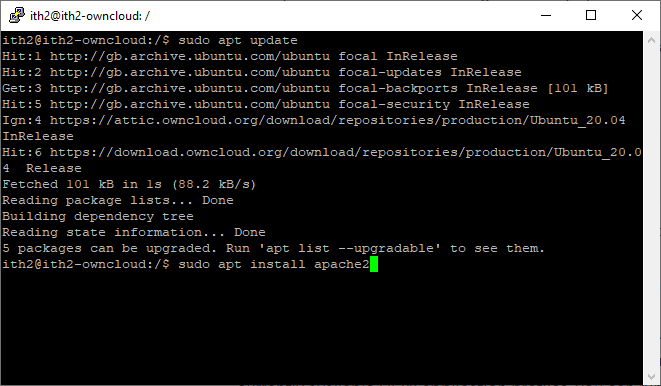
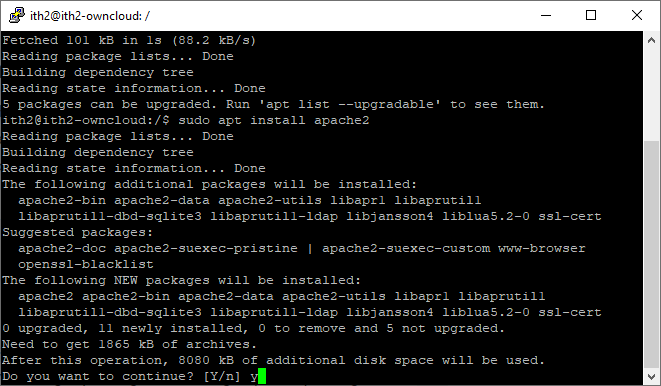
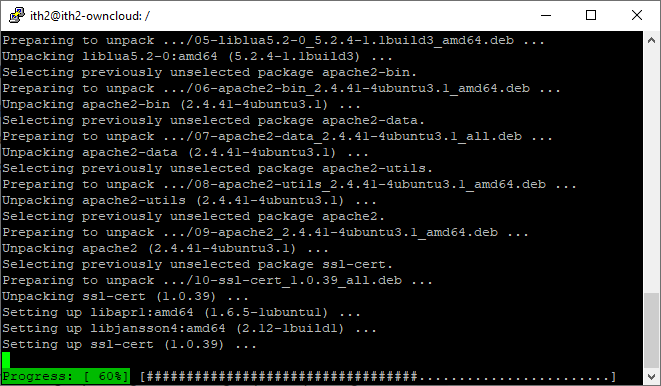
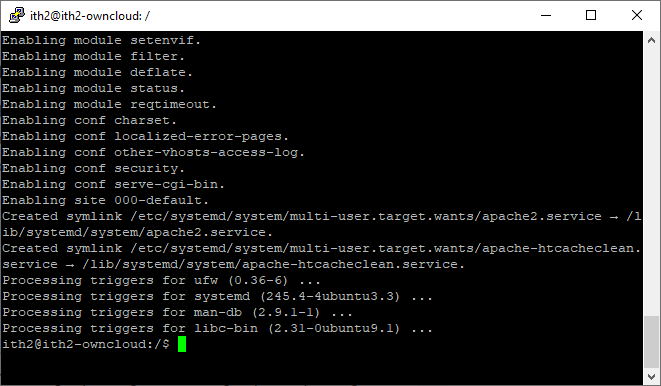
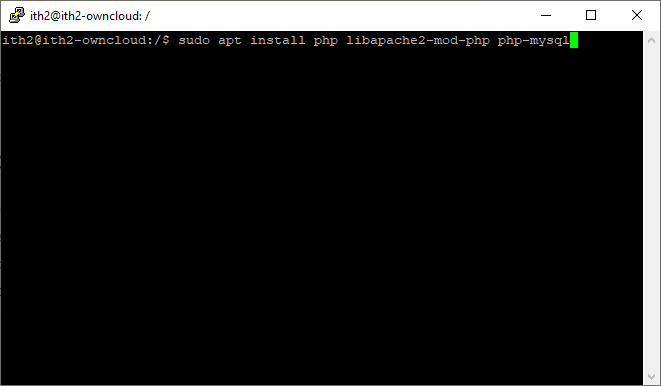
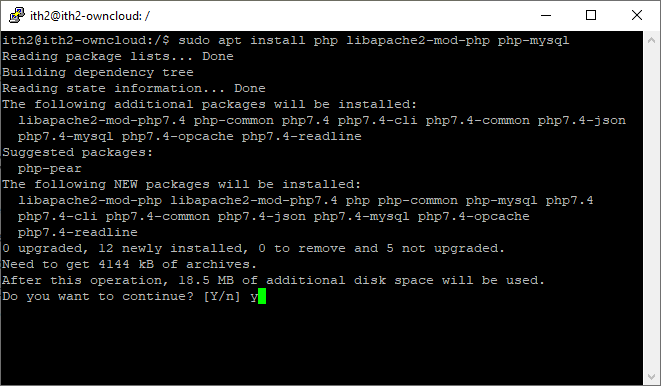
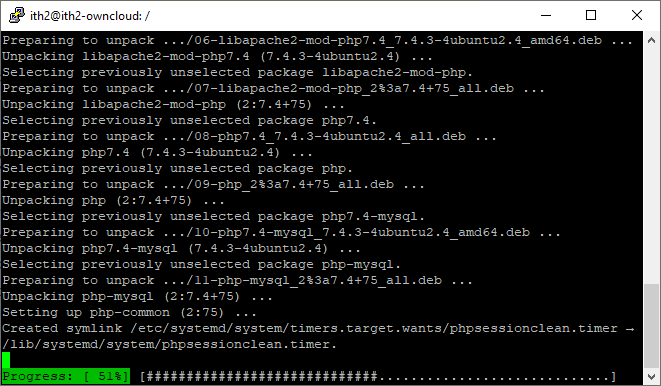
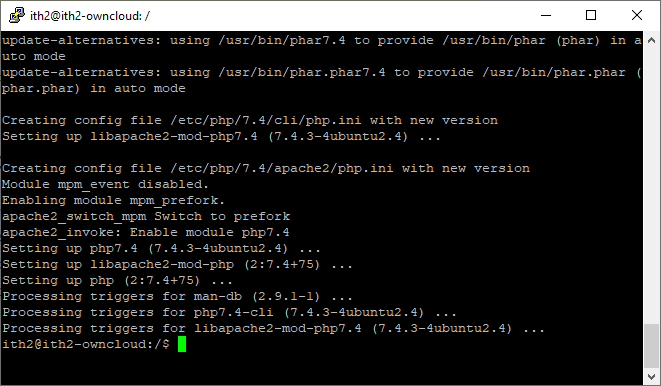
Install LAMP stack on your Ubuntu 20.04 machine:
BEFORE this process is run the server must have a fully functioning LAMP stack installed and configured.
A LAMP Stack consists of the following components:
Linux: The operating system.
Apache: The web server.
MySQL: The database
PHP: The programming language.
The installation of the LAMP stack is beyond the scope of this article but a good easy to follow step by step guide of how to install LAMP Instructions can found HERE.
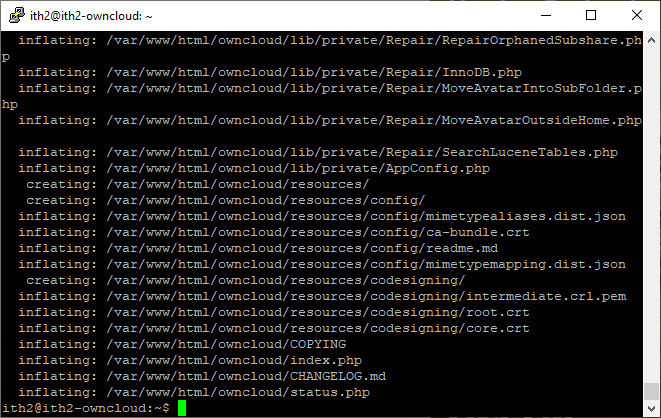
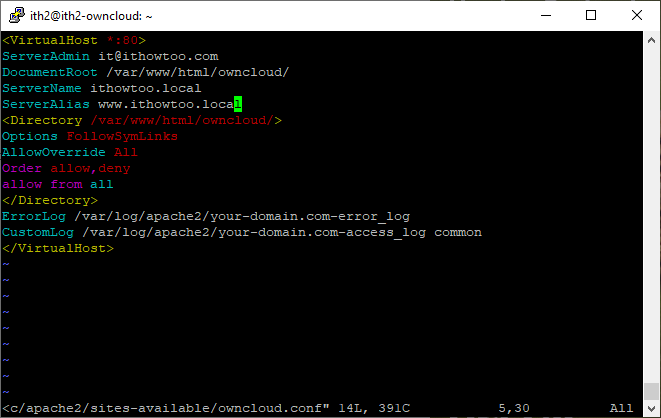
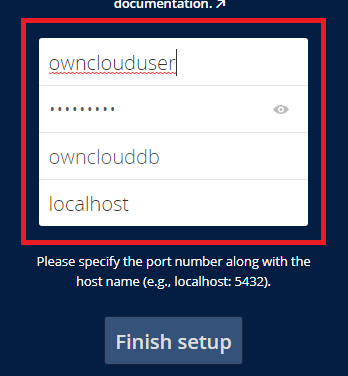
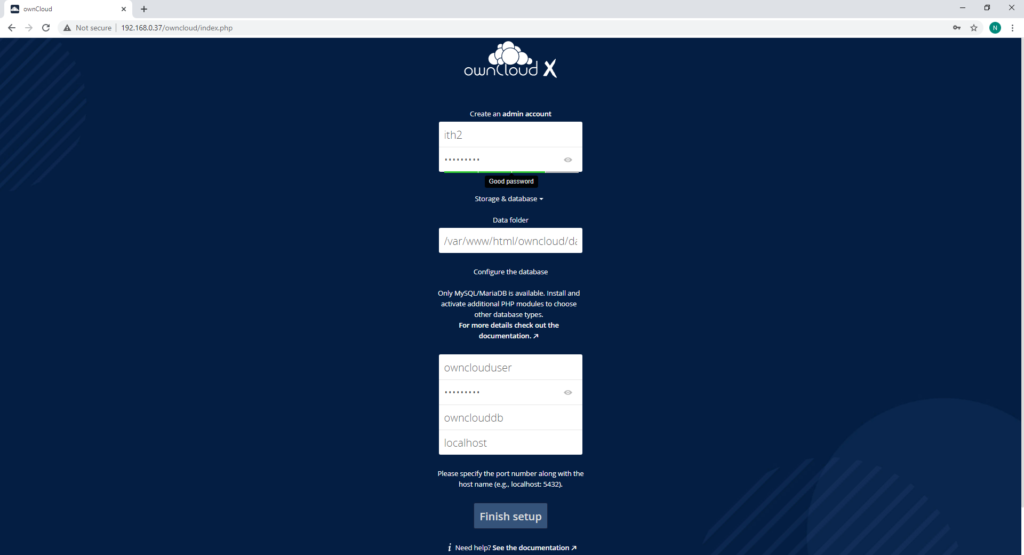
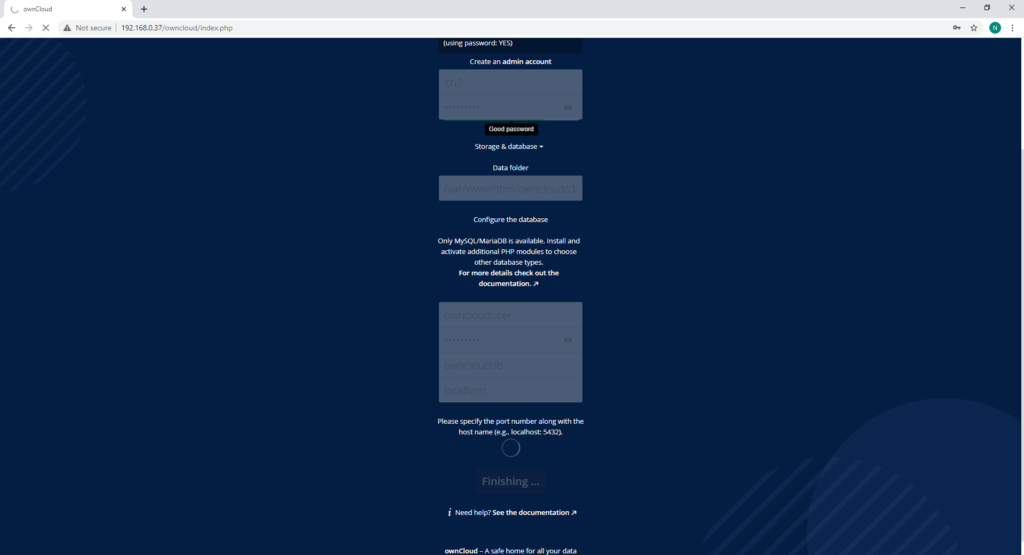
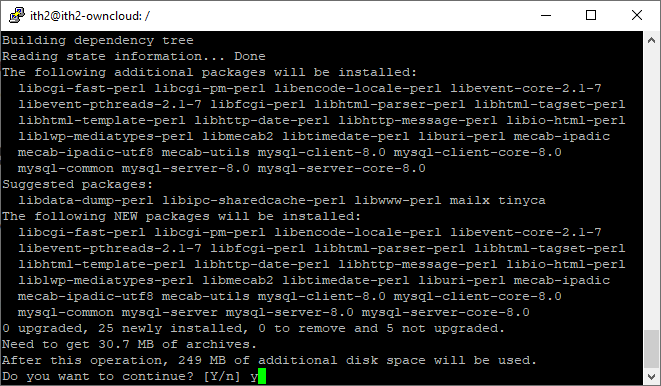
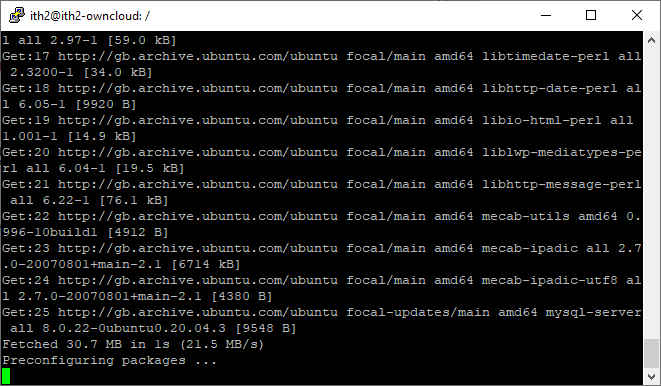
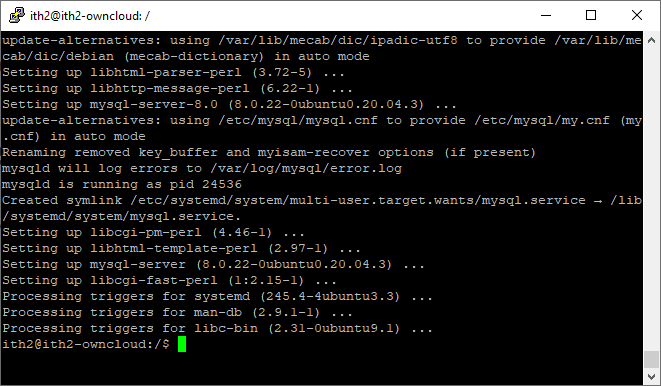
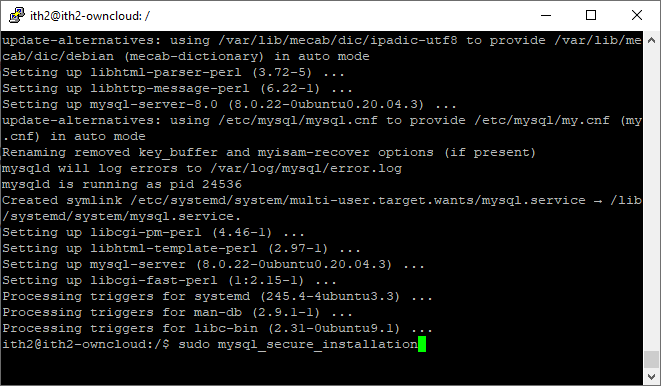
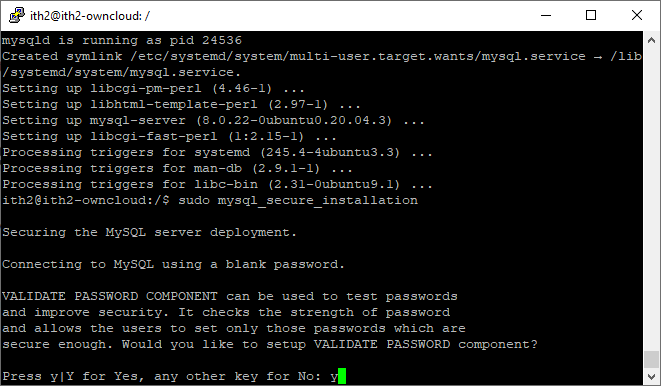
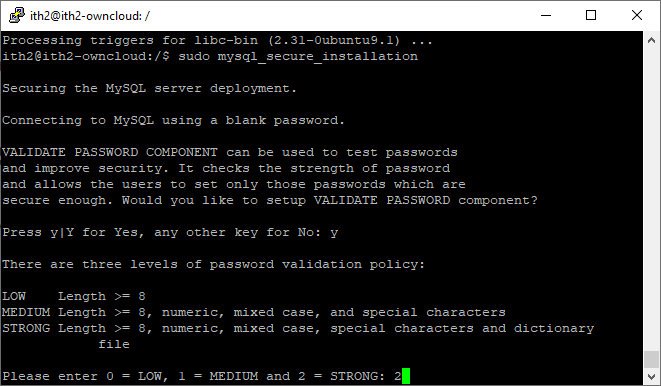
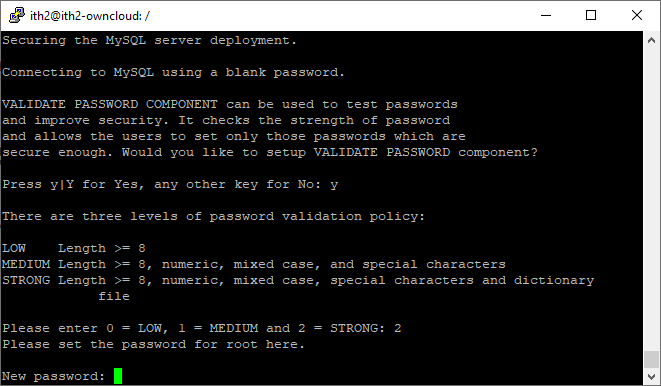
Install OwnCloud stack on your Ubuntu 20.04 machine:
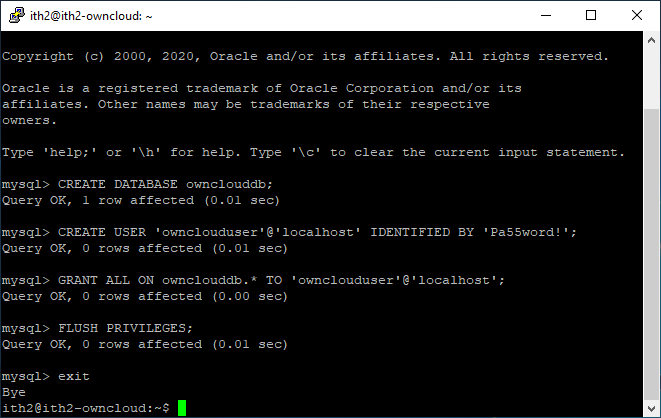
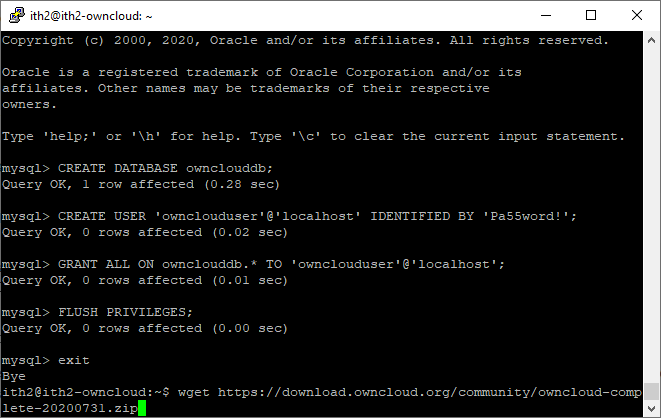
Create a new database for Owncloud to use
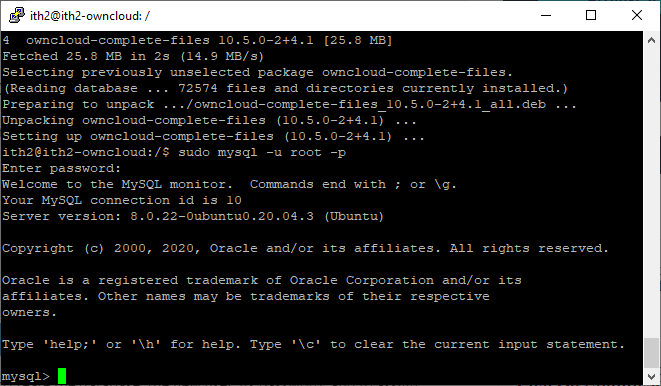
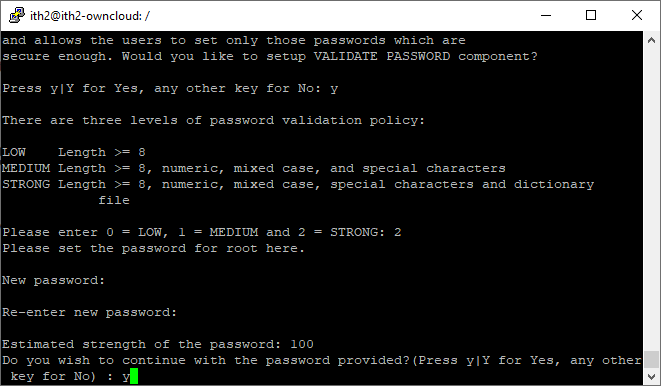
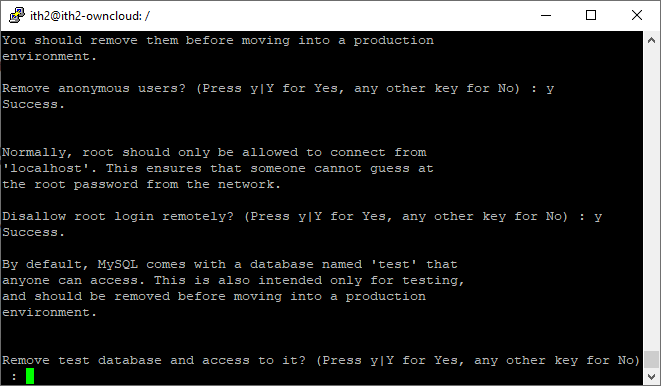
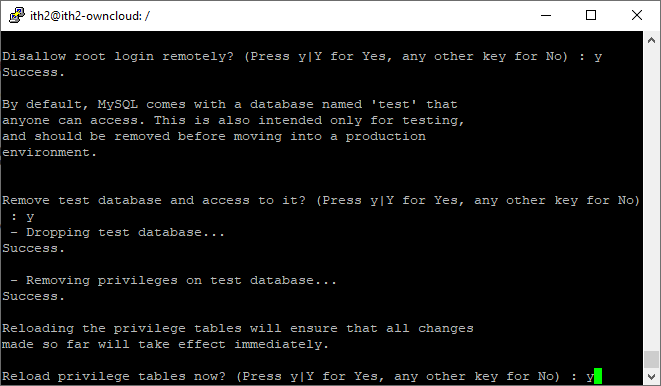
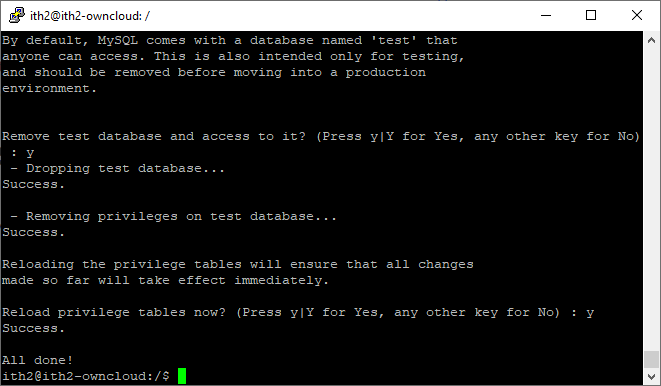
Open the MySql shell by running the following:
sudo mysql -u root -p
This will take you to the mysql command line:
Owncloud
Run the following commands to create the database:
CREATE DATABASE ownclouddb;
CREATE USER 'ownclouduser'@'localhost' IDENTIFIED BY 'Pa55word!';
GRANT ALL ON ownclouddb.* TO 'ownclouduser'@'localhost';
FLUSH PRIVILEGES;
exit
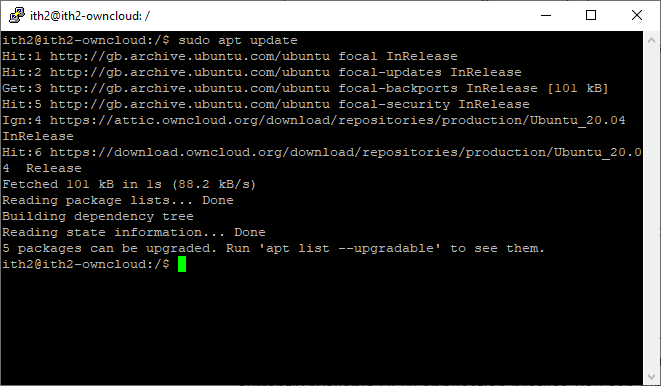
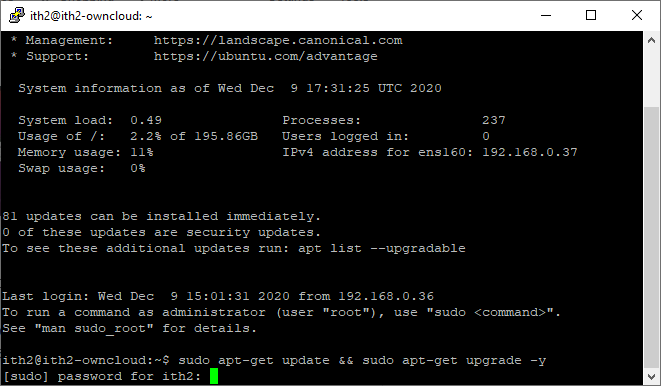
This is a quick guide on how to update Ubuntu 20.04 in one command from the command line so that it will work on server and desktop versions.
The update process is really simple and is basically one command.
Update Ubuntu 20.04 in one command:
Here is how to update Ubuntu 20.04 in one command:
Connect to the Ubuntu 20.04 machine that needs updating.
Run the following command:
sudo apt-get update && sudo apt-get upgrade -y
When prompted type the user’s password:
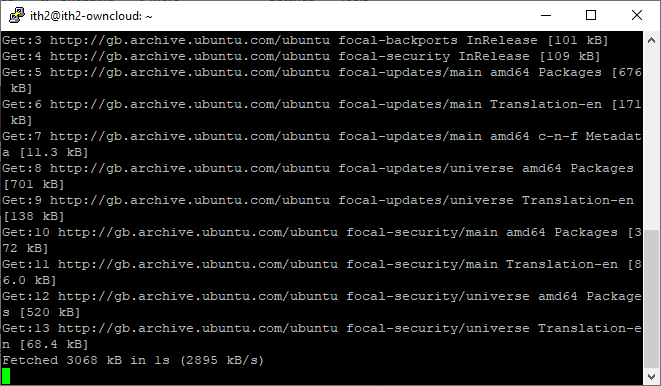
Press enter and the update process will start:
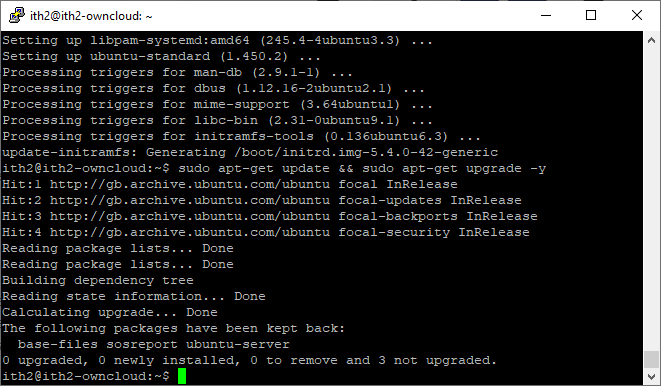
Once finished the update process will return to the login prompt.
Hit the up arrow so that the previous command is on the screen and press enter and the update process will run again and you should see the following message on the screen:
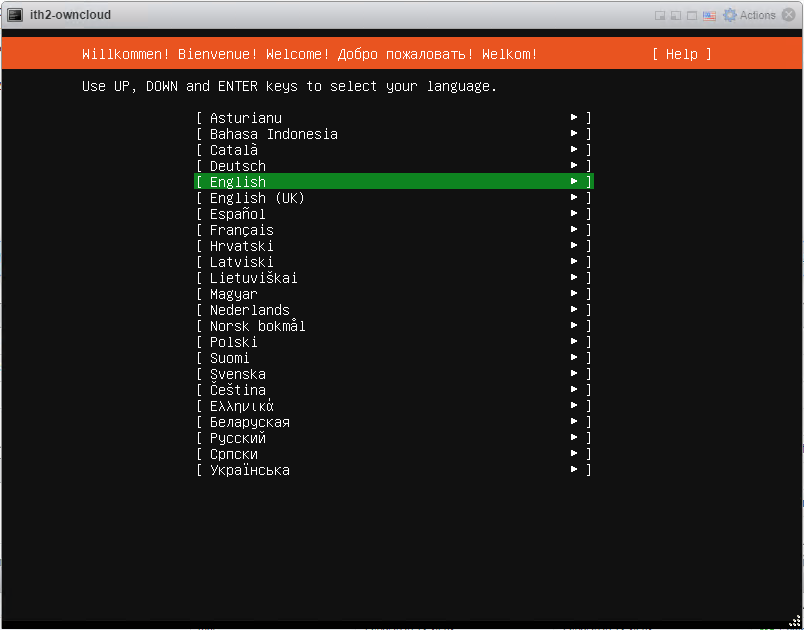
Here is my step by Step how too of Installing Ubuntu 20.04.1 Server. The process will be the same if you are installing Ubuntu 20.04 Server on a physical machine of in a VM (as below).
Boot the machine from the boot.iso which will boot to the following page:
Select the language you want to install (English in my case) and click enter.
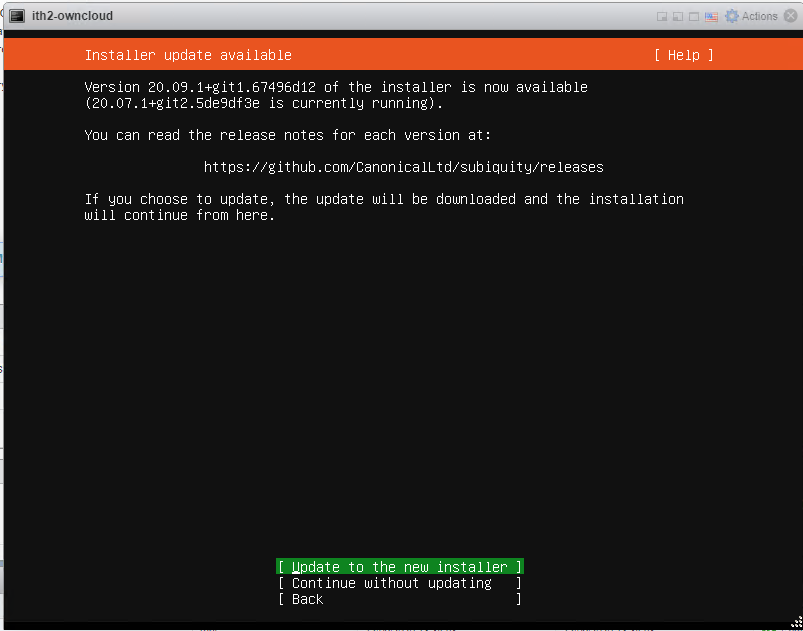
If the installer says that there was a new version of the installer available then select Update to the new installer and click enter:
The updater will be updated and then will load the following screen:
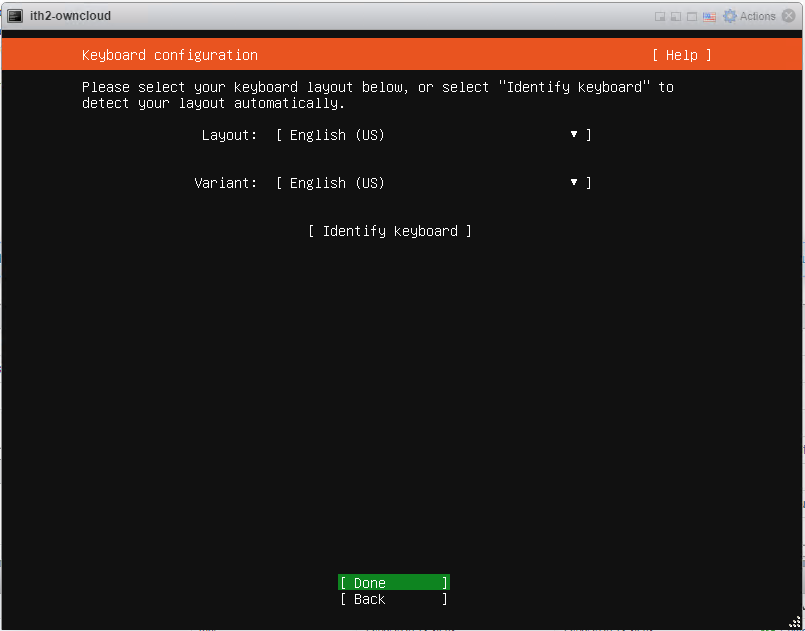
change the keyboard settings to the correct ones for your system and click Done:
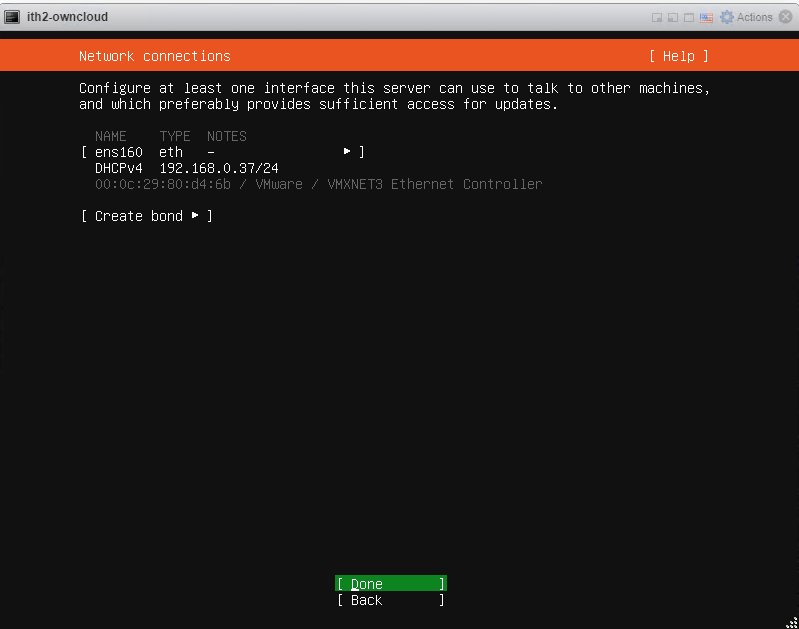
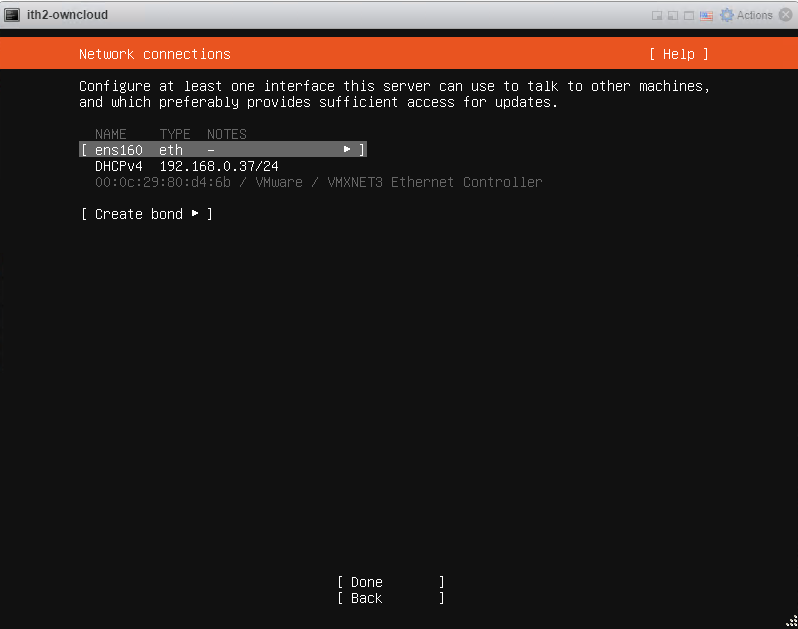
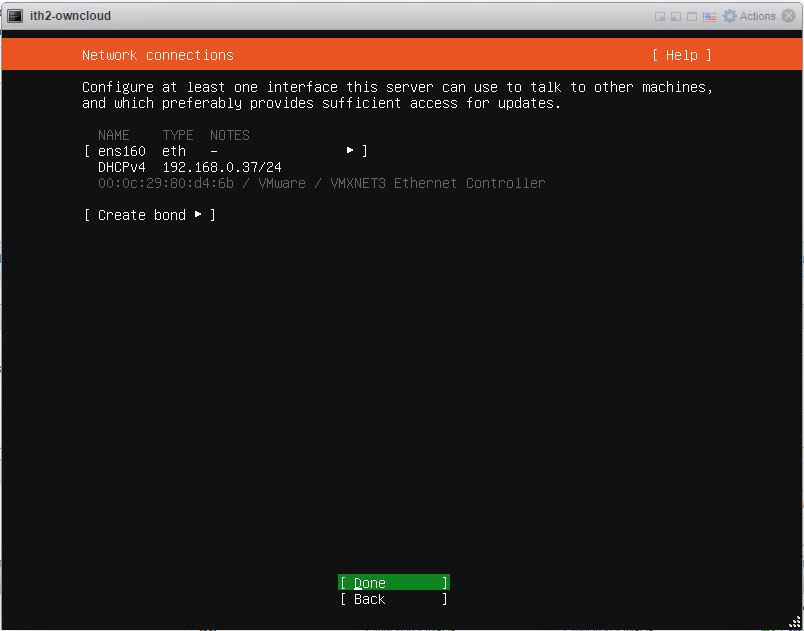
Configure the IP settings and click done. For this installation the default setting was chosen as the address was given by dhcp and ip’s are fixed in dhcp so that the server will get the same IP address all the time.
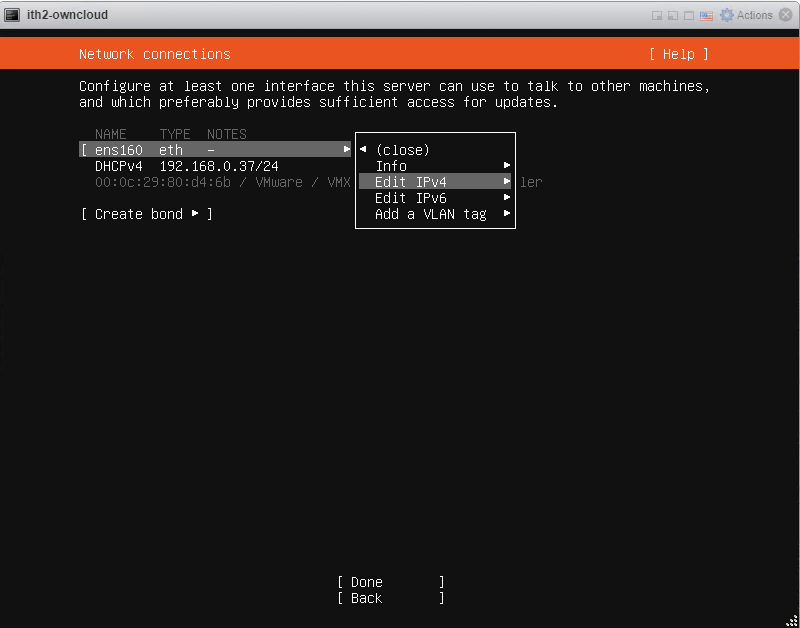
If a fixed IP is needed then select the interface.
Select Edit IPv4.
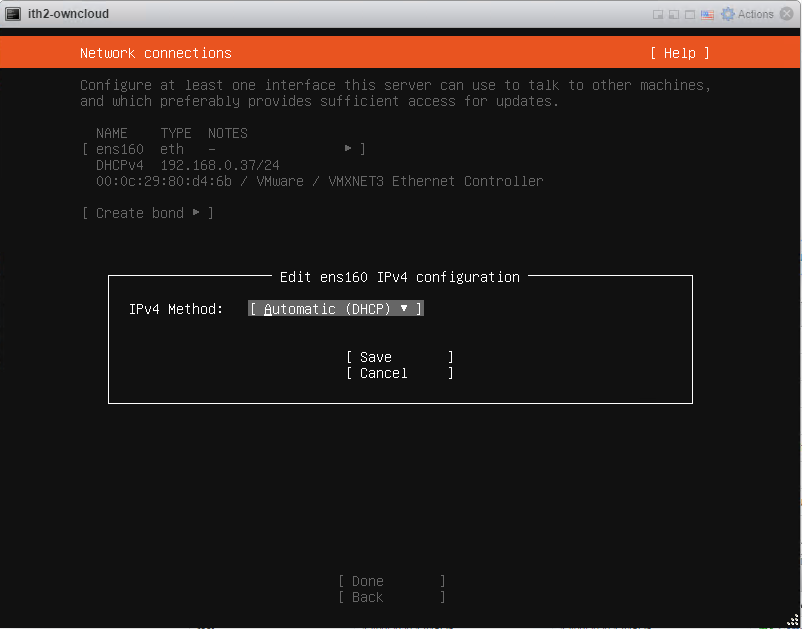
Click on Automatic (DHCP).
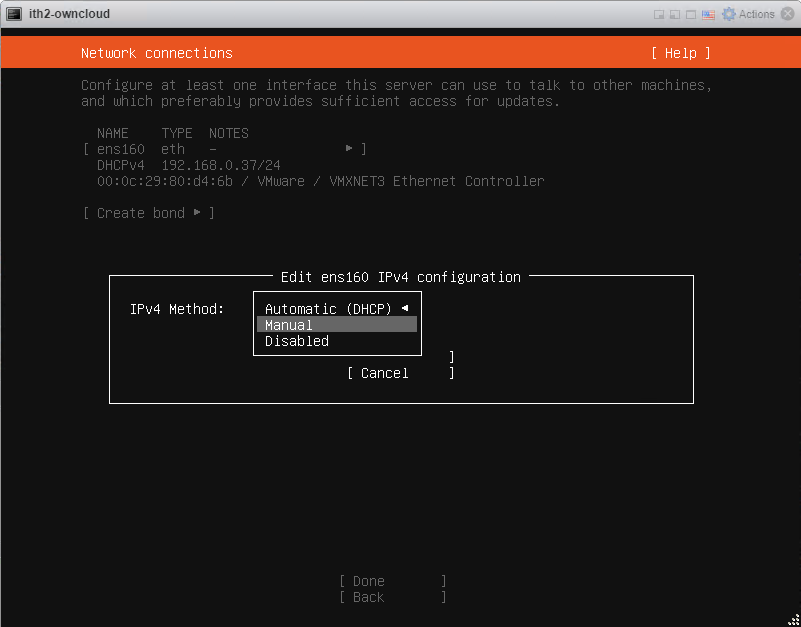
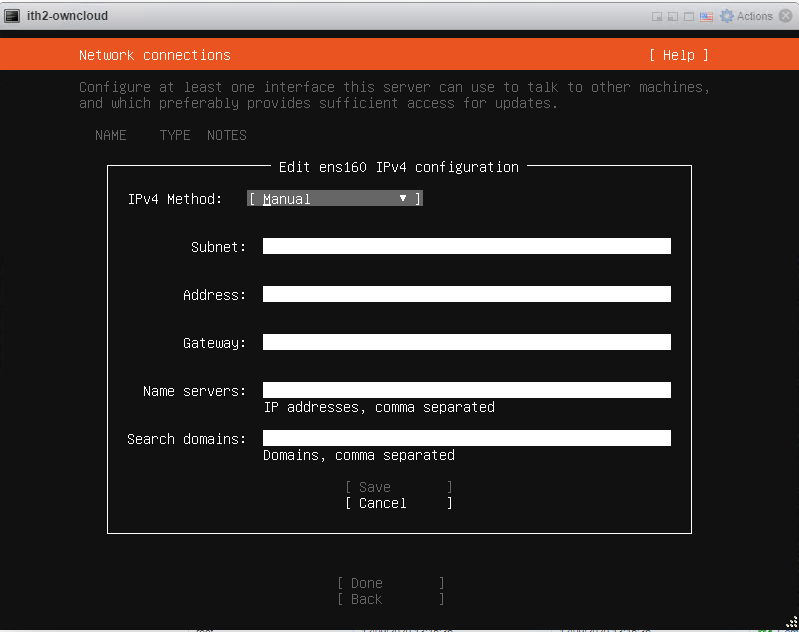
Select Manual.
Add the IP address details in the next screen and click Save to save the settings.
This will take you back to the Network Connections page. Click on Done to move to the next screen.
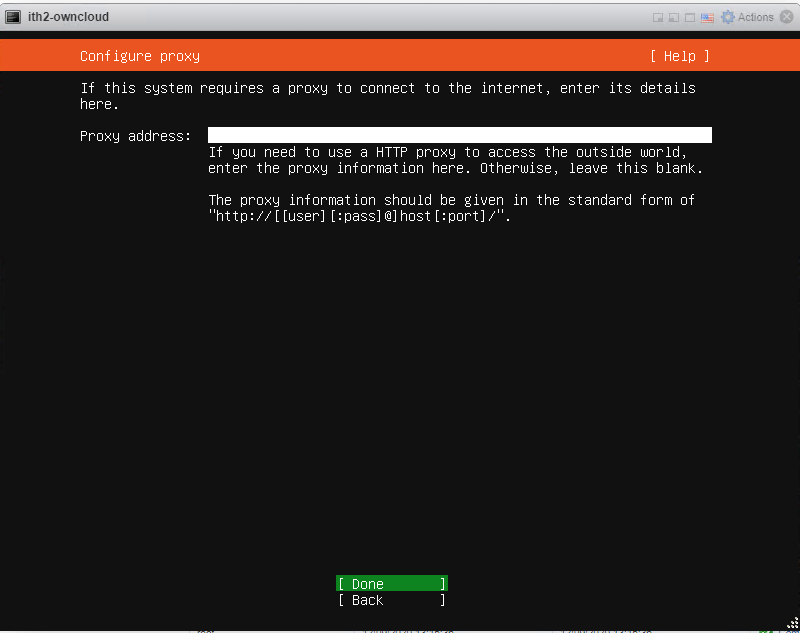
If you use a proxy server then add the details in the next page. If not click on Done to move to the next page.
Click Done to use the default mirror or change to a custom one if you prefer.
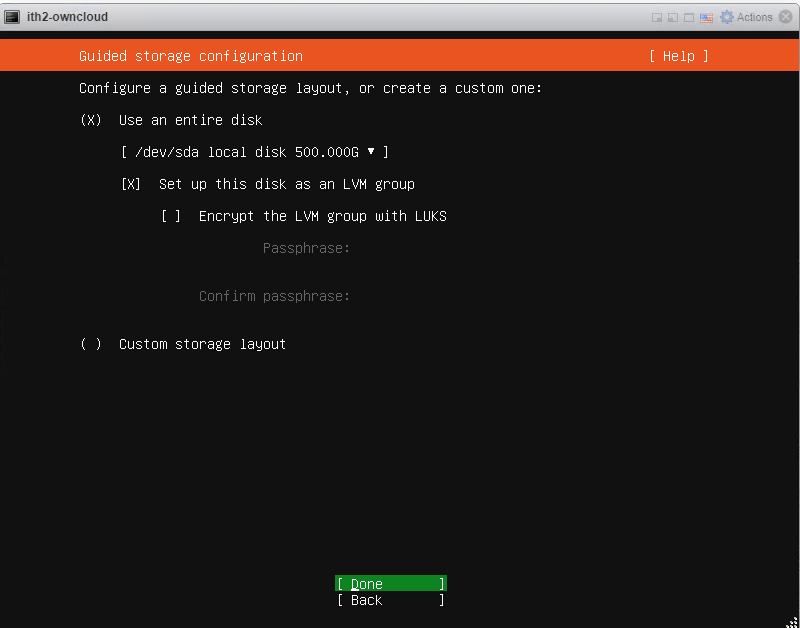
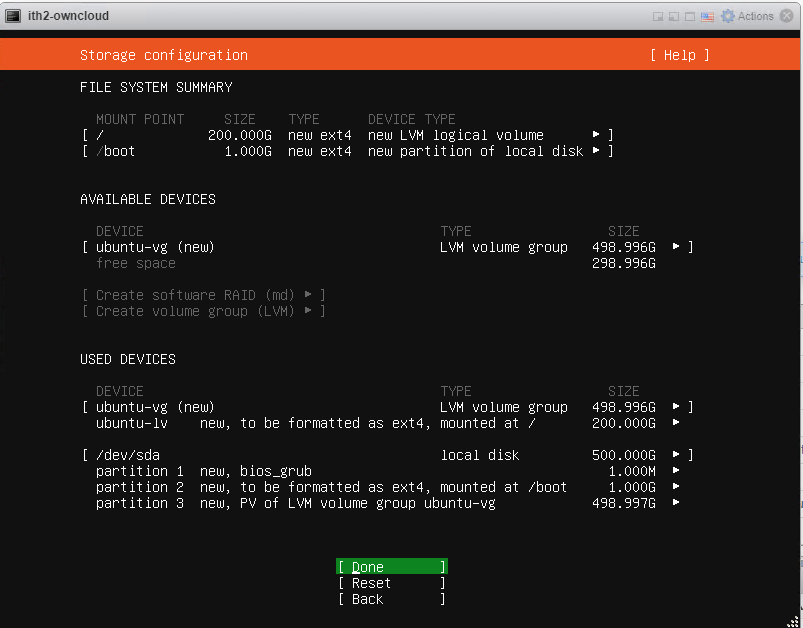
Select the default to use the entire disk and set up LVM or make a custom setting by selecting Custom storage layout (out of the scope of this post.
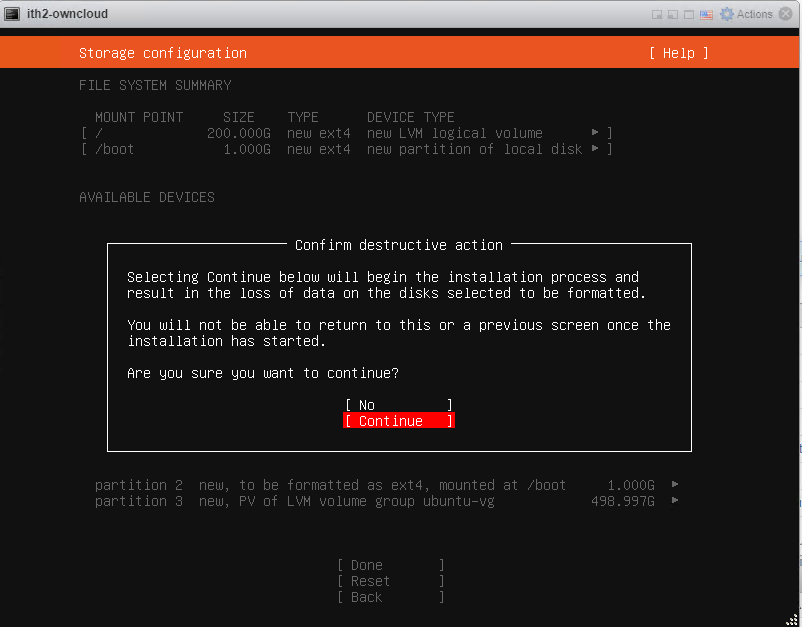
Choose Done and enter to start the install.
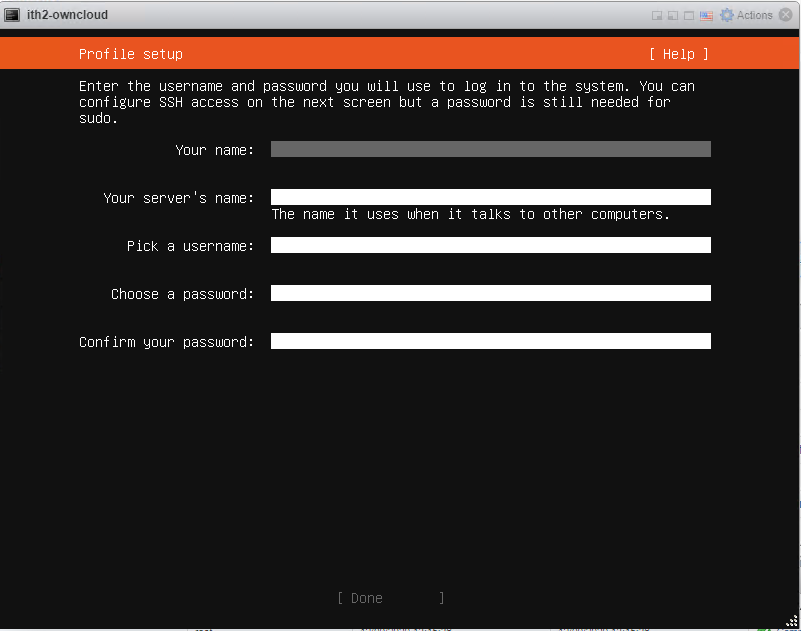
Scroll to Continue to go to the Profile setup screen.
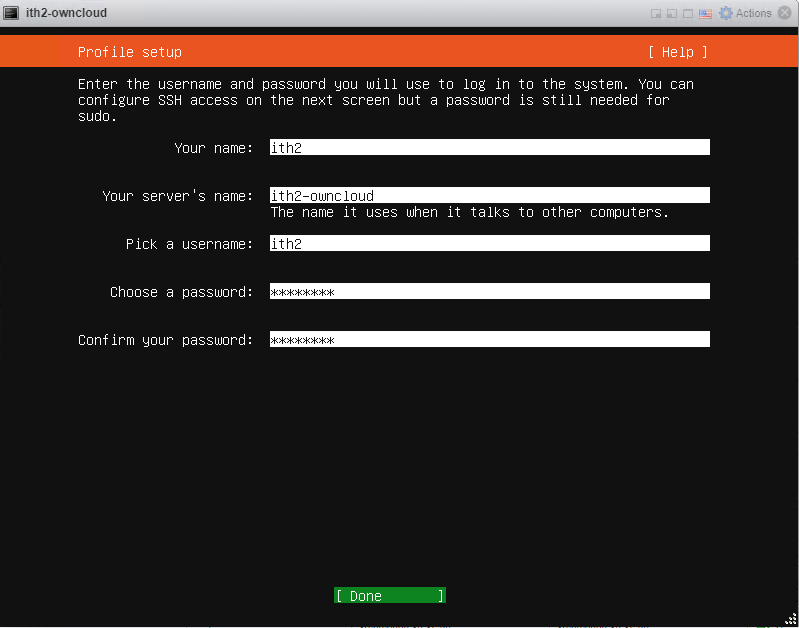
Add the user details as required.
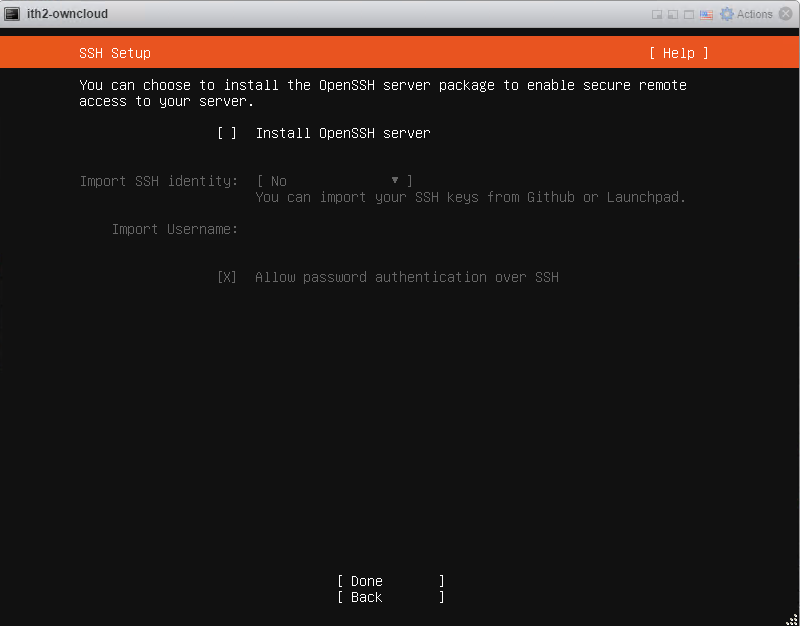
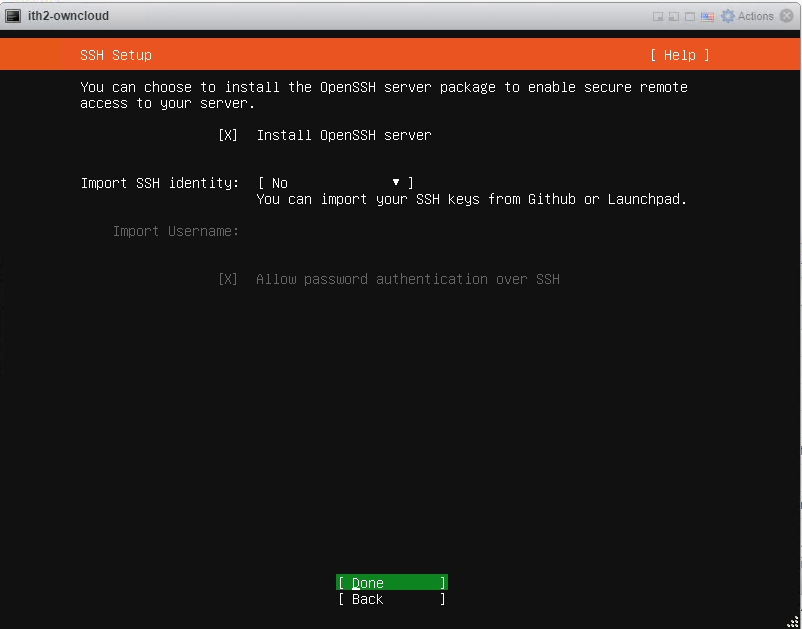
Click on Done to move to the SSH Setup screen.
If you want ssh installed then select the option if not leave it unticked.
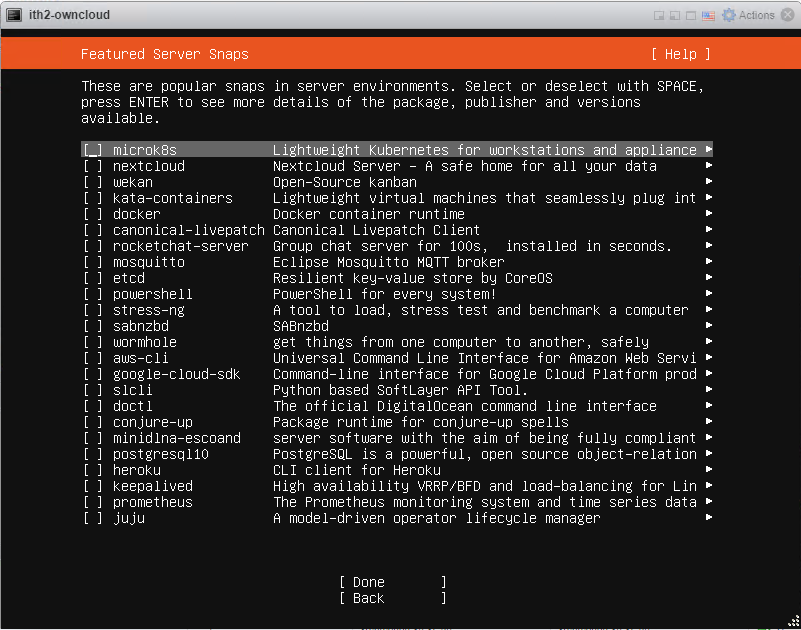
Click Done to move to the Featured Server Snaps.
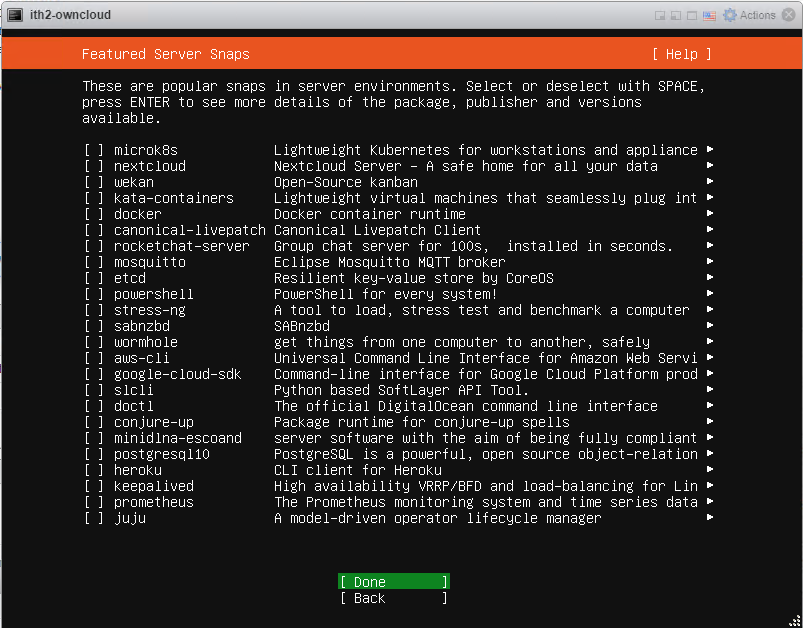
Select any Snaps that you want to install (none in this case) and click Done
The installation will start:
Leave the install to run.
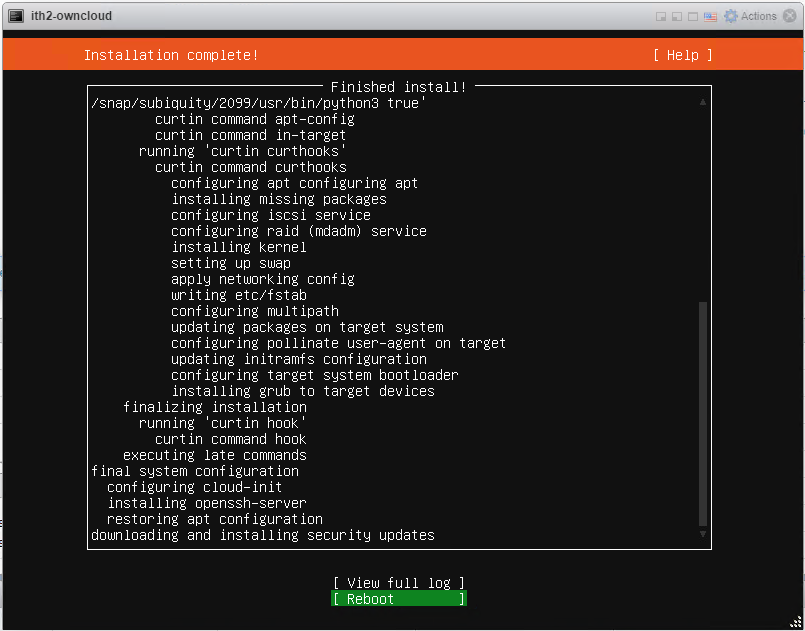
After about 10 minutes the install will complete:
Click reboot the reboot the install and boot the server to the login screen.
The Server will now boot to the login screen:
For ideas on what to configure and install on your server next take a look at my other Ubuntu 20.04 posts HERE.
This is how I setup the email on Bookstack. I used the SMTP method as I already have smtp setup on my domain so creating a new email address was quick and easy. My Bookstack environment is installed on a free AWS Ubuntu 20.04 Instance. For more options see the official guide HERE.
The email was setup as follows:
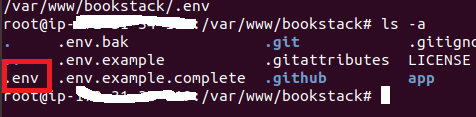
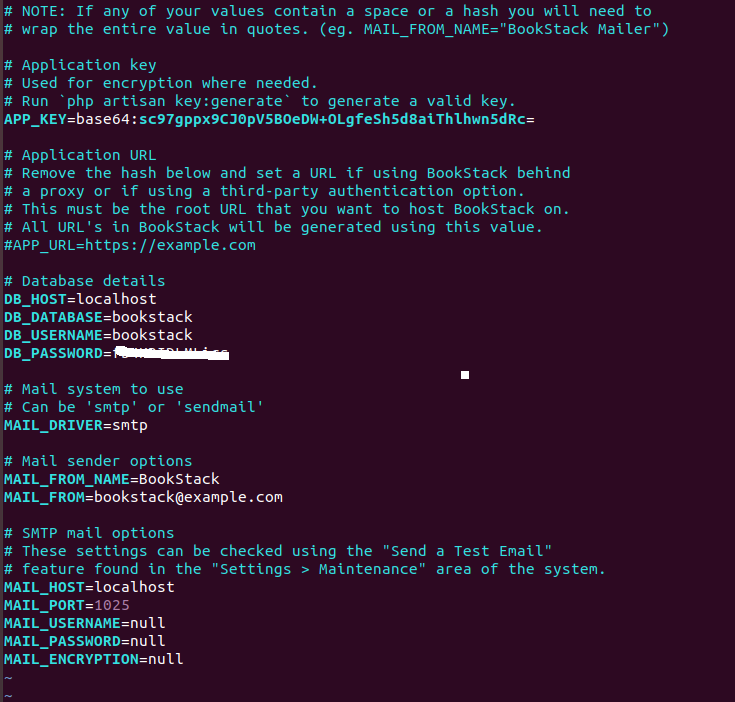
Find the .env file by searching on your server by running the following command:
find / -name *’env
My .env was a hidden file in /var/www/bookstack
Find the file by running the following command:
ls -a
Edit the .env file:
vim /var/www/bookstack/.env
This will display the .env file:
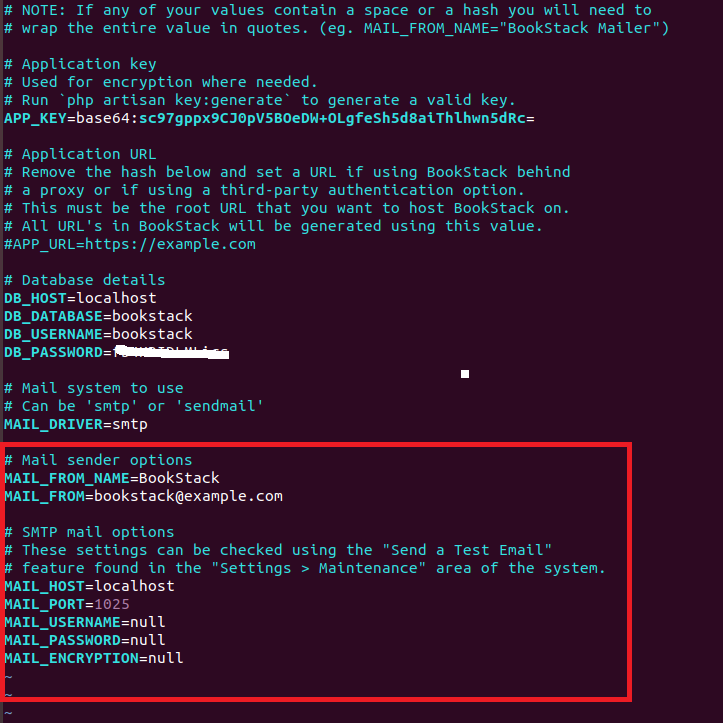
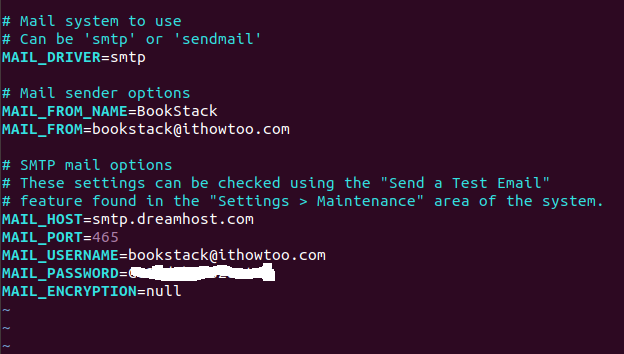
The section that need to be updated is the SMTP mail Options:
My settings were as follows (passwords redacted for security):
The settings were saved by typing esq plus :wq
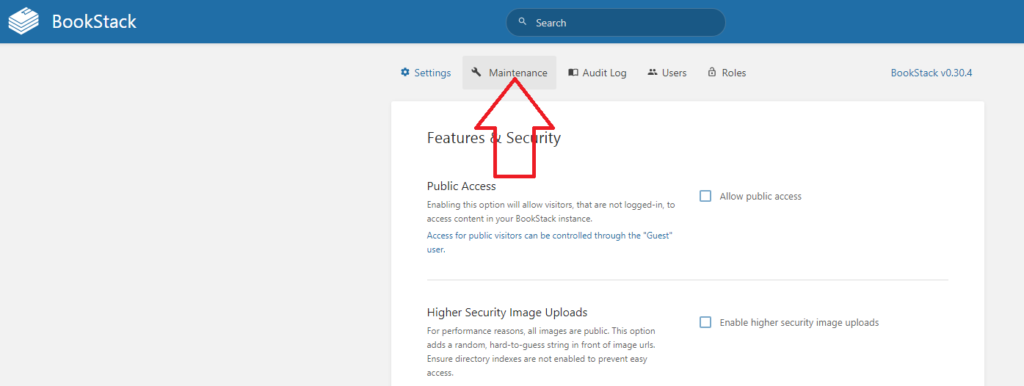
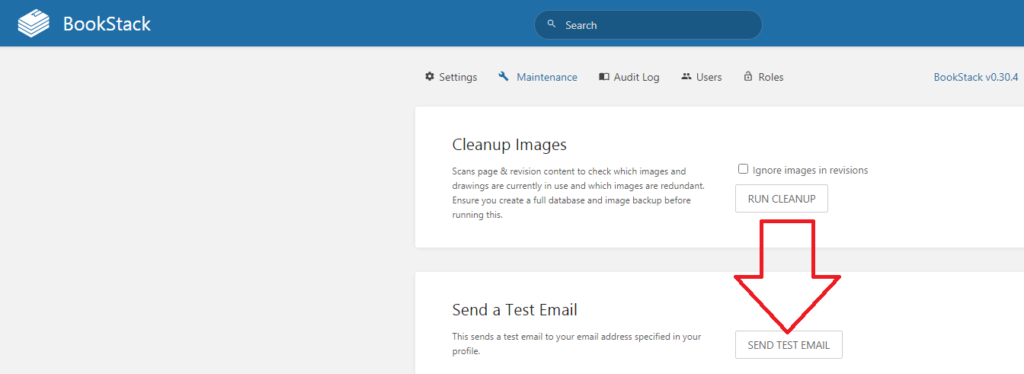
The settings were then tested by logging into bookstack as an Admin user and opening Settings:
And clicking on Maintainance:
The SEND TEST EMAIL was then pressed:
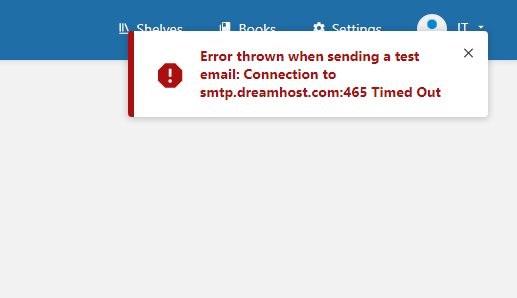
If there is an issue with the settings an error message will be shown:
I originally received this message as I had the MAIL_ENCRYPTION=null when it needed to be MAIL_ENCRYPTION=SSL.
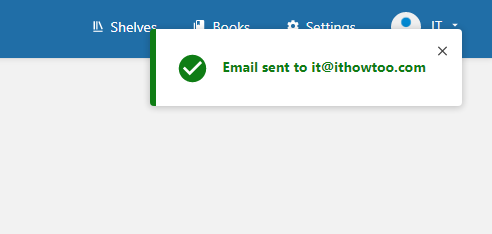
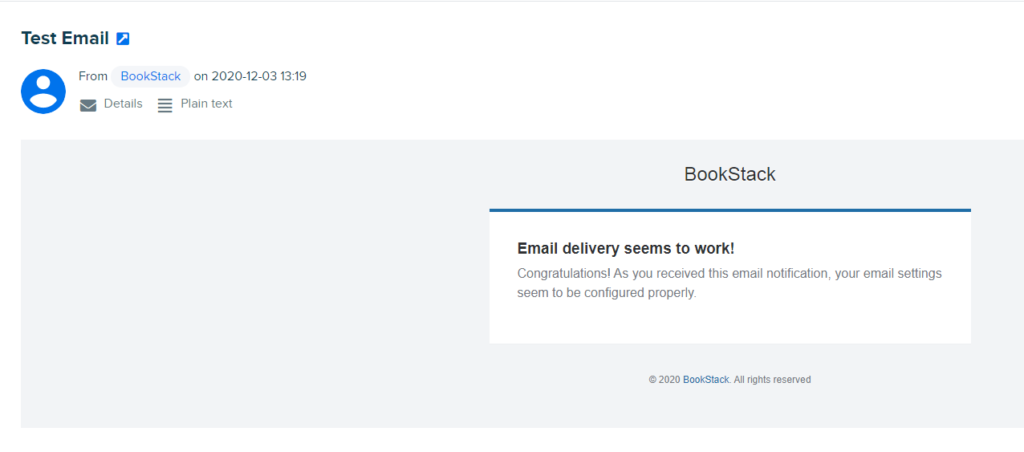
If the settings are correct then you will recieve the following message in the top right of the page:
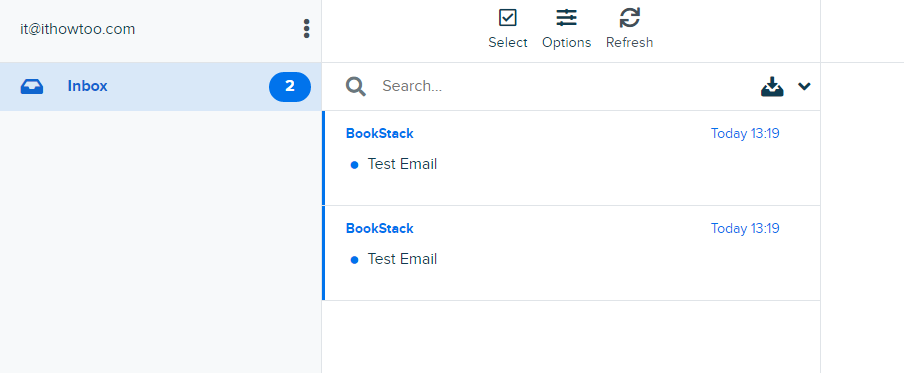
You will also receive and email in the logged in user’s inbox:
That is the email setup completed. For more Bookstack configuration take a look HERE.
Bookstack is a wiki that organises categories into virtual librarys so that you have the top level of a shelf, then on that shelf you have books and in those books you have chapters and pages. I like this visual way of organising documents as it is very visual and easy to follow.
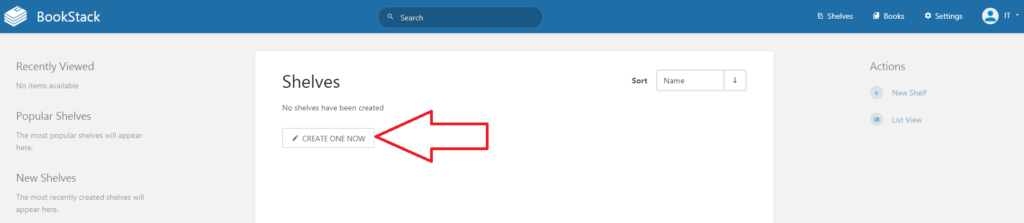
First of all you will need to create a new shelf. To do this click on the Shelves Button:
As this is a new installation there will not be any shelves created so click on CREATE ONE NOW:
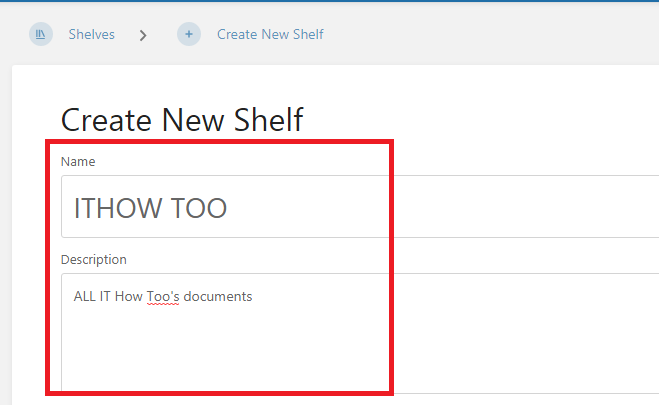
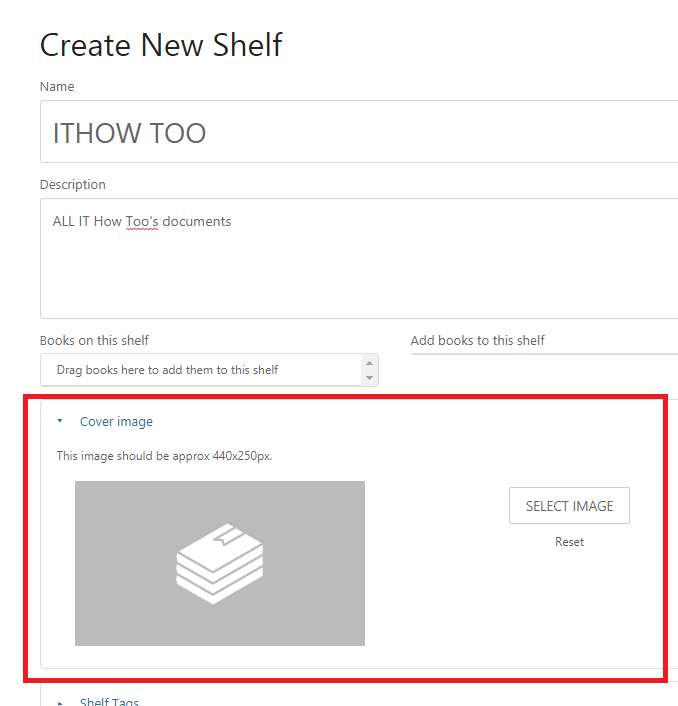
Fill in the Shelfs name and description
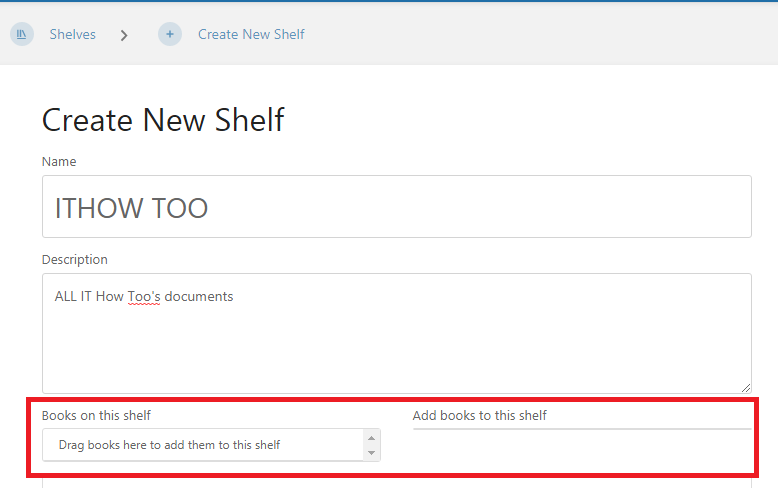
As we have no books at the moment we can ignore the Books on this shelf option:
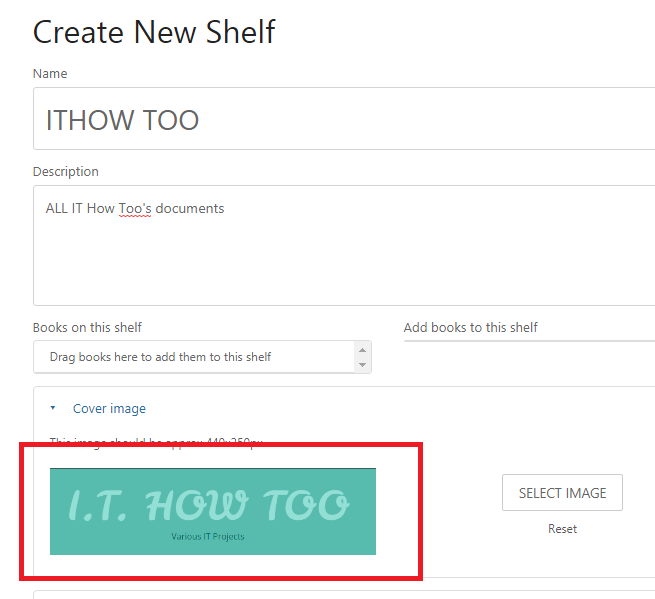
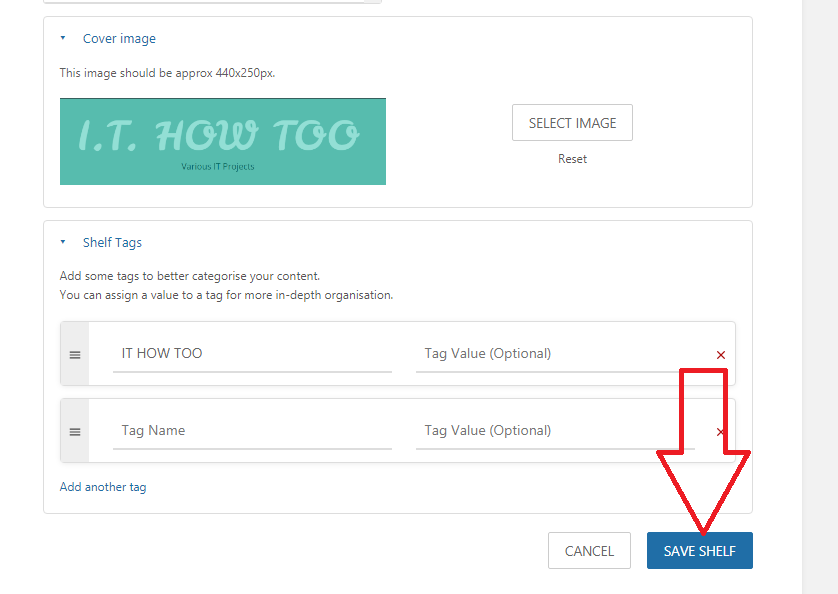
If you want to add a cover image to the shelf then expand the Cover image section and either drag the image into the section or click on the SELECT IMAGE button to search for the Image:
The new Image will be displayed:
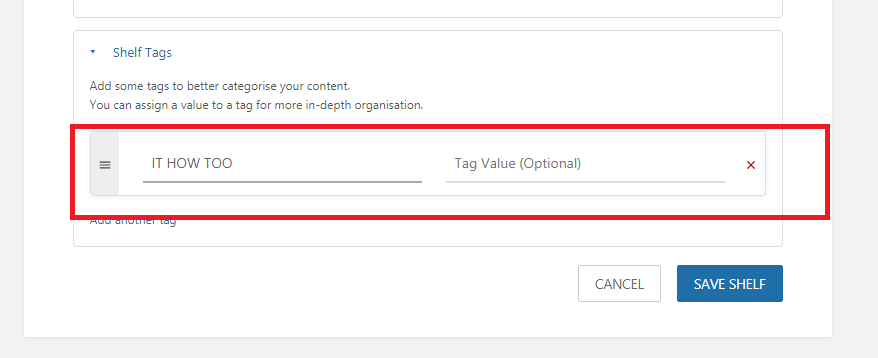
Add Tags if needed:
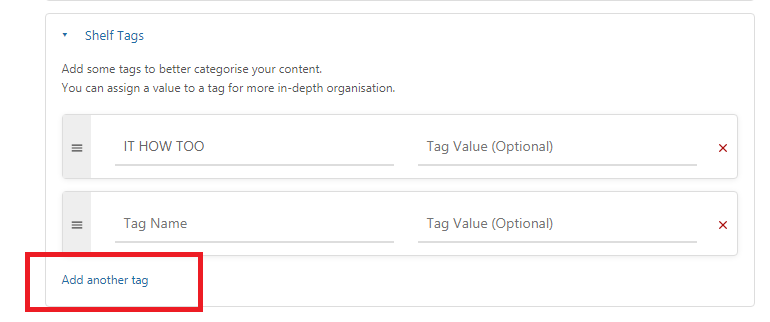
To add more tags click on Add another tag:
Once finished click on SAVE SHELF:
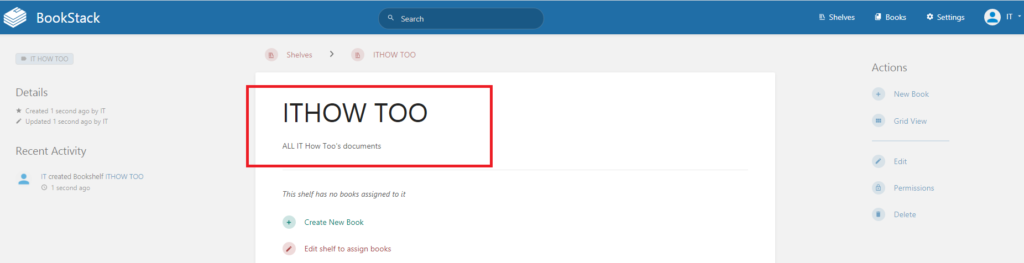
The new Shelf will now be shown on the Shelves screen:
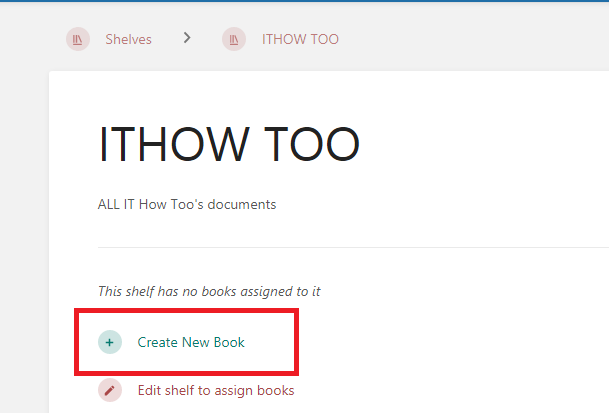
The next step is to add a new book. This can be done by clicking on the Create New Book Link:
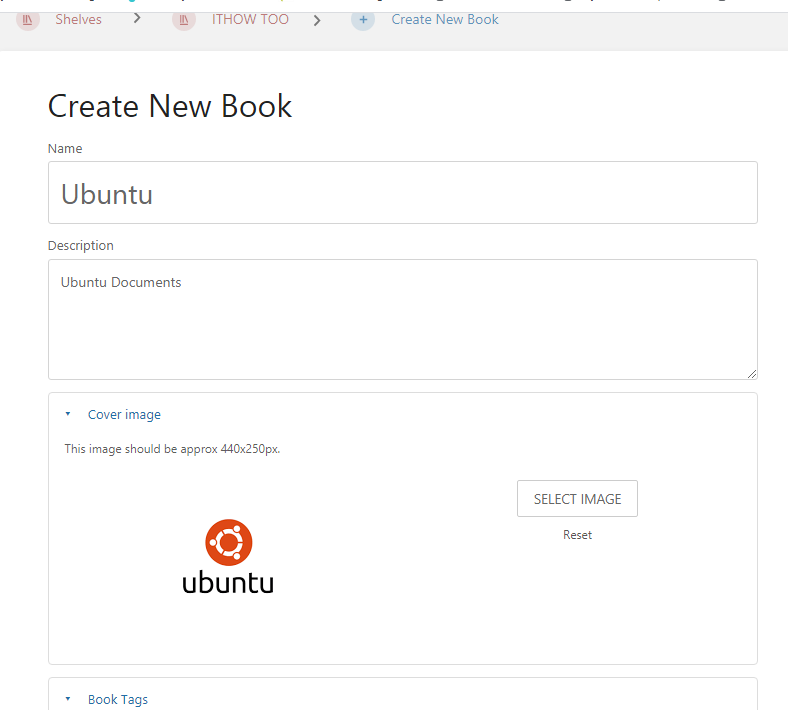
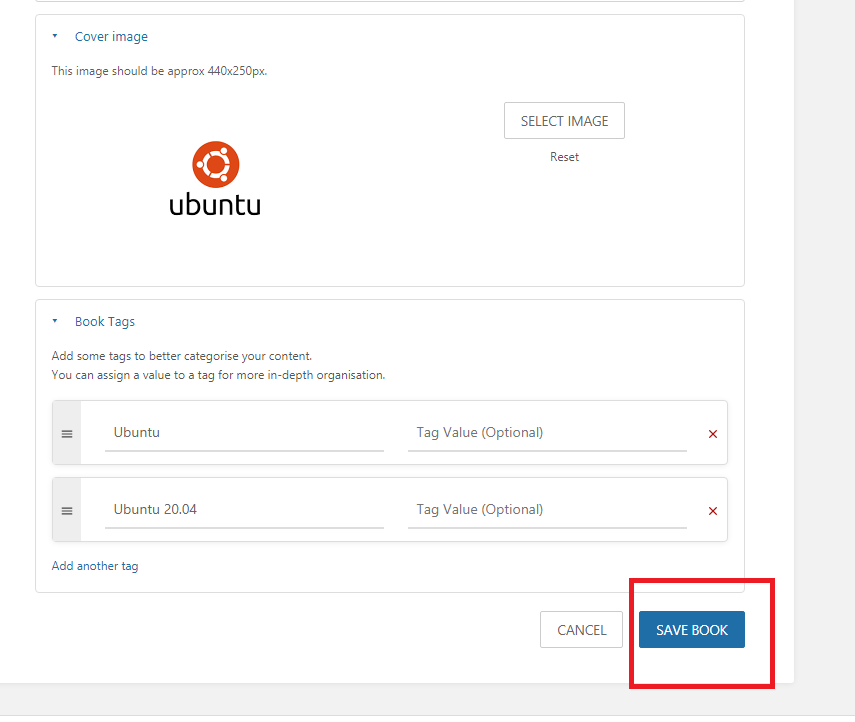
Fill in the details of the new book as you did above for the new Shelf:
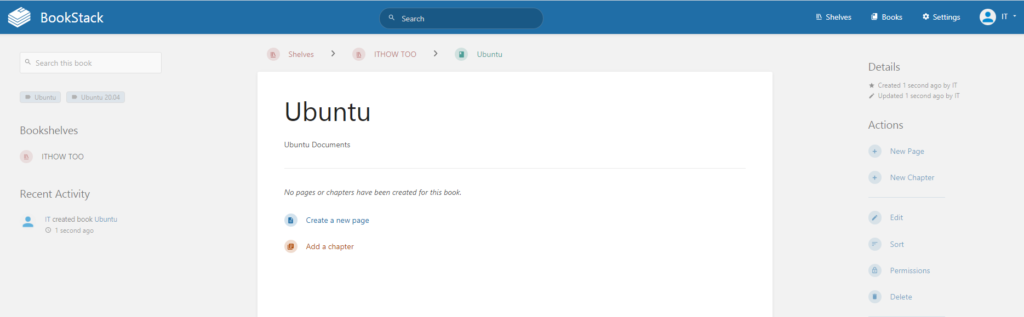
Once all the details are adduced click on SAVE BOOK:
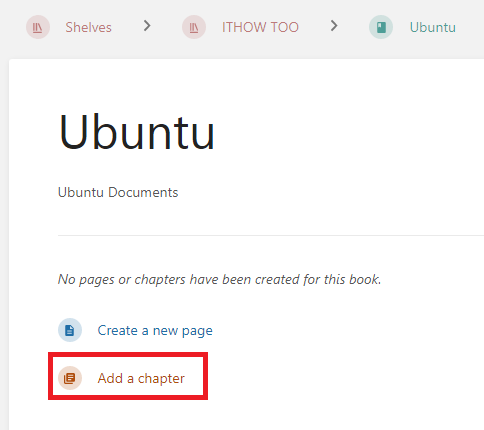
You will now be taken to the chapter setup page:
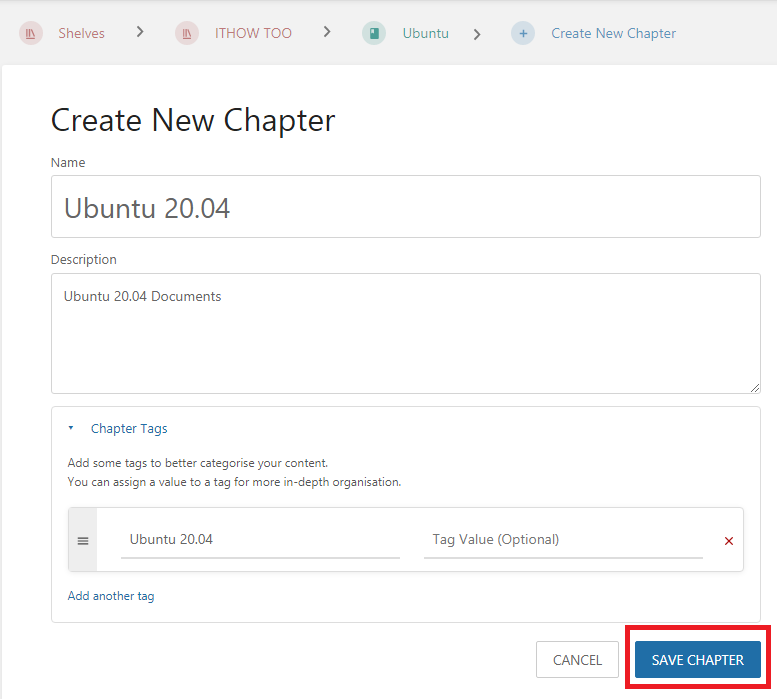
Click on Create Add a new chapter to add a new chapter:
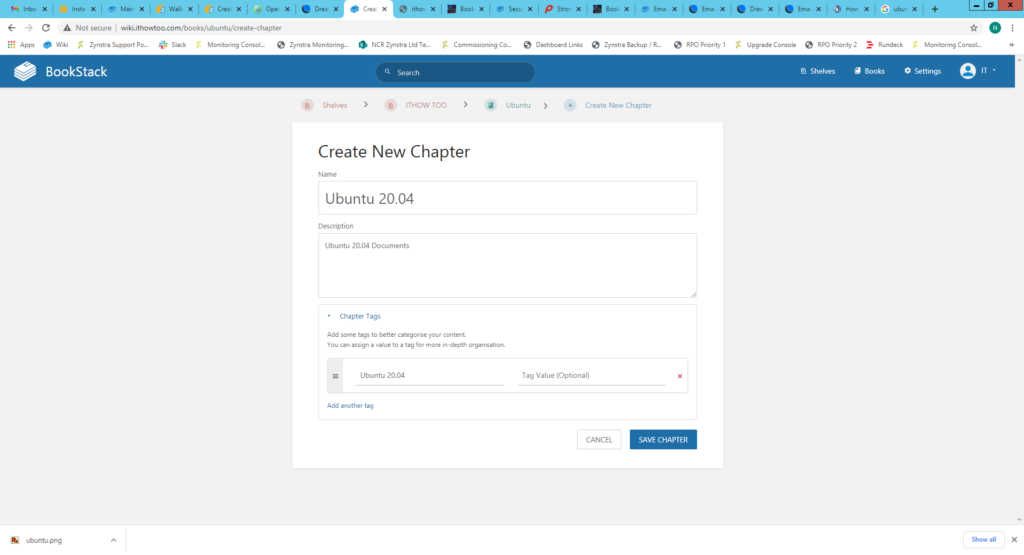
Add the chapter details:
Once all the details are added click the SAVE CHAPTER button:
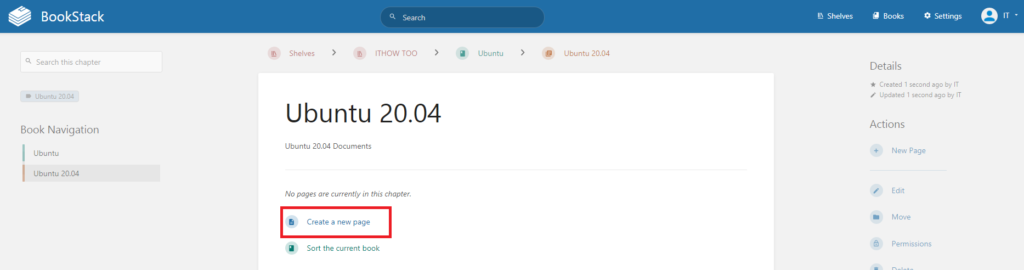
You will then be taken to the new page creation page.
Create a new page by clicking the Create new page link:
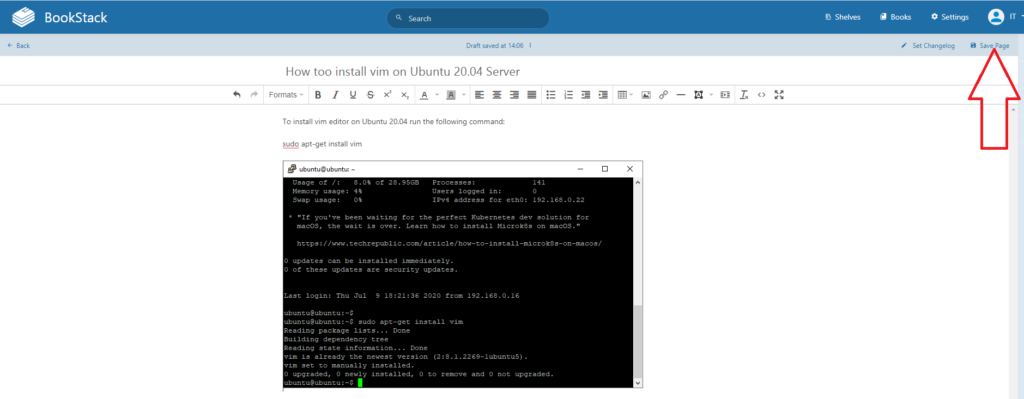
Add the title to the new page in the title field:
Add the contents of the document in the document field:
Once the contents of the document is complete click on Save Page:
This will take you to the view of the page:
You can now add more Shelves, books or pages as required in the same way as before.
For more Bookstack articles take a look HERE. For the official Bookstack documentation take a look HERE.
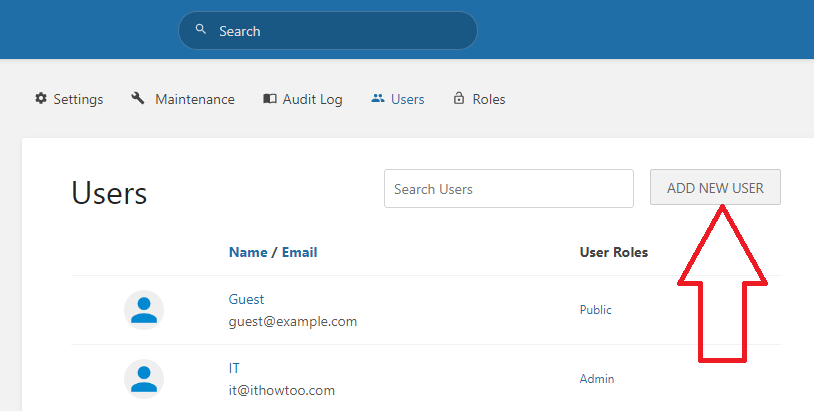
In order to create a user in Bookstack you need to log into Bookstack with an Admin user and do the following:
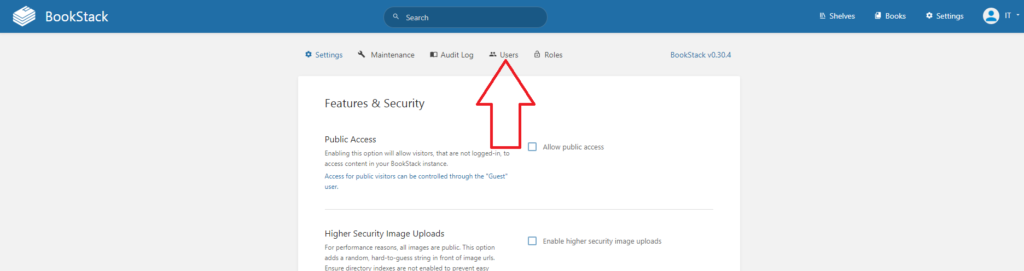
Click on Settings to open the settings page:
Click on the Users button at the top of the page:
Click ADD NEW USER to open the add new user page:
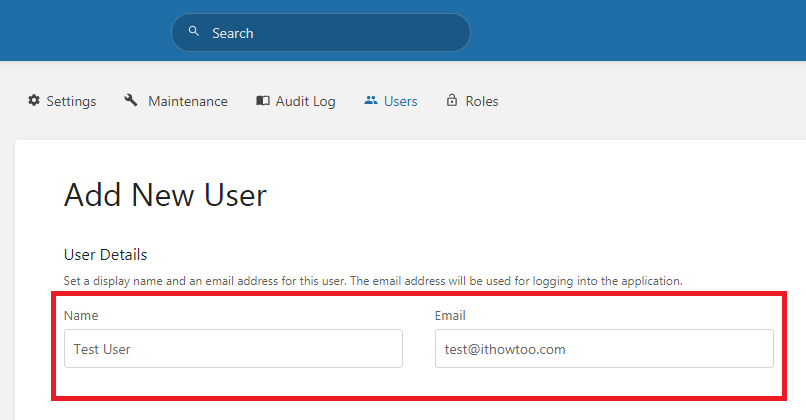
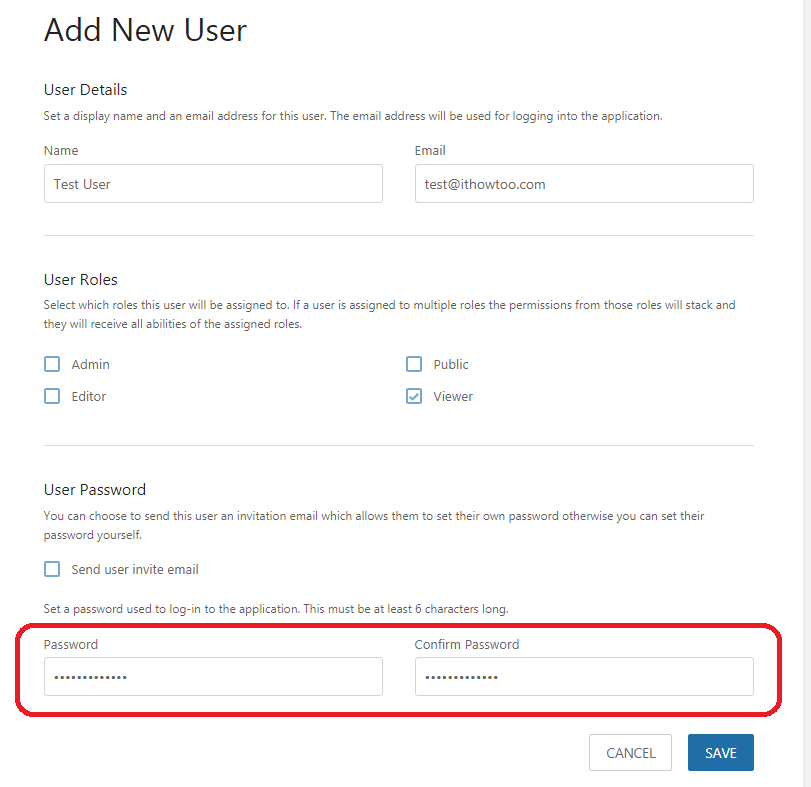
Add the new user’s Full name and Email address:
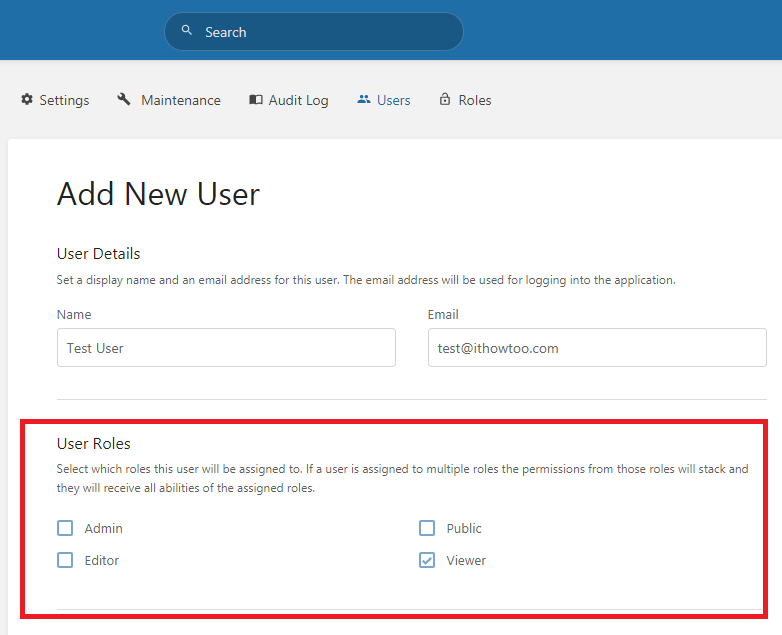
Set the users permission level. Admin has full control access, Editor can create and edit documents, Public can view Public accessible documents and Viewer can view documents:
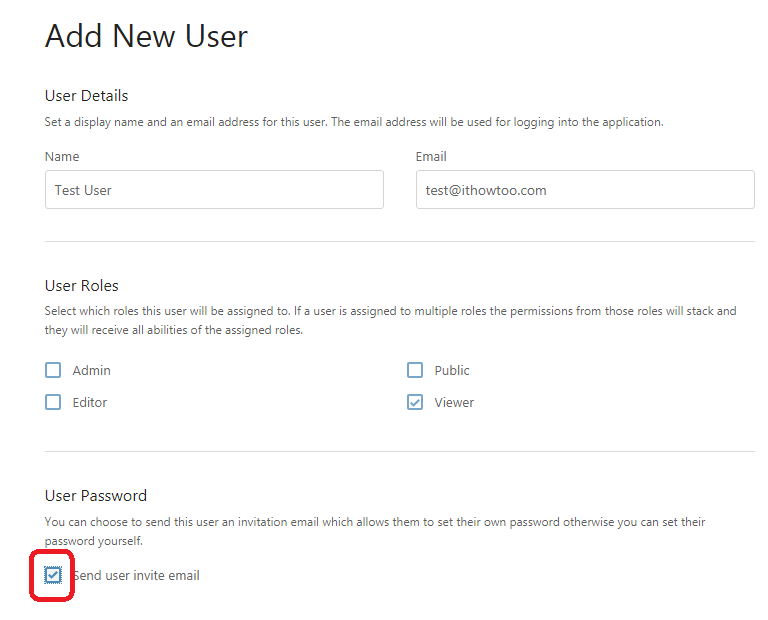
Untick Send user invite by email:
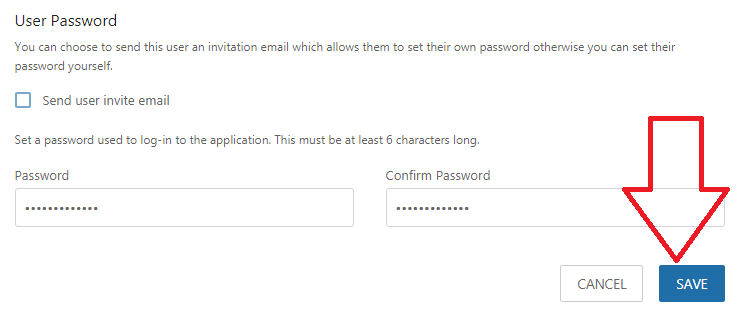
Add the password and confirm the password and:
Click Save to save the new user:
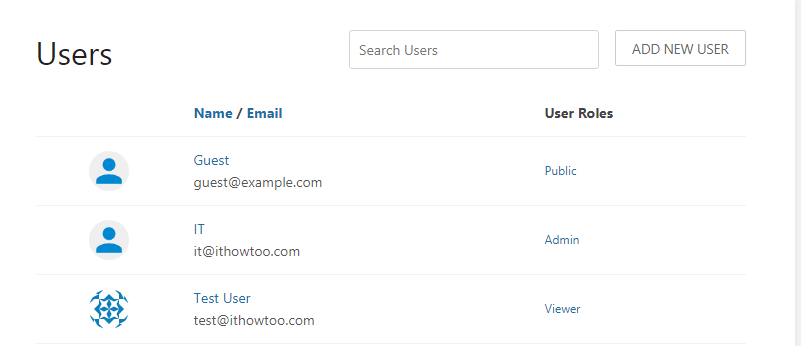
The new user will now be listed in the Users list:
You have now successfully created an new Bookstack user.