Found THIS article on the Samba site on how to configure WIndows ACLs for Samba4 shares:
Preparatory work
Filesystem support
To use the advanced features of Samba, it has to be compiled with ACL support (e. g. RHEL requires the libacl-devel to be installed, when compiling). Also you need a filesystem that supports the “user” and “system” xattr namespaces. It also needs to have ACL and XATTR support.
XFS and ext4 automatically support ACLs. If you are using ext3 for your file system, you may need to include the options “user_xattr” and “acl” in your /etc/fstab entries. Example:
/dev/sda3 /srv/samba/Demo ext3 user_xattr,acl,barrier=1 1 1
Please be careful modifying your fstab. It can lead to an unbootable system!
You could test as follows:
# lsof | grep srv/samba/Demo
If there is output, stop the corresponding services cleanly. If there is no output, it is safe to unmount the partition, assuming it is mounted:
# umount /srv/samba/Demo
After making changes to fstab, try remounting the drive:
# mount -a
ACL support on member server
The following is only required on Domain Member Servers and not on Domain Controllers!
- Add the following to your [global] section of your smb.conf:
     vfs objects = acl_xattr
     map acl inherit = Yes
     store dos attributes = Yes
- These options are required on Member Servers, to enable the possibility for real windows ACL’s. Domain Controllers have ACL support enabled globally by default!
SeDiskOperatorPrivilege
- To configure share permissions, you need an account with „SeDiskOperatorPrivilege“. To grant this privilege, e. g. to the „Domain Admin“ group, run the following command on your AD member server(s):
# net rpc rights grant 'SAMDOMDomain Admins' SeDiskOperatorPrivilege -U'SAMDOMadministrator'
- Existing privileges can be reviewed by
# net rpc rights list accounts -U'SAMDOMadministrator'
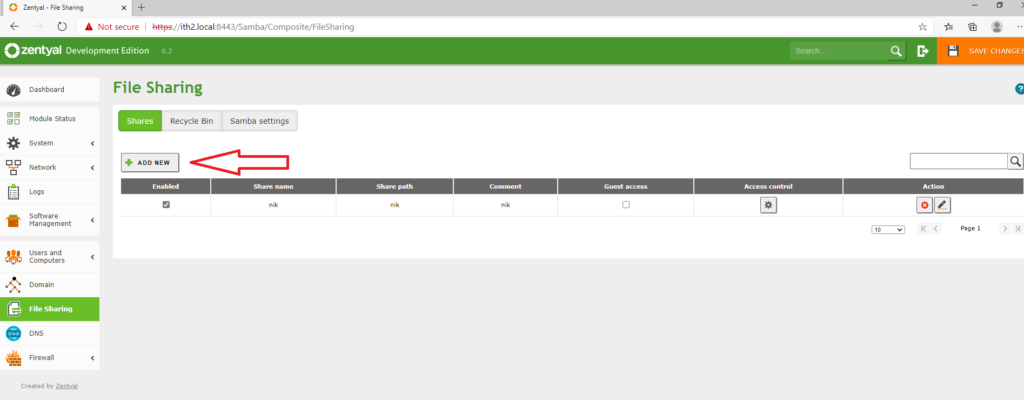
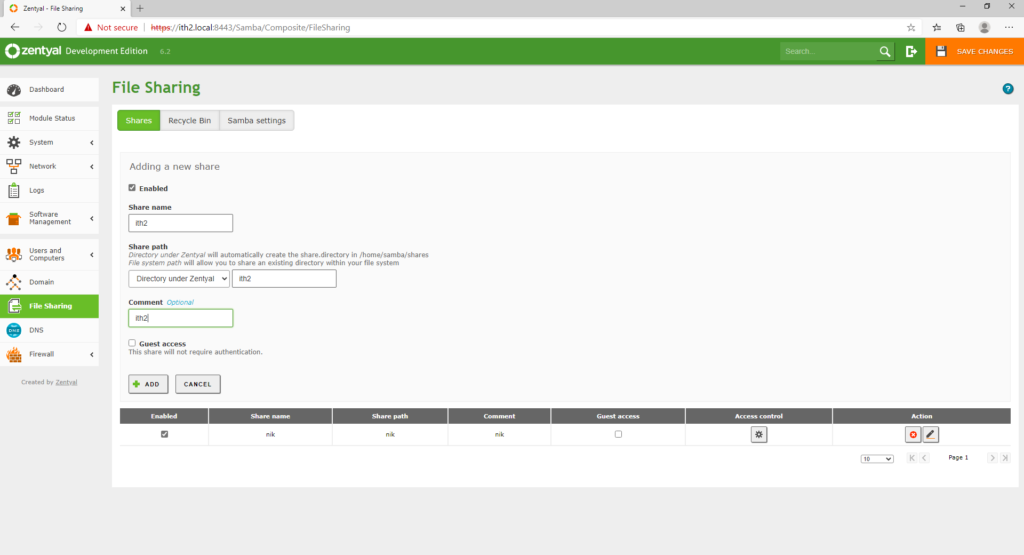
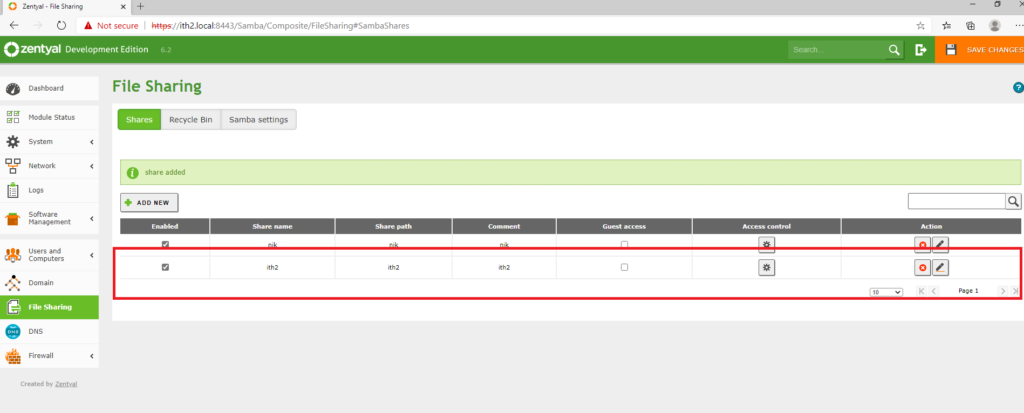
Adding a new share
- Create a folder that you want to share
# mkdir -p /srv/samba/Demo/
- Add a new share to your smb.conf (using no other configuration parameters when first setting up a share is highly recommended!):
[Demo]
     path = /srv/samba/Demo/
     read only = no
# smbcontrol all reload-config
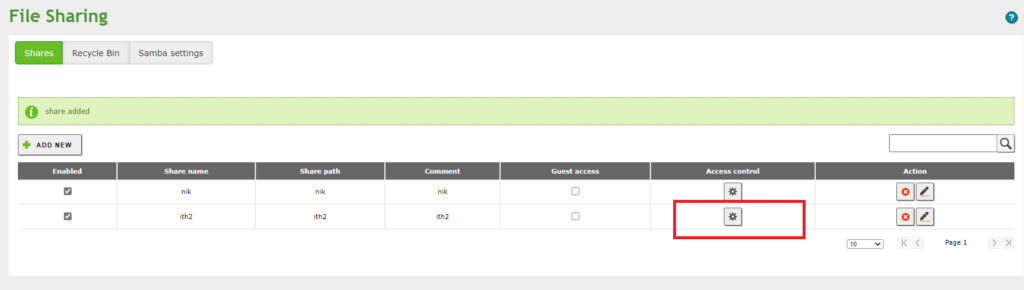
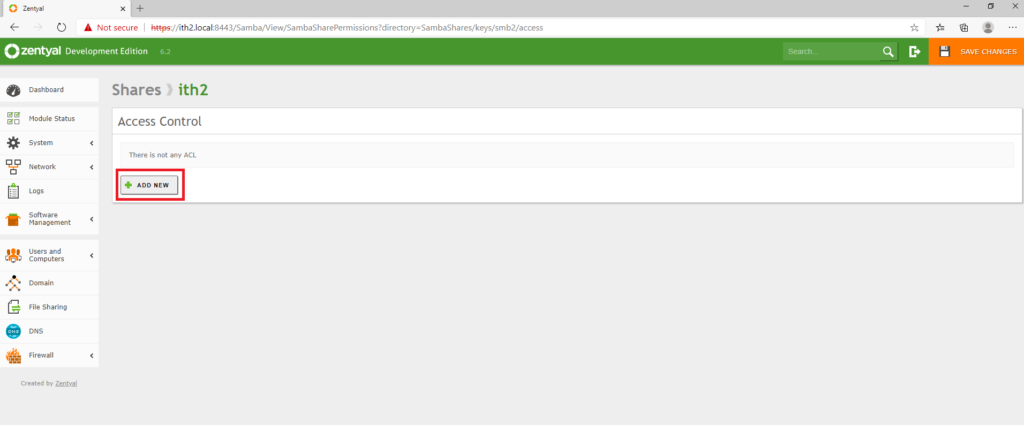
Setup share permissions
- Log on to a Windows machine, using an account to which the „SeDiskOperatorPrivilege“ was granted, or an account in a group with the granted privilege.
- Open the Start Menu and search for „Computer Management“.
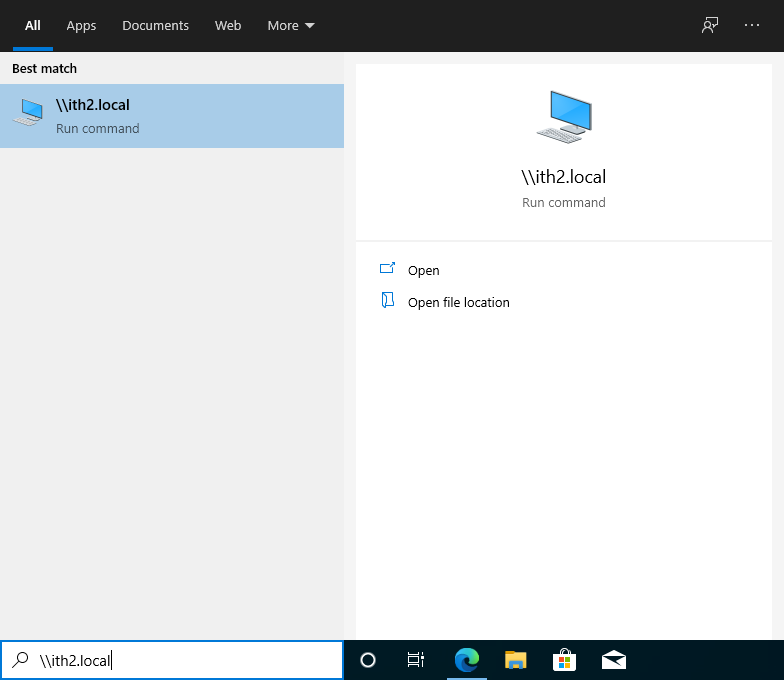
- In the menu bar go to „Action“ / „Connect to another computer“.
- Enter the name of the Samba server you have create the new share on.
- Navigate to „System Tools“ / „Shared Folders“ / „Shares“ and select the newly added share.
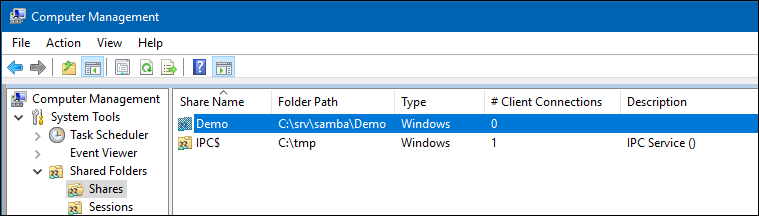
- Right-click to the share name, choose „Properties“ .
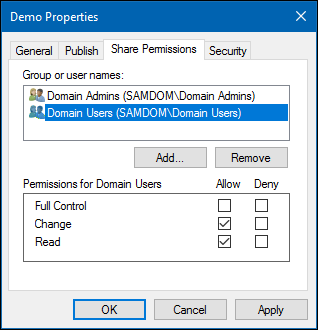
- Go to the „Share Permissions“ tab. Here you can configure who can access the share and the appropriate permissions.
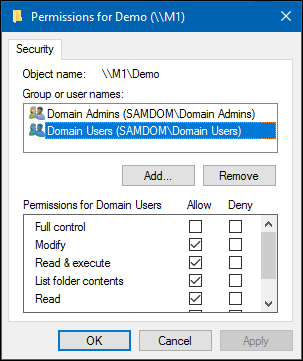
- Go to the „Security“ tab, click the „Edit“ button and configure the filesystem permissions.
- Save the changes by closing the windows with „OK“.
Change permissions on folders of a share
- Log on to a Windows machine as Domain Administrator.
- Navigate to the folder of which you want to change the permissions.
- Right-click to the folder and choose „Properties“.
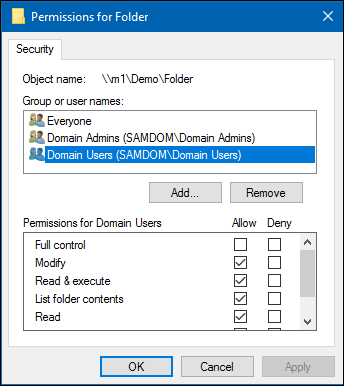
- Go to the „Security“ tab and click the „Edit“ button.
- Change the permissions to your needs.
- Save the changes by closing the windows with „OK“.
Troubleshooting
In certain situations, share configuration parameters which were commonly used with NT-style domains such as “force group” or “force user” may lead to “Access Denied” errors when trying to set permissions on a new share, or other complications, such as losing the ability to even see the Security tab. You may find even after correcting the issues that the problems may persist even after removing and re-adding the share properly. In such cases, it may be helpful to manually wipe out all ACLs on the share and recursively re-grant full control to the Domain Admins group with the setfacl command as follows (may need to run as root):
# setfacl -b /path/to/share
# setfacl -b /path/to/share/*
# setfacl -R -m default:group:domain admins:rwx /path/to/share