Zentyal 7.0: How to install and setup Zentyal Sever 7.0 Development Edition.

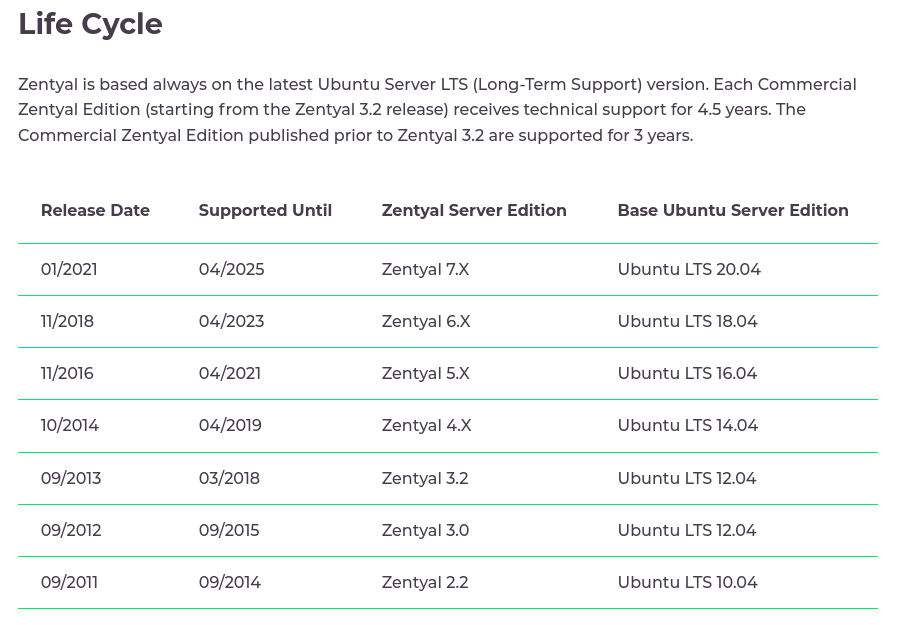
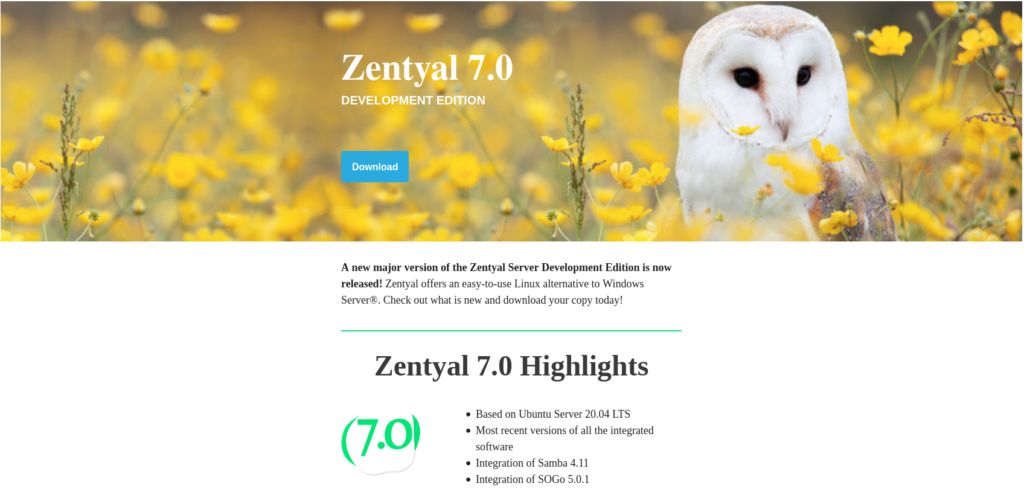
Zentyal Sever 7.0 Development Edition is the latest version of Zentyal Development Server (released 27/01/2021). The server is a linux replacement of Windows Small Business Server and the Development edition is the free version of Zentyal Server 7.0 aimed at organizations with in house Linux experience as it offers no support. For more details check out the Zentyal Website.

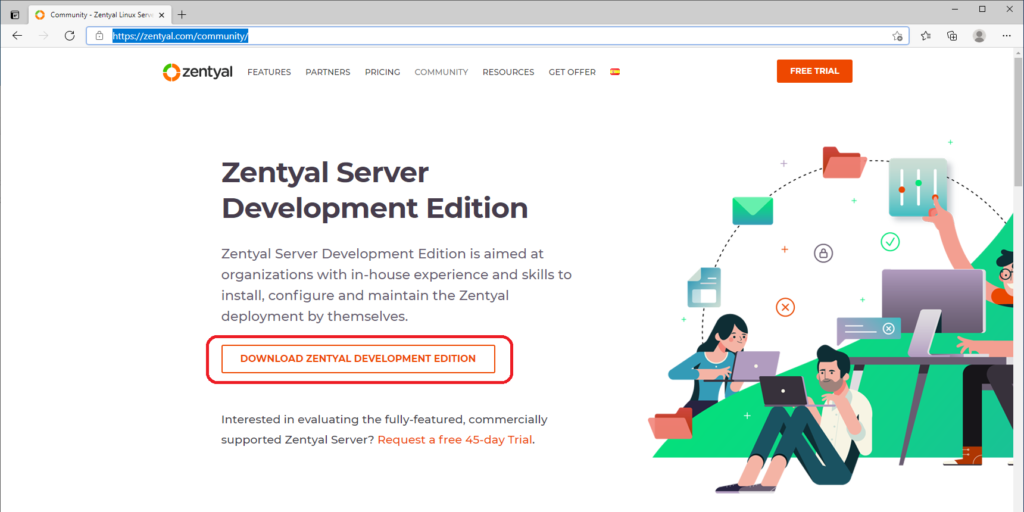
To download the ISO to install Zentyal 7.0 Development Edition check out our previous POST.

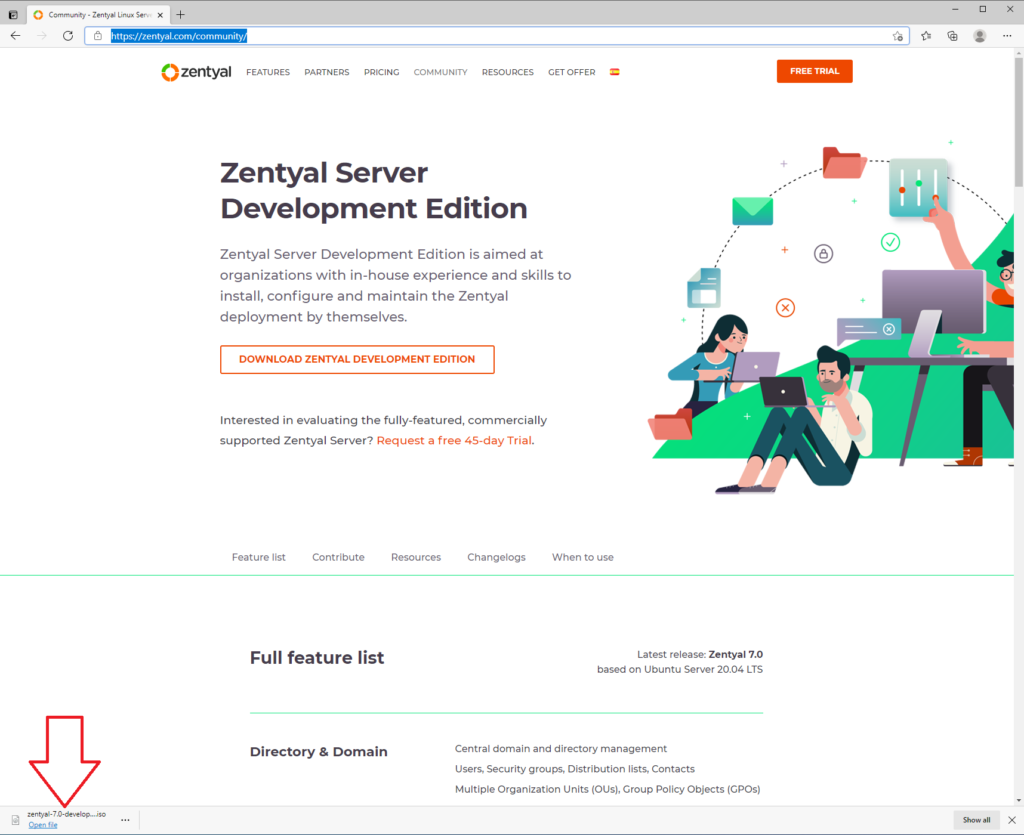
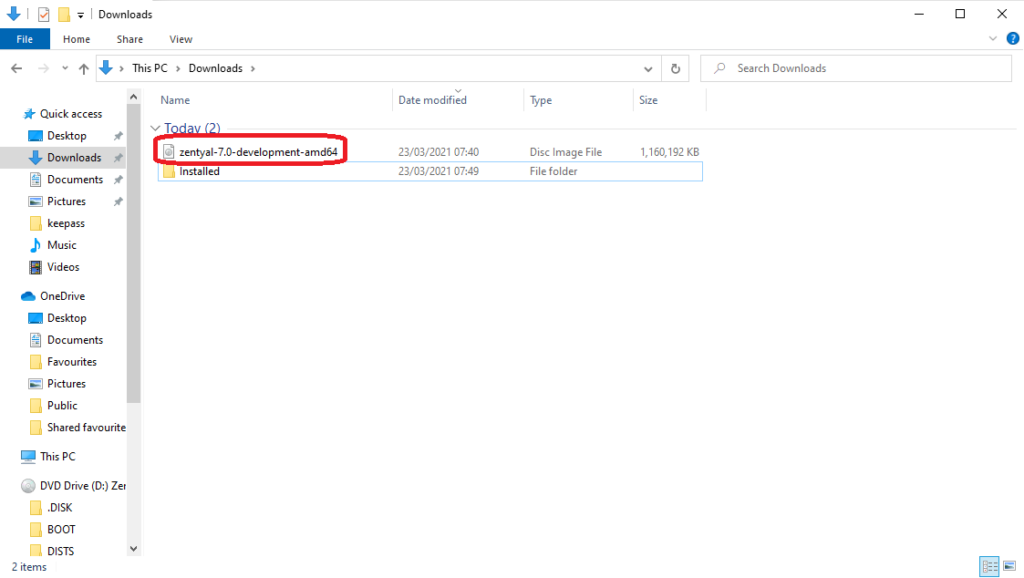
Once the ISO is downloaded and the installation media is created boot the machine off of the installation media.

Installing Zentyal 7.0 Server Development Edition.

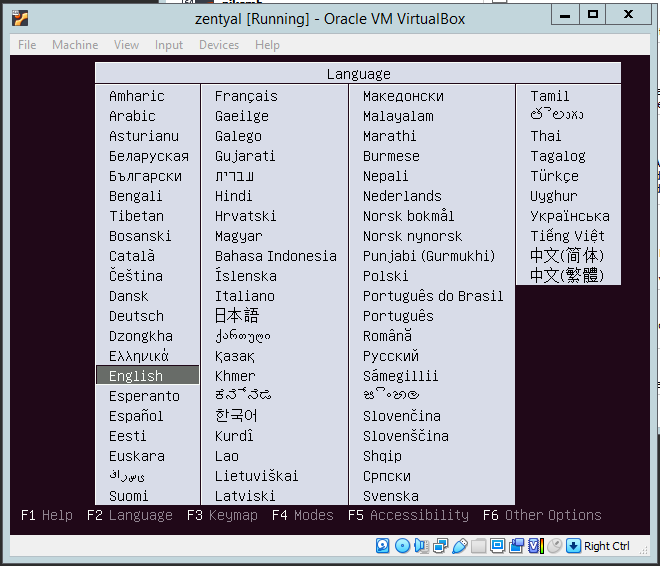
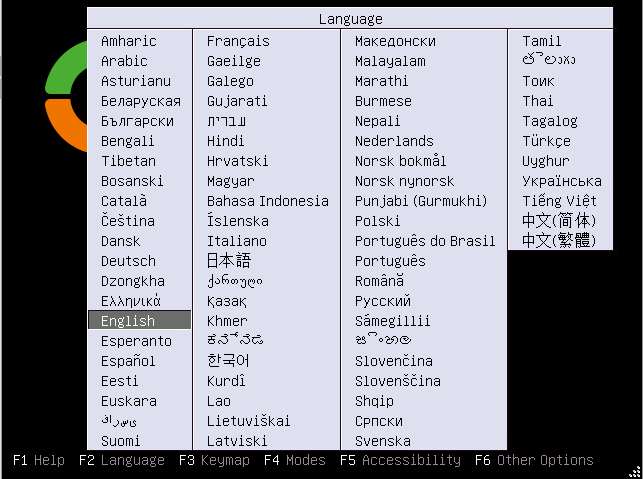
When the installation media boots it will land on the screen below. Select the desired installation language and click enter:

Zentyal 7.0: How to install and setup Zentyal Sever 7.0 Development Edition.

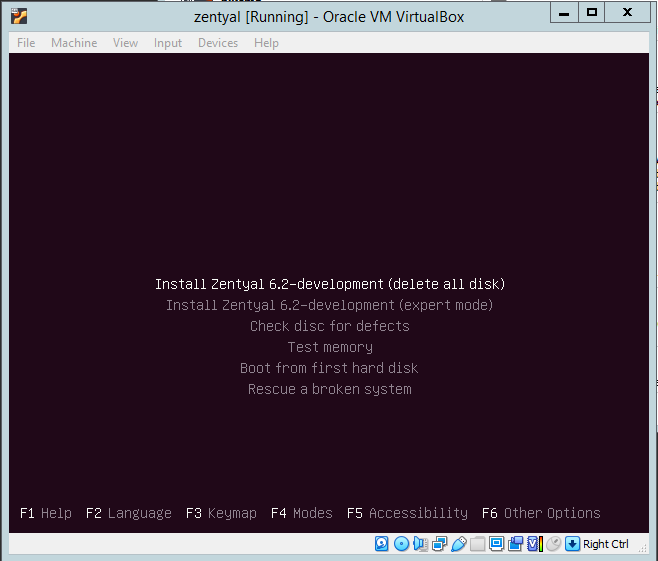
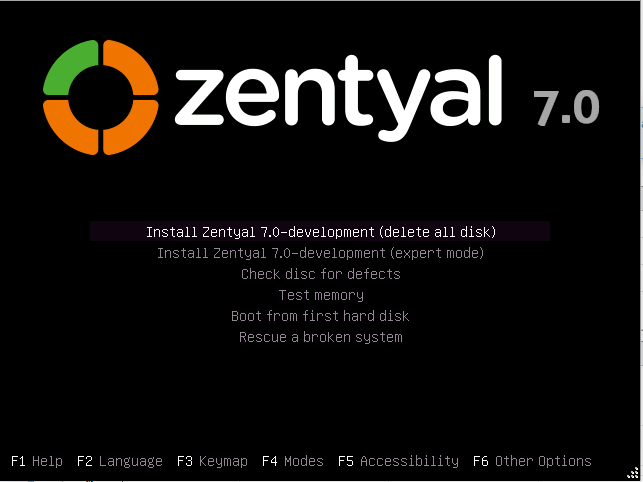
Select Install Zentyal 7.0-development (delete all disks). This will delete all disks but this is not an issue as we are doing a fresh install.

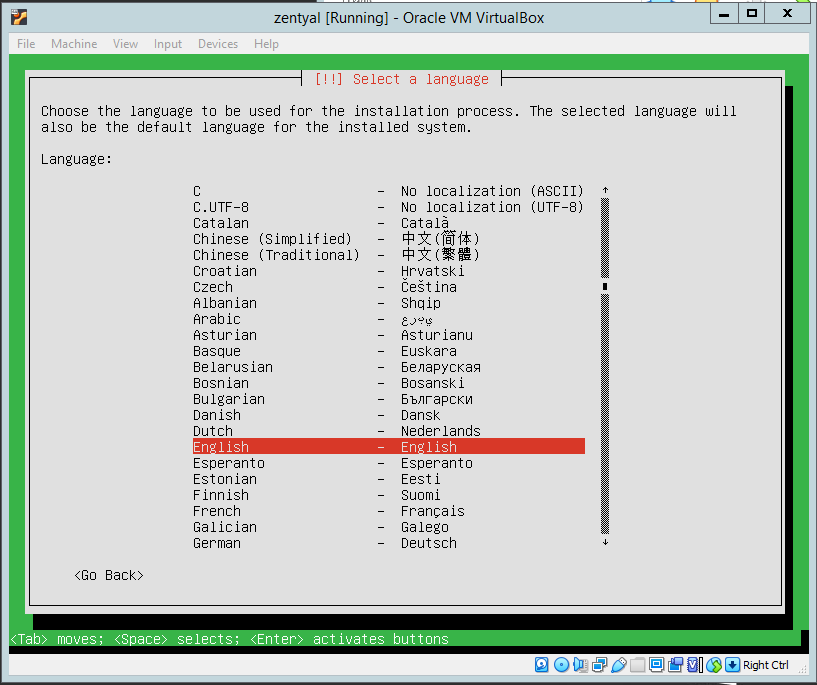
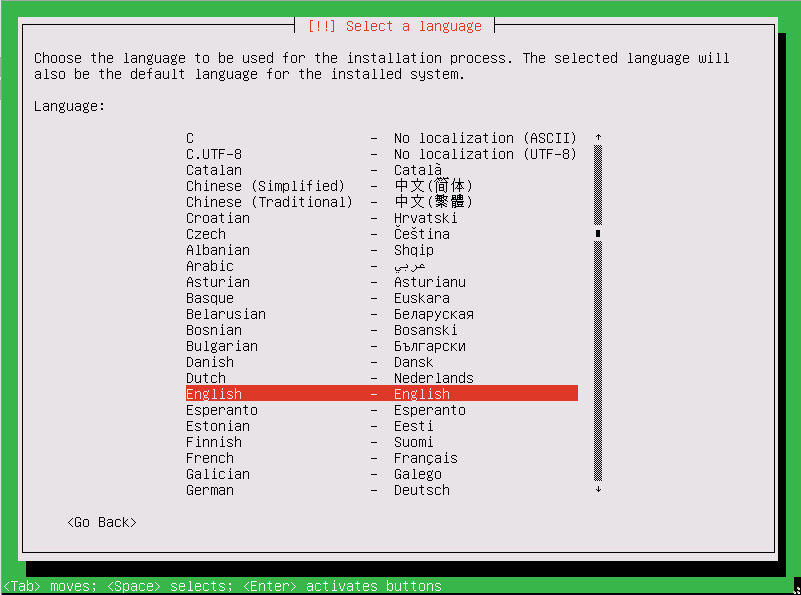
Choose the desired language and click enter.

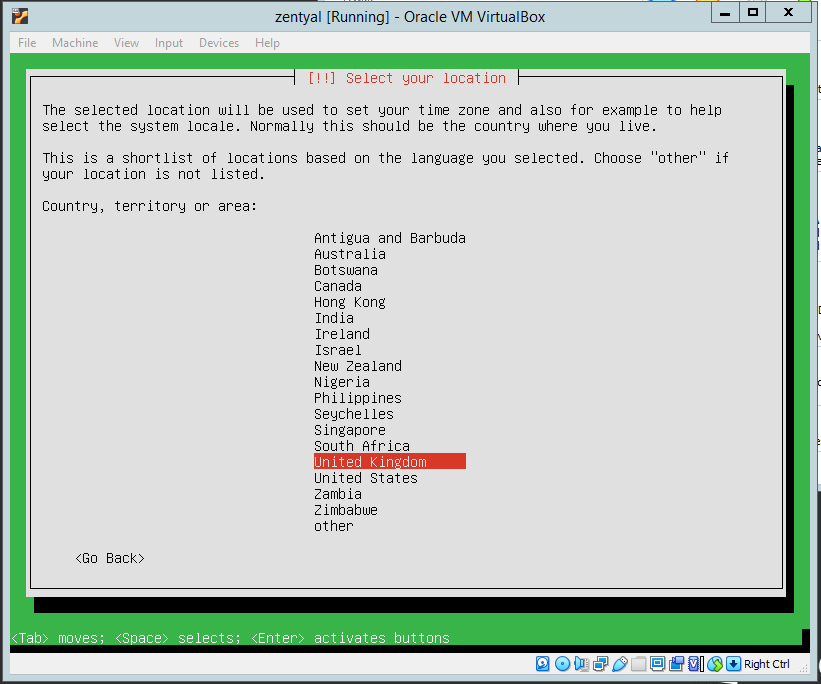
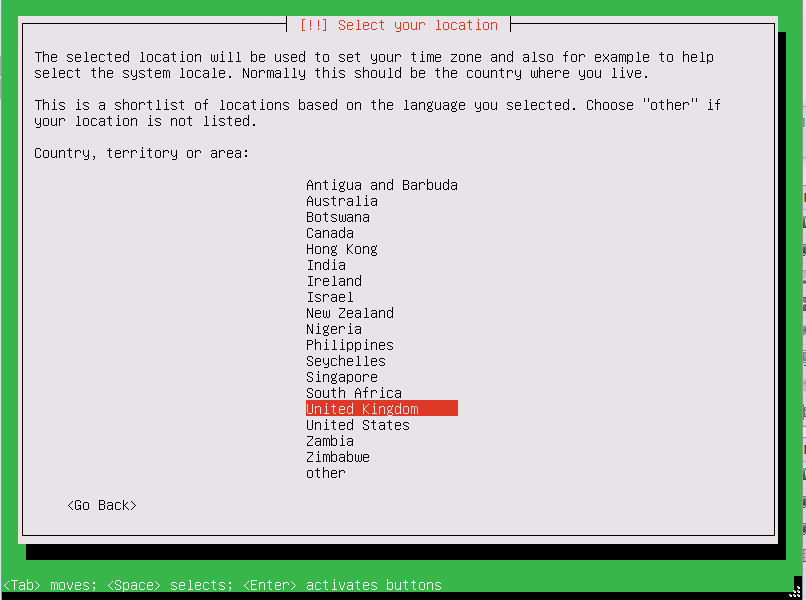
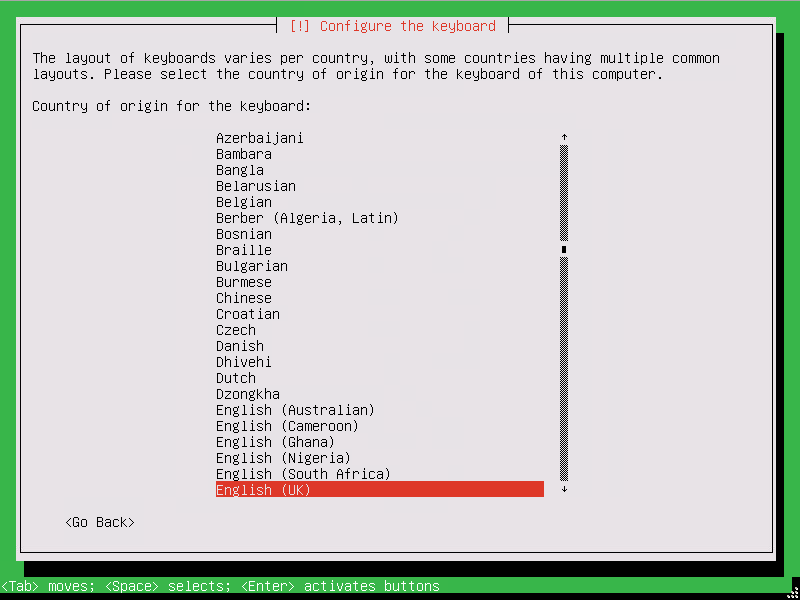
Select the correct Region and hit enter.

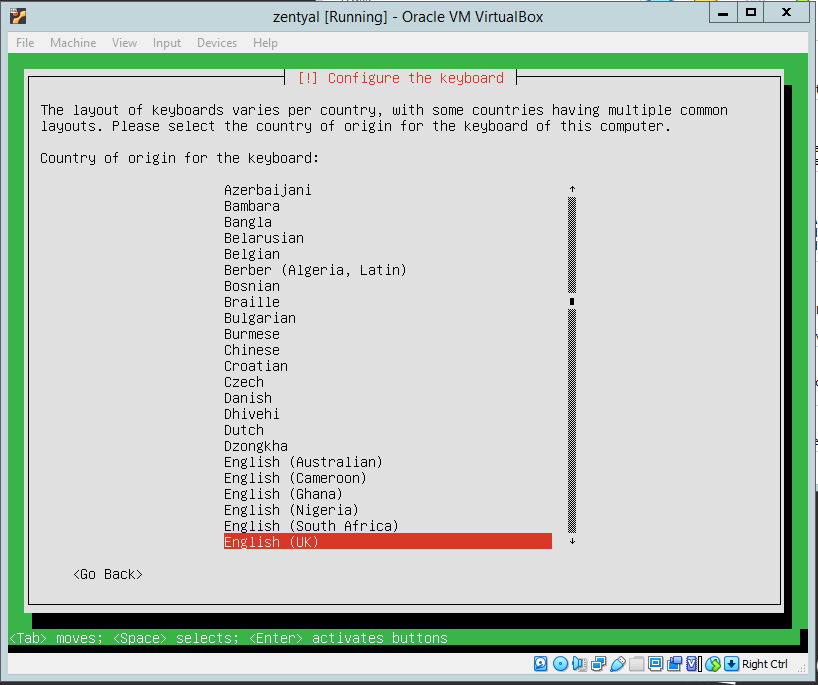
Find the correct Keyboard layout and press enter.

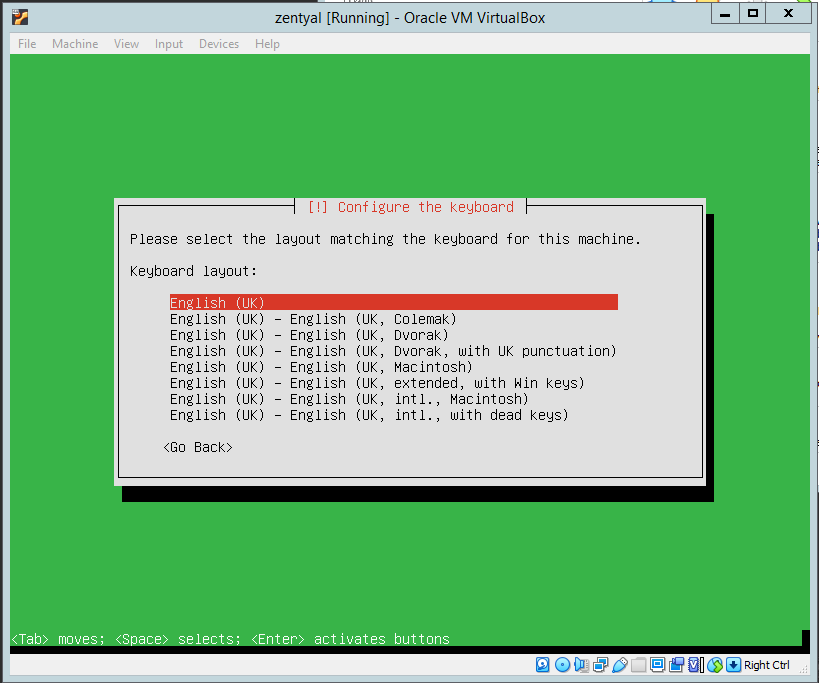
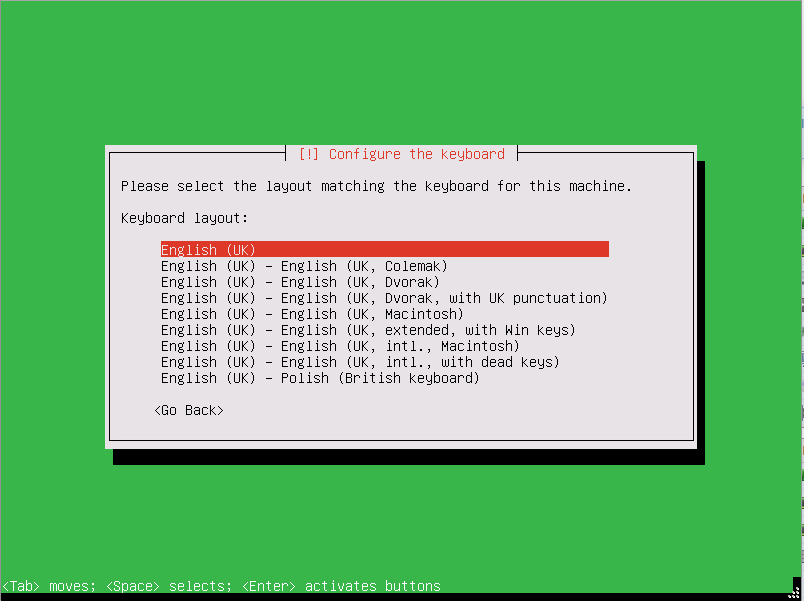
Press enter again to select the correct keyboard layout.

The installation will then load additional components:

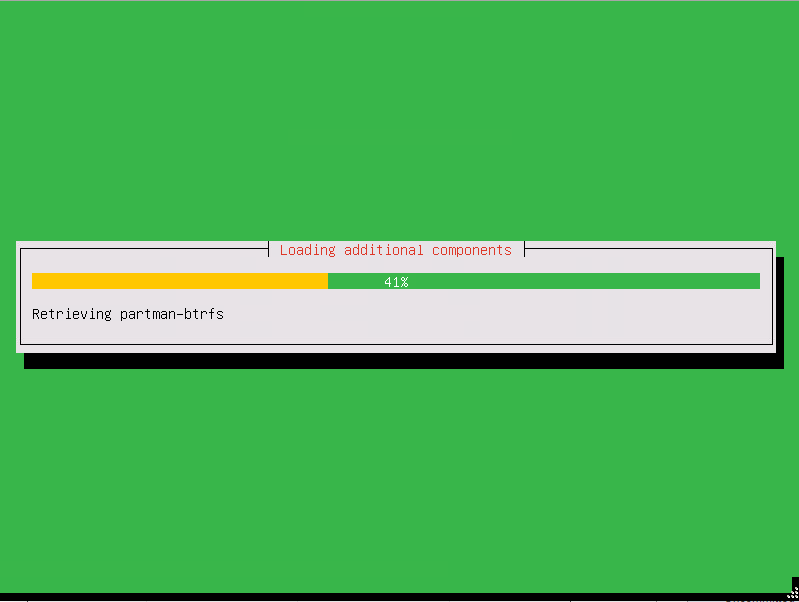
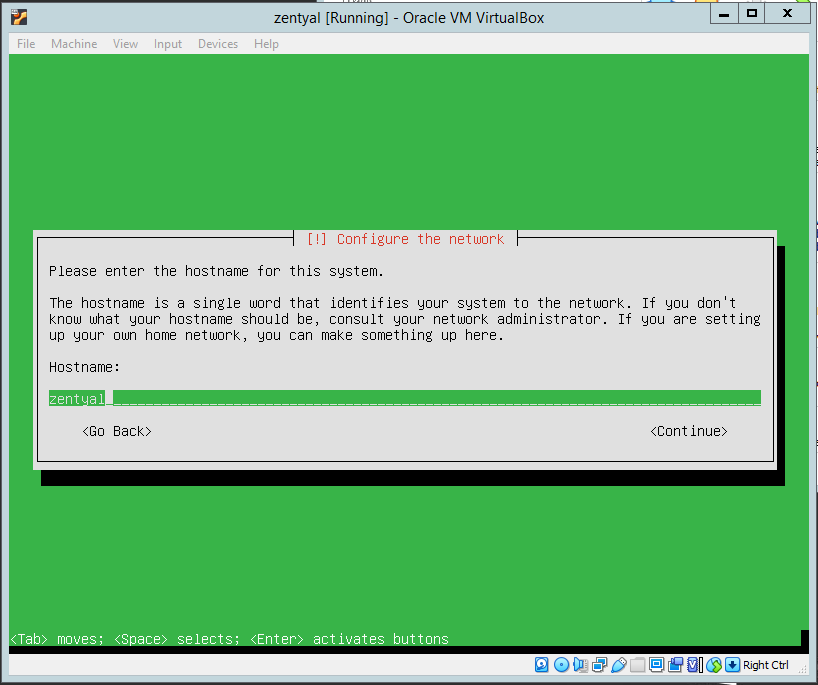
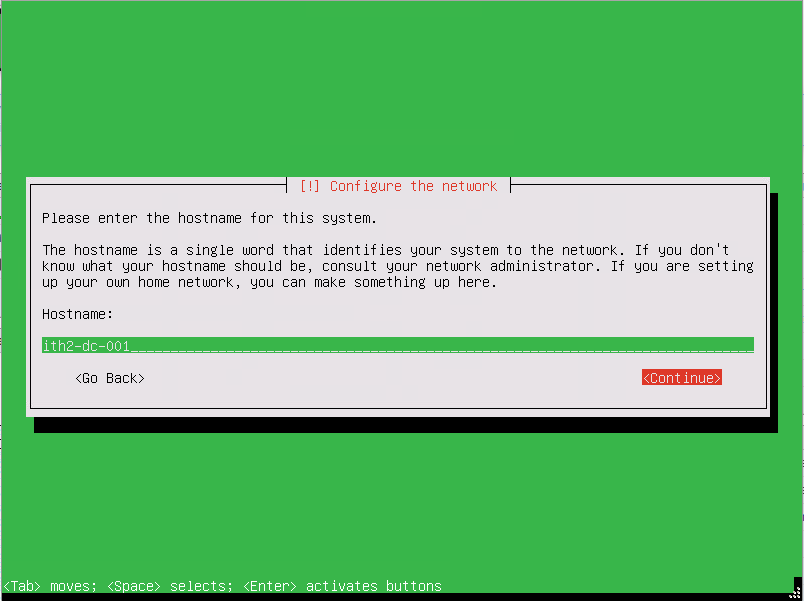
Once it is finished it will bring up the following screen:

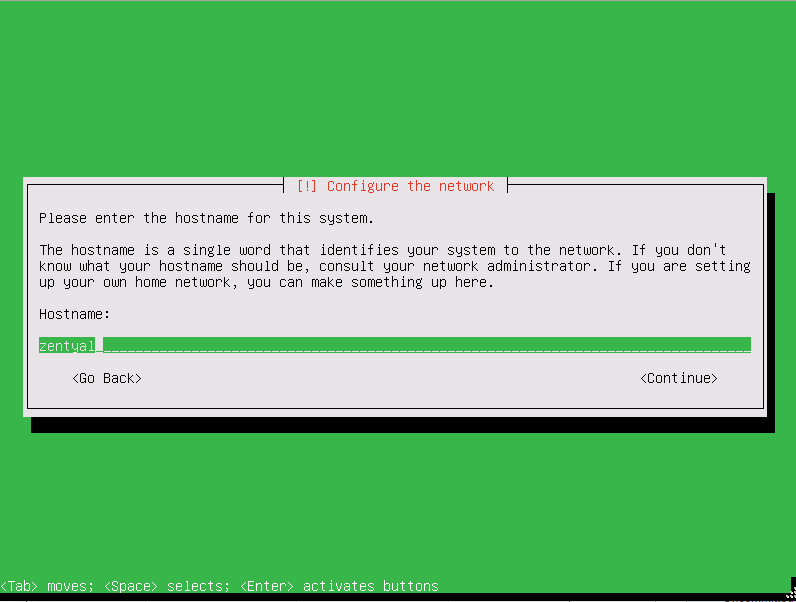
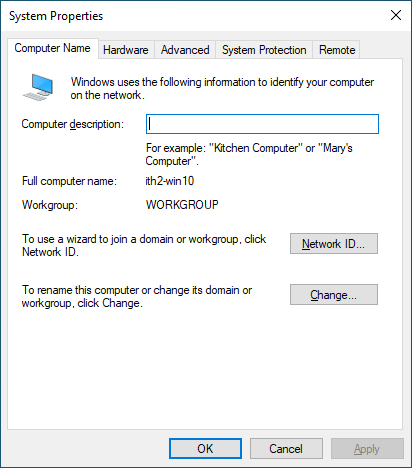
Change the Hostname to the desired name and then press the tab button to select the Continue option and then enter to move to the next step:

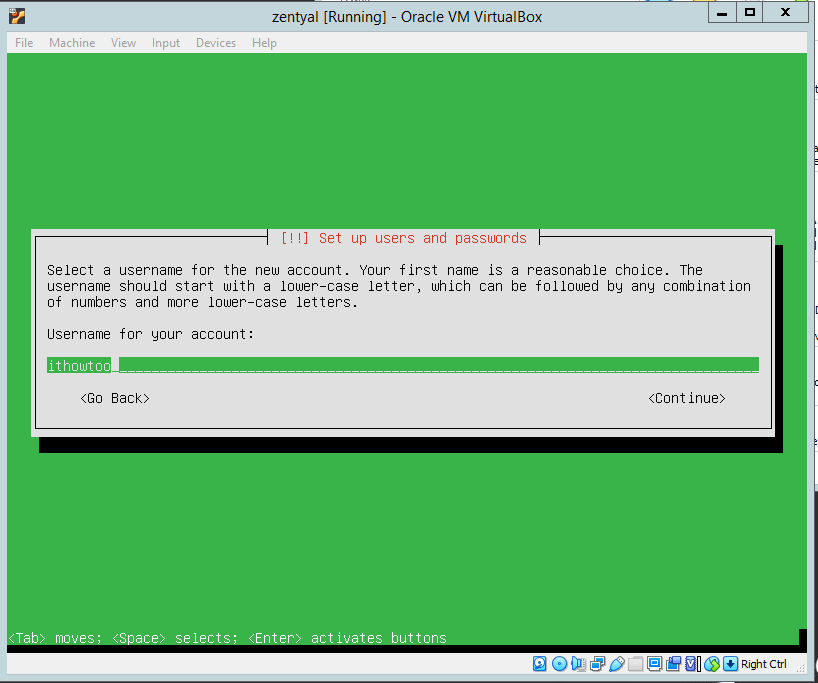
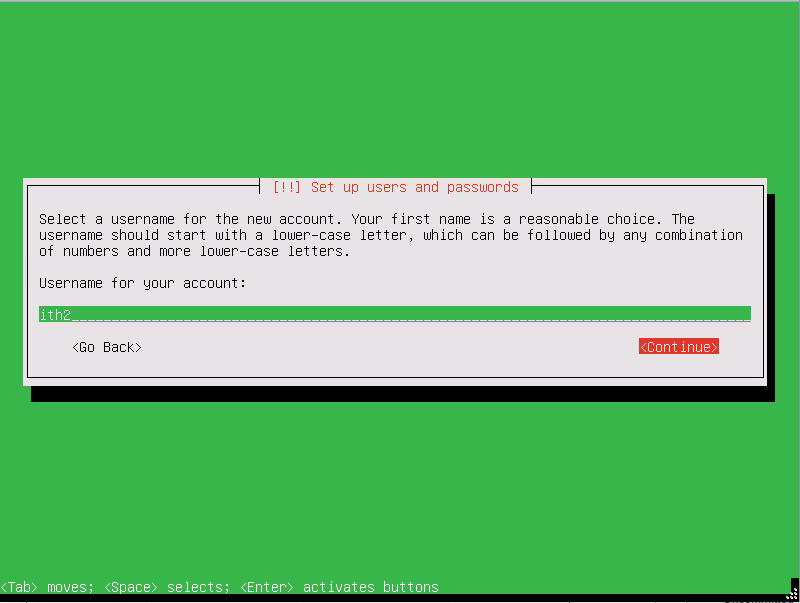
Add a username for the Administrator user, and then tab and enter to move to the next screen:

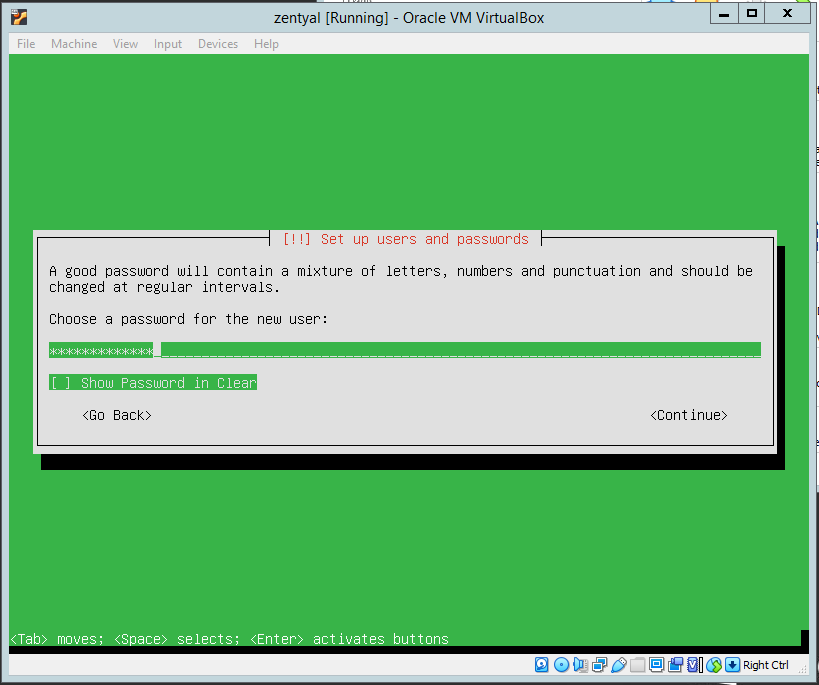
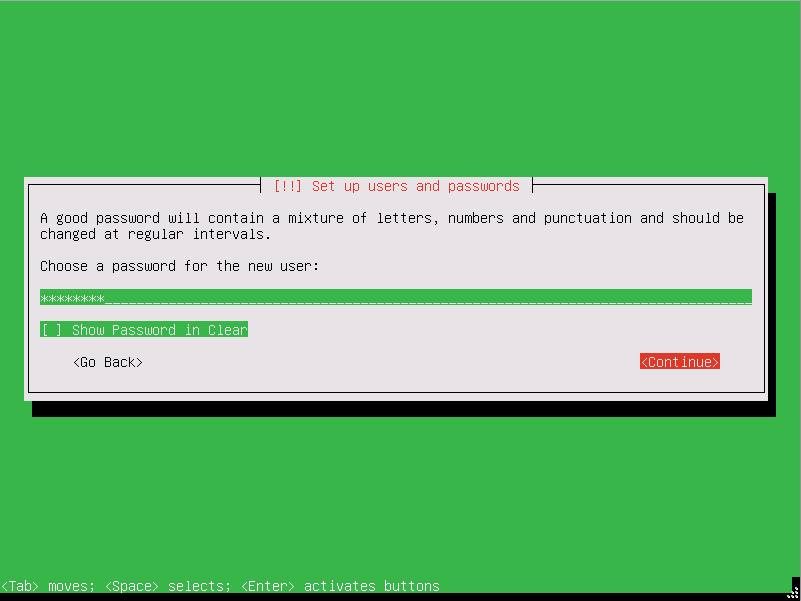
Type a password for the user then tab (twice) and enter.

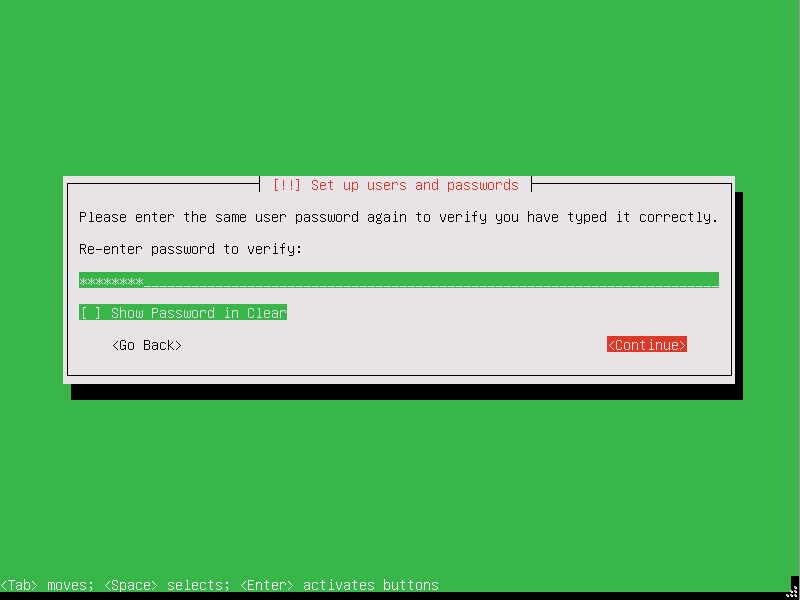
Type the password again and then tab (twice) and then enter to move to the next screen.

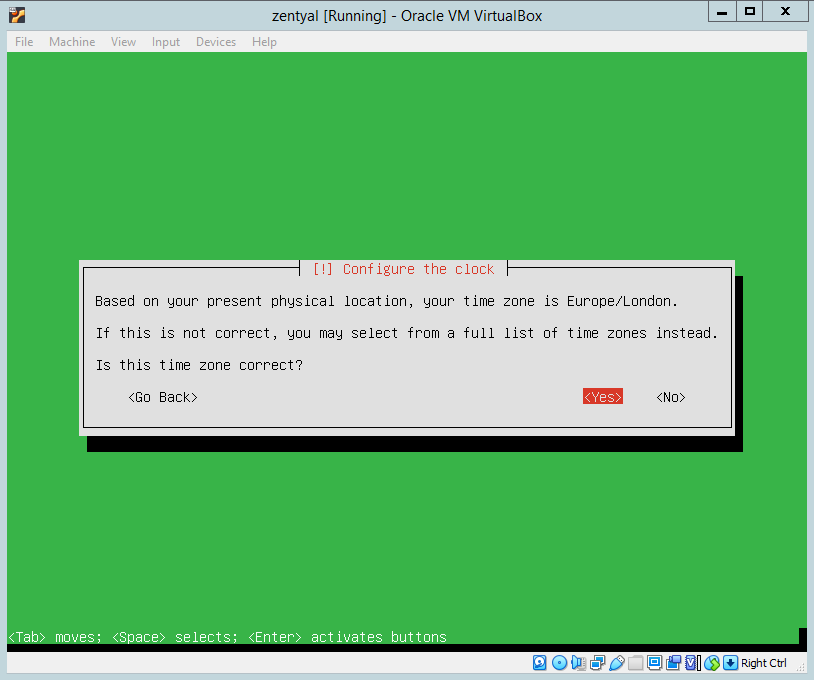
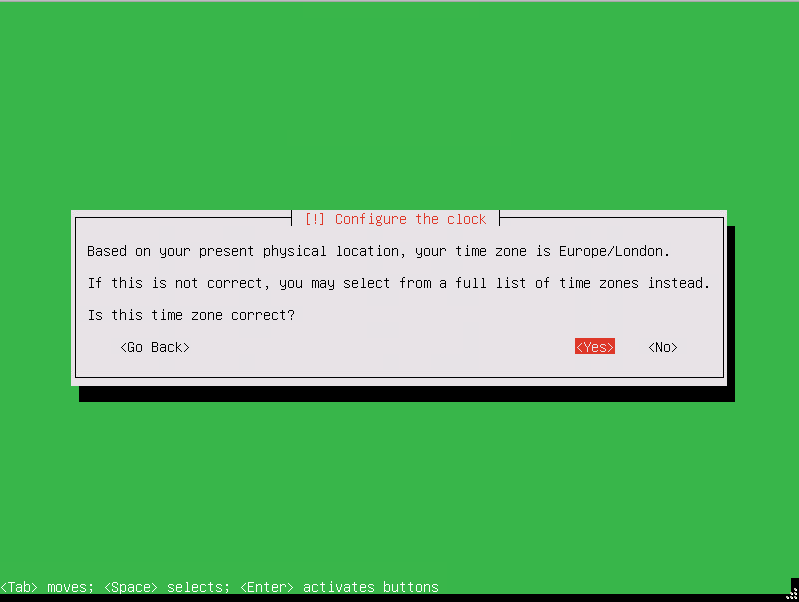
If the chosen time zone is correct press enter to move on.

If it is not correct select <No> and hit enter.

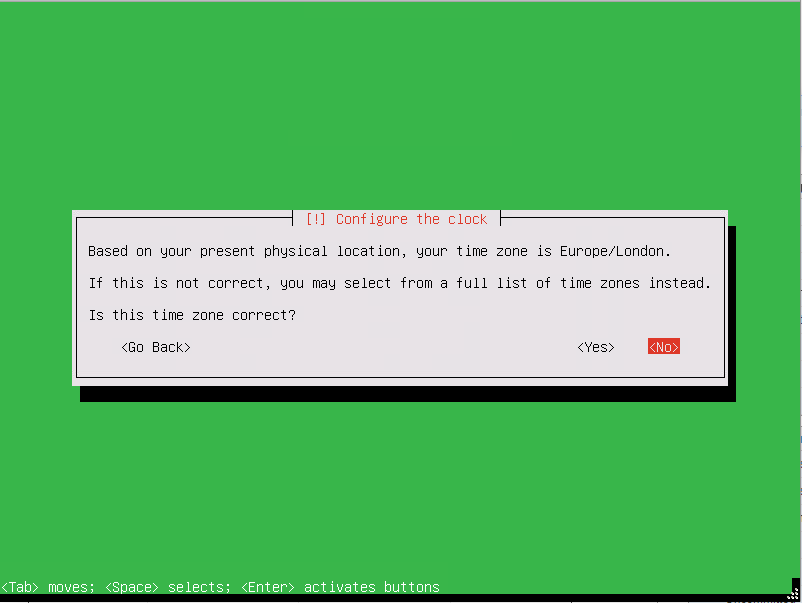
You will then be able to select the correct timezone.

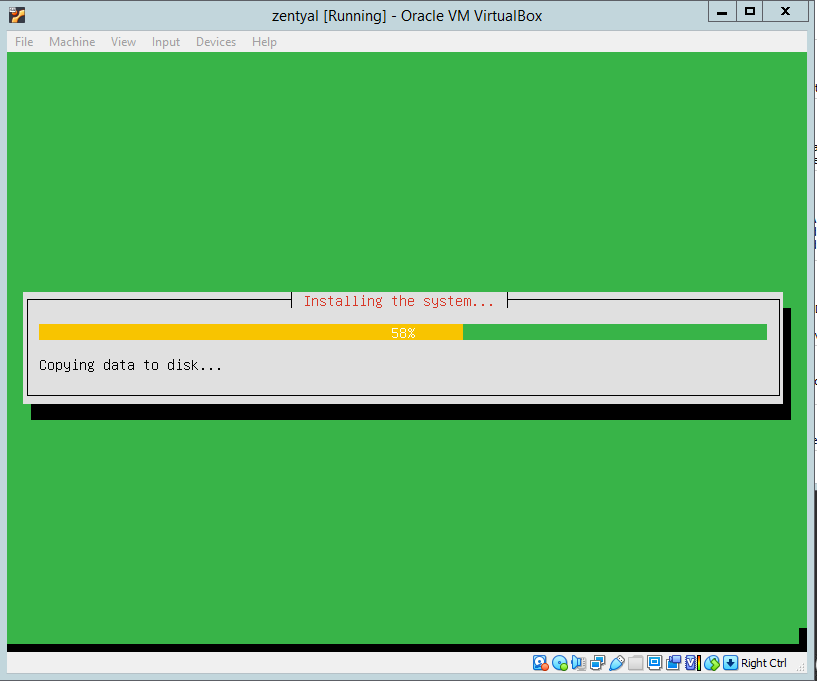
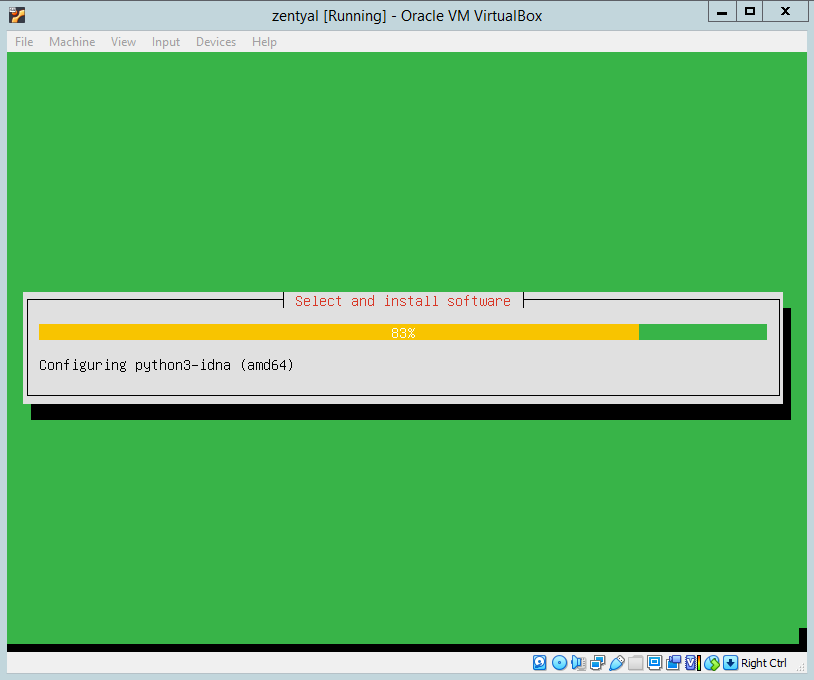
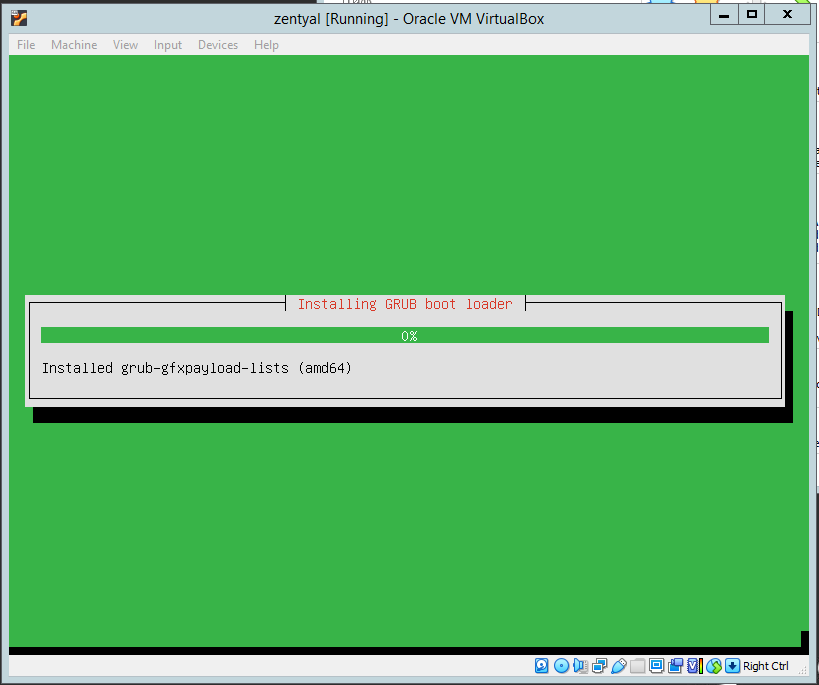
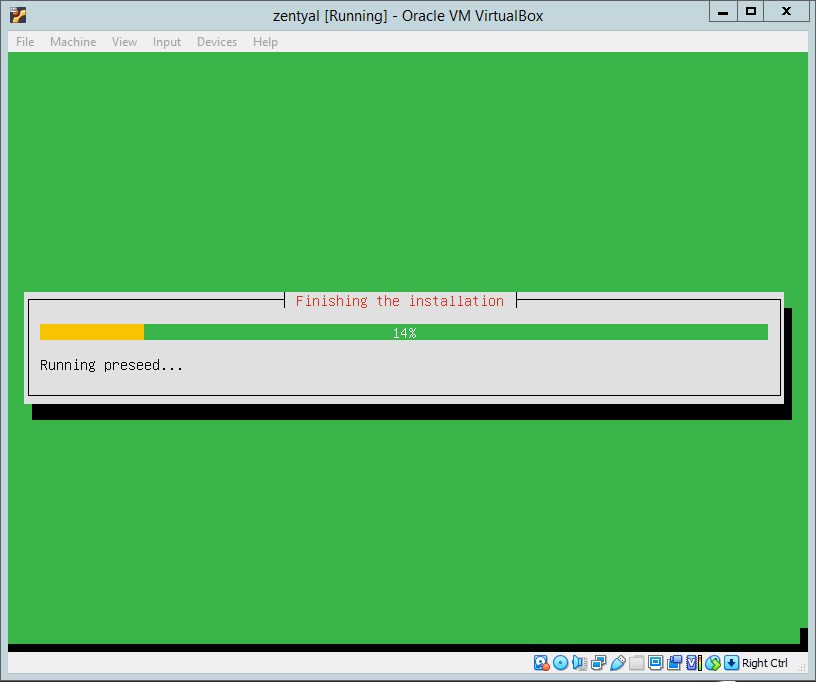
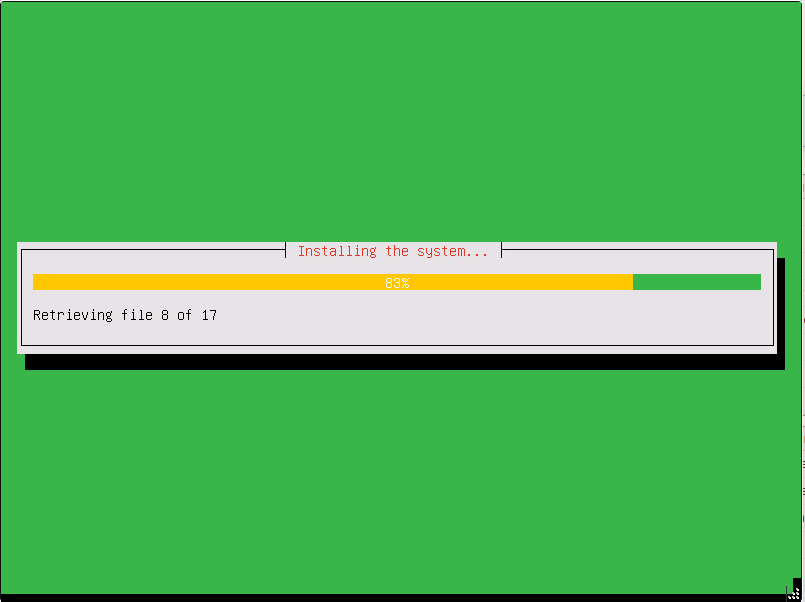
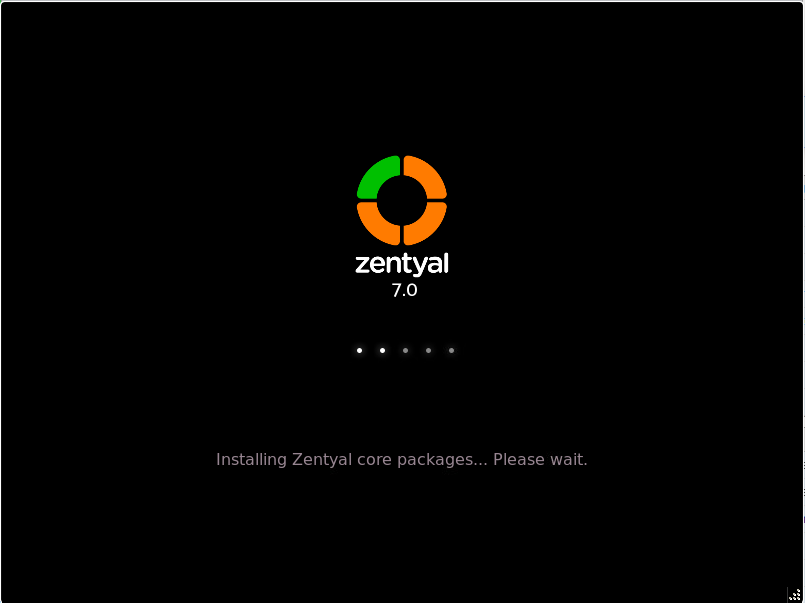
Once the correct time zone is selected The installation will start:

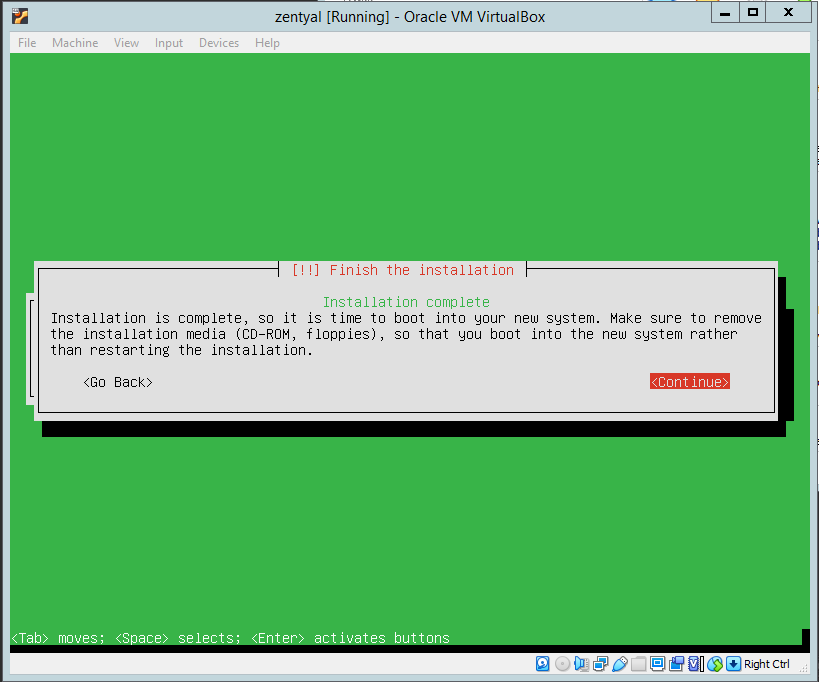
Wait for the installation to finish. Once finished press enter to continue.

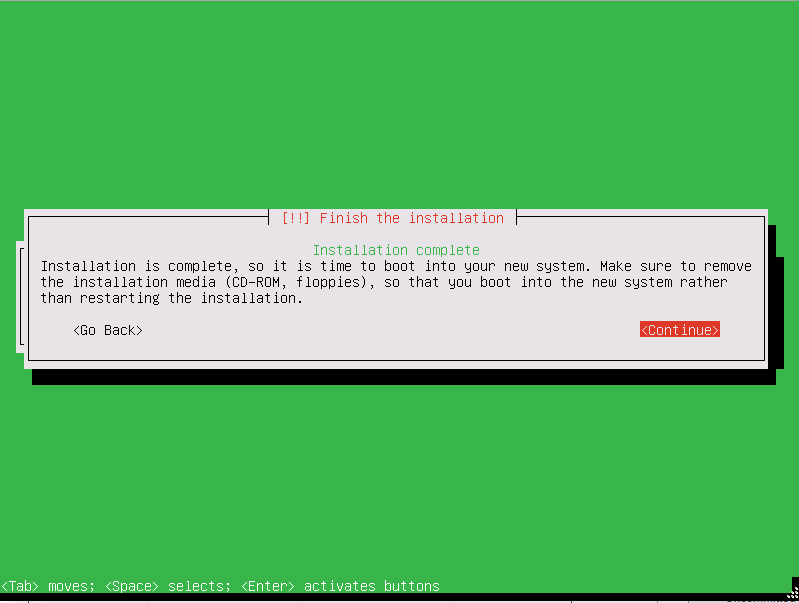
The machine will reboot and start booting Zentyal 7.0:

Wait for the server to boot. This could take between 10-15 minutes so just be patient.

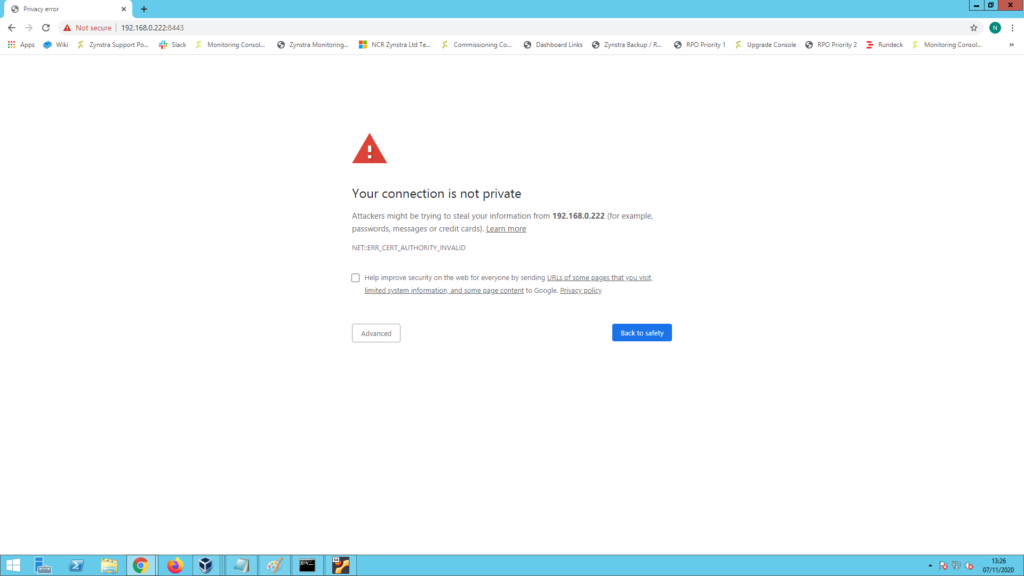
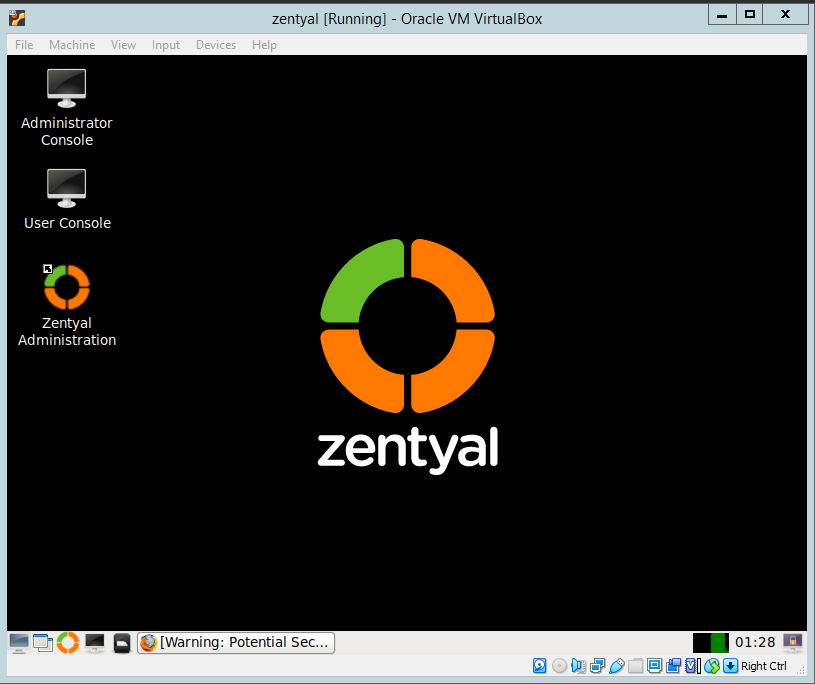
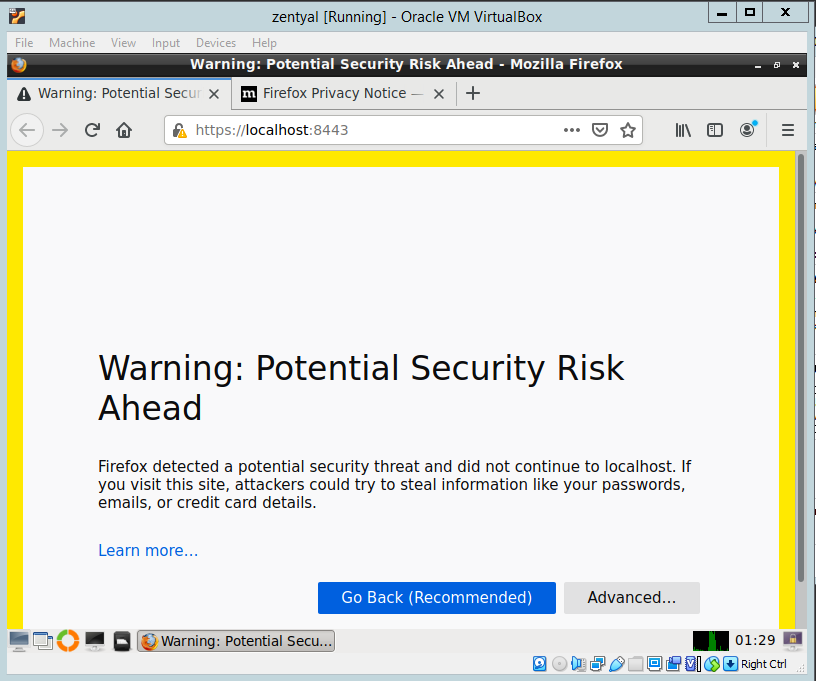
Once it has booted you will see the foloowing screen:

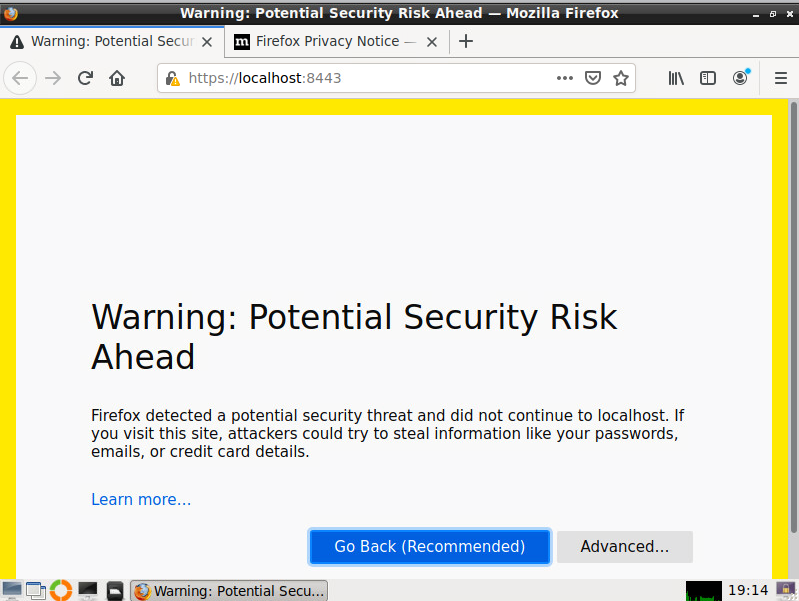
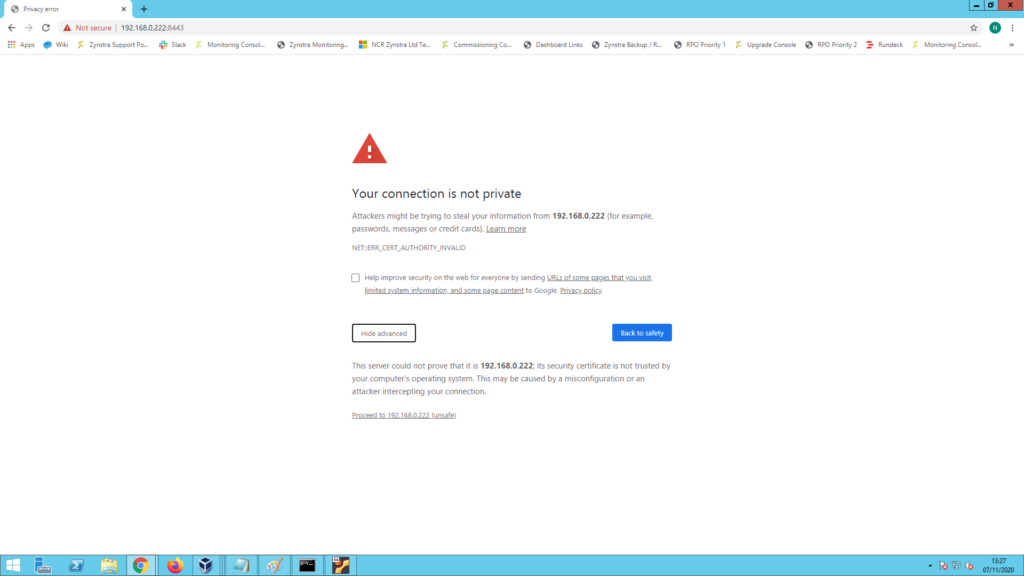
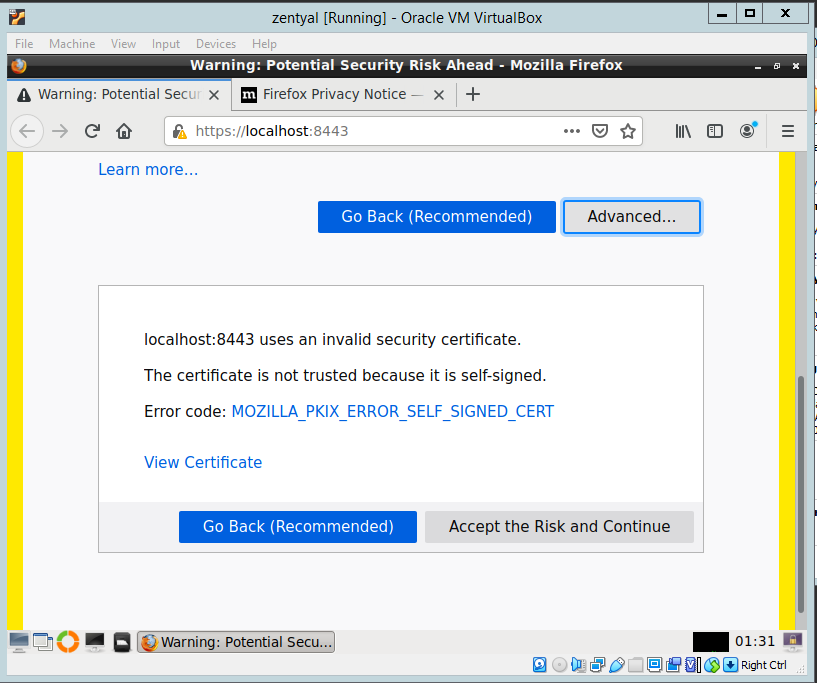
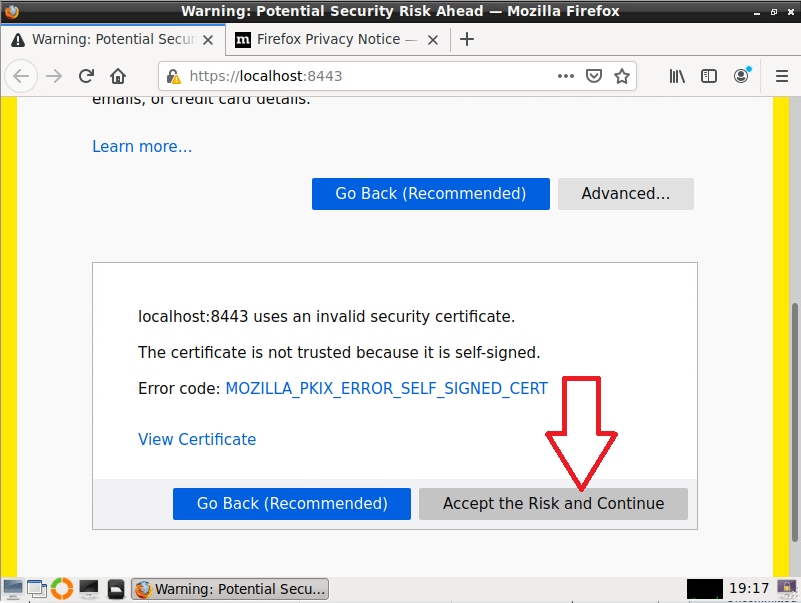
Click on Advanced and then Accept the Risk and Continue:

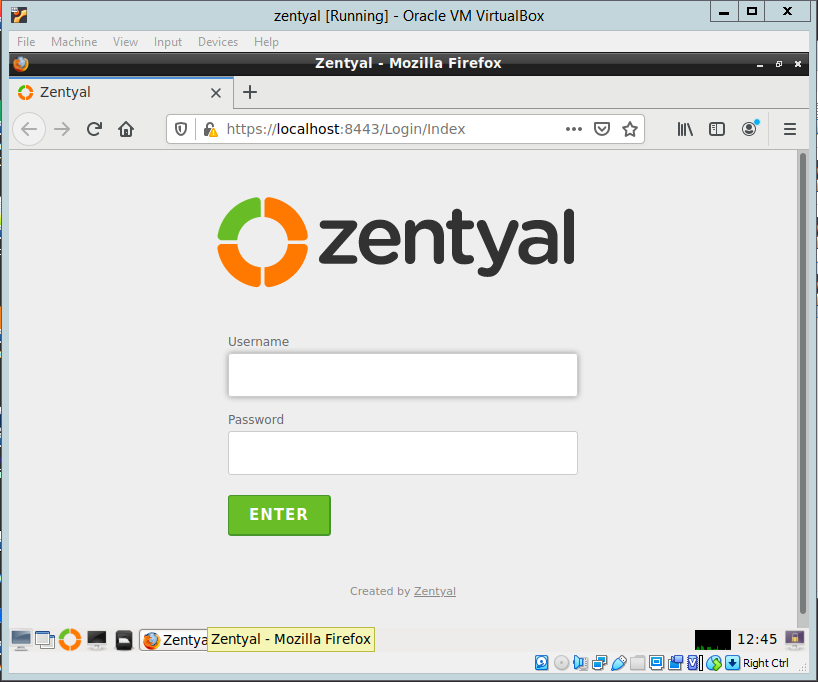
This will bring up the login page:

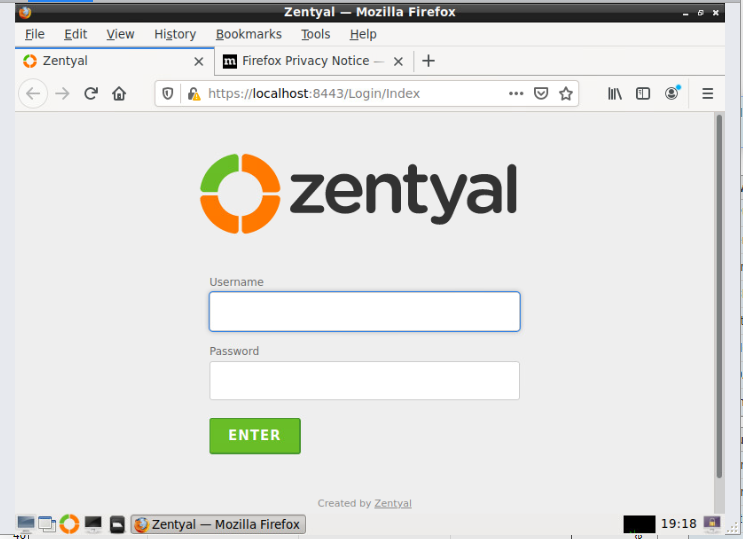
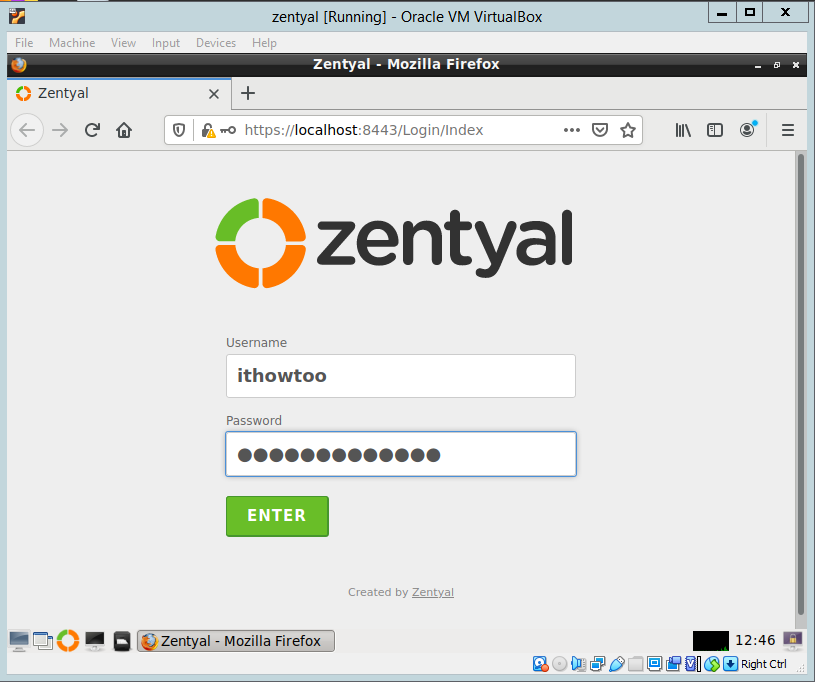
Log in using the user and password that were created during setup and click on Enter.

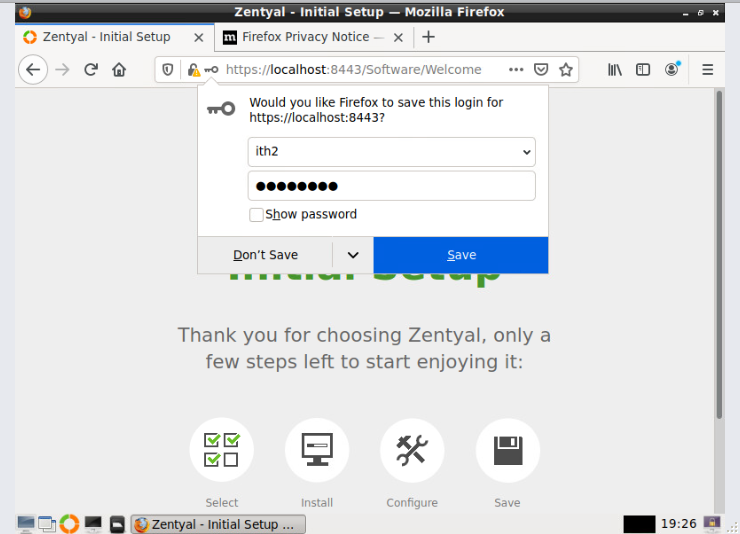
Click on Don’t save as you dont want to save the admin password for security reasons:

You are now at the Initial Setup screen.

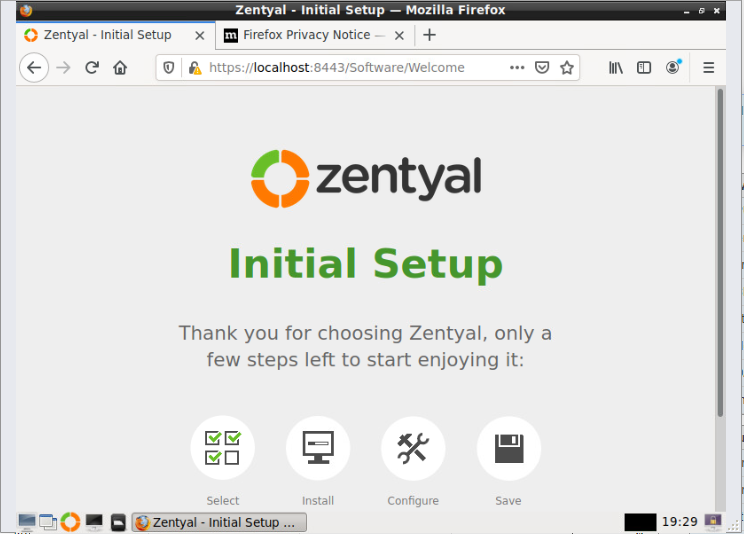
Initial Setup of Zentyal 7.0:

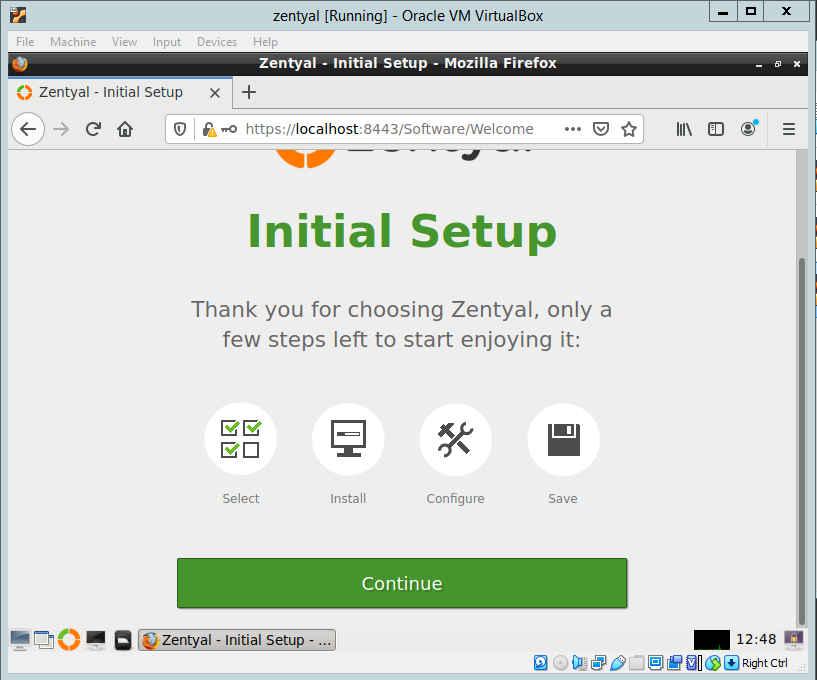
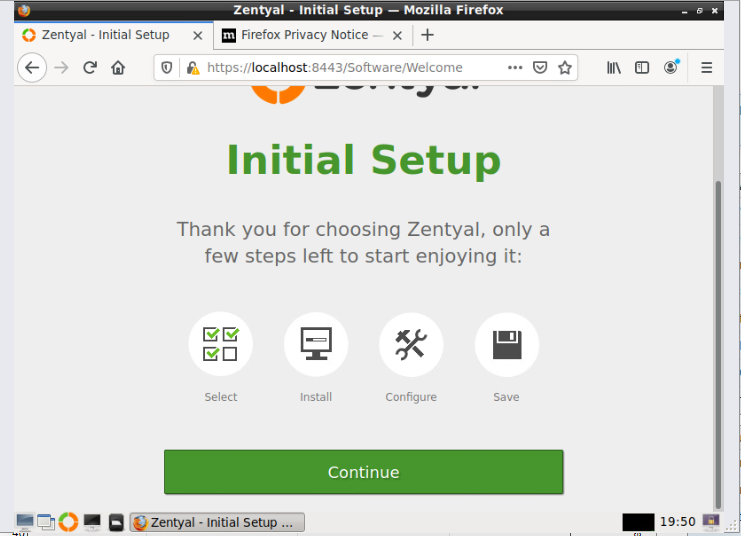
To start the Initial Setup click on Continue.

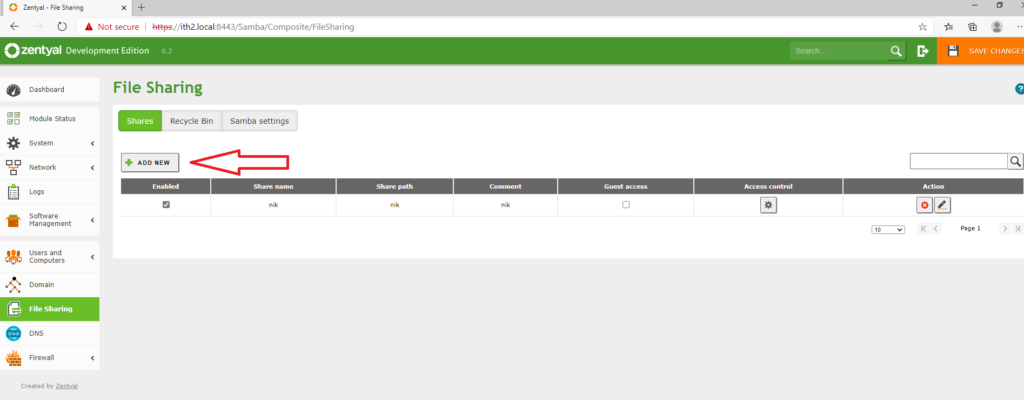
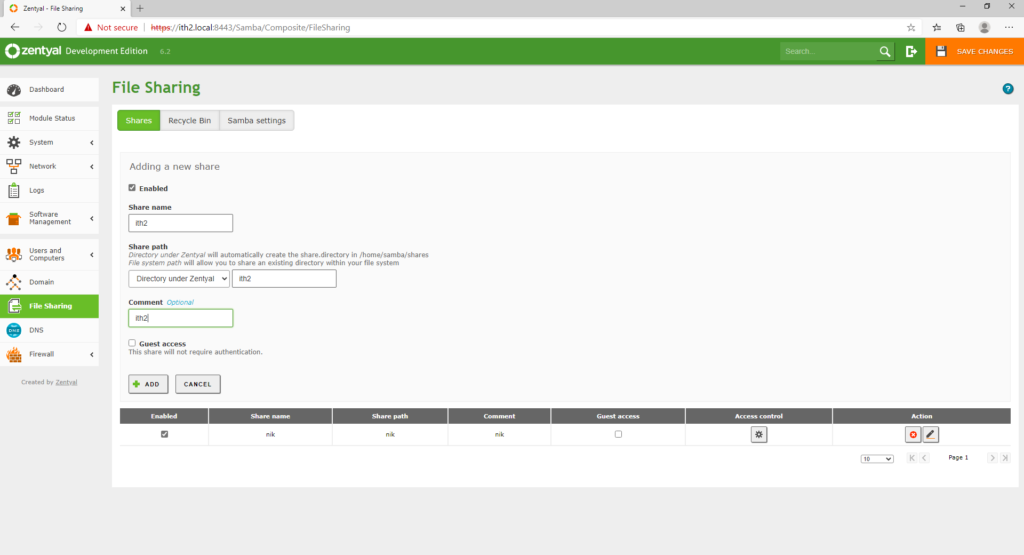
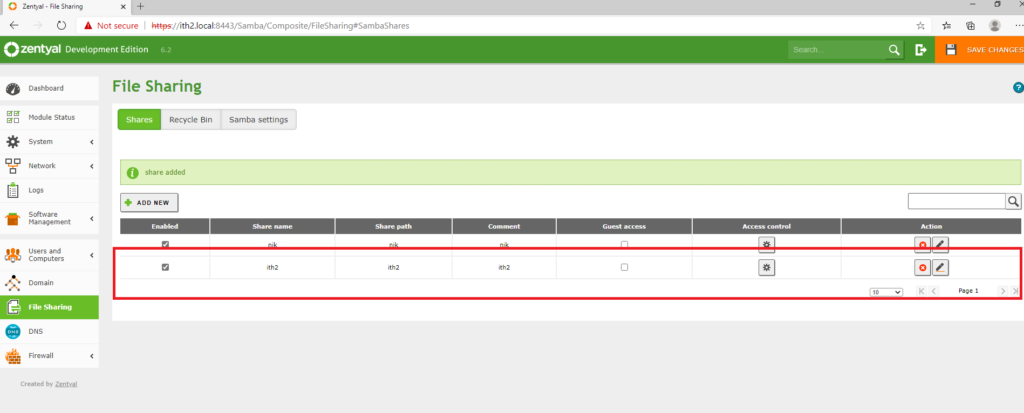
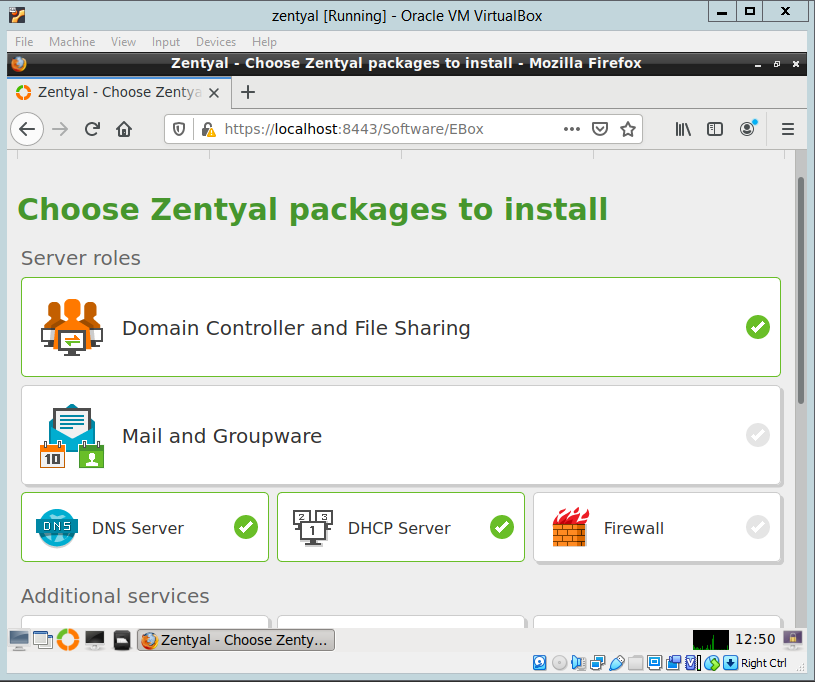
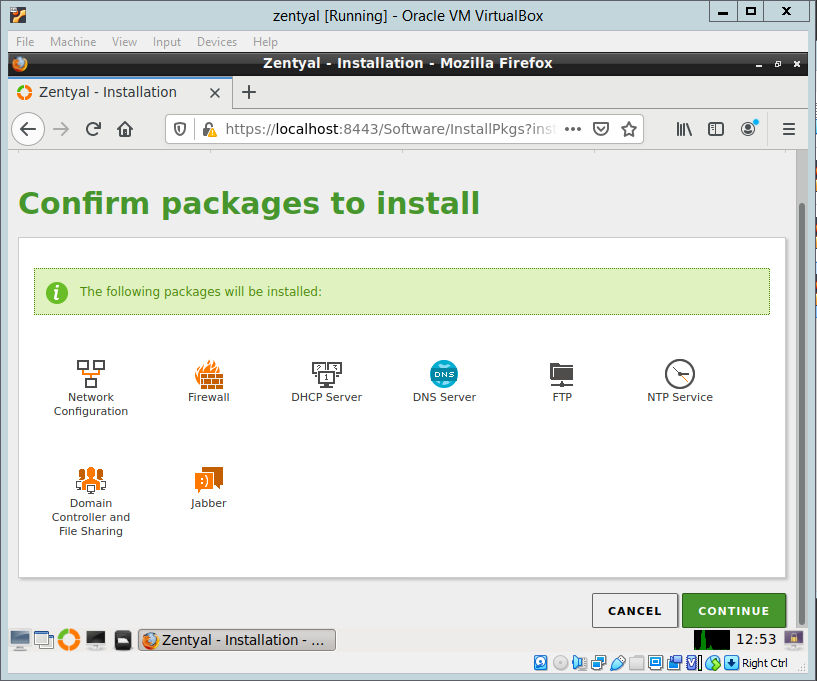
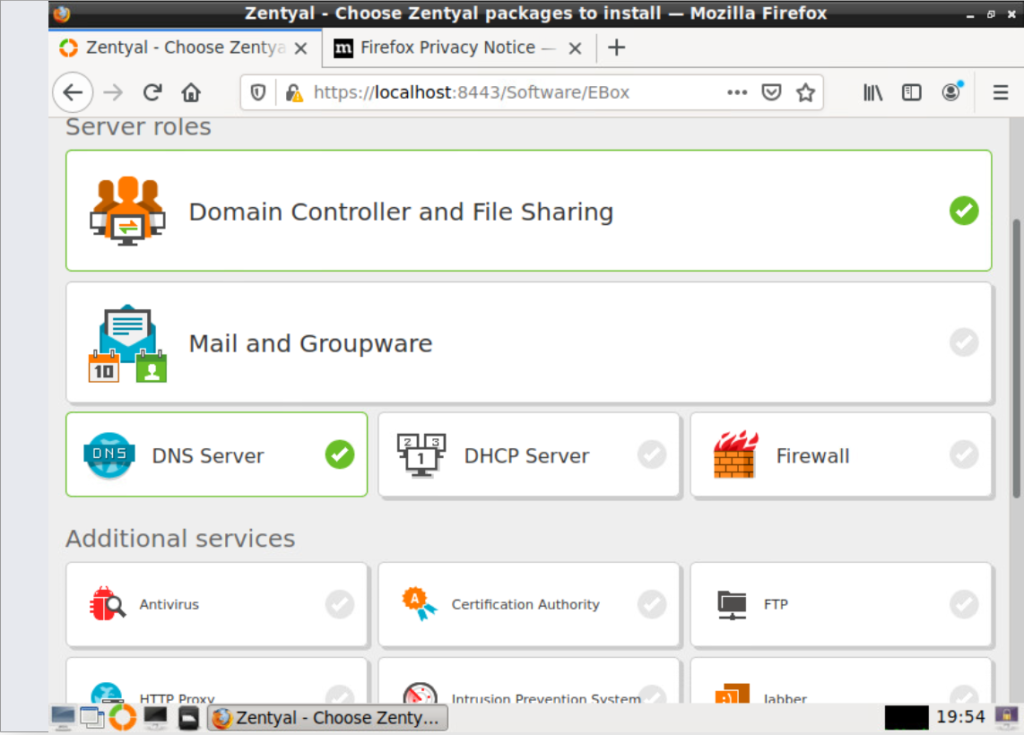
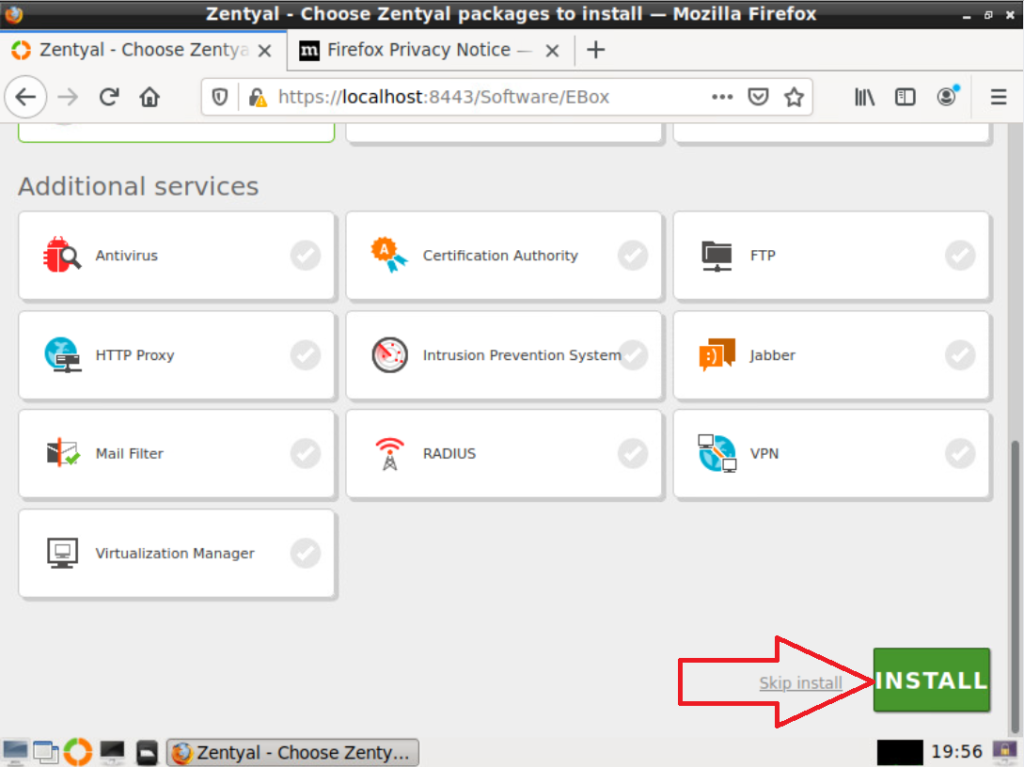
Choose the required packages from the list. As this install is a DC I am just going to choose Domain controller and File Sharing and DNS Server only:

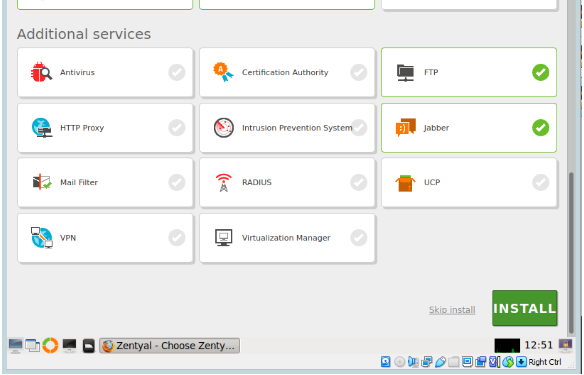
Scroll down to the bottom of the screen and click Install to install the selected packages:

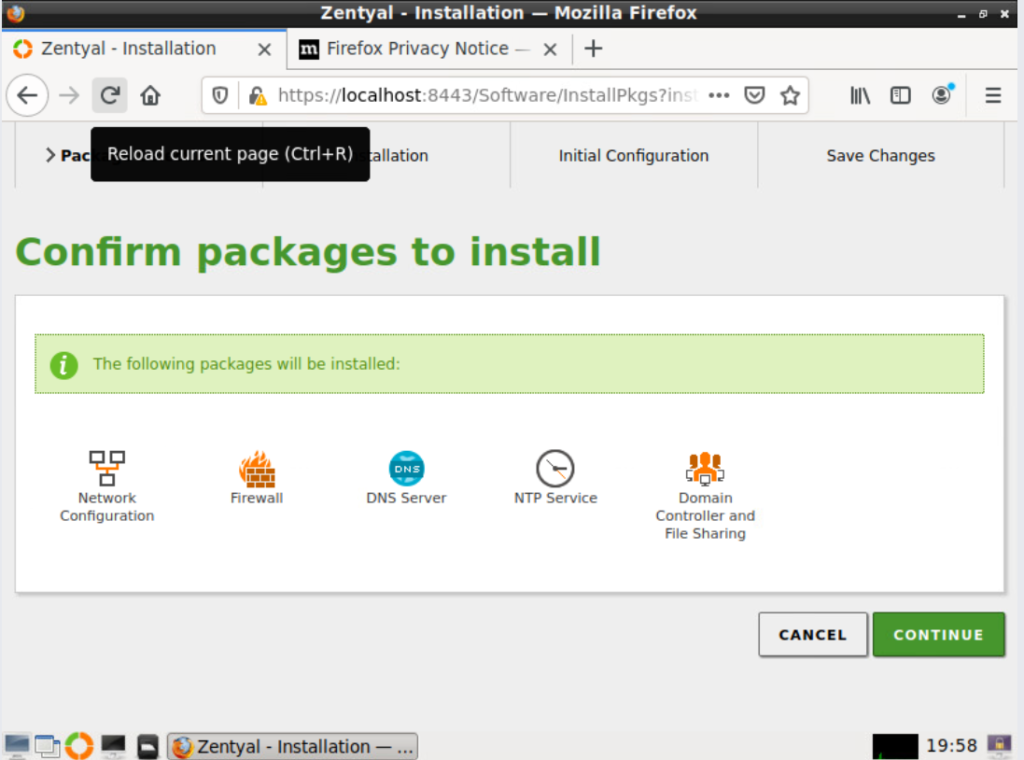
Click on the CONTINUE button to Start the installation of the packages.

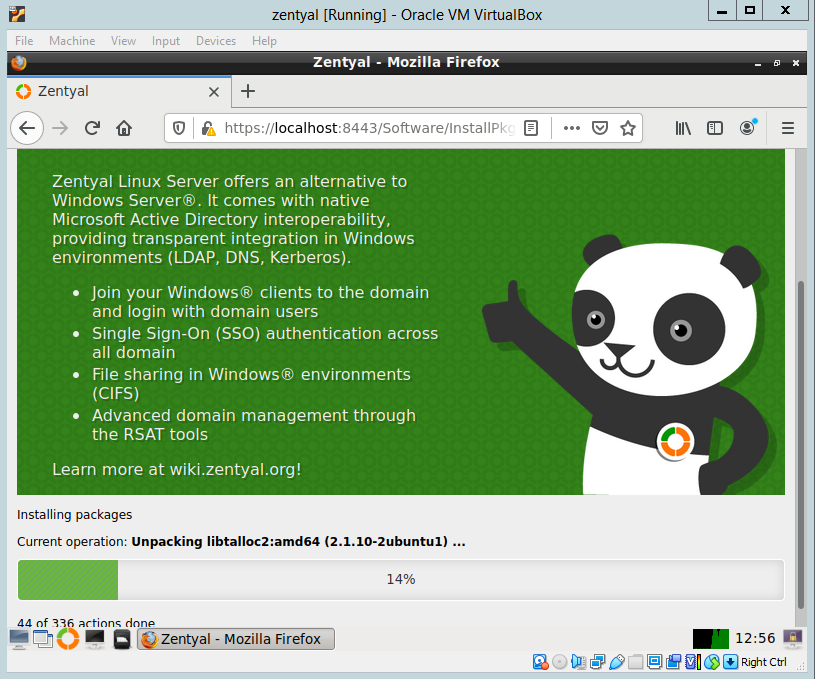
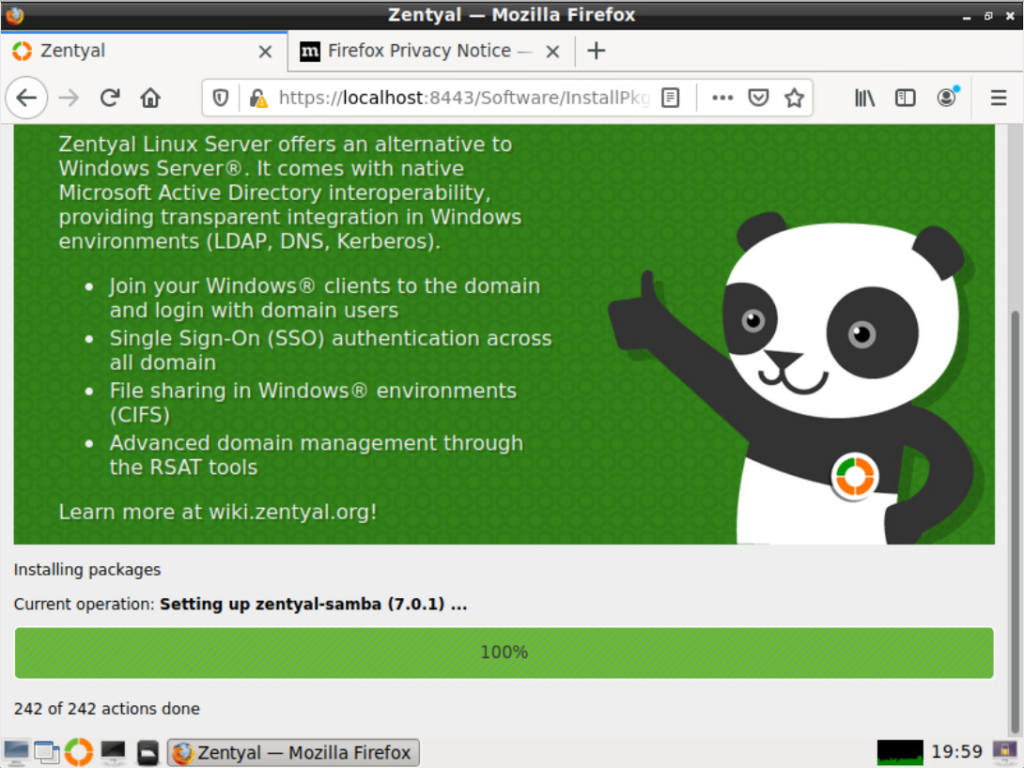
Now wait for the package installation to finish:

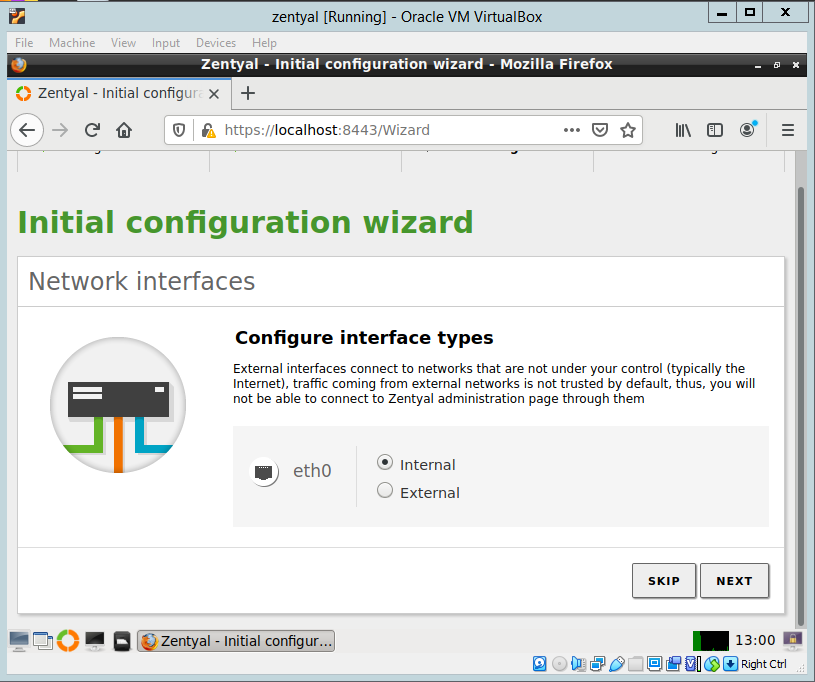
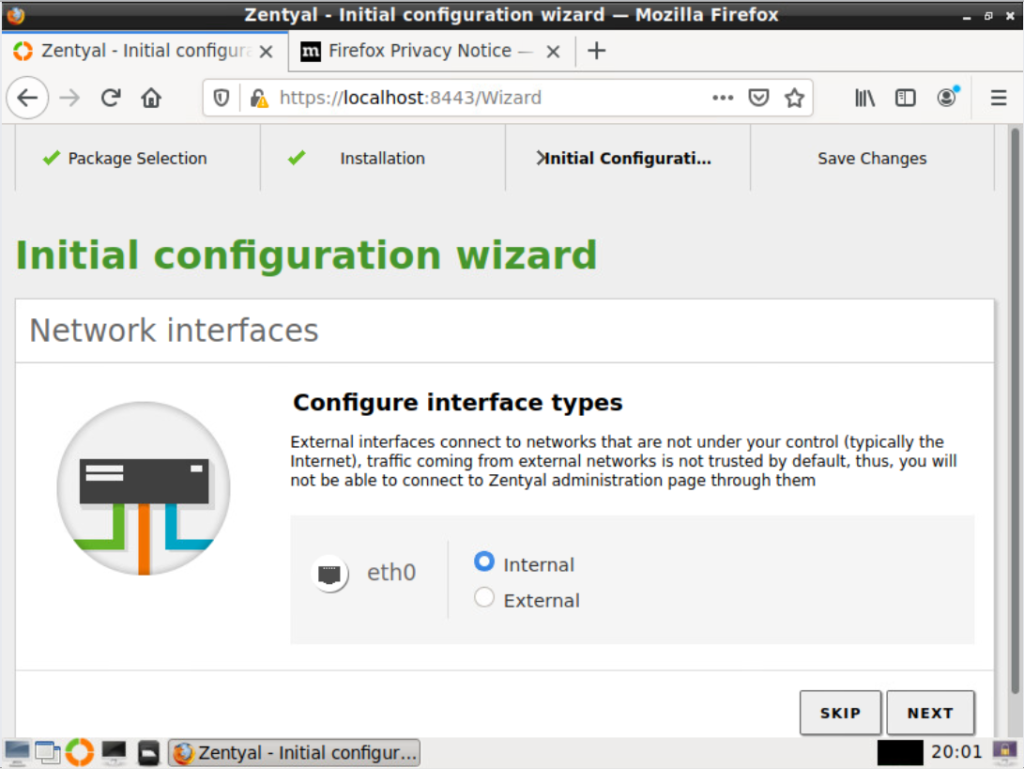
Next select the eth0 type Internal for a DC installation and external if you are installing a firewall. Click next to go to the next screen.

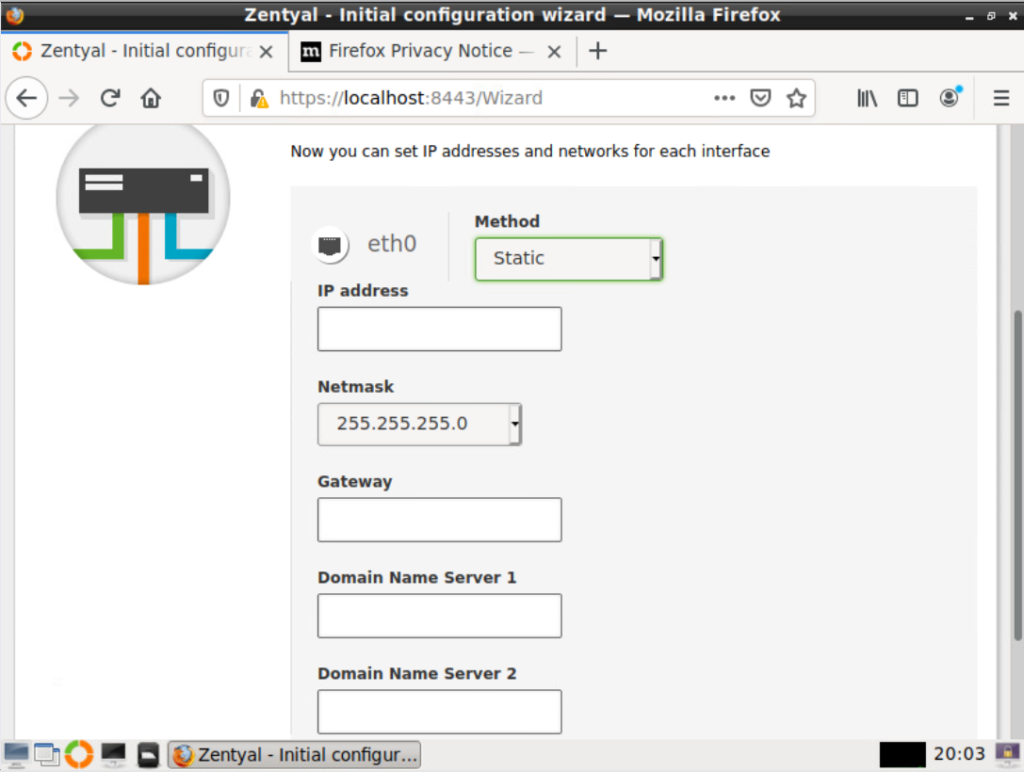
Select the network config for eth0. If you want to use dhcp to give the server an IP address (which I do ) click next. If you want to add a fixed IP select Static and add the correct IP details:

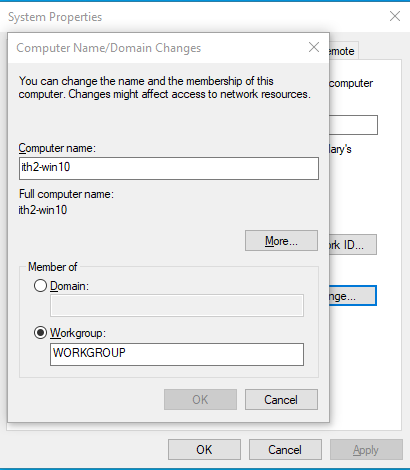
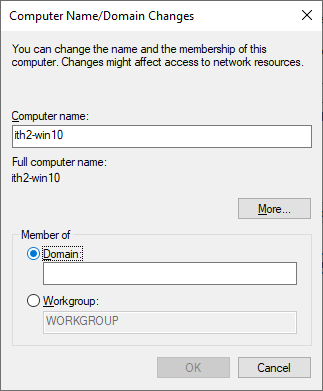
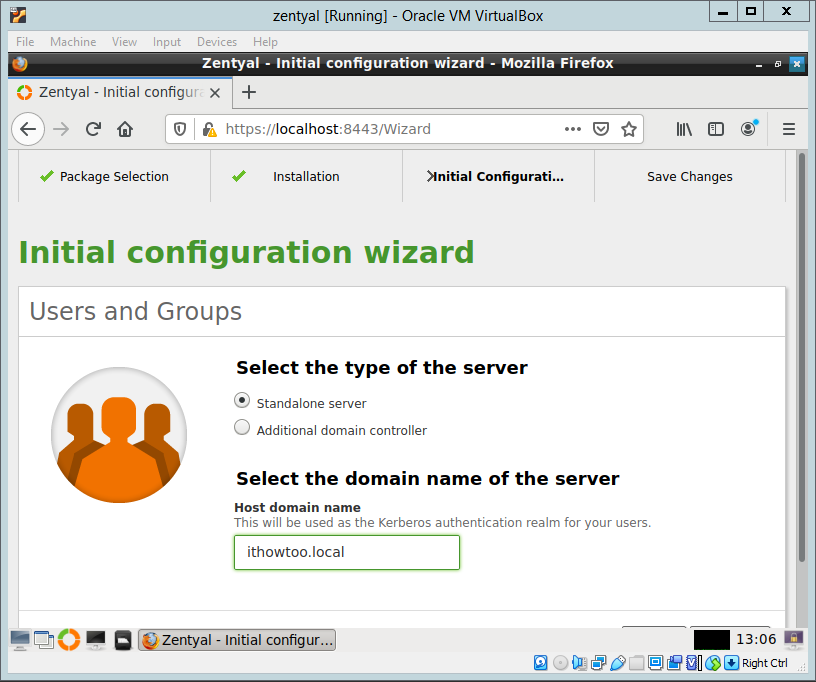
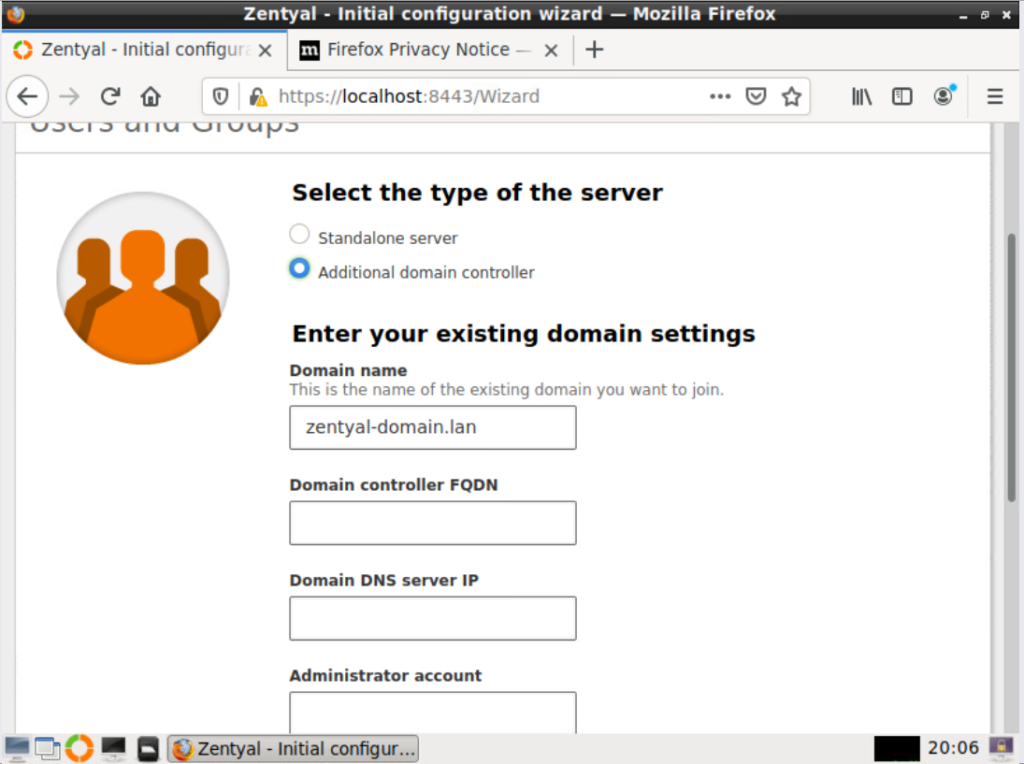
Select the server type. To create a new domain select Standalone server and add the domain name in the Host domain name field. If you already have a domain configured select Additional domain controller and then add the domain details.

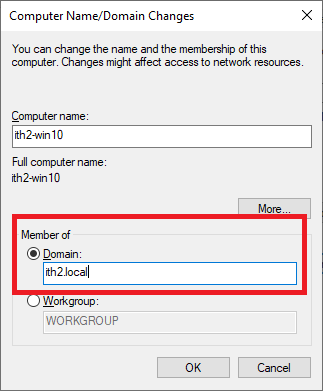
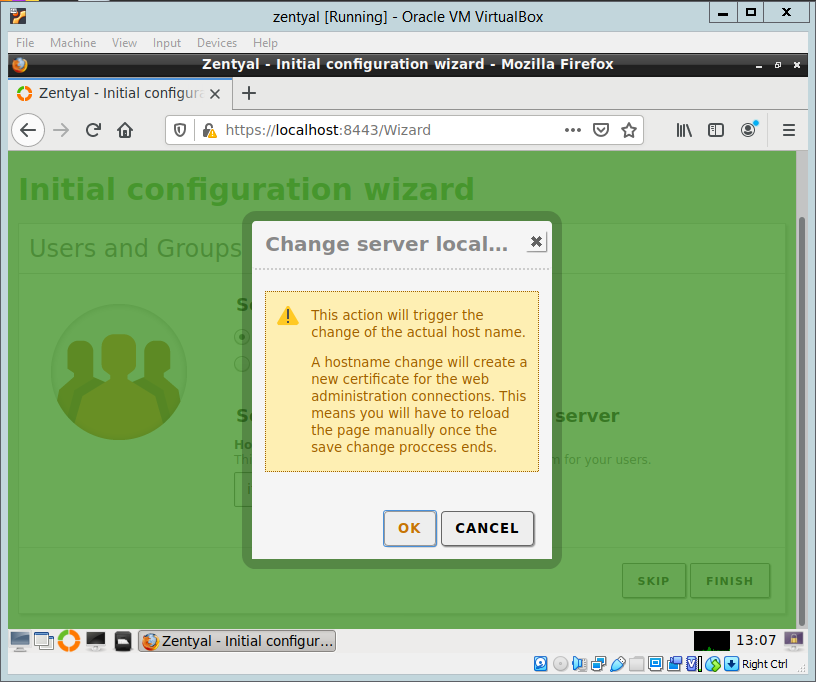
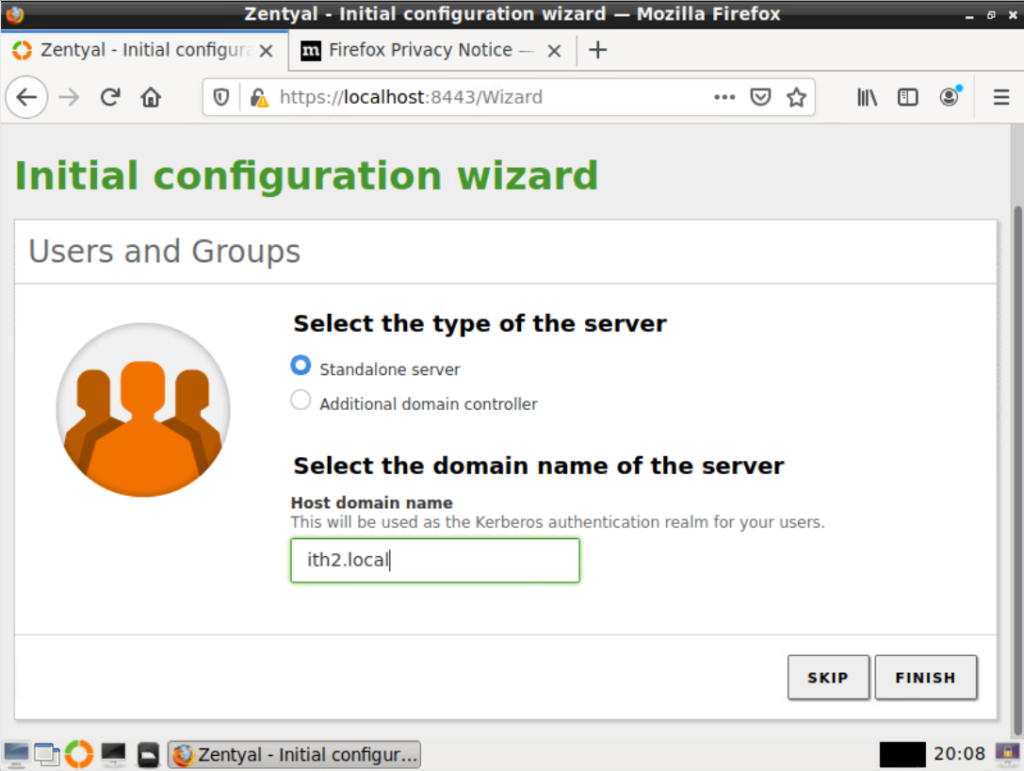
As stated before I want to install a new Domain DC so I chose Standalone server and added my new domain (ith2.local) to the Host domain Field and then clicked Finish:

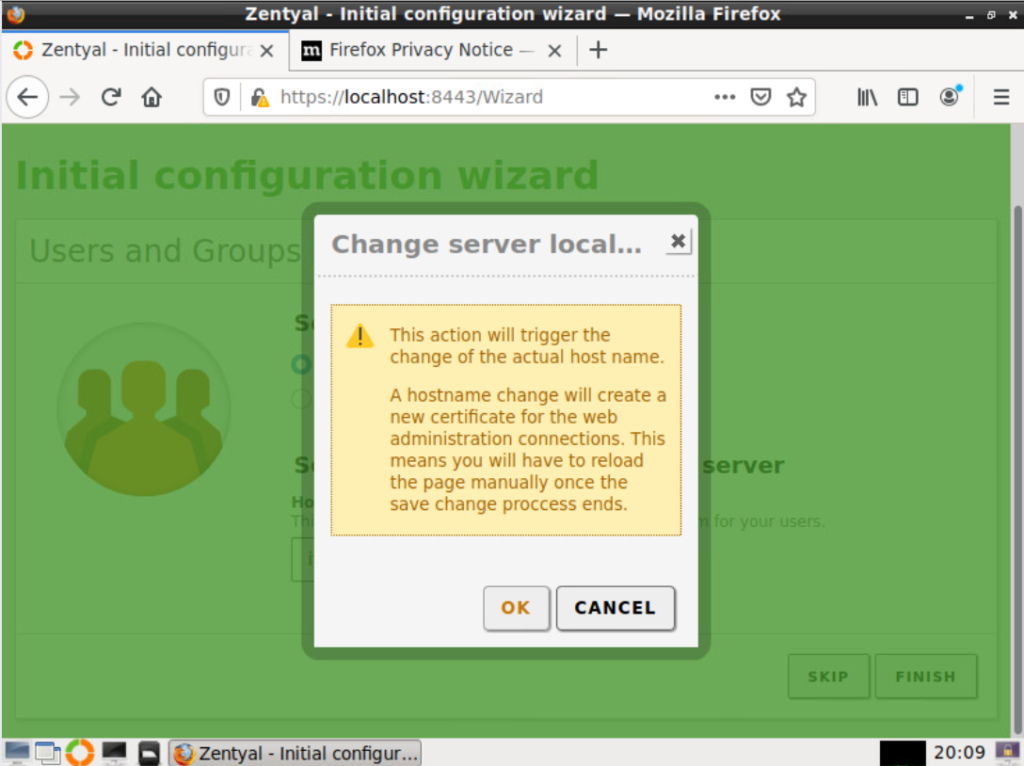
I then had to click on OK to kick off the installation:

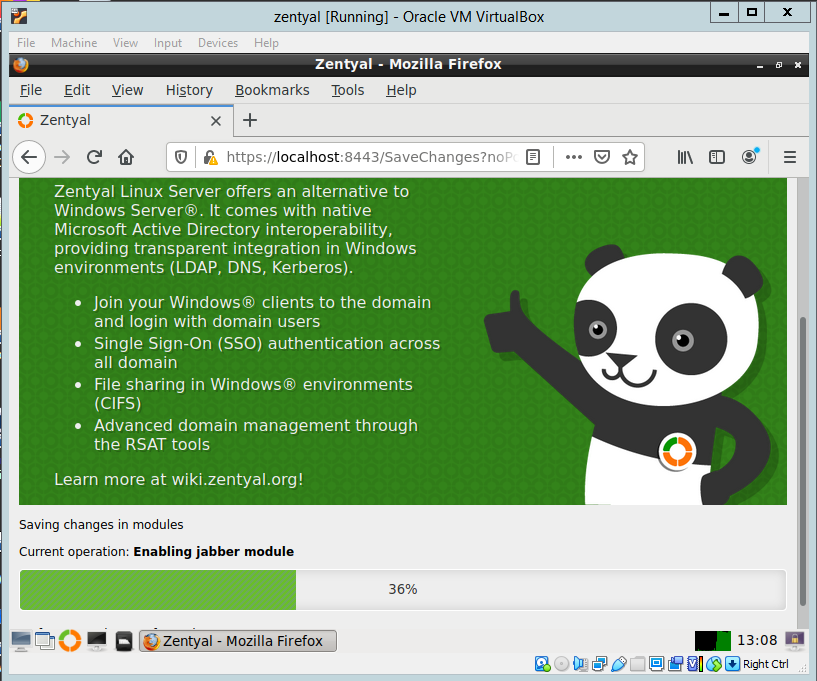
The server was then configured:
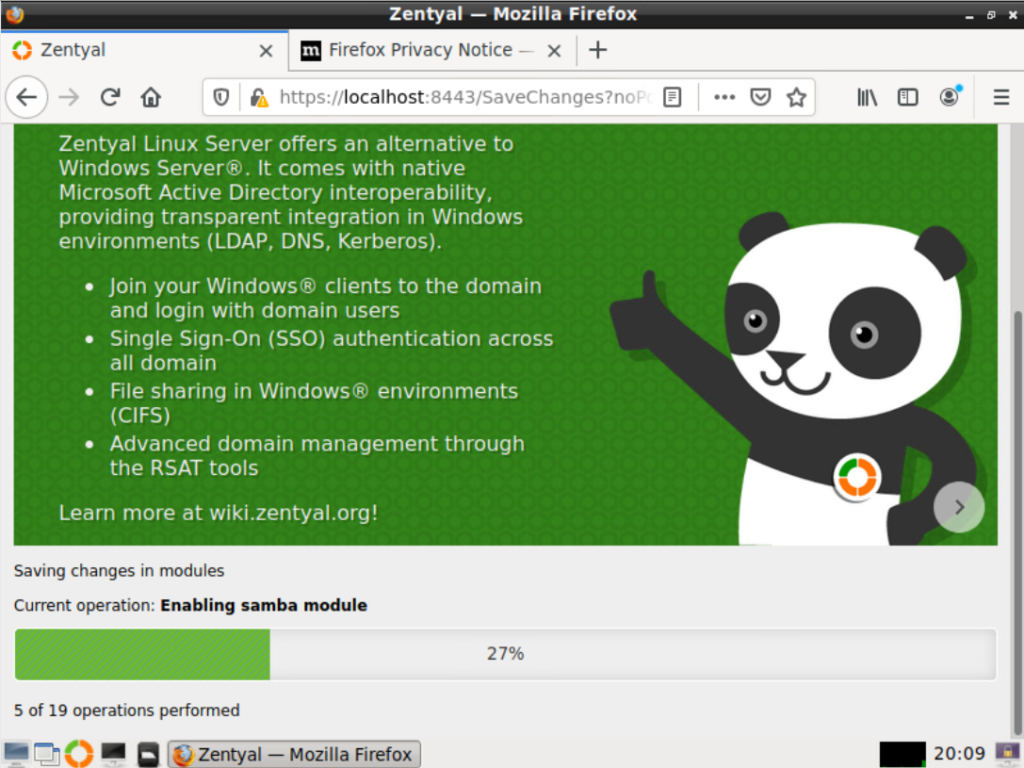
After 5-10 minutes

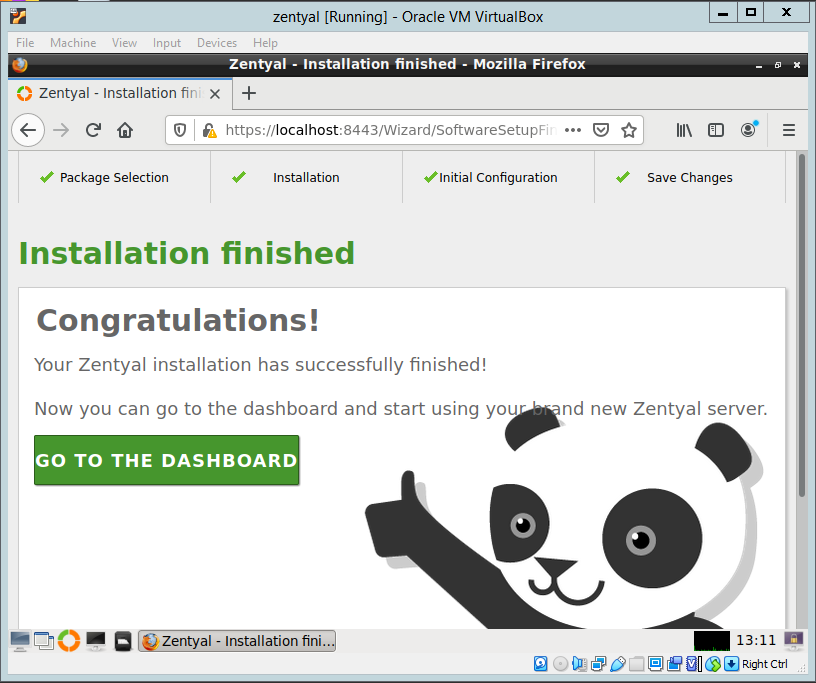
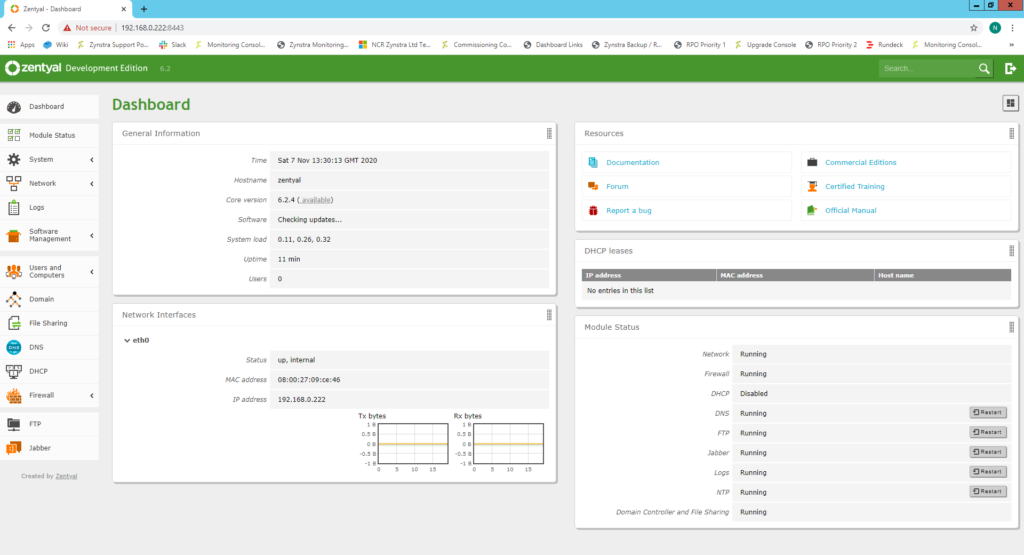
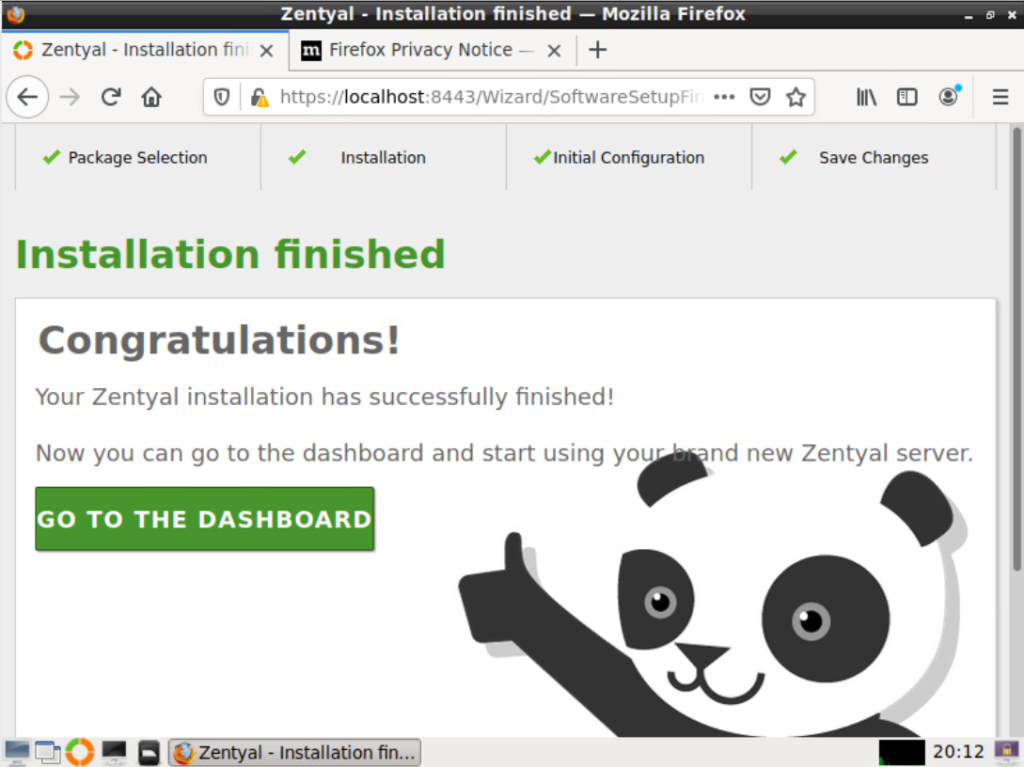
The Congratulations screen was then shown so I clicked on GO TO THE DASHBOARD close the Initial setup window.

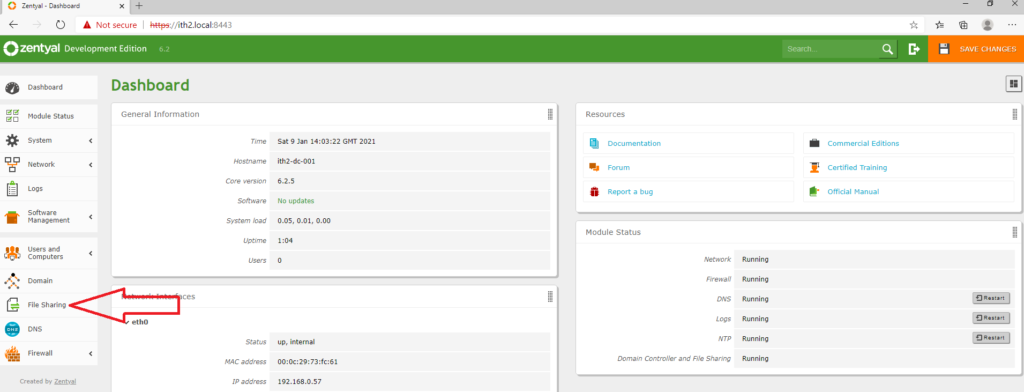
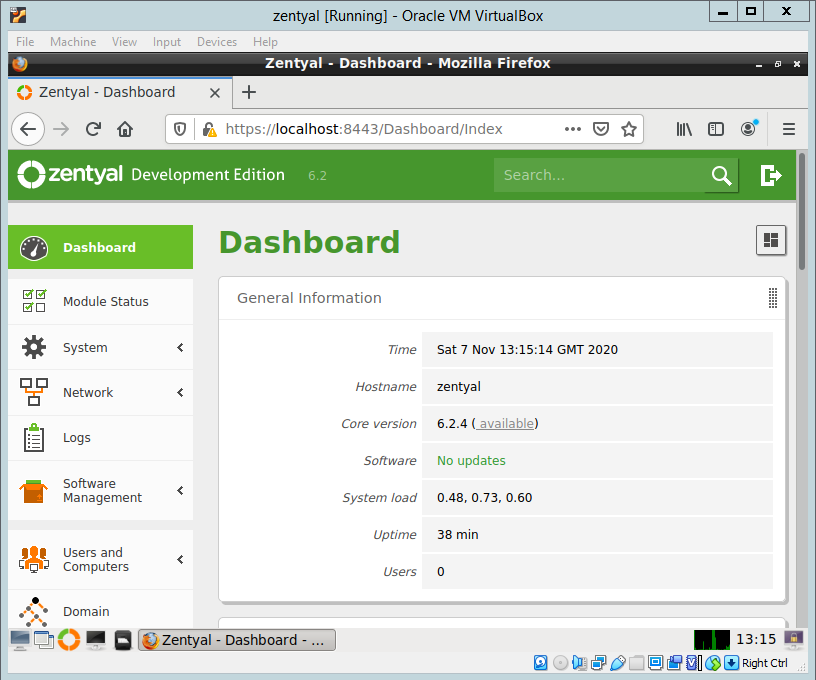
From the dashboard I found the ip address of the server so that I could connect to the server via the web gui:

Connecting to the Zentyal 7.0 Web Gui:

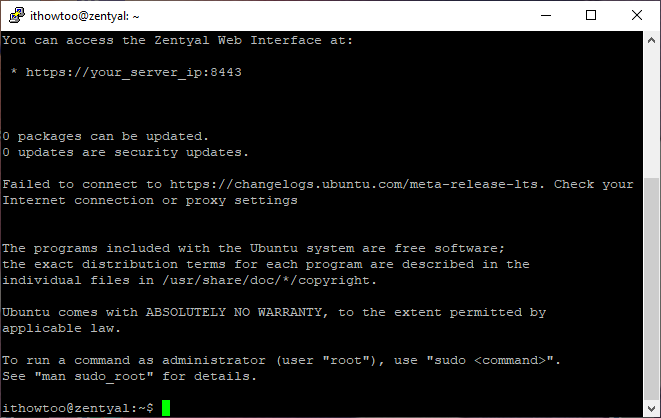
The Zentyal server has a web gui console that can be used to administer the server without having to use the local console which is much more convenient and the resolution of the web gui is much better than the local console. To connect to the web console put the following link in a browser:

https://ip_address:8443

So in my case the address was https://192.168.0.71:8443

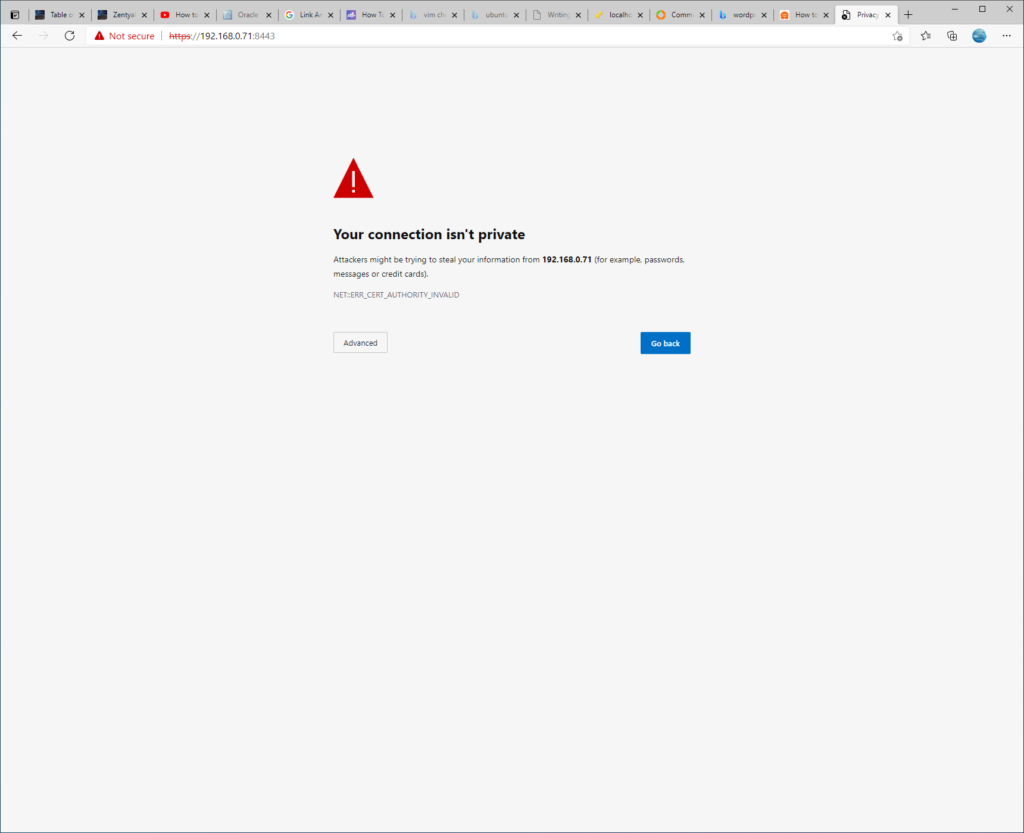
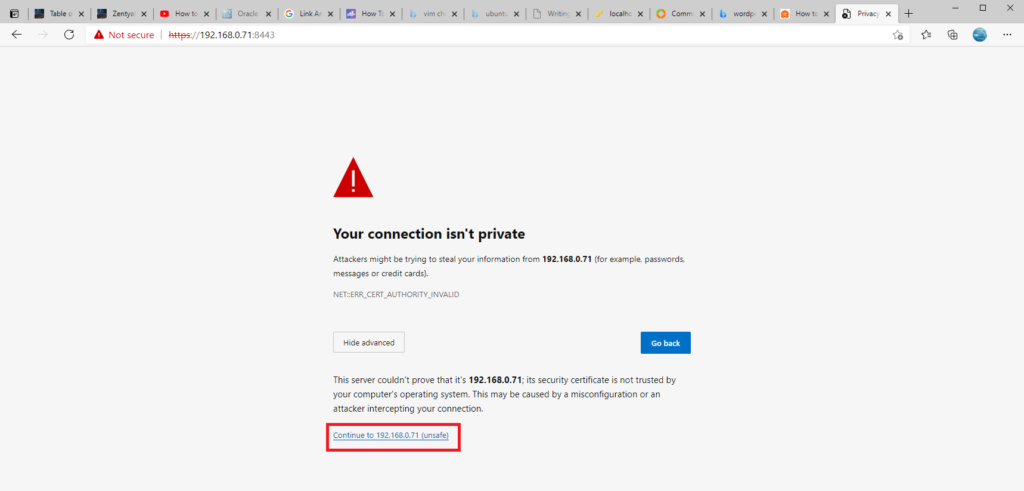
Click on Advanced and then Continue to server ip (unsafe):

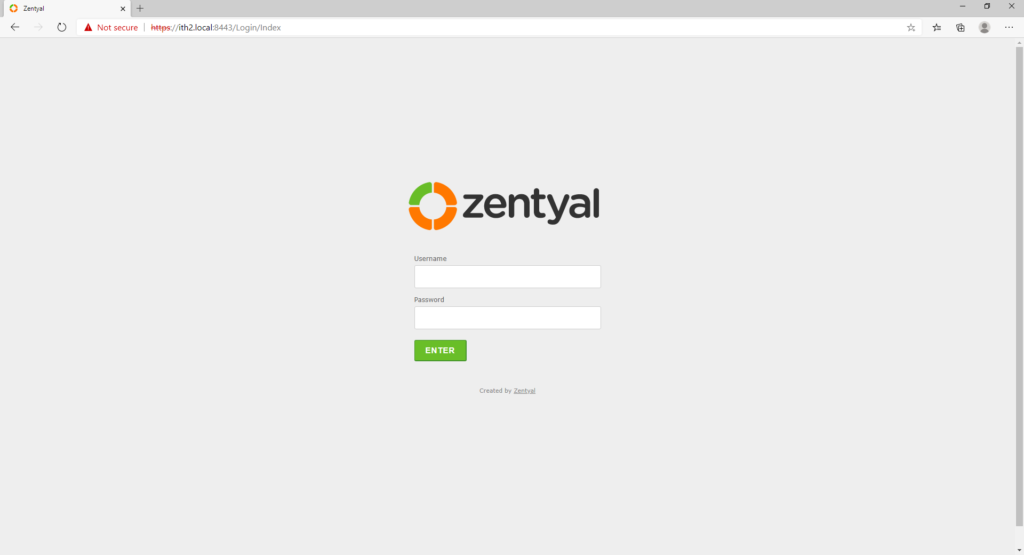
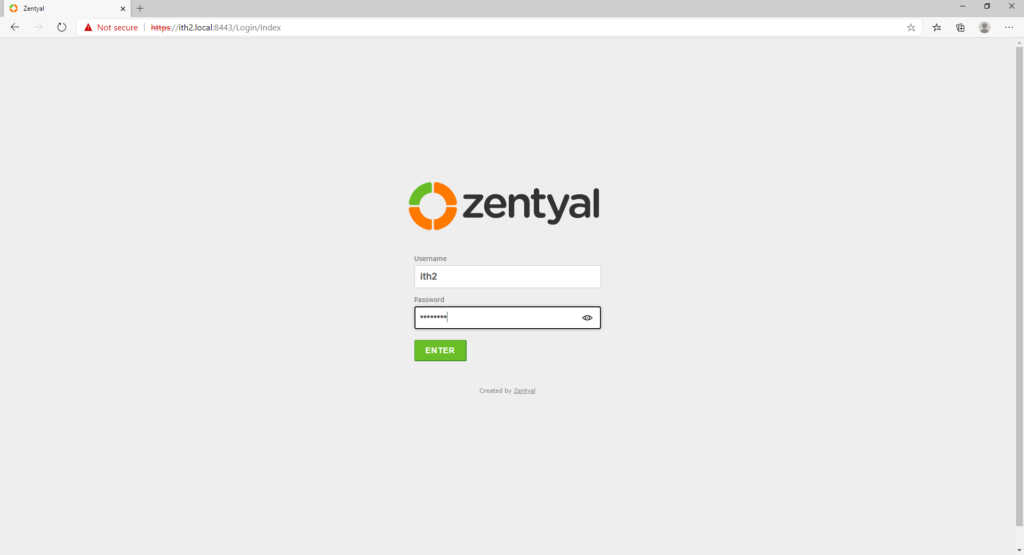
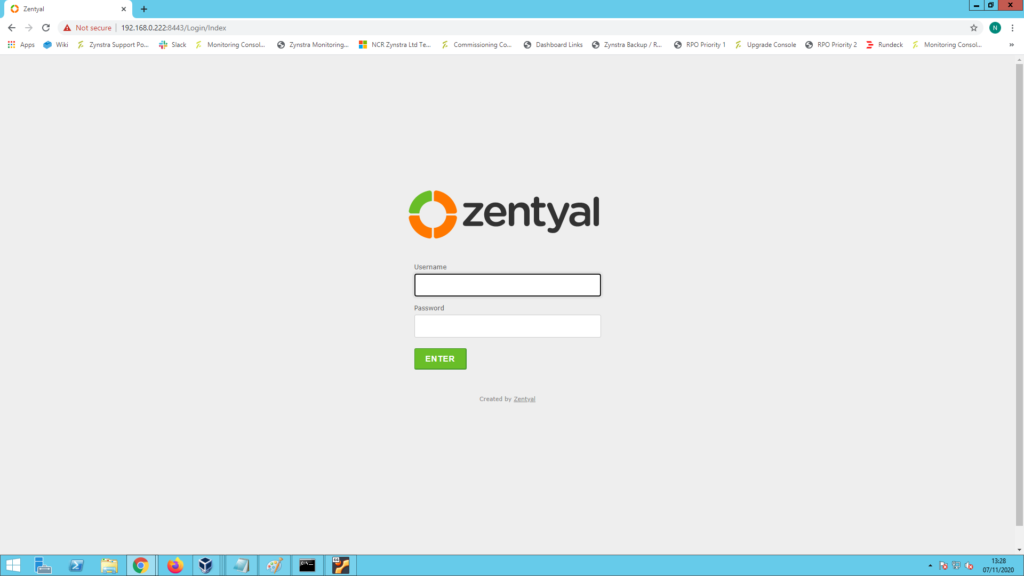
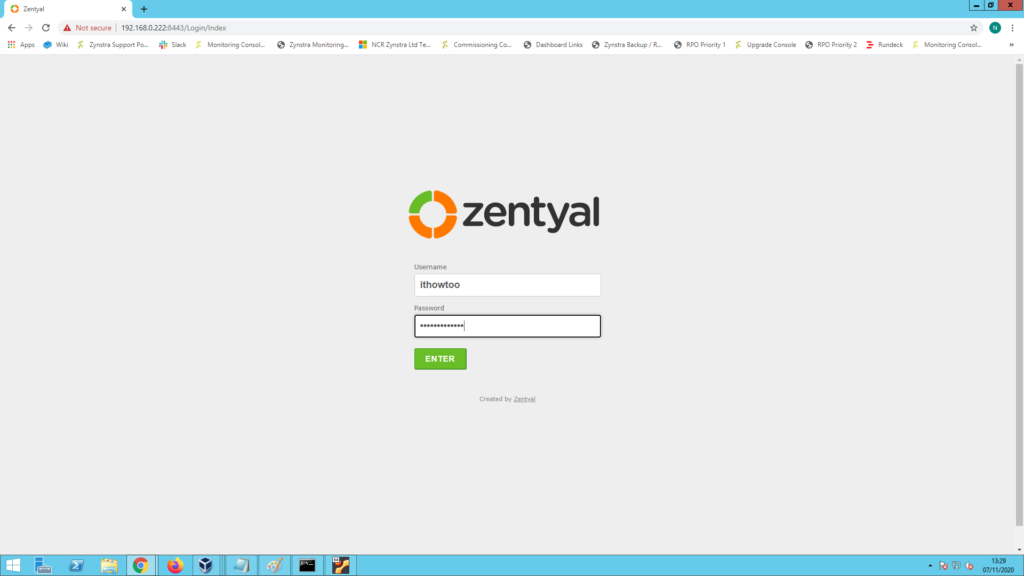
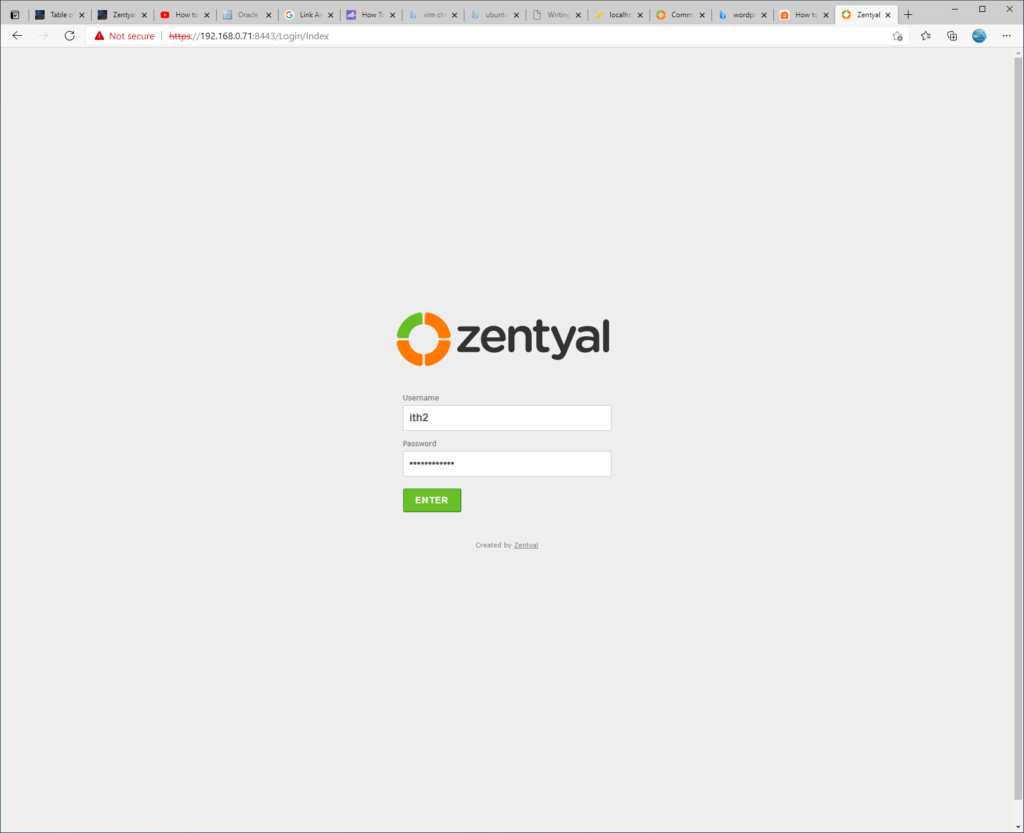
The login page will be displayed in all its glory:

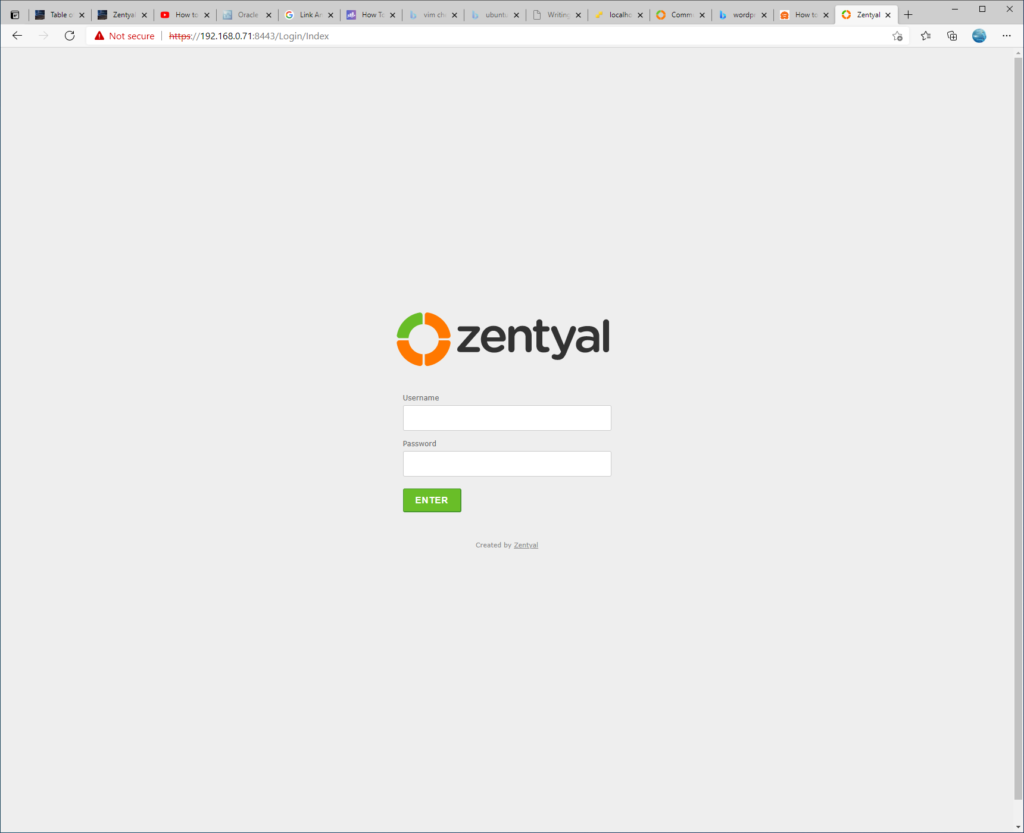
Log in with the user and password created during setup and click on ENTER:

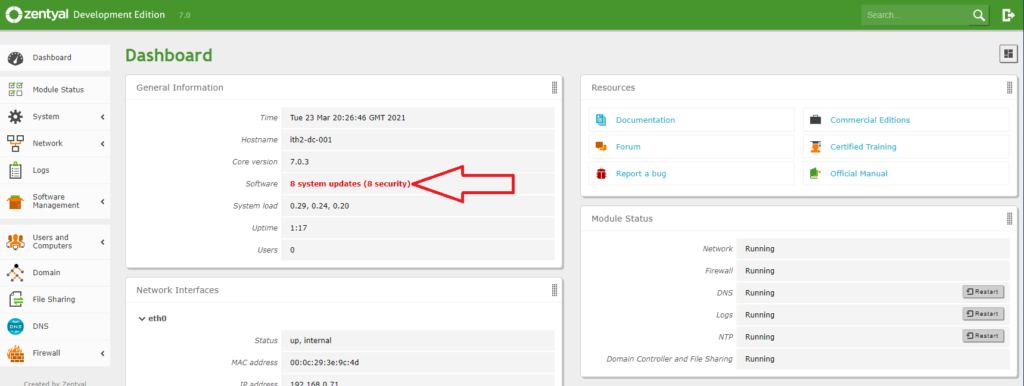
You will be taken to the dashboard:
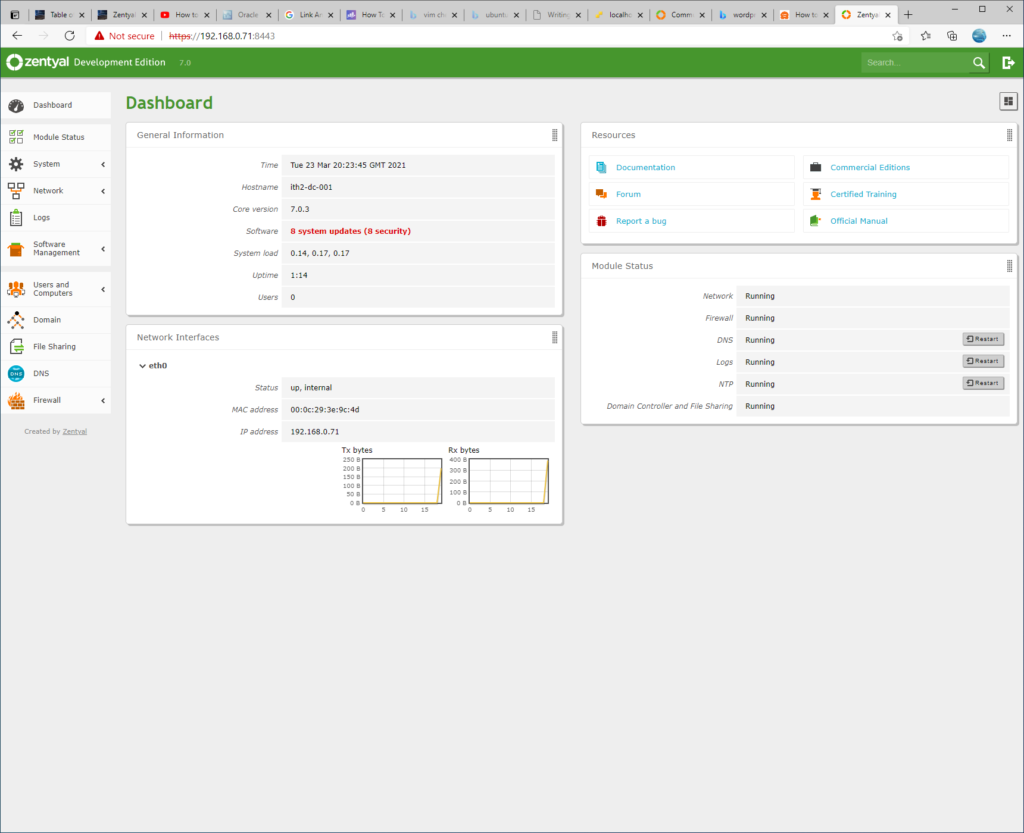
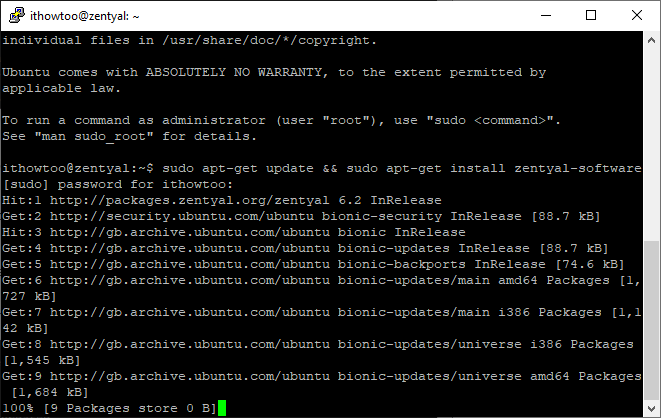
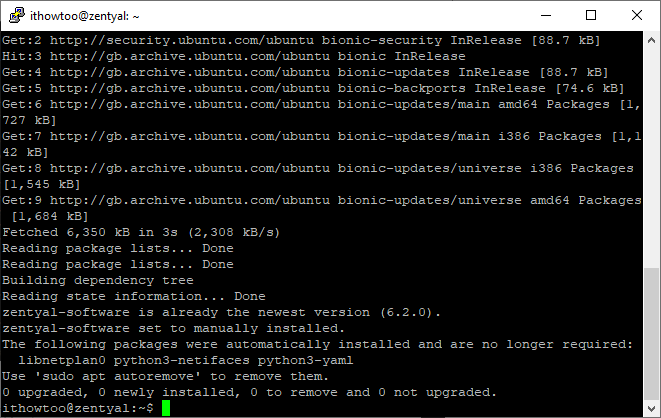
Update the system.

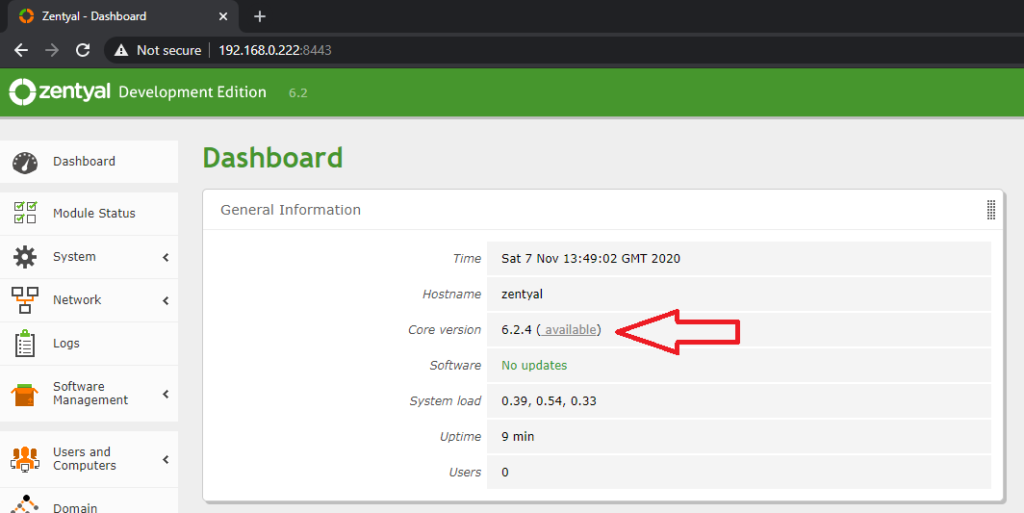
The first thing that you may notice is that the system software is out of date:

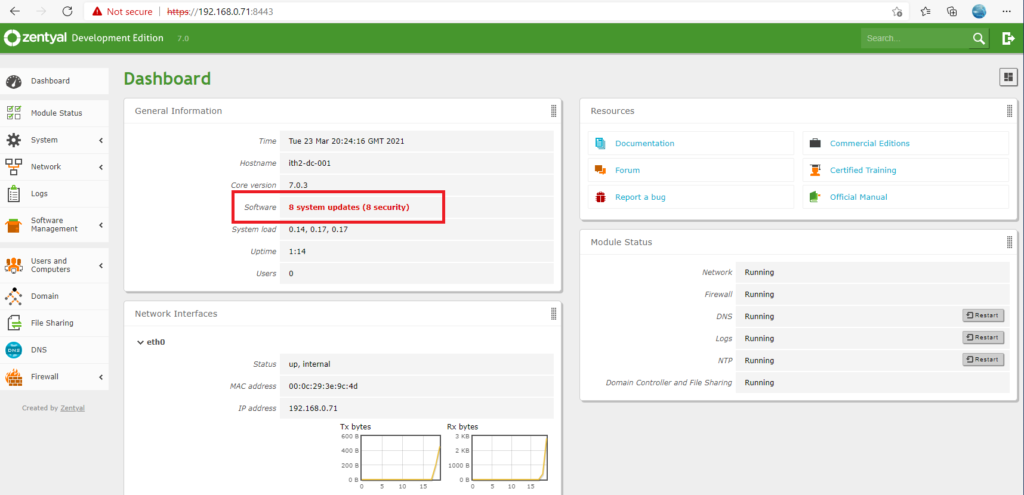
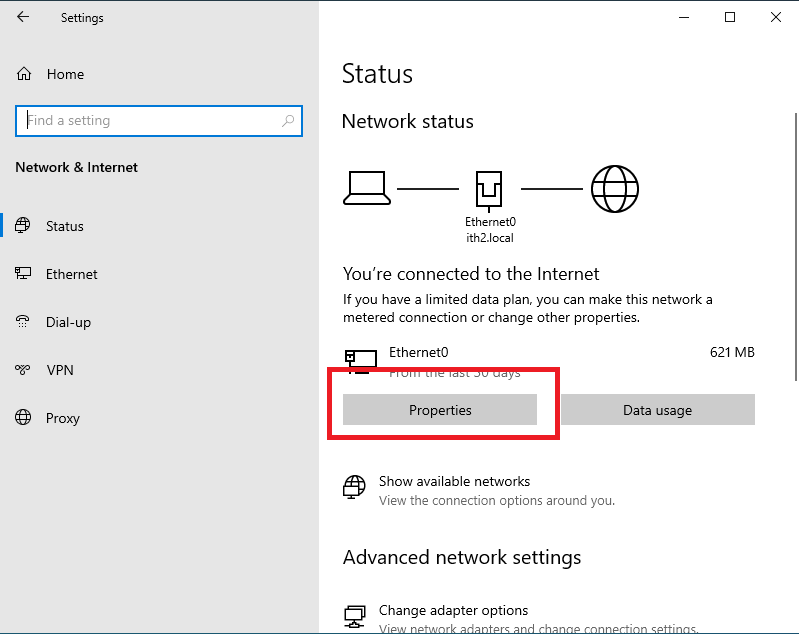
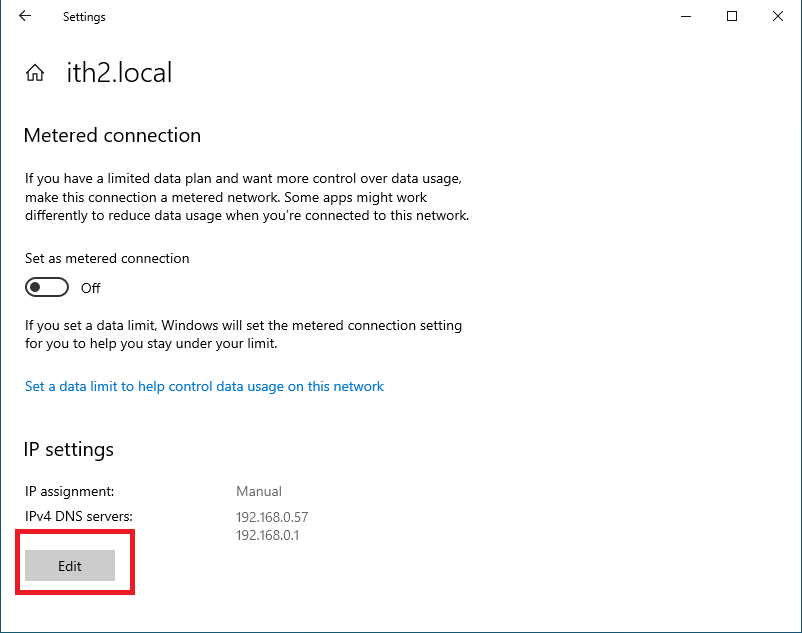
It is a good idea to update the server before doing any more confutation. To do this click on the red system updates warning to the right of Software:

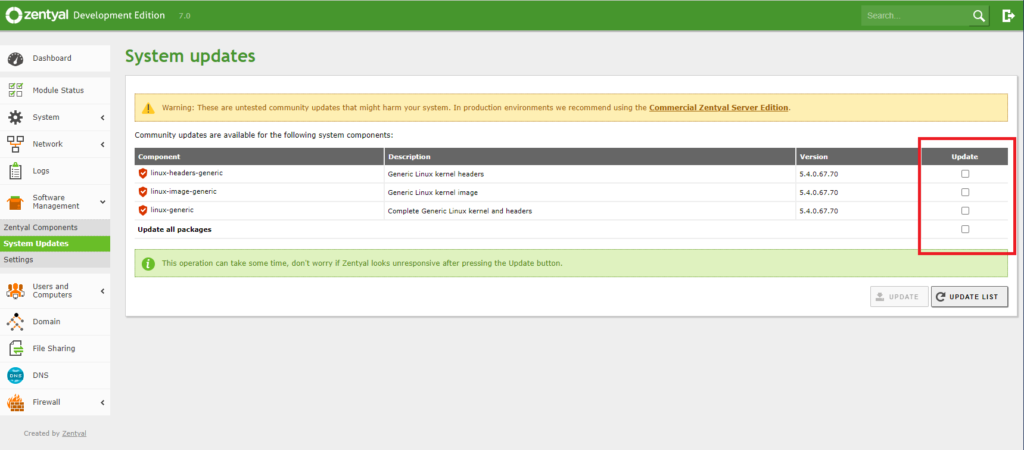
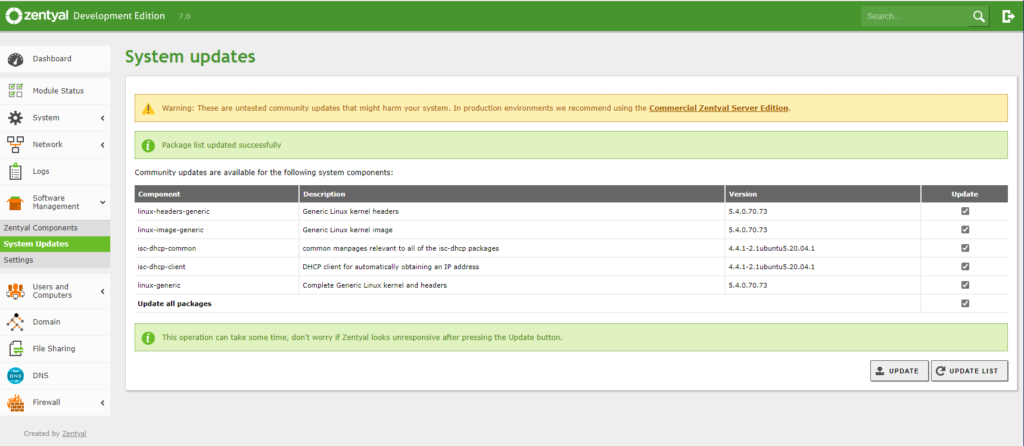
Select the updates to be installed by ticking the boxes in the update column:

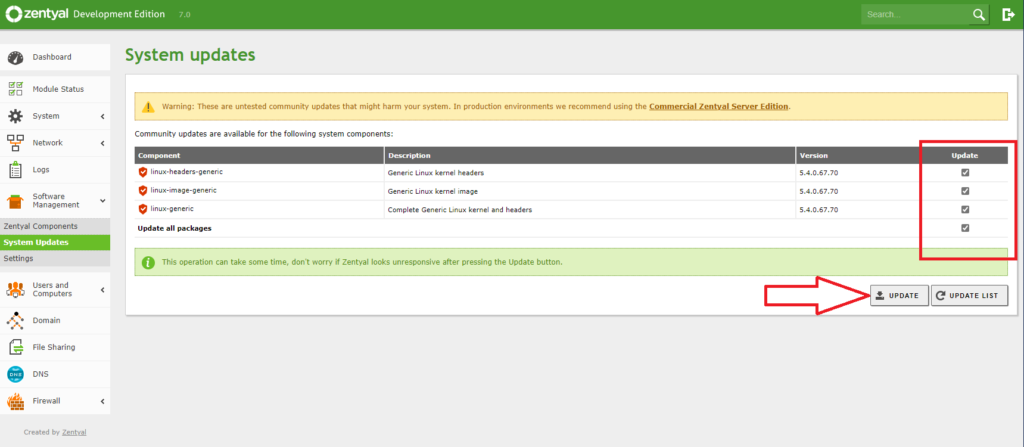
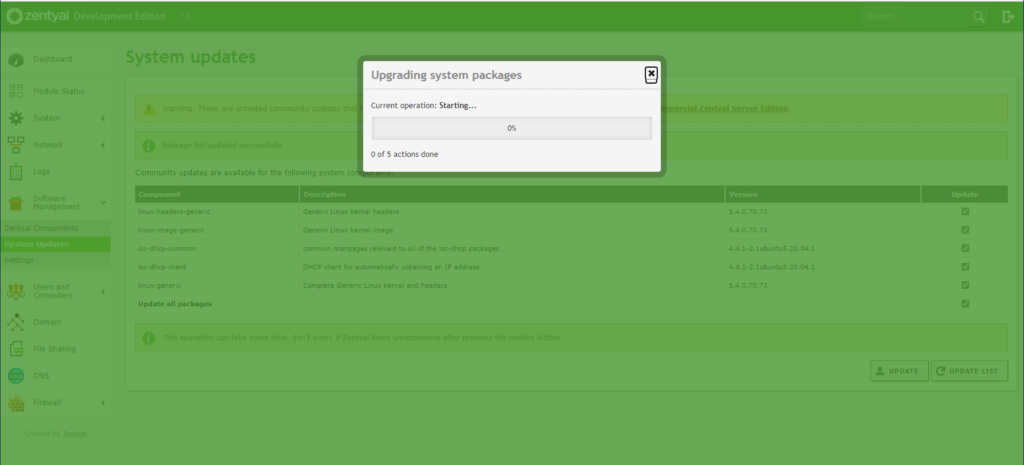
Once you have selected the updates to install click on UPDATE to run the updates:

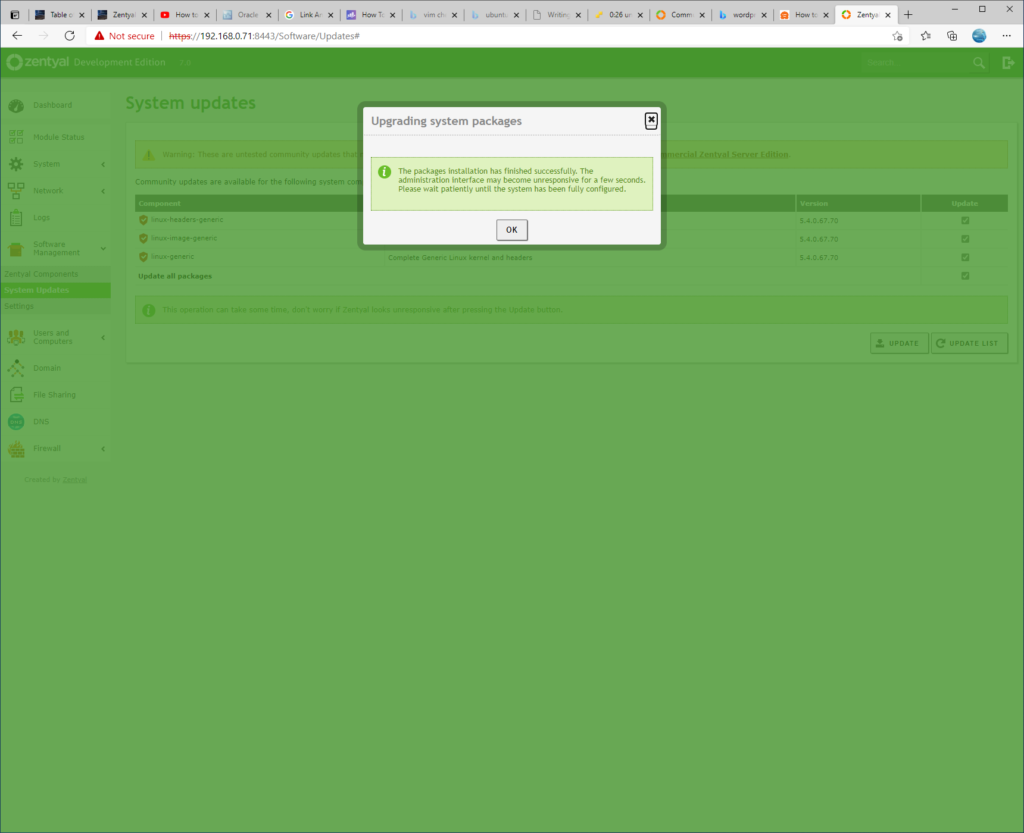
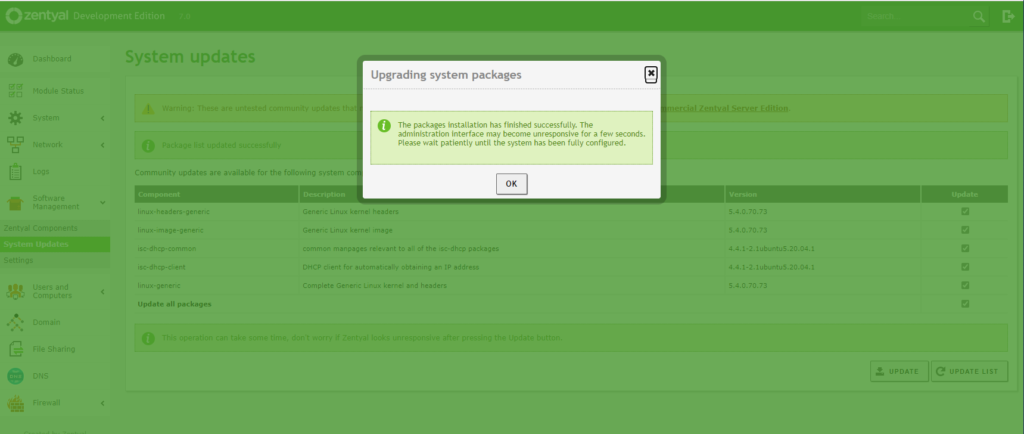
The software updates will now be installed:

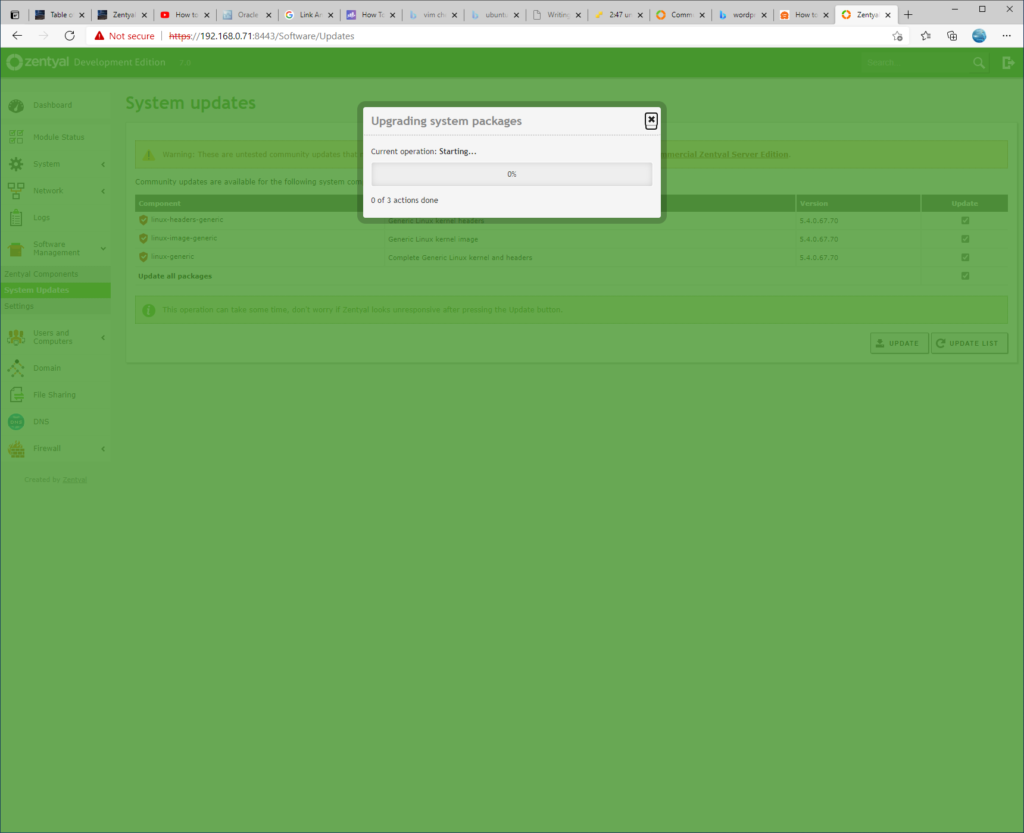
Wait for them to finish and then click OK to finish the updates.

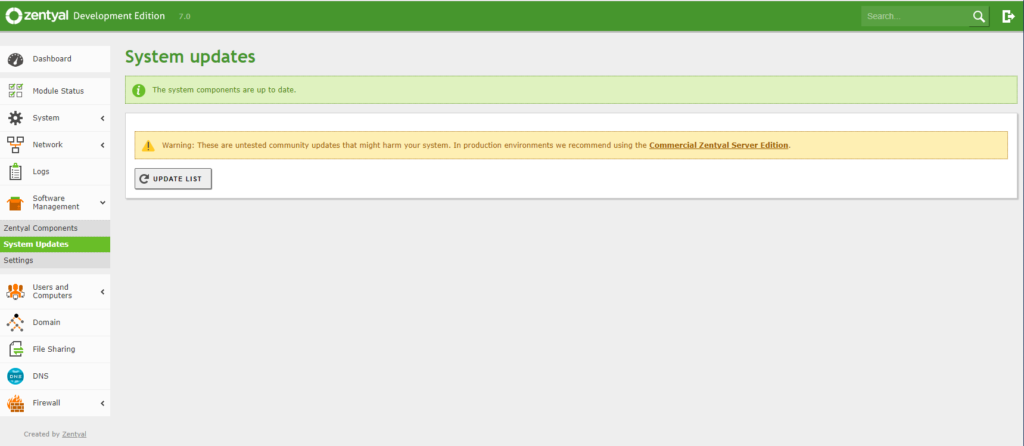
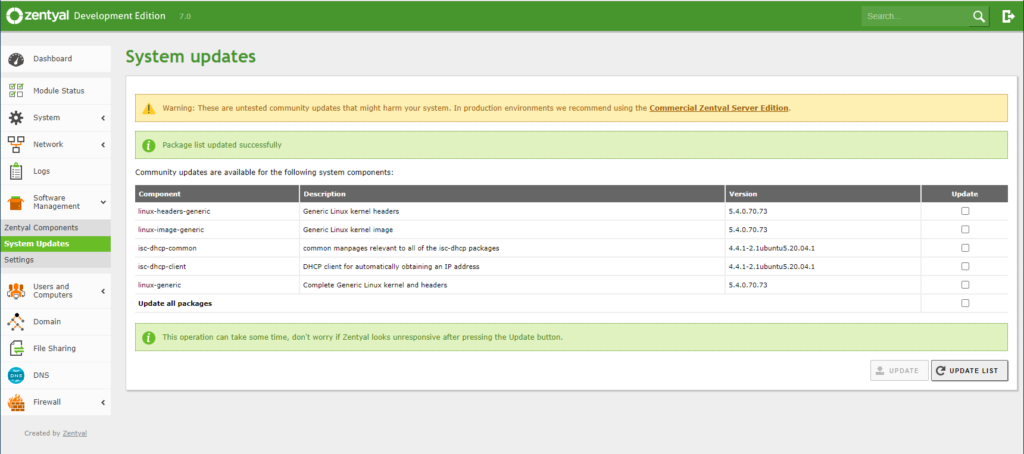
Check that there are no more updates to install by clicking UPDATE list:

In my case the wizard found a bunch more updates:

So I again selected them and clicked on UPDATE again to install them:

I had to then wait again for the updates to install:

Once finished OK was clicked again:

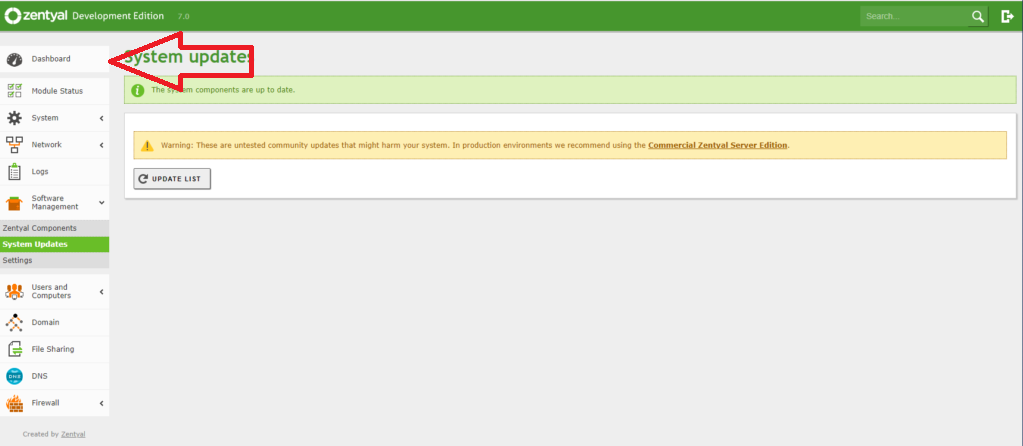
I then clicked UPDATE LIST again to see if there were any more updates:

This image has an empty alt attribute; its file name is image-106-1024x446.png

There were no more updates found so I went back to the dashboard by clicking Dashboard on the left hand menu:

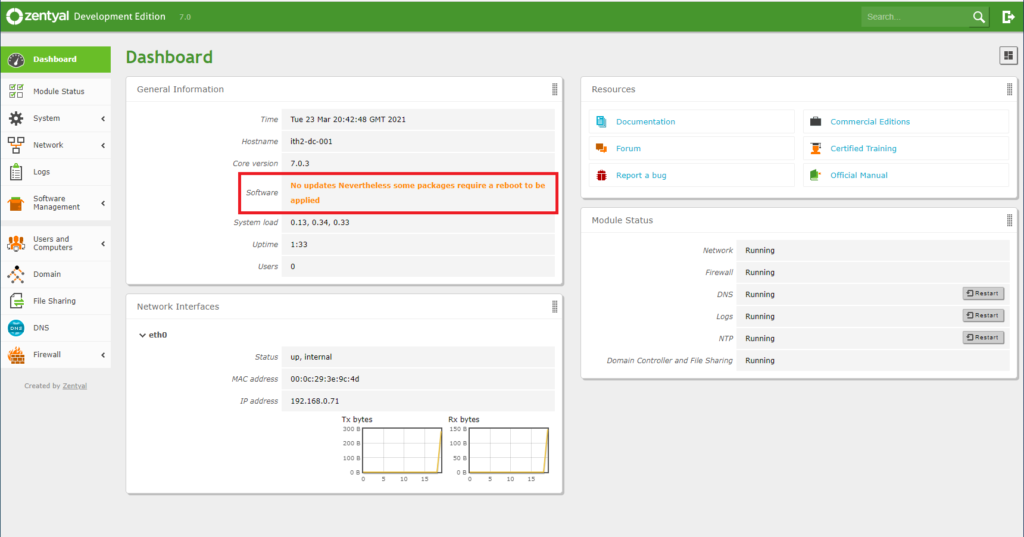
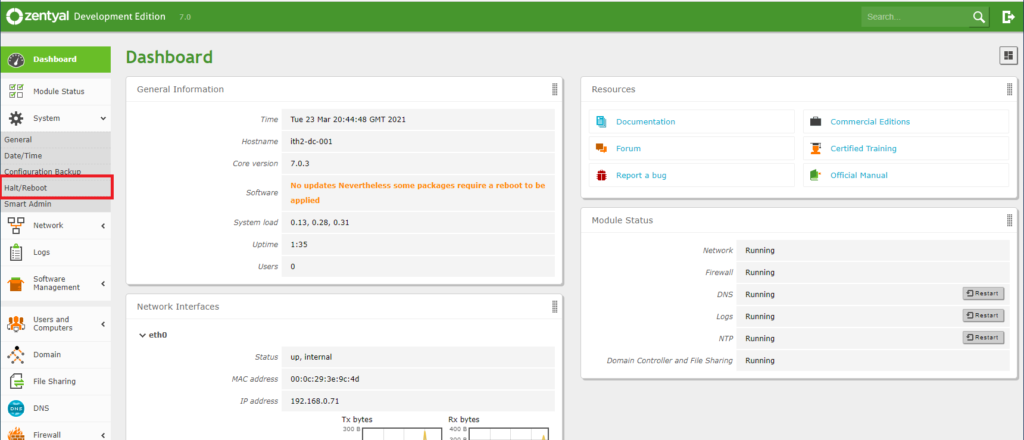
From the dashboard I could see that there were no more updates but the system needed a reboot to finish installing the updates installed previously:

So I clicked on the system menu option and then Halt/Reboot:

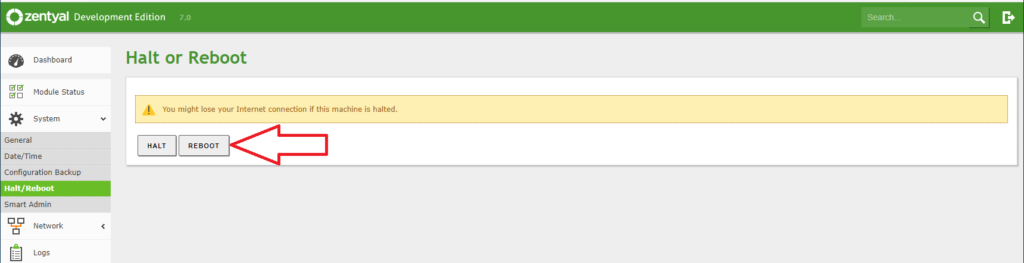
I then clicked REBOOT to reboot the server:

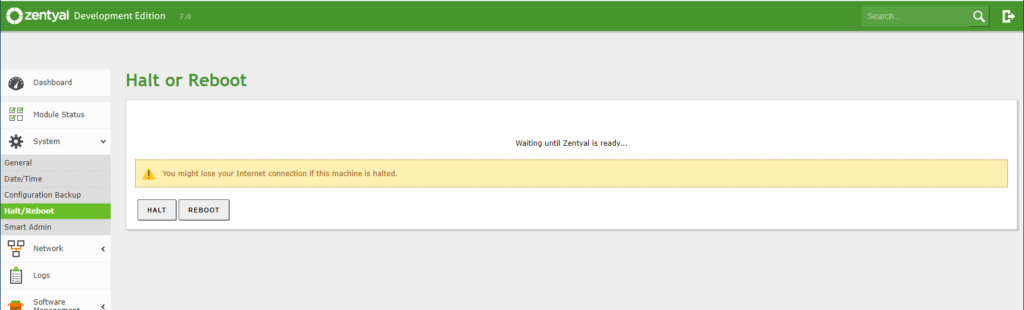
I then waited for the system to reboot:

After a few minutes I went to https://ipaddress:8443 and was back at the Your connection isn’t private screen so I clicked on Advanced and Continue to IP Address (unsafe) as I did before and was taken to the login screen again:

When I logged in I found that there were no more updates:

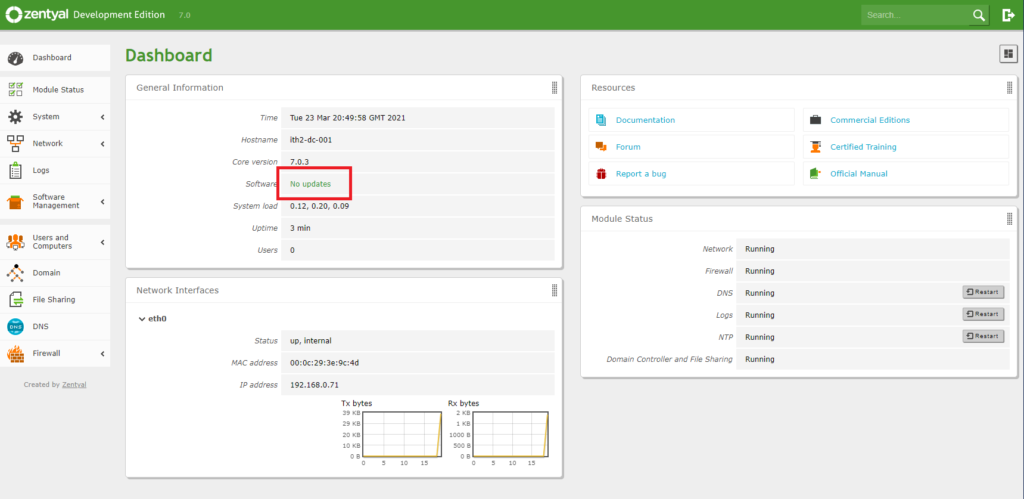
The server is now configured as a Domain controller and File Server.

For more Zentyal 7.0 articles take a look at our Zentyal Category.

Zentyal Community Edition 7.0: How to Download Zentyal Community Edition 7.0 Server ISO.

To download the Zentyal Community Edition 7.0 ISO follow the following procedure.

Download Zentyal Community Edition 7.0 Server ISO:

Open a browser and go to Community – Zentyal Linux Server

Download Zentyal Community Edition 7.0 Server ISO

Click on DOWNLOAD ZENTYAL DEVELOPMENT EDITION

This will then start the download of the ISO. Once it is complete you will see the download at the bottom of the Browser window:

The iso will now be in your downloads folder and can be used to create boot media or install a VM:

For more help with Zentyal go to our Zentyal Category.

There is also a lot of useful information on the Zentyal Website.

Zentyal 7.0 released today (27/01/2021)

I received an email notification that Zentyal 7.0 was released today. According to the life cycle it is now based on Ubuntu LTS 20.04:

According to the email I received the major changes are:

Zentyal 7 released today (27/01/2021)

Zentyal 7.0 can be downloaded HERE.

The ISO is currently downloading and I will add an installation How too shortly. To find this how too and others relating to Zentyal click HERE.

According to the Zentyal website other than being based on Ubuntu Server 20.04 LTS Zentyal 7.0 has the following feature list:

Directory & DomainCentral domain and directory management Users, Security groups, Distribution lists, Contacts Multiple Organization Units (OUs), Group Policy Objects (GPOs) NETLOGON scripts, Roaming profiles Single Sign-On (SSO) authentication Supported OS: Windows® XP/Vista/7/8/10 File sharing in Windows® environments (CIFS) Users and Groups access and modification permissions (ACLs) Integrated software: Samba
MailSupported protocols: SMTP, POP3, IMAP, CalDAV, CardDAV, SIEVE Supported clients: Mozilla Thunderbird® Webmail Synchronization to mobile devices via ActiveSync Multiple virtual mail domains Single Sign-On (SSO) authentication Management via Zentyal or Microsoft ® Active Directory Antivirus & Mail filter Integrated software: Postfix, Dovecot, Fetchmail, Sieve, SOGo, SOGo ActiveSync, Amavis, ClamAV, SpamAssasin
GatewayNetwork configuration Routing Gateway Firewall Network authentication service (RADIUS) FreeRADIUS HTTP Proxy IDS/IPS Integrated software: Iproute2, Netfilter, Squid, Suricata, FreeRADIUS
InfrastructureDHCP and DNS server NTP server Certification Authority (CA) Virtualization Manager Virtual Private Networks (VPNs) Instant Messaging (IM) service Libvirt/KVM, Duplicity FTP Server Integrated software: BIND, ISC DHCP Software, ntpd, OpenSSL, OpenVPN, ejabbered, vsftpd, Libreswan
Support & UpdatesAdvice and support for Development Edition is provided by community and development team members via Forum and GitHub If you need official technical support, do evaluate the Perpetual License and Support Subscription

Zentyal: Create File Share on a Zentyal 6.2 DC

The process of adding file shares on a Zentyal 6.2 DC is pretty simple as the File Share module is automatically installed as part of the Domain Controller Module.

Create a file share on a Zentyal 6.2 DC:

To Create a File Share on a Zentyal 6.2 DC follow the following Steps:

To create a new share connect to the web interface of your DC (https://dc-ip:8443)

Create File Share on a Zentyal 6.2 DC

Log in with an admin user account:

log in

Click the File Sharing button on the left hand menu:

File share

Click the ADD NEW button:

Add New

Fill in the required fields as required:

Create Share

Click ADD to create the share. The new share will now be in the list of shares.

New Share Added

Click on the Access Control Settings button for the share.

Access settings

Click the ADD NEW button:

You can then chose which user or group will have access and give them the desired level of access (Read Only, Read and Write and Administrator).

Add user

Click ADD to create the access to the folder:

Add

Click SAVE CHANGES to save the changes.

Click SAVE:

Save Settings

Wait for the changes to be saved:

Wait

Once saved you will be able to access the share from windows by searching for \\dcipordomainname and clicking enter:

Access share

This will then open a new window showing the shares on the DC. Click on the required share and you will enter the share:

open share
opened share

Depending on the level of access you gave the user they will then be able to copy and create folders/ documents in the folder.

create test folder

For more Zentyal How Too’s take a look in our Zentyal Category.

To read more about Zentyal on their website Click HERE.

Zentyal: Add a Windows 10 Pro PC to a Zentyal Domain

If your PC is running Windows 10 PRO and your Zentyal Server is configured as a DC then the Windows PC can be added to the Domain to add the benefits of centralized login and management using AD users.

If you need to install a Zentyal Server then follow THIS guide. To configure a Zentyal server after installation go HERE.

For more information on Active Directory (AD) there is an excellent article on the Microsoft Site.

Before you try and add the PC to the domian you will need to make sure that the PC is using the Zentyal DC as its DNS server.

Make Sure PC is using Zentyal Server as the DNS server:

To do this open settings and click Network and Internet:

Zentyal: Add a Windows 10 Pro PC to a Zentyal Domain

Click the Properties button under Ethernet adapter name:

Click the Edit button:

Make sure that the DC IP is set as the Preffered DNS. If it is not change it to be:

Click Save and close the Setting Window.

Another quick Check is to make sure that DNS is working is to ping the doman name and make sure that it responds from the correct IP address:

Add PC to Zentyal AD Domain:

The easiest way to add the PC to the domain is to:

Type sysdm.cpl into the search bar:

Click on the sysdm.cpl Icon:

This will open the System Properties Window:

Click the Change button which will open the Computer Name/Domain Changes window:

Click the Select the Domain Option:

Now add the domain name to the Domain field:

Click OK.

Add the Admin user details in the window that opens:

You will get another window open to say that the PC has been added to the domain:

Click OK to close this window.

Click OK to restart the PC:

Click Close to close the System Properties:

Click Restart Now to restart the PC:

When the PC has rebooted log in using a domain user account and select the correct domain to log into:

The new domain user profile will be crearted:

Once windows has created the new user (this used to take seconds not sure why it takes so long now) you will be taken to the users desktop.

You are now ready to use the PC using the domain user. The PC is now a member of the domain and can be controlled by AD and centrally managed! Yay!

Zentyal 6.2: Updating Zentyal 6.2 Core components.

Updating Zentyal 6.2 Core components is a simple process that can easily be done from the command line.

Open the Dashboard and check the Core Version. It will say if there are updates available or not:

Click on the (available) shown above:

And this will show you the instructions of how to update the server:

Updating Zentyal 6.2:

For my server I had to do the following process:

Connect to the server using putty:

Run the following command:

sudo apt-get update && sudo apt-get install zentyal-software

Type in the password for the admin user and press enter:

Wait for the updates to be downloaded and installed:

Once finished a report will show all of the updates installed (my server was actually up to date so no updates were installed).:

Zentyal 6.2: Connect to Zentyal Server 6.2 using the browser.

Connect to Zentyal 6.2 Web Gui:

You can connect to the Zentyal Dashboard remotely using a browser which means that you do not have to be physically in front of the server too manage it.

To connect go to “https://ip_address:8443”, where ip_address is the IP address or the hostname on which Zentyal is installed.

Zentyal 6.2: Connect to Zentyal Server 6.2 using the browser.

Select advanced:

Click on Proceed to server_ip (unsafe). This willl take you to the login page:

Log in using the user and password created during server startup and click Enter to log in.

You will now see the Dashboard and can start setting up your server.

For more posts on Zentyal go to our Zentyal Category.

Zentyal 6.2: Configuring newly installed Zentyal 6.2 Server.

Log into the web interface in the VirtualBox VM that was created using the article HERE:

Zentyal 6.2: Configuring newly installed Zentyal 6.2 Server.

Use the user and password that were created when installing the server:

Configure Zentyal 6.2 Server:

You will now be on the initial Setup Page:

Click on the Continue button:

Choose the Zentyal packages to install and then click the Install button at the bottom of the page:

Click Continue to install the packages:

Wait while the packages install:

When the packages are installed click next to configure networking:

Select the method of setting the IP address for this example I have chosen static as I do not want my ip address provided by DHCP. Once the settings have been filled in click on Next:

Choose the installation type and the domain name. As I have no previous domain to add the server to I chose the Standalone server to create a new domain. Click Finish.

Click OK to start the configuration of the server:

Wait for the setup to finish:

The installation of the server is now finished. Click GO TO THE DASHBOARD to close the Installation Wizard:

You will now see the Zentyal Dashboard. You can use the dashboard through the console or connect to “https://ip_address:8443 (where server_ip is the ip address set during setup), from a browser which is my preferred method as there is no need to physically connect to the server to do configuration:

Console:

Browser:

You are now ready to configure your server.

Zentyal Server 6.2: Install Zentyal Server 6.2 Development Edition in a virtual box.

Zentyal is based on Ubuntu Server 18.04.4 LTS. More information on the pacages that are uses can be found HERE.

Zentyal is described on its web site as:

“Easy Linux alternative to Windows Server

“Join Windows® clients to the domain and manage them transparently. No disruption to your users, no user or device CALs.”

It is a really good alternative to Windows server which has been around for a while and has worked great in the clients that I have installed it in and they have no idea that their network is not running on Windows server.

I will talk you through installing it in a virtualbox VM but the installation will be the same on a physical server.

Installing the Virtualbox VM and booting from the ISO is beyond the scope of this article.

Zentyal Server Development Edition can be downloaded from HERE.

Once the ISO is downloaded and the VM is created in VirtualBox power the VM up and boot from the ISO.

Installing Zentyal Server 6.2:

Choose the language for the Installation and press enter:

Zentyal Server 6.2: Install Zentyal Server 6.2 Development Edition in a virtual box.

Select the default option:

Select the system language:

Select your Region:

Select keyboard:

Select keyboard layout:

Configure hostname:

Create a username:

Type a password and press enter:

Re enter the password and press enter:

Select time zone and press enter:

The system will then install:

The install will they setup the Select and Install software:

It will then install Grub:

It will then finish the installation:

Press Continue when the installation completes to reboot the server:

Zentyal will then start to boot and install the core packages. This step can take a while to complete:

Zental is now installed:

Click on Advanced:

Scroll down to the bottom of the page and click the accept the Risk and Continue button:

You are now ready to log in and complete the initial setup which I will cover in another article.

For more Zentyal posts go to our Zentyal Category.

Finding Zentyal Mysql root password

This morning I was trying to install OwnCloud on a Zentyal 4.0 server. The only problem that I found was with finding the root password for mysql to create the OwnCloud database.

I found the solution on THIS site.

The solution was way too simple it was literally to run the comand below which displays the password on screen.

echo $(sudo cat /var/lib/zentyal/conf/zentyal-mysql.passwd)