Ubuntu 20.10: Installing VMWare Tools using apt.

If Ubuntu 20.10 is installed in a VMware ESI Virtual Machine it is a good idea to install the VMWare tools to improve performance of the VM.

This can easily be done on Desktop and Server versions by opening the Terminal and running the following command:

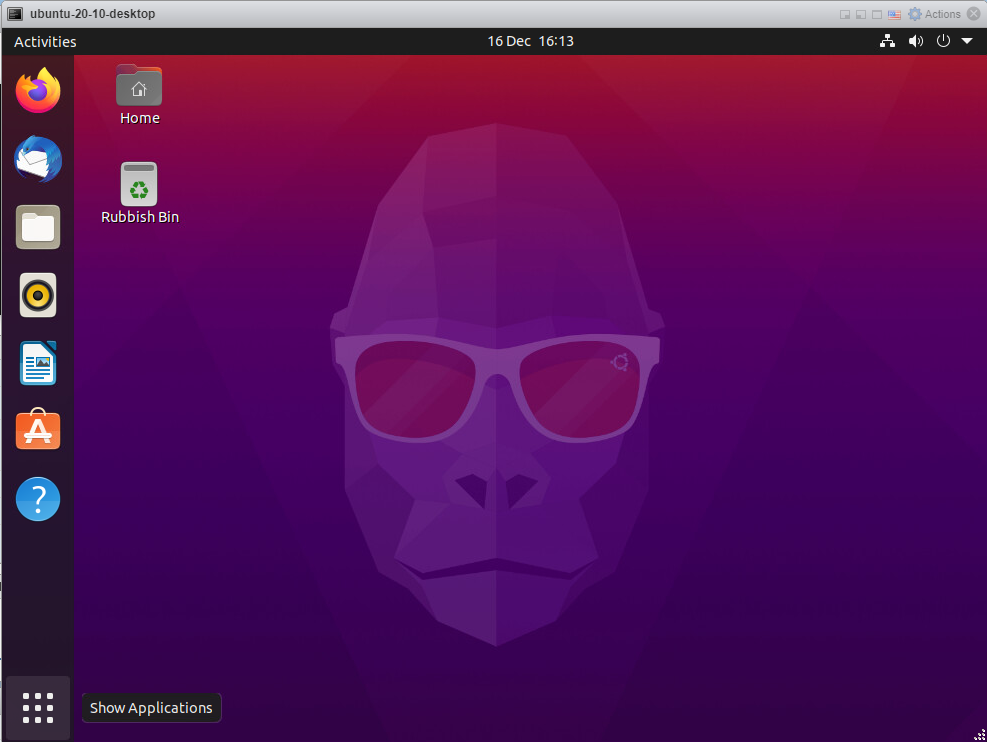
Open Terminal in Ubuntu Desktop.

Click on Show Applications.

Ubuntu 20.10 - Installing Vmware Tools using apt.

Type ter in the search bar

Ubuntu 20.10 - open term

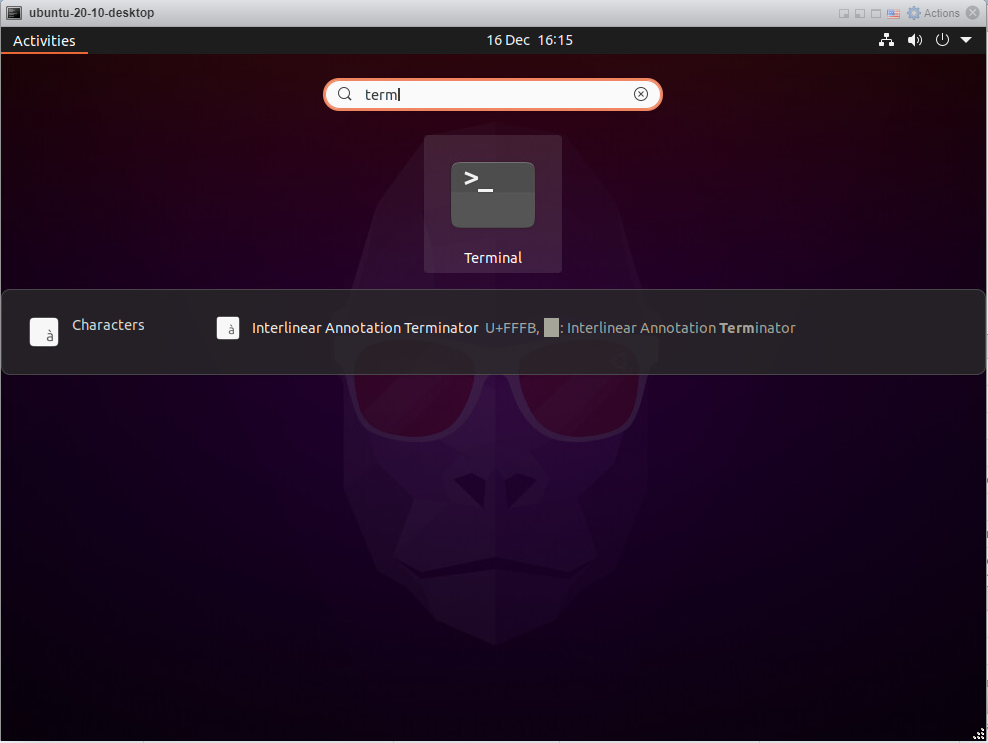
Click on the Terminal Icon that appears which will open the terminal:

Ubuntu 20.10 - Installing Vmware Tools using apt.

Install VMWare Tools:

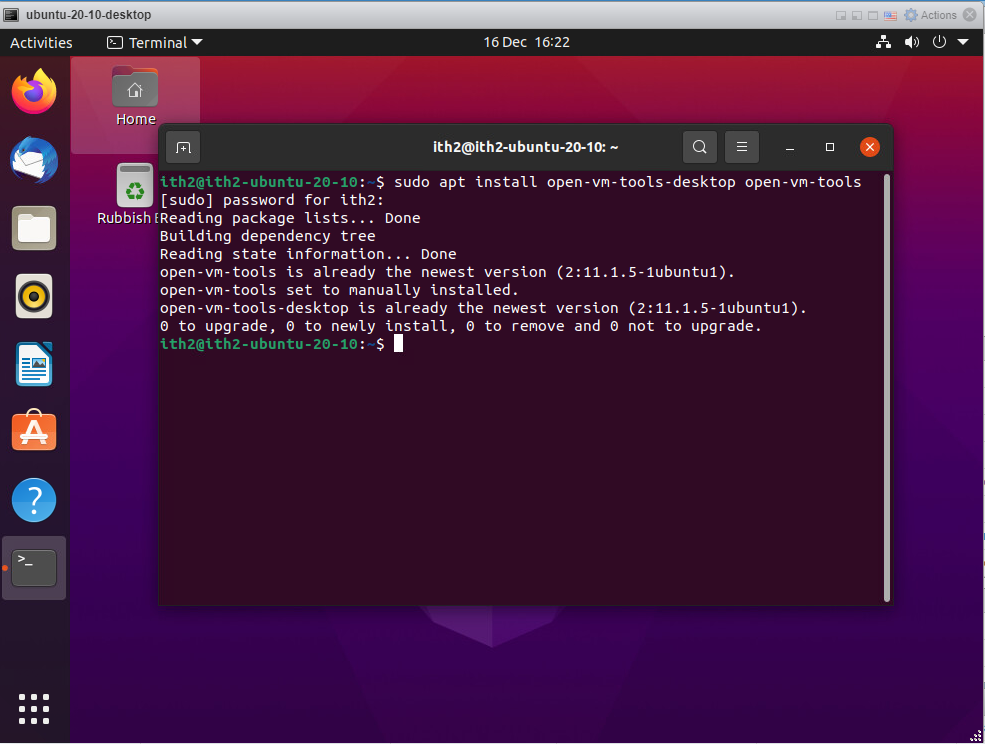
In the terminal type the following command and press enter:

sudo apt install open-vm-tools-desktop open-vm-tools
Ubuntu 20.10 - Install VM tools

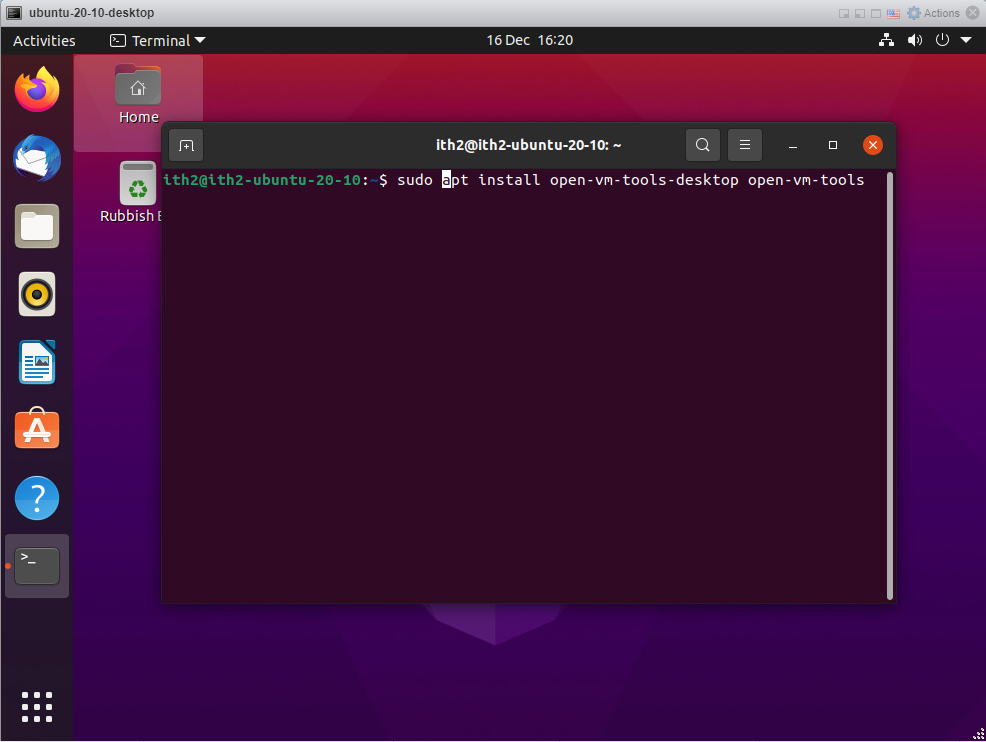
Type your user’s password and press enter.

Ubuntu 20.10 - Type password

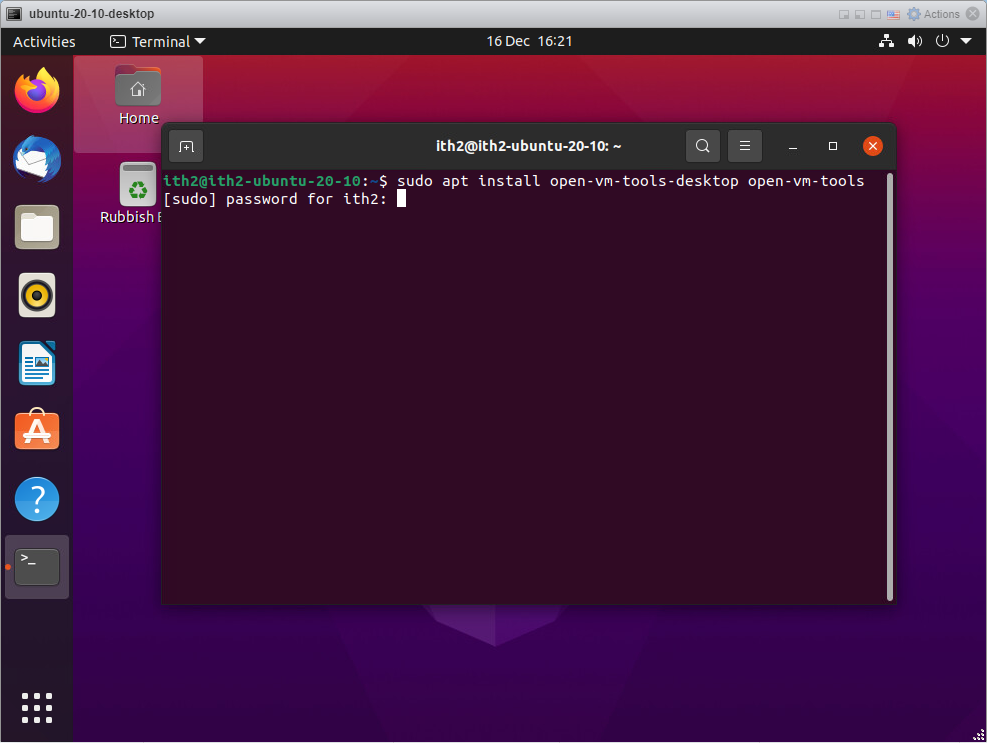
The tools will be installed:

Ubuntu 20.10 - Installed

For more things to do with your new Ubuntu 20.10 Desktop go to my other articles HERE.

For a guide on how to install Ubuntu 20.10 desktop go HERE.

Converting VirtualBox VMs to ESXi

This morning I had to convert a VirtualBox VM to ESXi. I tried using the VMware converter but it was going to take 2 days!!! I then Stumbled across THIS article which saved my week.

Import VirtualBox VMs in VMware ESXi

Recently we’ve had a bunch of VirtualBox 4.x VMs that we needed to import into VMware ESXi 4.1. There are various tutorials on the net on how to convert the VMs by editing the OVF or OVA files. Unfortunately this method didn’t really work for us, so here are a couple of simple steps that helped us convert the VMs without issues.
  1. We do not try to convert the whole VM but only the hard drives. The VM is created on the target ESXi host easy enough.
  2. On you VirtualBox host create a clone of the VMs hard disk like that:vboxmanage clonehd in.vdi out.vmdk –format VMDK –variant Fixed,ESX
  3. This creates two files. One with the actual data and the other holding a descriptor. If the virtual hard drive is not completely filled, zipping the image will dramatically reduce its size.
  4. On your ESXi host create a new VM without hard drive. Use the advanced mode to do so.
  5. Copy the hard drive image to your ESXi host by using scp (or similar). Place it (both files) into the directory of you newly created VM.
  6. Edit the settings of your new VM and add that hard drive.
That’s all. Using this method your virtual hard drive should now be a SCSI hard drive as expected by ESXi even if it was a SATA drive in VirtualBox before. Our Linux guests had no problem with this transition. Hopefully it works for other guests as well.