Installing Ubuntu 20.04 Server

Here is my step by Step how too of Installing Ubuntu 20.04.1 Server. The process will be the same if you are installing Ubuntu 20.04 Server on a physical machine of in a VM (as below).

Boot the machine from the boot.iso which will boot to the following page:

Installing Ubuntu 20.04.1 Server - Choose Language

Select the language you want to install (English in my case) and click enter.

Installing Ubuntu 20.04.1 Server - Update Installer

If the installer says that there was a new version of the installer available then select Update to the new installer and click enter:

Installing Ubuntu 20.04.1 Server - Update installer press enter

The updater will be updated and then will load the following screen:

Installing Ubuntu 20.04.1 Server - Select language

change the keyboard settings to the correct ones for your system and click Done:

Configure the IP settings and click done. For this installation the default setting was chosen as the address was given by dhcp and ip’s are fixed in dhcp so that the server will get the same IP address all the time.

Installing Ubuntu 20.04.1 Server - LAN config

If a fixed IP is needed then select the interface.

Installing Ubuntu 20.04.1 Server - Select LAN adapter

Select Edit IPv4.

Installing Ubuntu 20.04.1 Server - Manual IP - edit IPv4

Click on Automatic (DHCP).

Installing Ubuntu 20.04.1 Server - Set DHCP

Select Manual.

Installing Ubuntu 20.04.1 Server - Manual IP

Add the IP address details in the next screen and click Save to save the settings.

Installing Ubuntu 20.04.1 Server - Add IP details

This will take you back to the Network Connections page. Click on Done to move to the next screen.

Installing Ubuntu 20.04.1 Server - Done

If you use a proxy server then add the details in the next page. If not click on Done to move to the next page.

Installing Ubuntu 20.04.1 Server - proxy settings

Click Done to use the default mirror or change to a custom one if you prefer.

Installing Ubuntu 20.04.1 Server - select mirror

Select the default to use the entire disk and set up LVM or make a custom setting by selecting Custom storage layout (out of the scope of this post.

Installing Ubuntu 20.04.1 Server - Disk Settings

Choose Done and enter to start the install.

Installing Ubuntu 20.04.1 Server - DONE

Scroll to Continue to go to the Profile setup screen.

Installing Ubuntu 20.04.1 Server - continue
Installing Ubuntu 20.04.1 Server - User details

Add the user details as required.

Installing Ubuntu 20.04.1 Server - User details done.

Click on Done to move to the SSH Setup screen.

Installing Ubuntu 20.04.1 Server - install ssh

If you want ssh installed then select the option if not leave it unticked.

Installing Ubuntu 20.04.1 Server - ssh done

Click Done to move to the Featured Server Snaps.

Installing Ubuntu 20.04.1 Server - install server snaps

Select any Snaps that you want to install (none in this case) and click Done

Installing Ubuntu 20.04.1 Server - server snaps done

The installation will start:

Installing Ubuntu 20.04.1 Server - Install server

Leave the install to run.

After about 10 minutes the install will complete:

Installing Ubuntu 20.04.1 Server - Finished

Click reboot the reboot the install and boot the server to the login screen.

Installing Ubuntu 20.04.1 Server - Reboot

The Server will now boot to the login screen:

Installing Ubuntu 20.04.1 Server - Finished

For ideas on what to configure and install on your server next take a look at my other Ubuntu 20.04 posts HERE.

Installing Bookstack wiki on AWS free instance.

This guide is how I installed Bookstack Wiki on my AWS Free instance Ubuntu 20.04 server:

Bookstack has a handy Ubuntu 20.04 Installation script that can be run on a fresh install of Ubuntu 20.04 to automatically install Bookstack and the prerequisite software needed for it to run (Apache, MySQL 8.0 & PHP-7.4).

The script can be found at: https://www.bookstackapp.com/docs/admin/installation/

The process is really simple but for some reason the page has been locked so you can not copy and paste from it!:

Download the script by running:

https://raw.githubusercontent.com/BookStackApp/devops/master/scripts/installation-ubuntu-20.04.sh

Installing Bookstack wiki on AWS free instance.

Change the downloaded script to make it executable:

chmod a+x installation-ubuntu-20.04.sh

You will now see that the script is executable:

Installing Bookstack wiki on AWS free instance.

Run the script by running:

sudo ./installation-ubuntu-20.04.sh

The script will then ask for the fqdn so add what you would like the site to be called. I used wiki.ithowtoo.com and pressed enter.

Let the script run.

It will ask if you want to run Composer as root/super user:

Installing Bookstack wiki on AWS free instance.

I chose Yes as its the only user I have and the install continued:

Installing Bookstack wiki on AWS free instance.

When the script has finished you will see a similar message to the one below:

Installing Bookstack wiki on AWS free instance.

From the ASW interface an inbound rule was created to allow https:

Installing Bookstack wiki on AWS free instance.

You will then be able to get to the login page:

Installing Bookstack wiki on AWS free instance.

Login using the default user and password given by the script:

User Email = admin@admin.com

password = password

On first login you will be advised to change the default password for security reasons:

Installing Bookstack wiki on AWS free instance.

Click OK.

To edit the Admin user details click on Admin in the top left corner of the page:

Installing Bookstack wiki on AWS free instance.

Select Edit Profile:

Installing Bookstack wiki on AWS free instance.

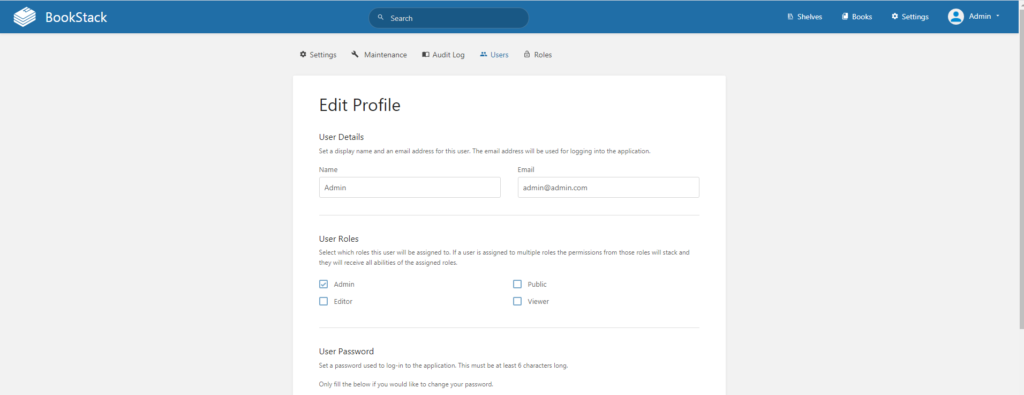
Edit the details to your details:

Installing Bookstack wiki on AWS free instance.

Click save to save the details:

Installing Bookstack wiki on AWS free instance.

You will now see your new user in the list of users as an Admin:

Installing Bookstack wiki on AWS free instance.

Click on the user icon in the top left corner of the page and select Logout to log out of the page and then log in with the new user to make sure everything works as it should:

Installing Bookstack wiki on AWS free instance.

I have also setup a new A record for wiki.mydomain to point to the external IP address of the server so that I can access the site via wiki.domain instead of the external IP address.

The final security measure is to set the mysql root password as it is not setup by default.

Log into mysql by typing:

mysql

You will then see the mysql prompt:

Installing Bookstack wiki on AWS free instance.

Type the following to set the root password to password:

ALTER USER 'root'@'localhost' IDENTIFIED BY 'PASSWORD';
Installing Bookstack wiki on AWS free instance.

Obviously you will want to change the PASSWORD to something more secure.

You will then need to quit mysql by typing quit. This will take you back to the normal command line:

Installing Bookstack wiki on AWS free instance.

At the command prompt stop the MySQL daemon by typing:

sudo systemctl stop mysql

With the daemon stopped issue the following command:

sudo mysqld -init-file=~/mysql-pwd

Start the daemon:

sudo systemctl start mysql

You should now be able to access mysql using the root user by typing:

mysql -u root -p

Installing Bookstack wiki on AWS free instance.

You have now successfully installed Bookstack on an AWS free instance.

For more documents on Bookstack configuration go click HERE.

Ubuntu: ssh tunnel to a remote server port

I have just set up ssh tunneling for a client to a remote port on a remote server behind a firewall.
Set up ssh tunnel:

This can be done really simply on ubuntu by running the following command:

In this example I am forwarding port 3333 to port 1521 the vm 10.0.0.2 by sshing to the server 1.2.3.4 with the user user:

ssh -L 3333:10.0.0.2:1521 -N -f user@1.2.3.4

The server will then be able to connect to port 1521 on the remote server 10.0.0.2 by connecting to local port 3333.

Ubuntu 20.04: Installing FileZilla FTP Client On Ubuntu 20.04 LTS

Filezilla is a great free ftp client and it can be easily installed on Ubuntu with one apt command. More information about Filezilla can be found on the Filezilla Website.

Installing Filezilla on Ubuntu 20.04:

Filezilla is installed by running the following command from the terminal:

sudo apt install filezilla -y

Filezilla will then be installed and ready to use. To open it go to apps and click on the following icon:

This will then open the app:

Ubuntu 20.04: Installing FileZilla FTP Client On Ubuntu 20.04 LTS

For more Ubuntu articles as how too’s click on our Ubuntu Category.

Ubuntu 20.04: How to install Ubuntu 20.04 using Windows 10 and no USB device.

I had an occasion when I was trying to install Ubuntu 20.04 onto a laptop but found that I was without a usb pen drive, external usb drive or a recordable DVD media and had no way to easily get any so I tried installing Ubuntu without installation media and this is the technique that worked for me:

To install Ubuntu without CD/DVD or USB pendrive, follow these steps:

  1. Download Unetbootin from here.
  2. Run Unetbootin.
  3. Now, from the drop-down menu under Type: select Hard Disk.Hard Disk
  4. Next select the Diskimage. Browse to the directory where you downloaded the iso file of Ubuntu.ISO
  5. Press OK.

Install Ubuntu 20.04 from the hard drive:

  1. Next when you reboot, you will get a menu like this:Unetbootin
  2. Select Unetbootin and you will get the “Try” or “Install” option there.
  3. Finally, you can install your version of Ubuntu alongside Windows.

For UEFI devices:

  • First, download rEFInd.
  • Then, extract it.
  • Now, follow the below steps to install rEFInd[source], so that, you have a boot menu to boot to Ubuntu Live environment. Summary of the installation process given in the source is as belows:
    1. Open cmd with Administrator privileges.
    2. Then,mountvol S: /S
      • (you may change S: to any available drive letter)
    3. Type cd in cmd and then drag and drop the extracted folder to the already open cmd window. E.g.,cd "C:\Program Files"
    4. Copy refindxcopy /E refind S:\EFI\refind\
      • In this step S: will be the drive letter that you used above.
    5. Change directory to rEFIndcd S:\EFI\refind
    6. Rename config filerename refind.conf-sample refind.conf
    7. Note that {bootmgr} is entered as such; that’s not a notation for a variable. Also, change refind_x64.efi to refind_ia32.efi on systems with 32-bit EFIs. Such computers are rare, and most of them are tablets. Check your Windows bit depth to determine which binary you should use.bcdedit /set {bootmgr} path \EFI\refind\refind_x64.efi
    8. Download EaseUS Partition Master Free and run it.
    9. Select your last partition.
    10. Right-click on it and from the context menu select Resize/Move partition.
    11. From the size shown beside Partition Size minus 4096 MB (to mimic a 4GB pendrive).
    12. Press tab and the rest will be auto-completed.
    13. Select the newly created partition and right-click on it. Select Create Partition from context menu.
    14. In this window, select FAT32 as the File System. Click on OK. Finally, click on Apply (present at the top-left of the window).
    15. Next, extract Ubuntu iso to this partition and finally reboot.
    16. You will be presented with a rEFInd menu. From here select the Ubuntu partition. It will boot into a Live environment. Continue with the installation. After the installation finishes boot to Windows.
    17. Run EaseUS Partition Master Free again.
    18. Right-click on the 4 GB partition and from the context menu select Delete Partition.
    19. Right-click on the partition above the Unallocated partition and select Resize/Move Partition from the context menu.
    20. Extend the bar to the extreme right by dragging the button.
    21. Click on OK. Finally, click on Apply (present at the top-left of the window).
    22. Open cmd with Administrator privileges.
    23. Then,mountvol S: /S
      • (you may change S: to any available drive letter)
    24. Remove rEFIndrmdir "S:\EFI\refind" /S /Q
      • In this step S: will be the drive letter that you used above.
    25. Reinstall grub as your primary boot managerbcdedit /set {bootmgr} path \EFI\ubuntu\grubx64.efi

The machine will then boot into Ubuntu.

For more Ubuntu posts take a look at our Ubuntu category.

Ubuntu 20.04: Install OpenVPN client and connect to VPN on Ubuntu 20.04

Ubuntu 20.04: Install OpenVPN client and connect to VPN on Ubuntu 20.04

OPENVPN is an open source virtual private network (VPN) Server. It has Workstation clients to allow Windows, Linux and Mac OSX clients to securely connect to the Server. More information can be found on the OPENVPN Website.

Clients can be downloaded from the download page of the OpenVPN website.

The OpenVPN client can be easily installed on Ubuntu 20.04 through the apt package manager.

Installing OpenVPN client on Ubuntu 20.04:

Install openvpn client using apt:

sudo apt install openvpn

I then downloaded my client.ovpn file from my clients Openvpn server and saved it to:

/etc/openvpn

I was then able to access the vpn by running the following command and imputing my username, password and google authenticator key when asked:

sudo openvpn --config client.ovpn

Once the VPN was connected I was able to connect to the remote servers from my local machine as though I was on the LAN.

For more Ubuntu articles as how too’s click on our Ubuntu Category.

Ubuntu 20.04: Enable SSH on Ubuntu 20.04.

Ubuntu 20.04: Enable SSH on Ubuntu 20.04.

I had to enable ssh on a newly installed Ubuntu 20.04 VM that I installed today so I thought that it would be useful to add to the blog. I got the information from (https://linuxconfig.org/enable-ssh-on-ubuntu-20-04-focal-fossa-linux).

Installing ssh server on Ubuntu 20.04:

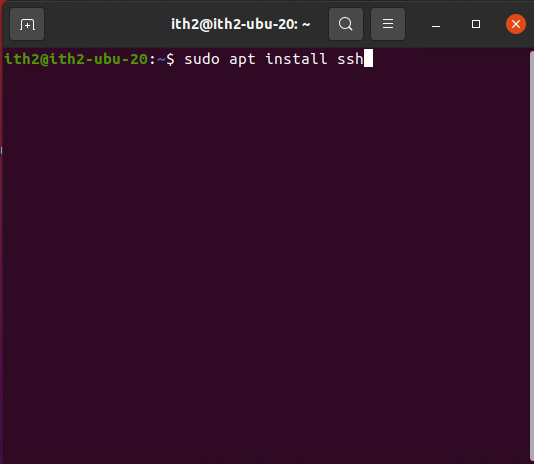
ssh was installed using apt:

sudo apt install ssh

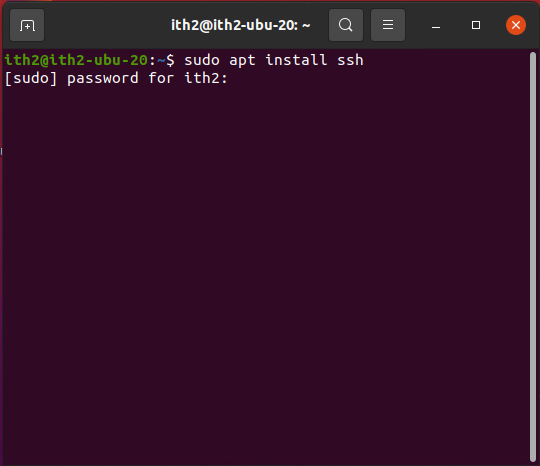
Type your password and press enter:

SSH will then be installed.

Enable ssh daemon on Ubuntu 20.04:

The SSH server daemon was enabled and started:

sudo systemctl enable --now ssh

I was then able to ssh to the VM from another machine and log in using my user.

For more Ubuntu articles as how too’s click on our Ubuntu Category.

Ubuntu 20.04: How to install BookStack wiki on Raspberry Pi4 running Ubuntu 20.04 server.

BookStack is a great little wiki that uses bookcases and books to organize documentation. This is how it was installed on a Raspberry Pi4 running Ubuntu Server 20.04.

The official documentation for BookStack can be found HERE

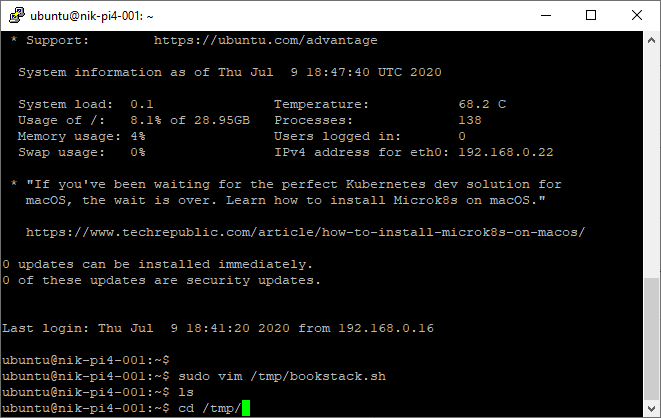
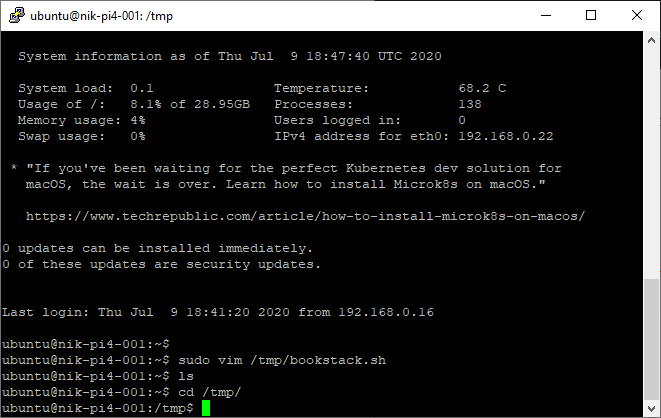
Go to the /tmp directory:

cd /tmp
Ubuntu 20.04: How to install BookStack wiki on Raspberry Pi4 running Ubuntu 20.04 server.

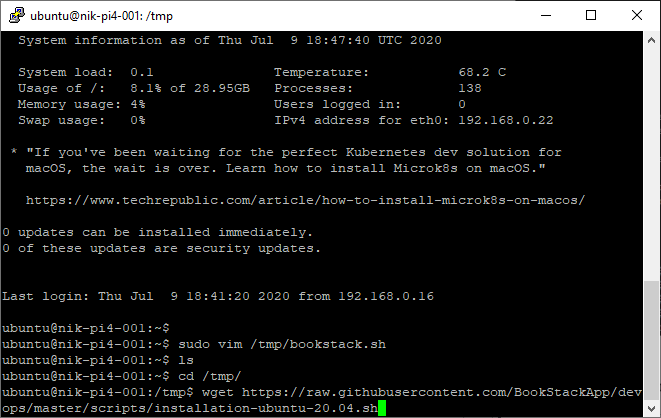
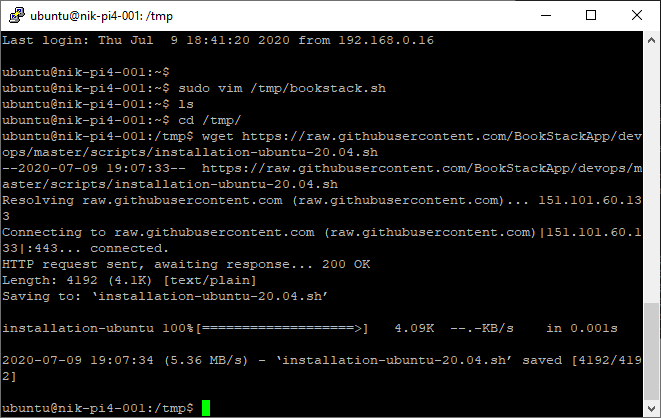
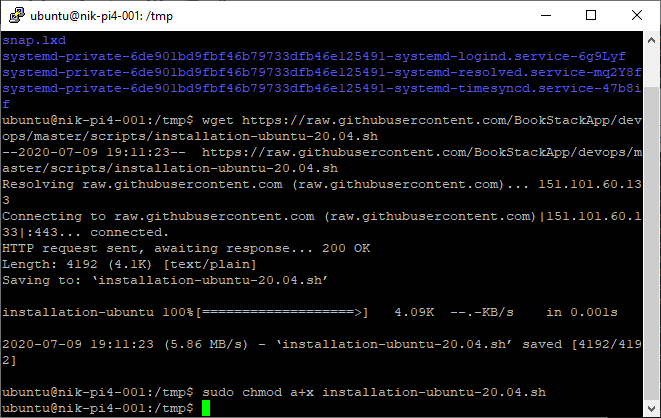
Download the script:

wget https://raw.githubusercontent.com/BookStackApp/devops/master/scripts/installation-ubuntu-20.04.sh

Make the script executable:

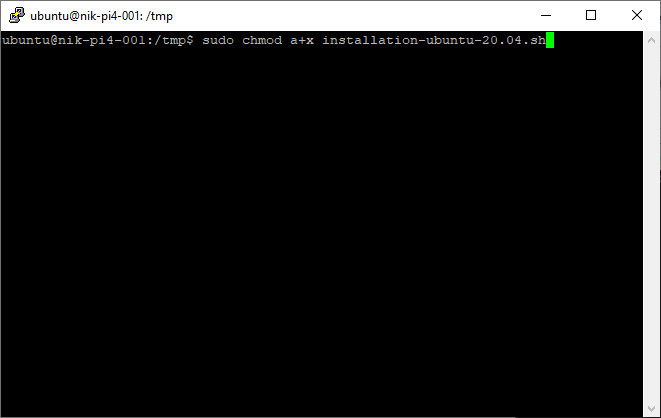
sudo chmod a+x installation-ubuntu-20.04.sh

Install Bookstack on Ubuntu 20.04:

Run the script:

sudo ./installation-ubuntu-20.04.sh

Add the url of the site when prompted:


Press Enter to continue the install.


After about 5 minutes BookStack will be installed:

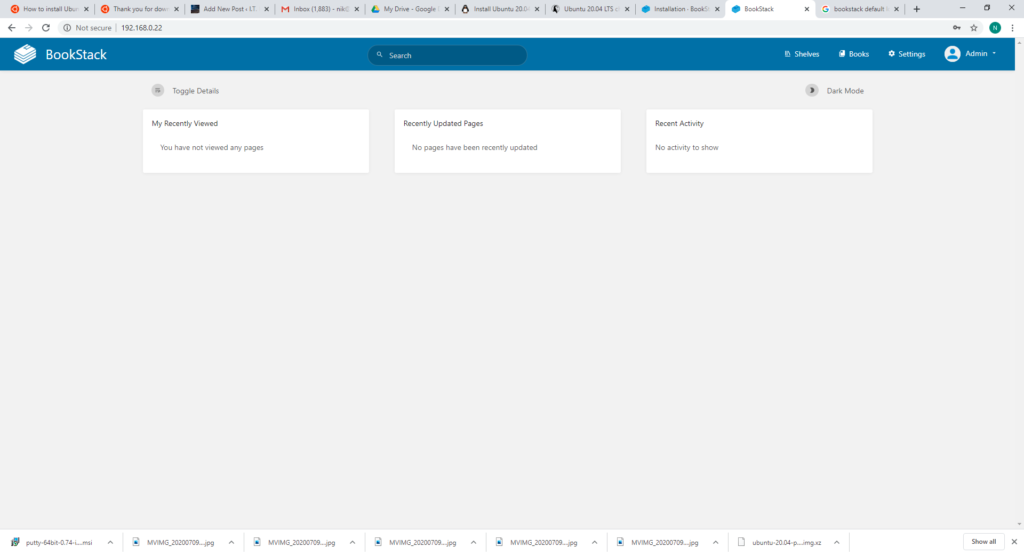
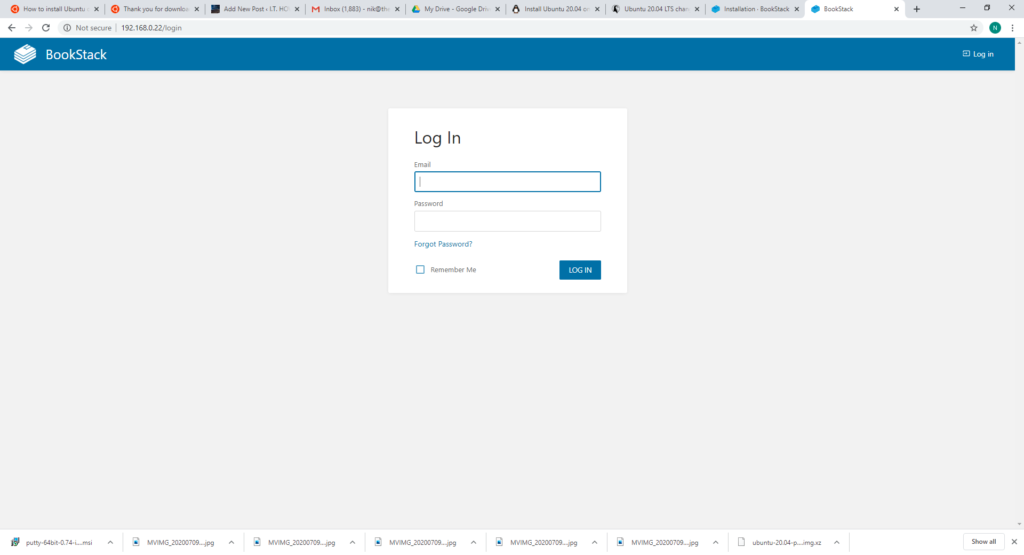
In a browser type the ip address or url and this will open the logon page:


Log in using the default user of admin@admin.com and the default password of password.

Bookstack is now ready to setup.

Ubuntu 20.04 Server: How to permanently rename an Ubuntu 20.04 Server.

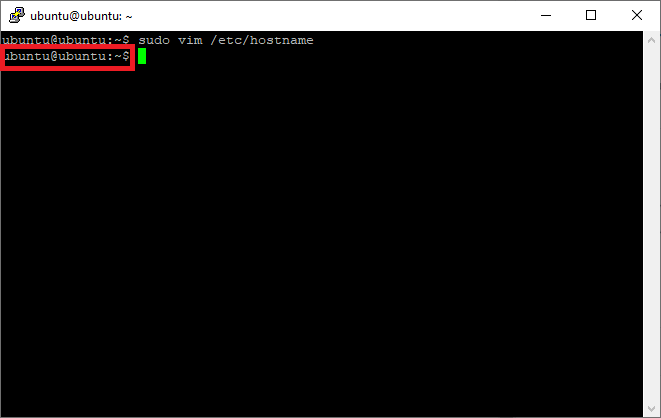
To permanently change an Ubuntu 20.04 Server’s name edit the /etc/hostname file:

sudo vim /etc/hostname

This will show the current server (host) name:

Ubuntu 20.04 Server: How to permanently rename an Ubuntu 20.04 Server.

Rename Ubuntu 20.04 Server:

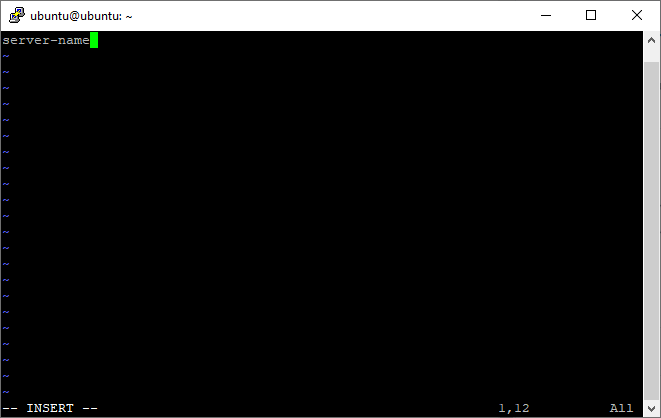
Change the name to whatever you want to call the server:

Save the changes (esc :wq in vim).

You will see that the hose still has its old name:

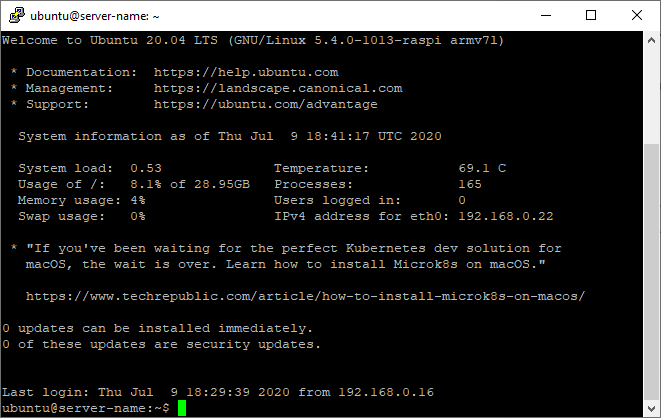
Reboot the server to update its name to the new name.

Now the server has its new name:

This change is now permanent.

For more Ubuntu articles as how too’s click on our Ubuntu Category.