This is the procedure that I followed to create an Ubuntu VM on VirtualBox and Install Ubuntu 20.04 Desktop inside the newly created VM. I have created this post to share How to create an Ubuntu VM on VirtualBox and Install Ubuntu 20.04 Desktop in case someone else needs help to do this.
More details about VirtualBox and links to download the installers for various operating systems can be found on the VirtualBox website.
Before creating you VM download the Ubuntu 20.04 iso from the Ubuntu Website.
Creating the Ubuntu 20.04 VM:
Open Virtual Box:
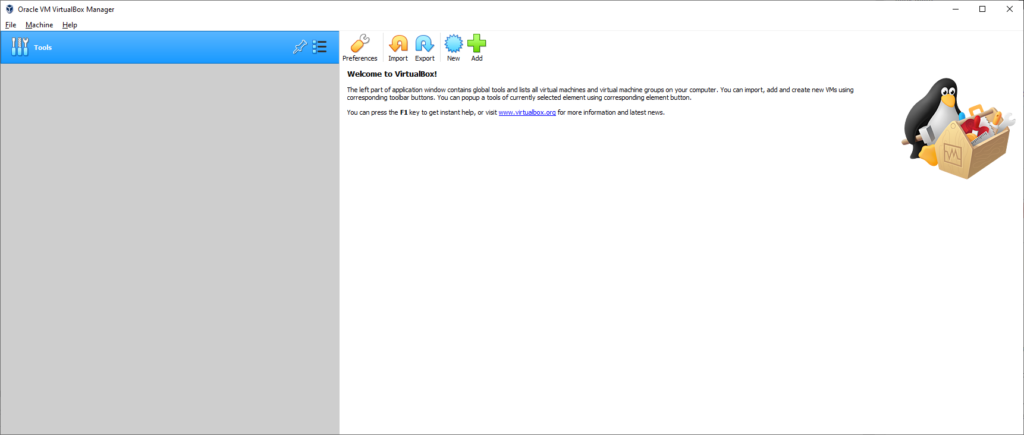
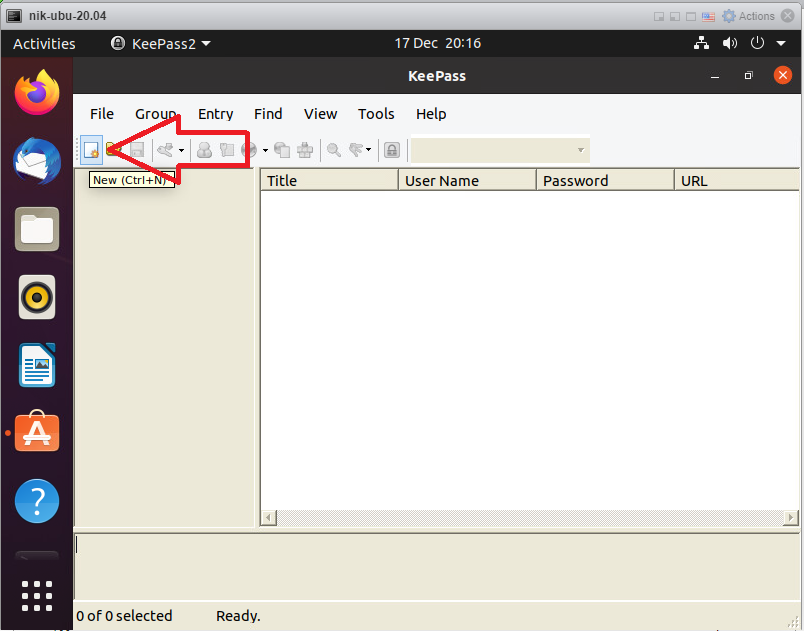
Click on New.

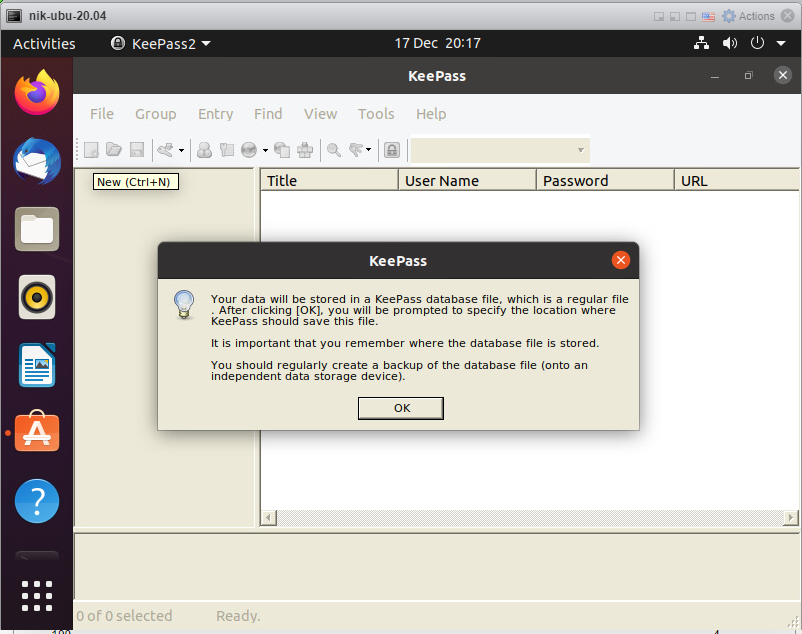
This will open the Create Virtual Machine wizard:
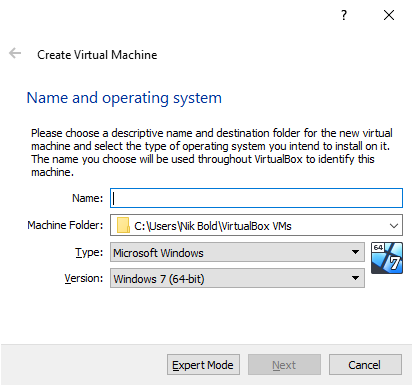
Add the VM name in the Name field:
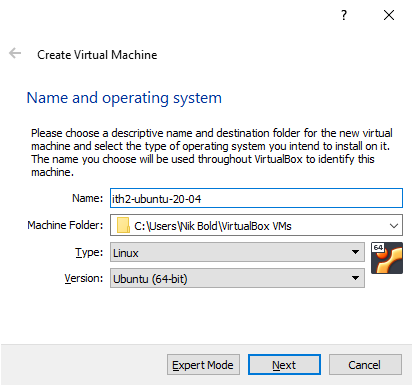
If you have ubuntu in the vm name then the wizard will automatically change the Type and Version Fields for you. If not change the Type to Linux and he Verion to Ubuntu (64-bit) as below:
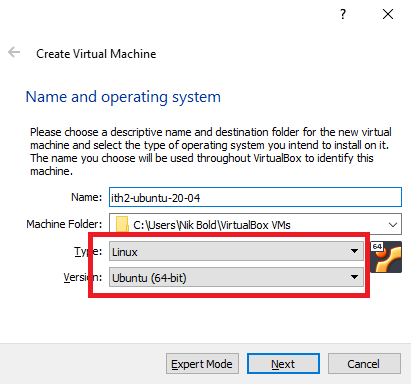
Click next to move to the next step:
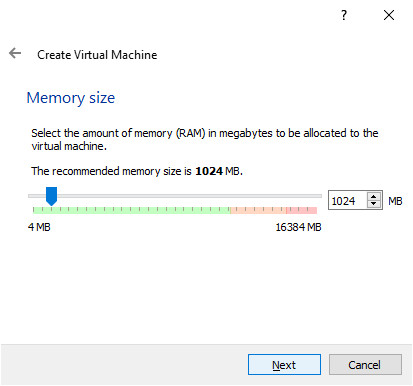
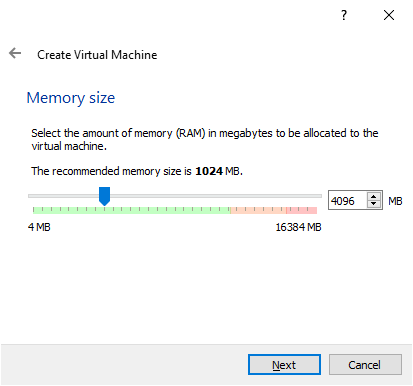
Select the amount of memory that you want to give the VM and click Next.
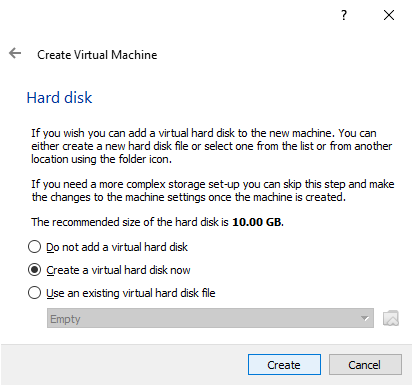
Click on Create to create a new hard disk for the VM and move to the next step:
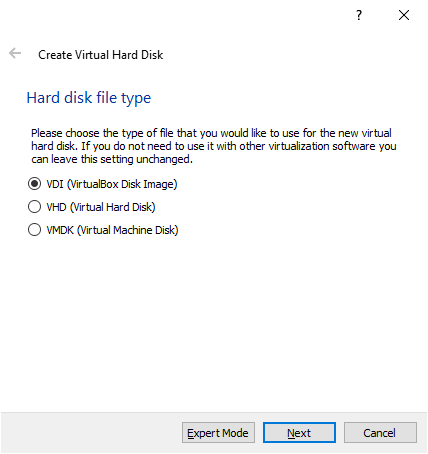
Click Select the type of disk to install and click Next to go to the next step:
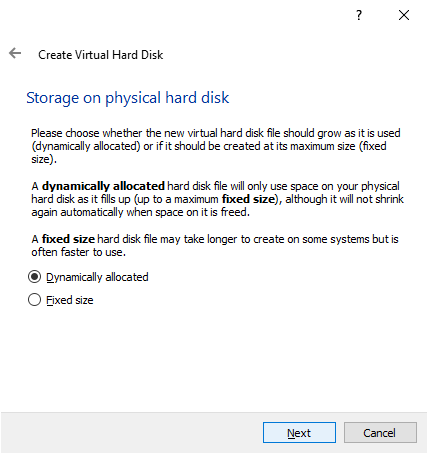
Choose the type of allocation and click Next:
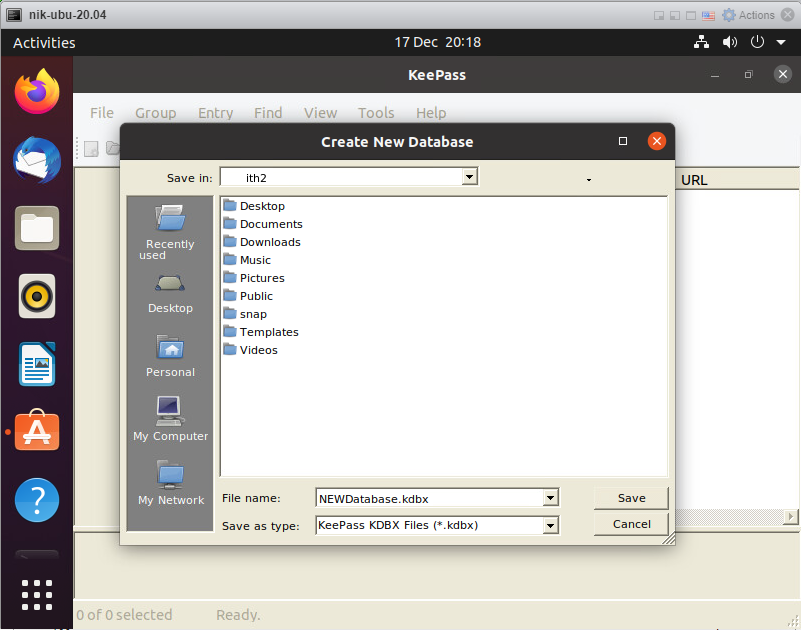
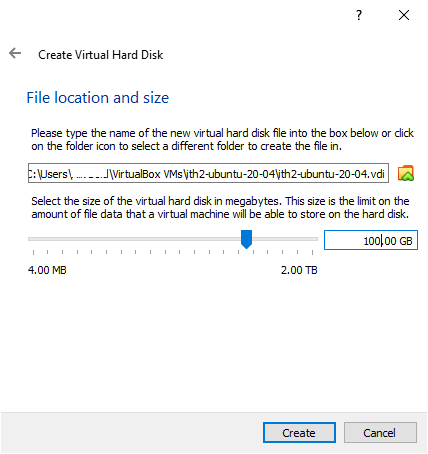
Select the desired path of the disk and the required size of the hard drive and create.
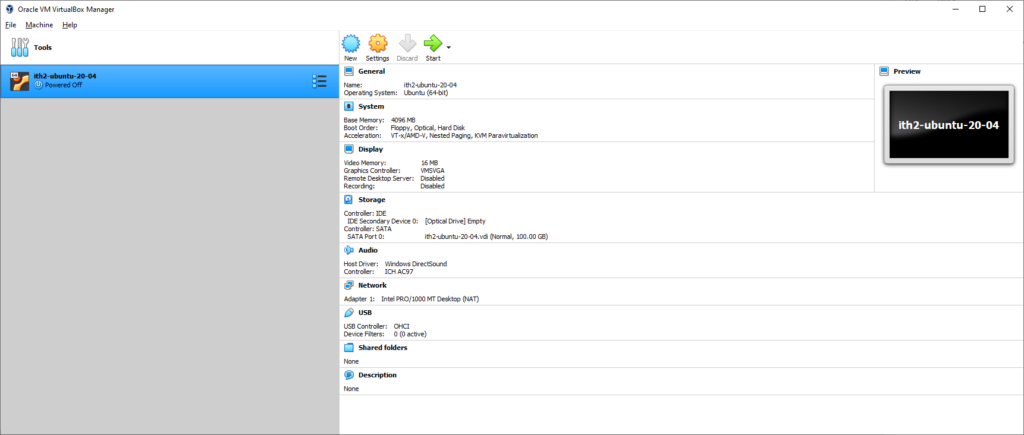
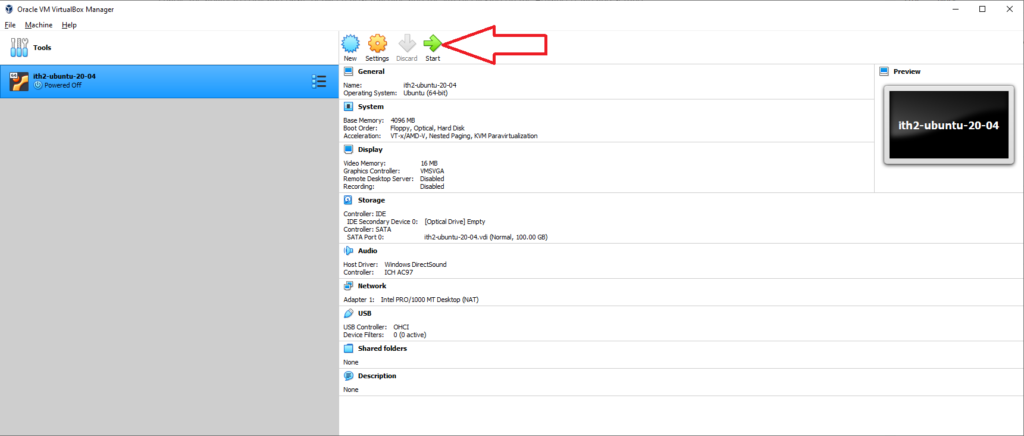
The new VM will now appear in the left hand pain of the VirtualBox window:
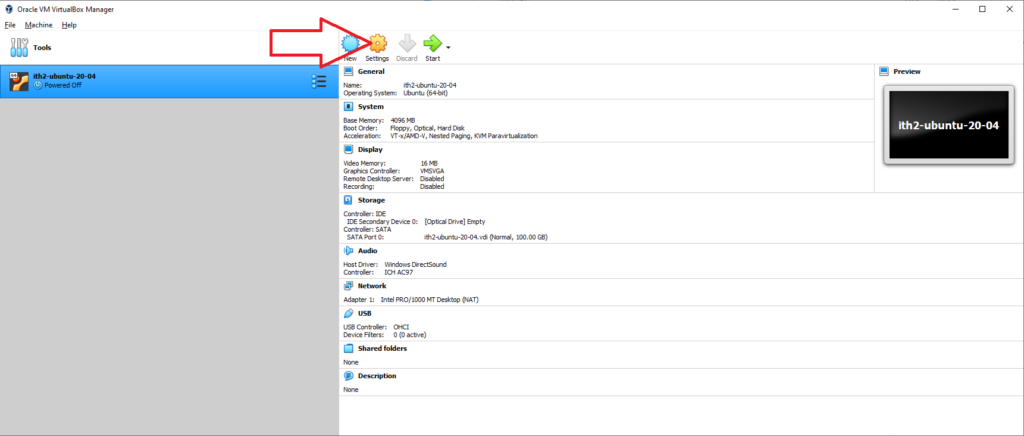
Click on Settings:
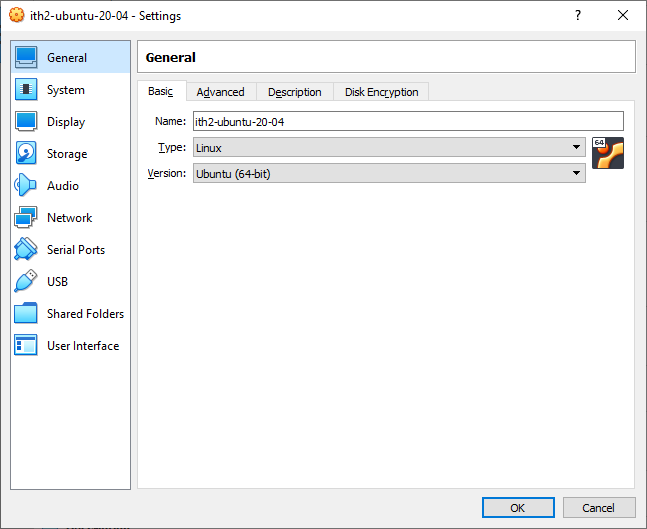
This will open the VM settings window:
Enable the ability to copy and paste between host machine and the vm by clicking on the Advanced Tab and setting the Shared Clipboard and Drag’n’Drop to Bidirectional:
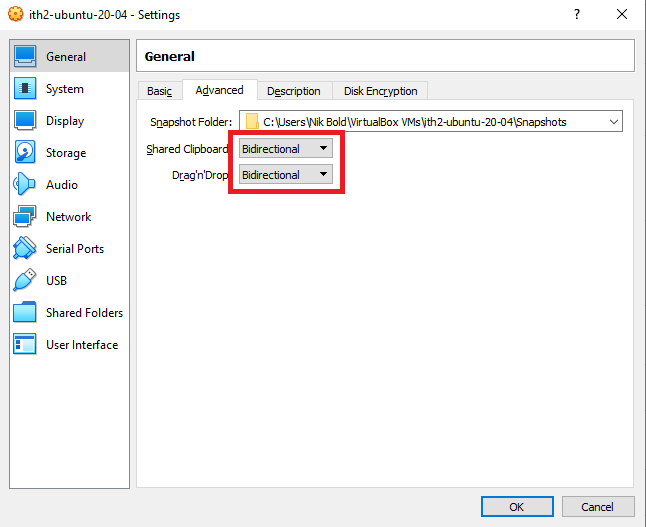
Click OK to save the changes and go back to the main window.

Install Ubuntu 20.04 Desktop in the newly created VM:
Click on Start to boot the VM.
This will power on the VM and open up the Select startup disk wizard:
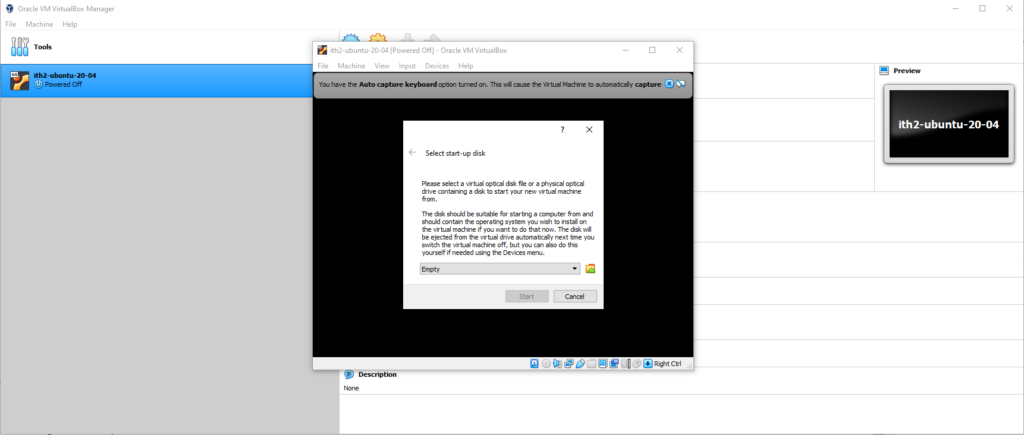
Click on the folder icon and select a virtual disk:
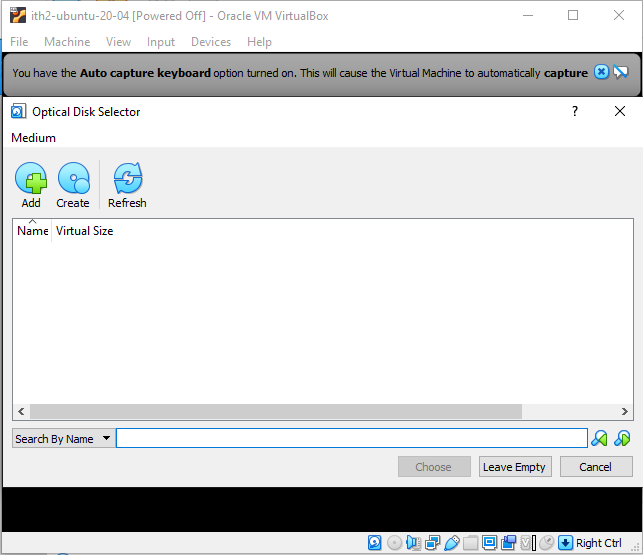
Click on Add:
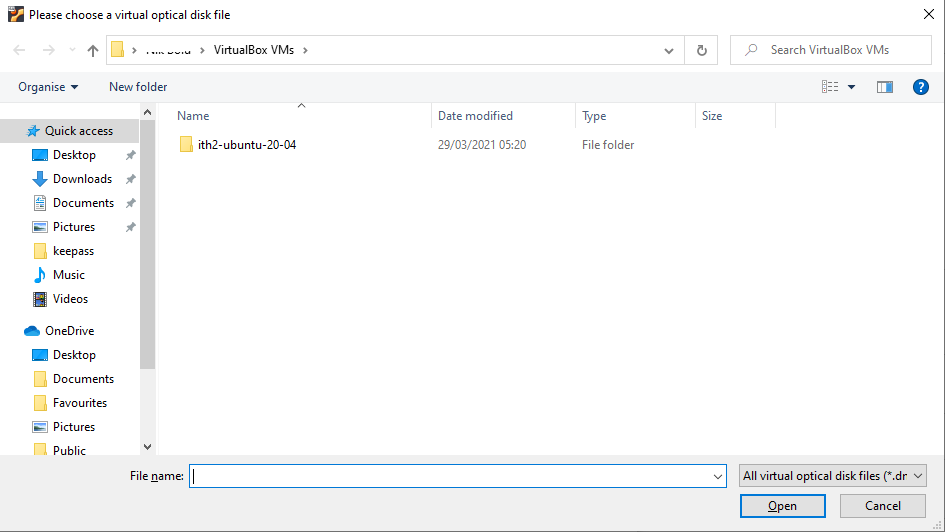
Select the path to the iso that was downloaded from the Ubuntu Website at the start of the post.
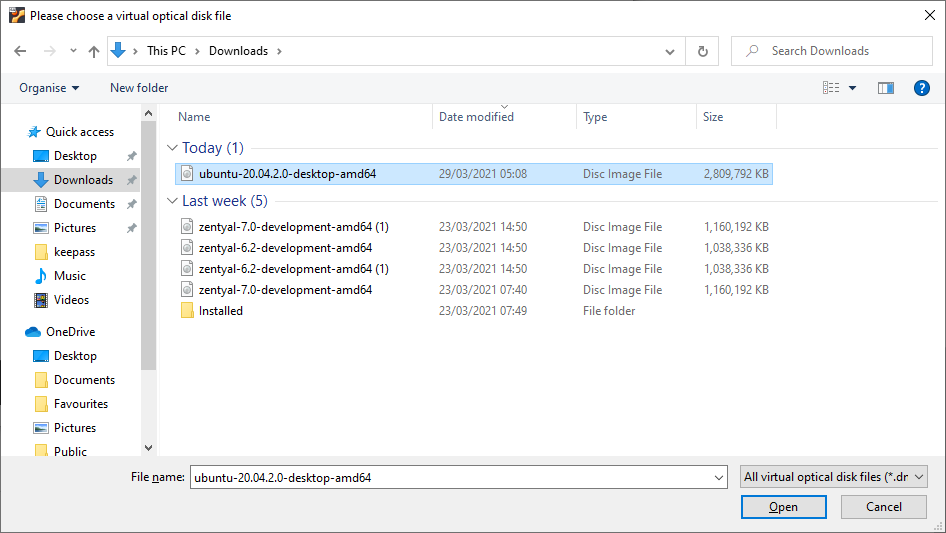
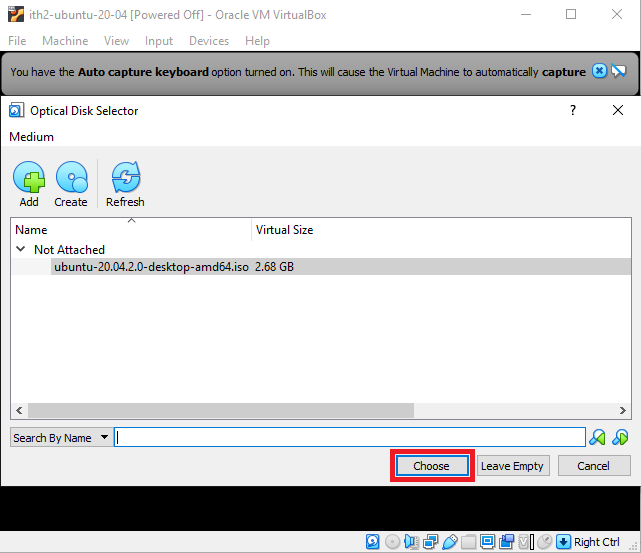
Click Open to select the disk and then the Choose button to choose the ISO:
Click on Start to start the VM booting:
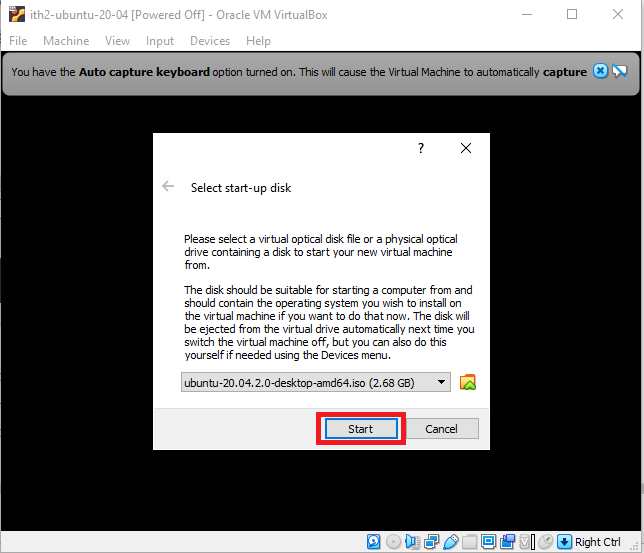
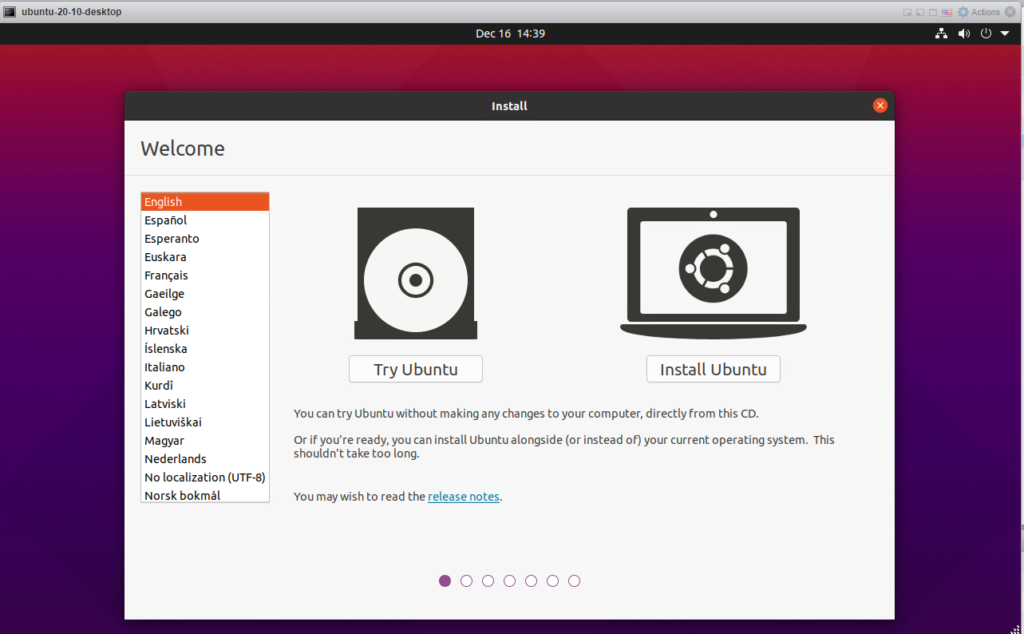
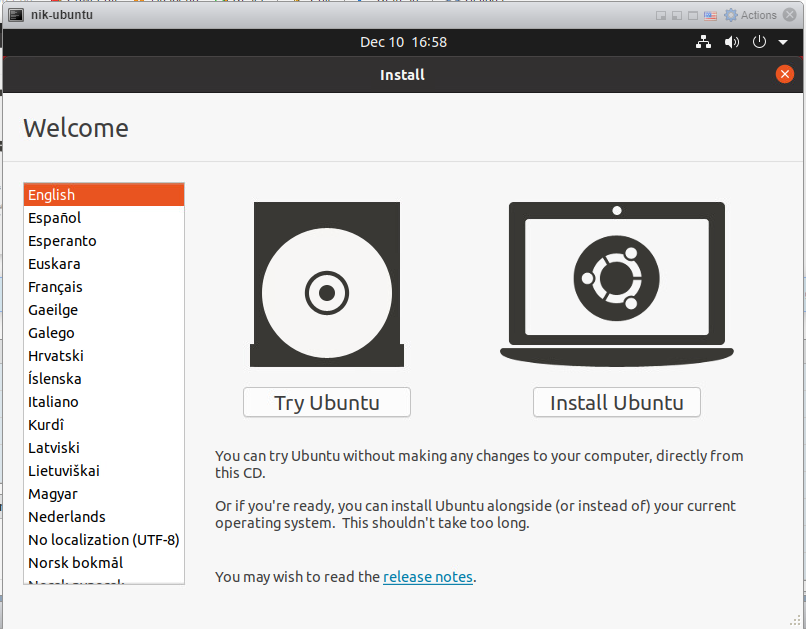
This will boot into the Ubuntu 20.04 installation Wizard:
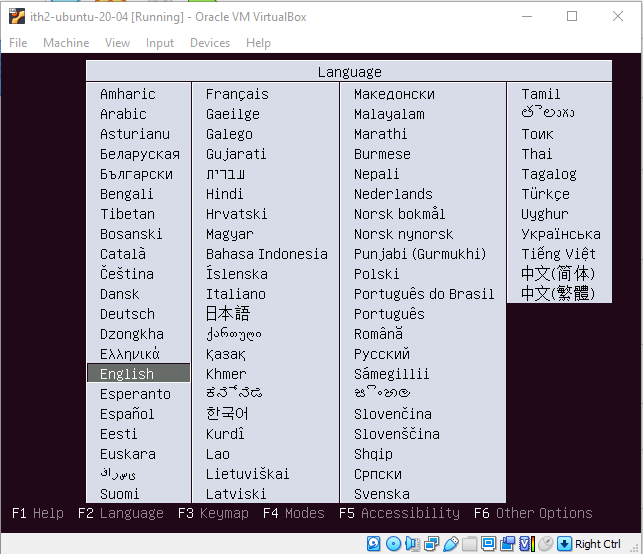
Select the desired language and press enter to move to the next step.
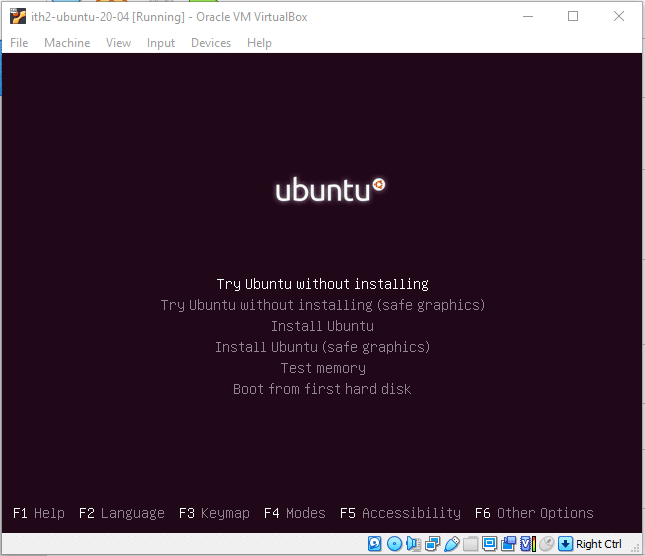
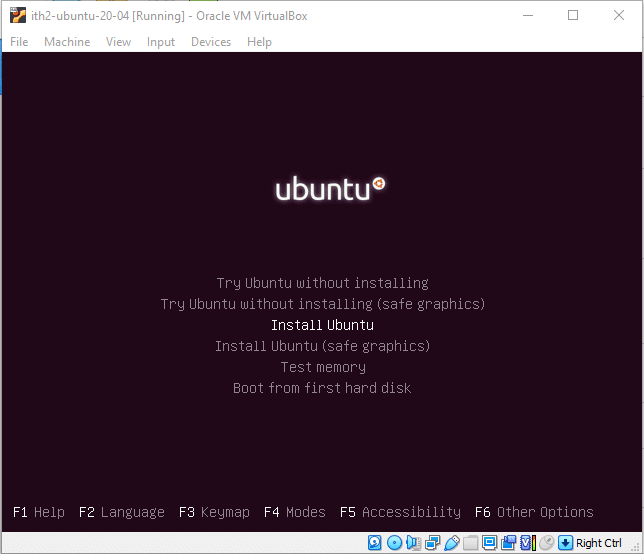
Scroll down to Install Ubuntu and press enter:
Wait for the disk check to finish:
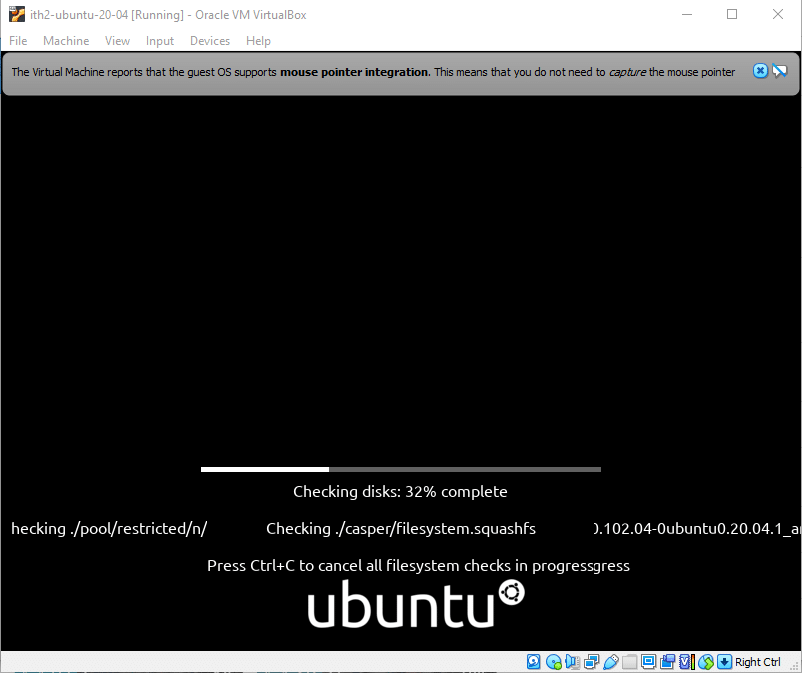
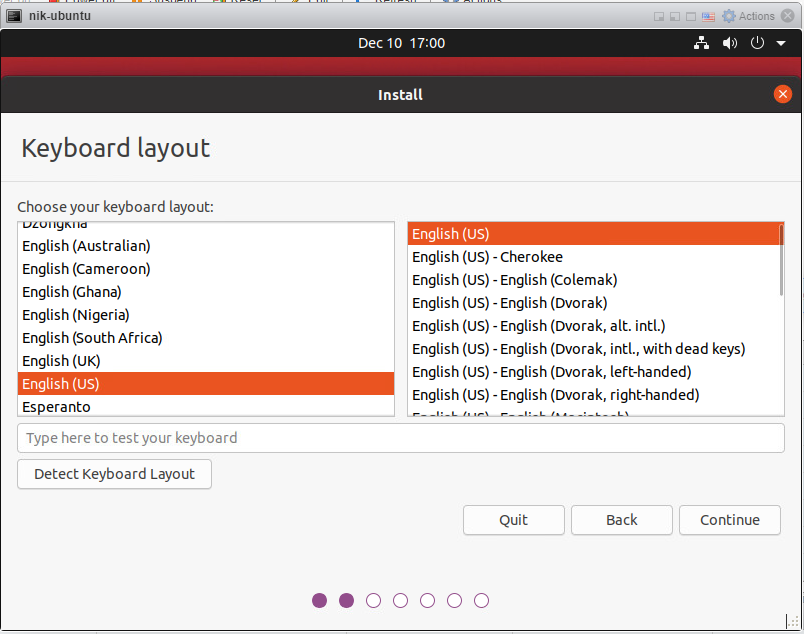
It will then boot into the installation Wizard:
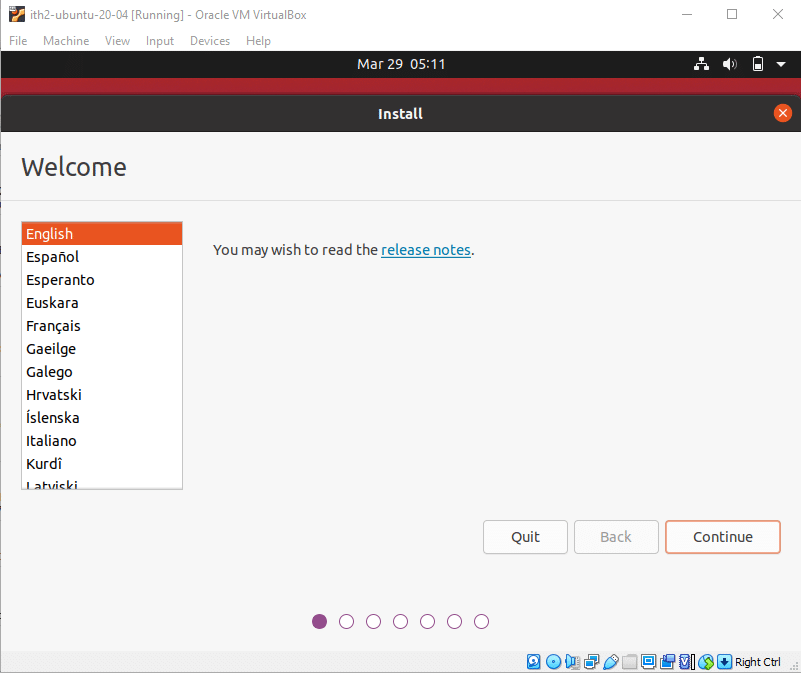
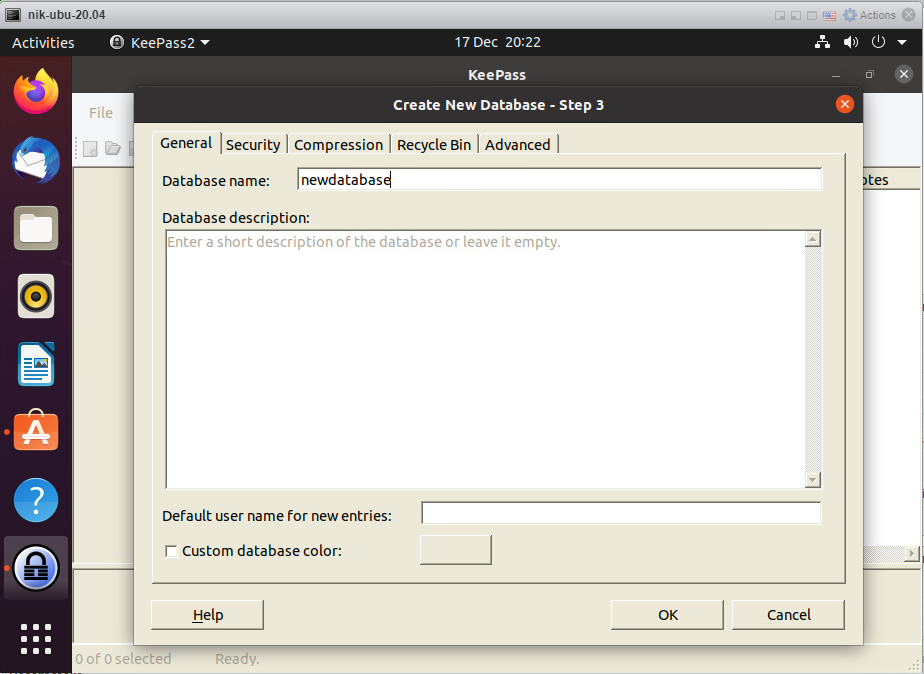
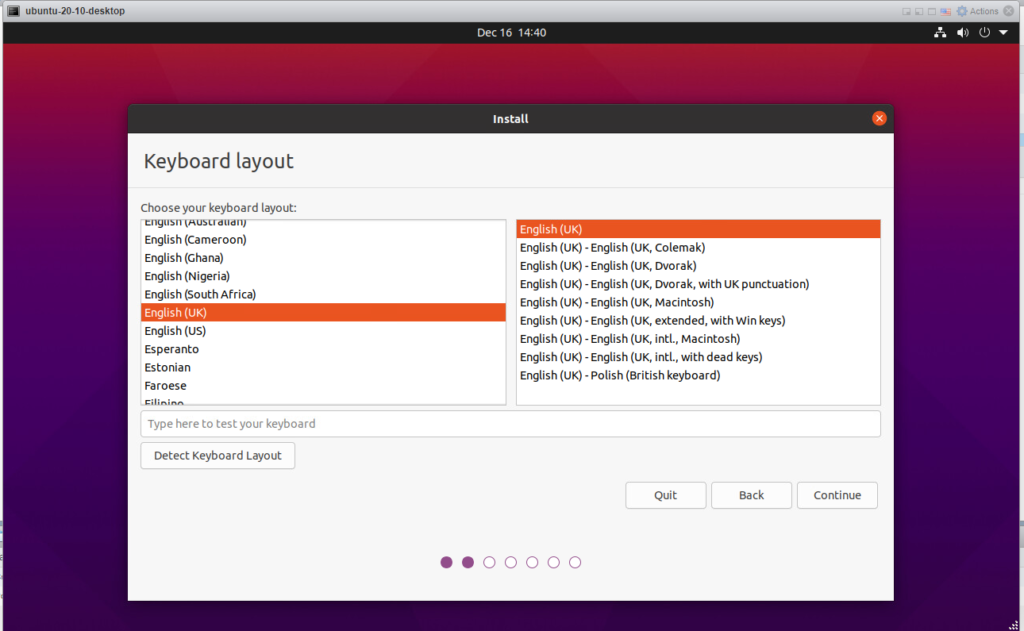
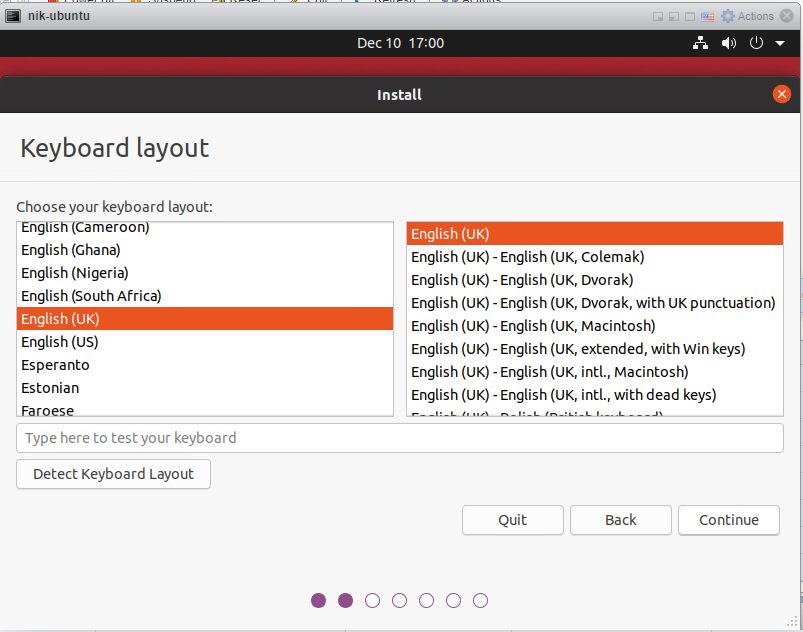
Select the language and click Continue. Then do the same again:
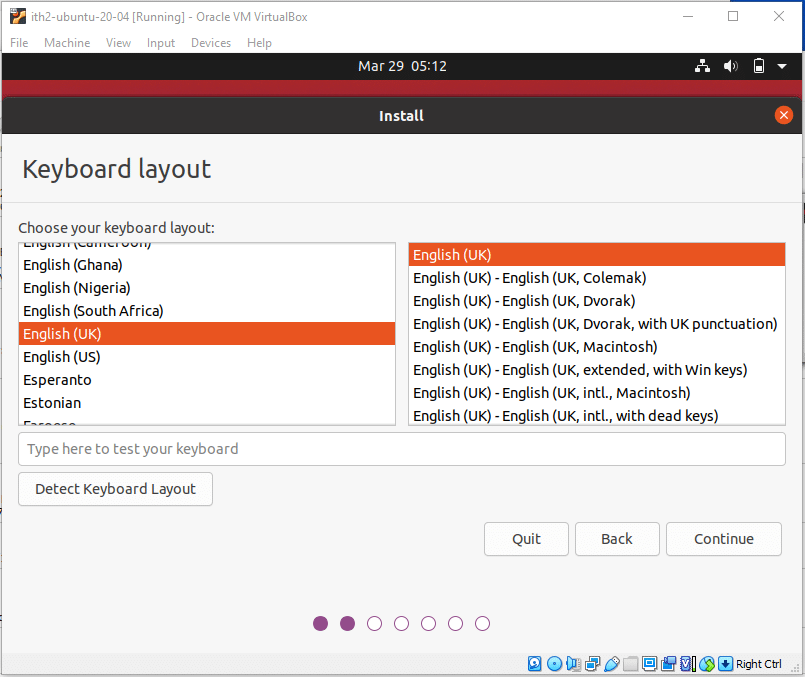
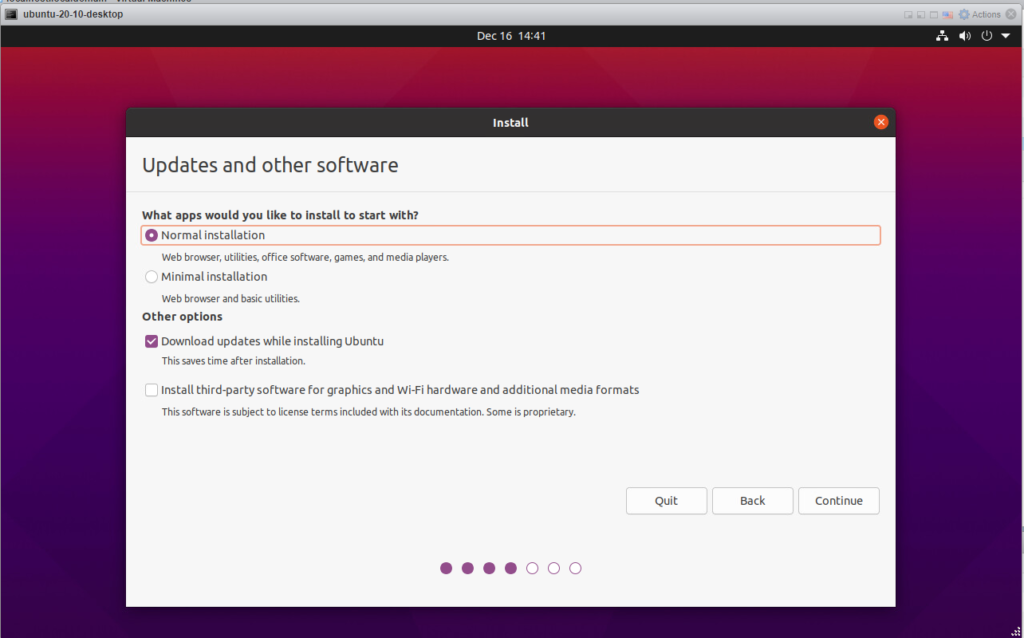
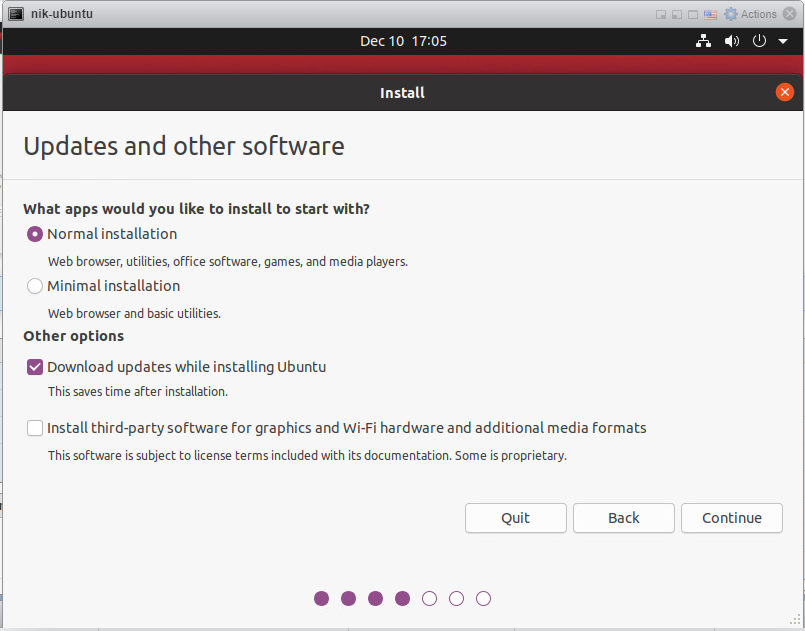
Click Continue to select the default settings and move to the next step:
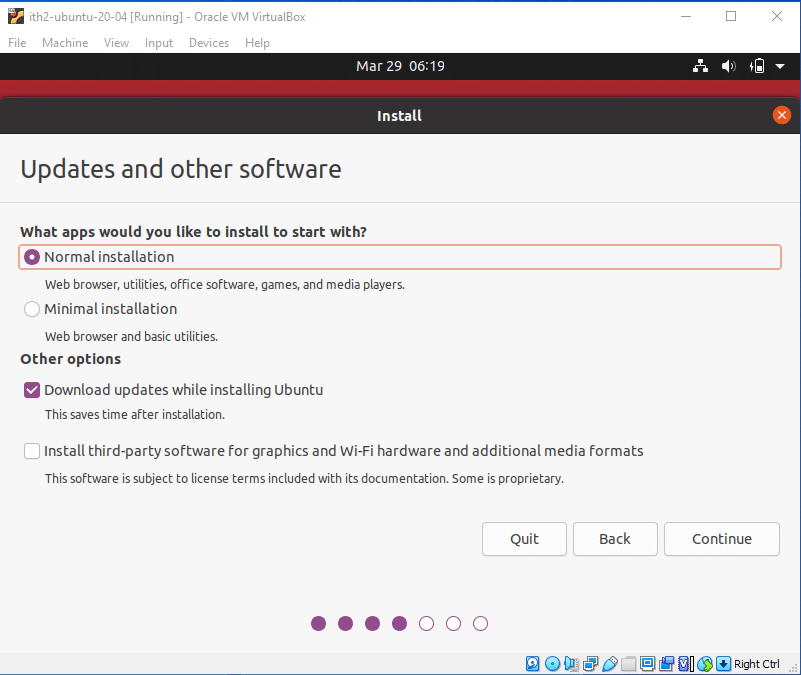
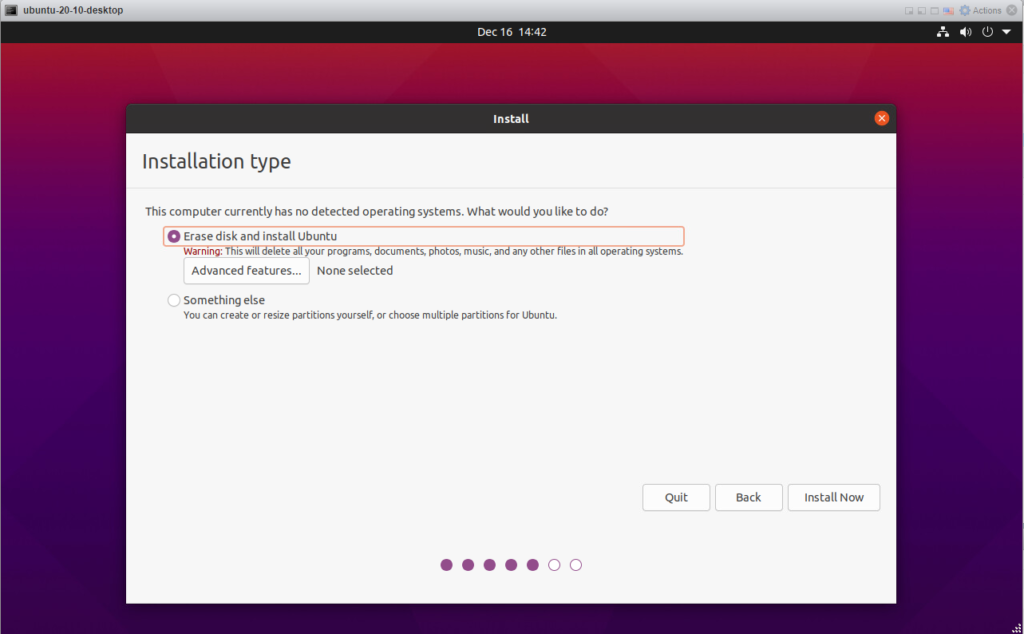
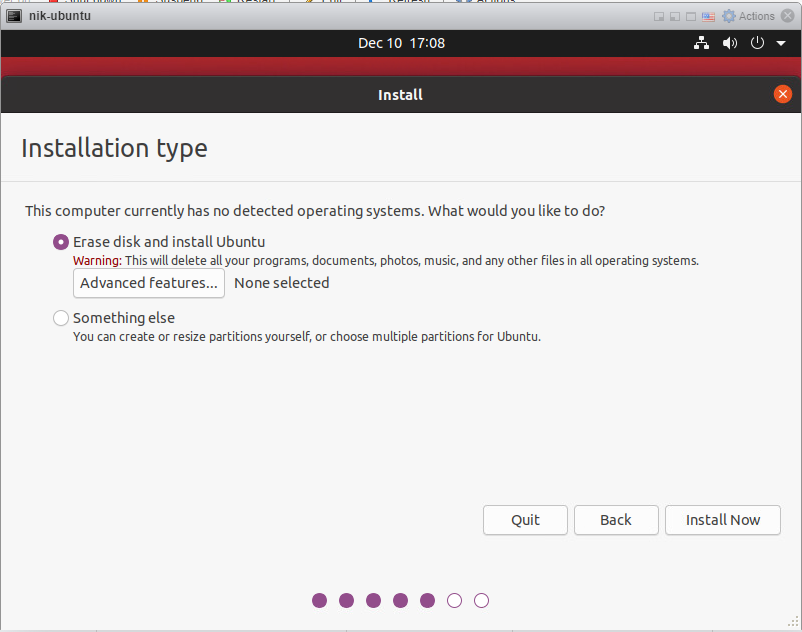
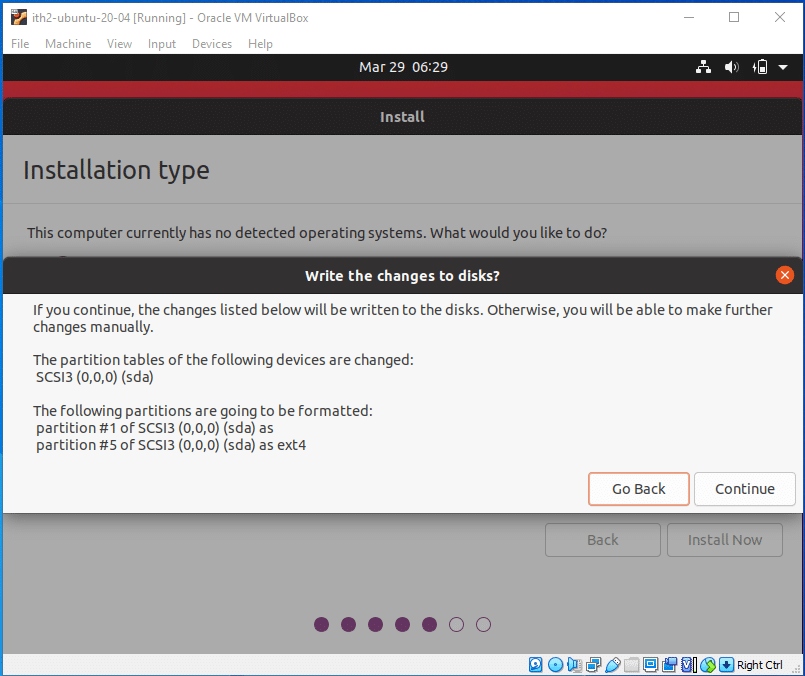
Click on Install now to erase the disk and install Ubuntu:
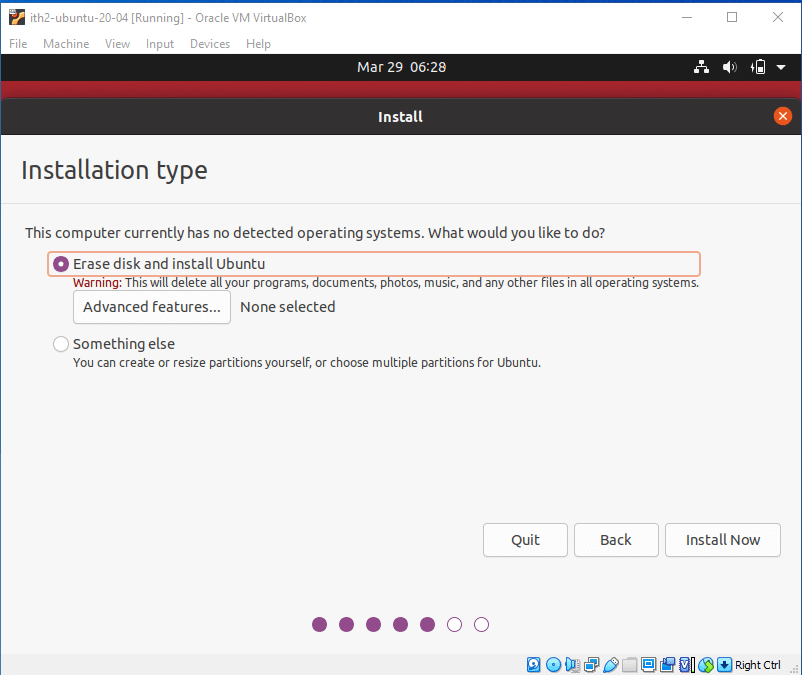
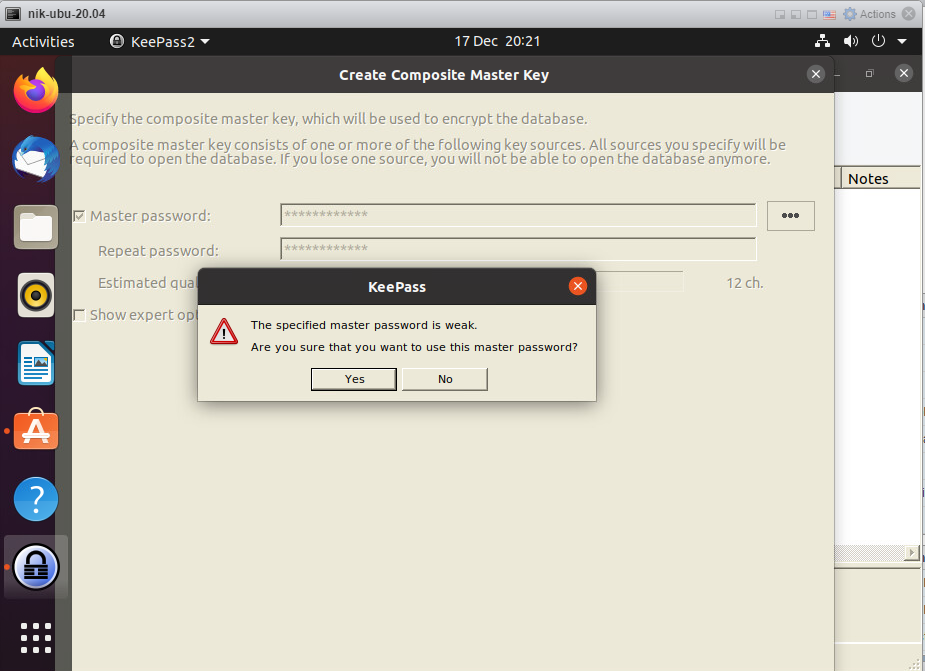
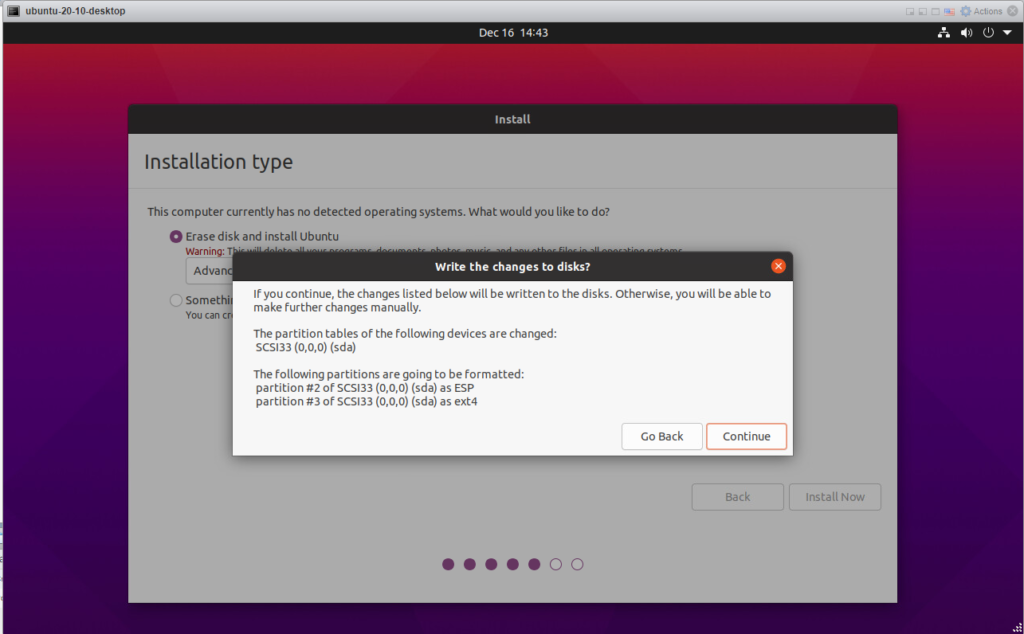
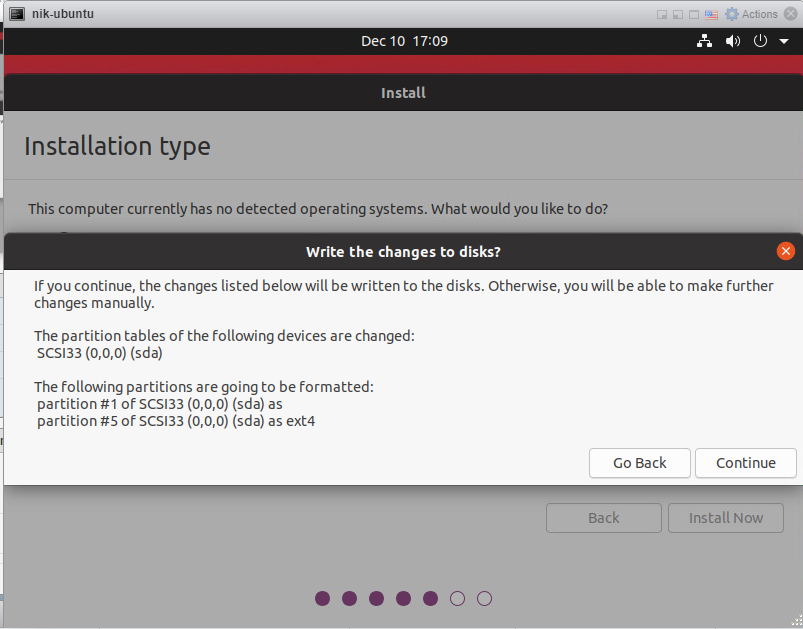
Click on Continue to Start the install:
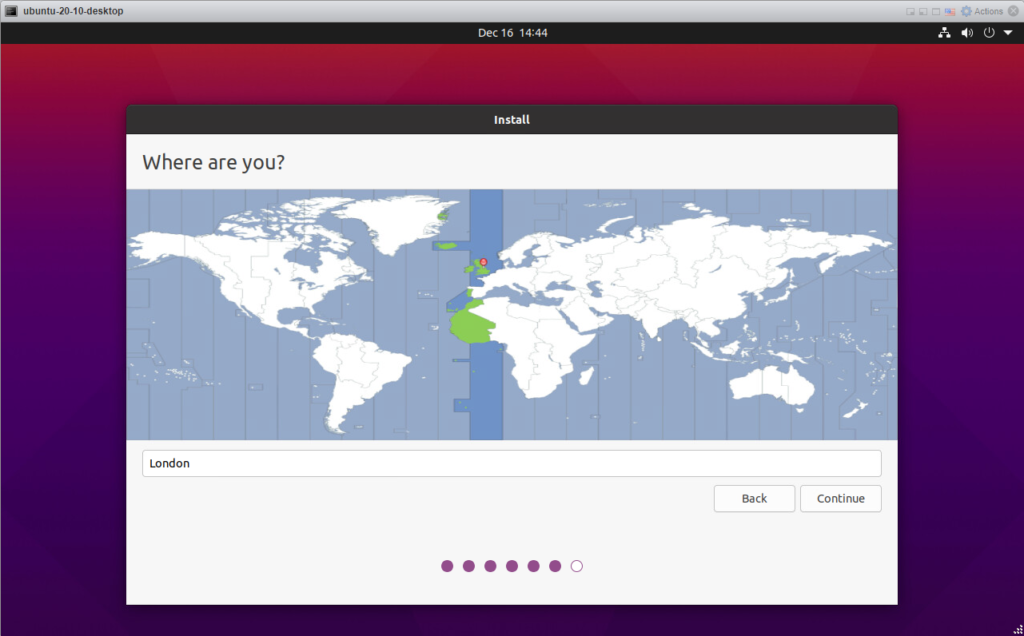
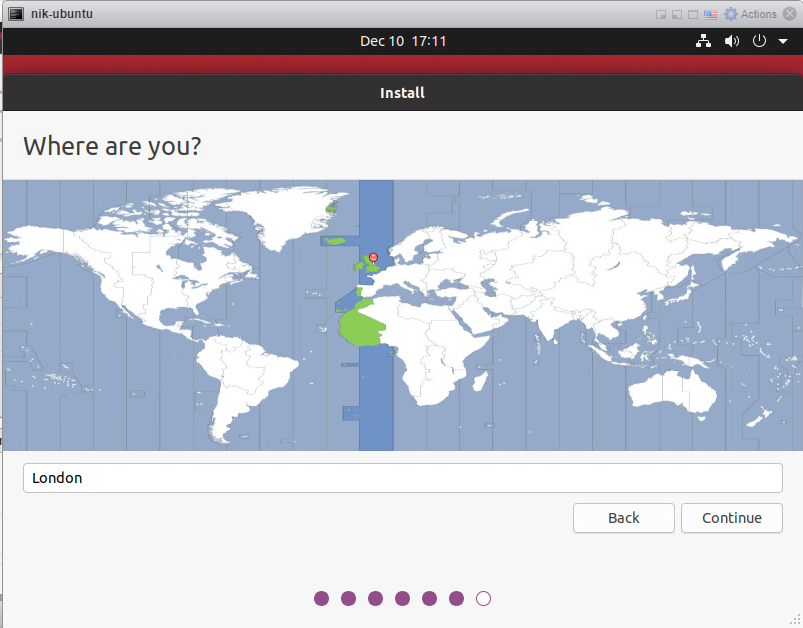
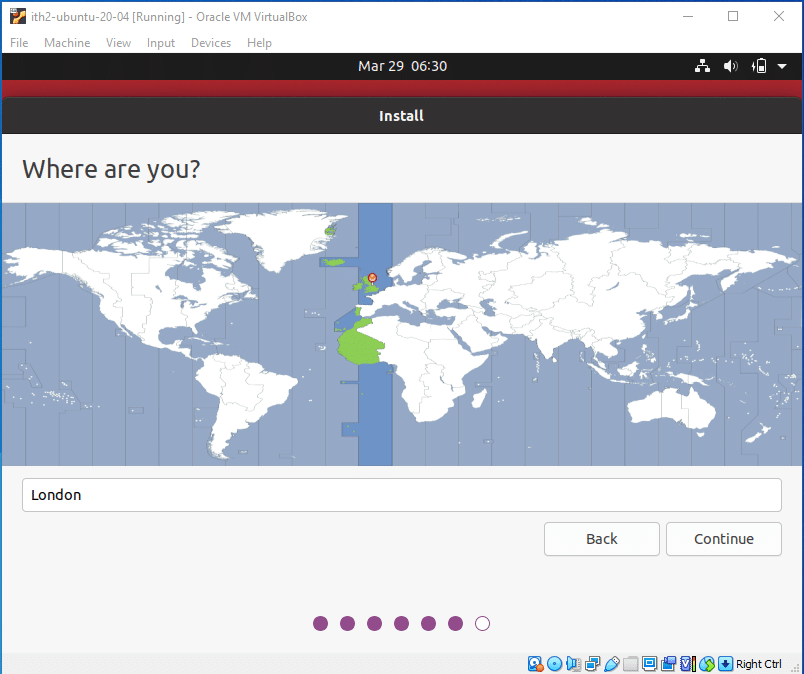
Select where you are and continue:
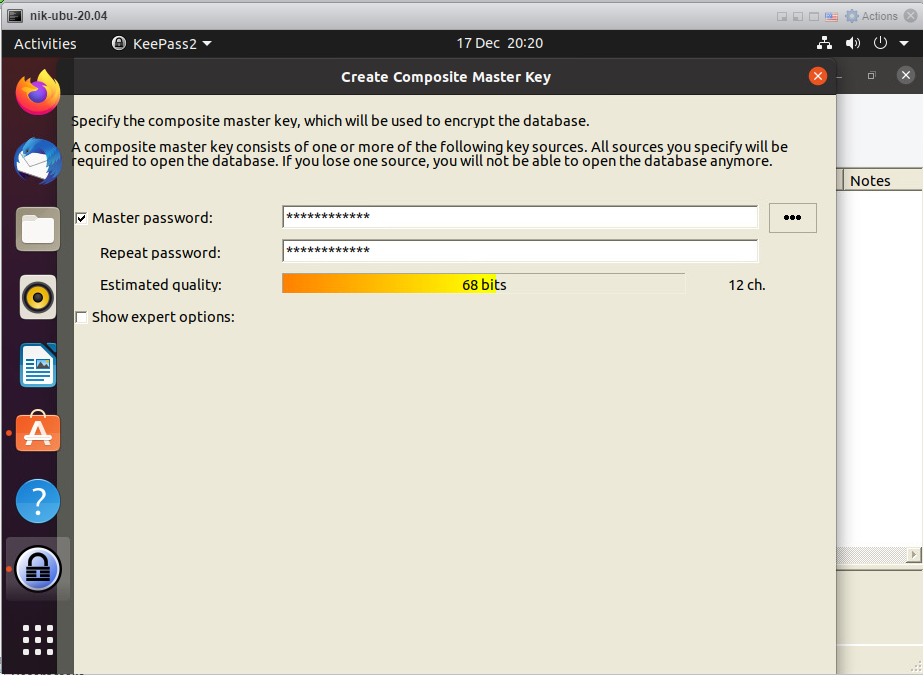
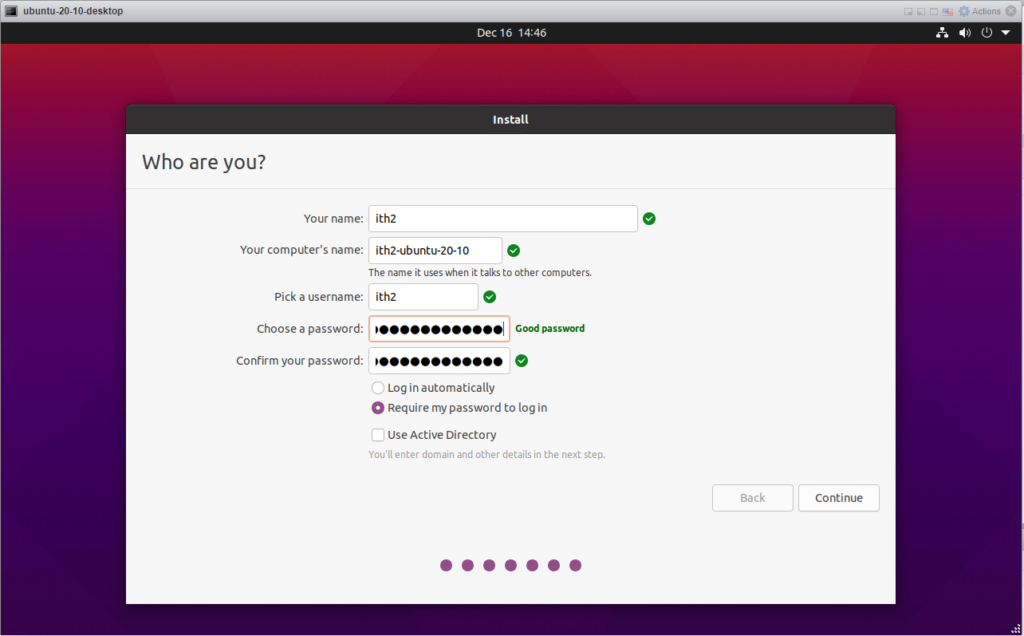
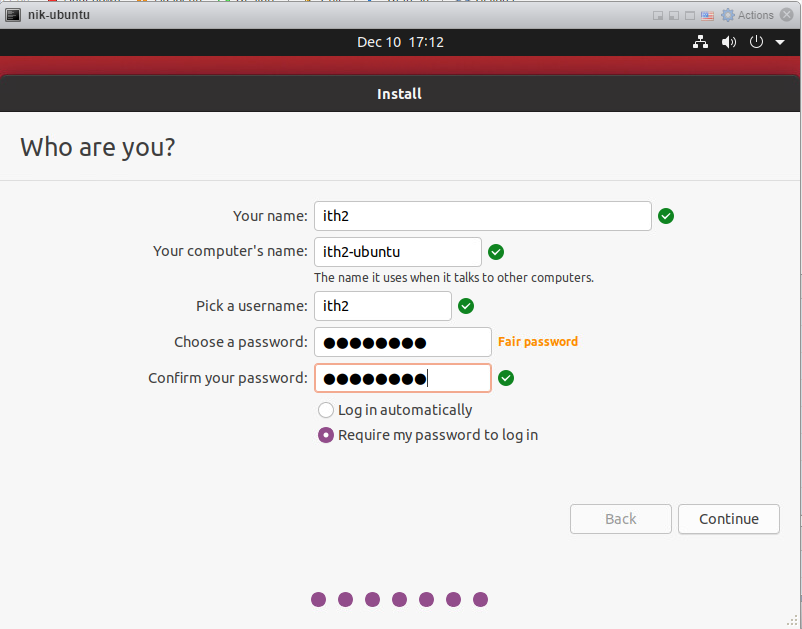
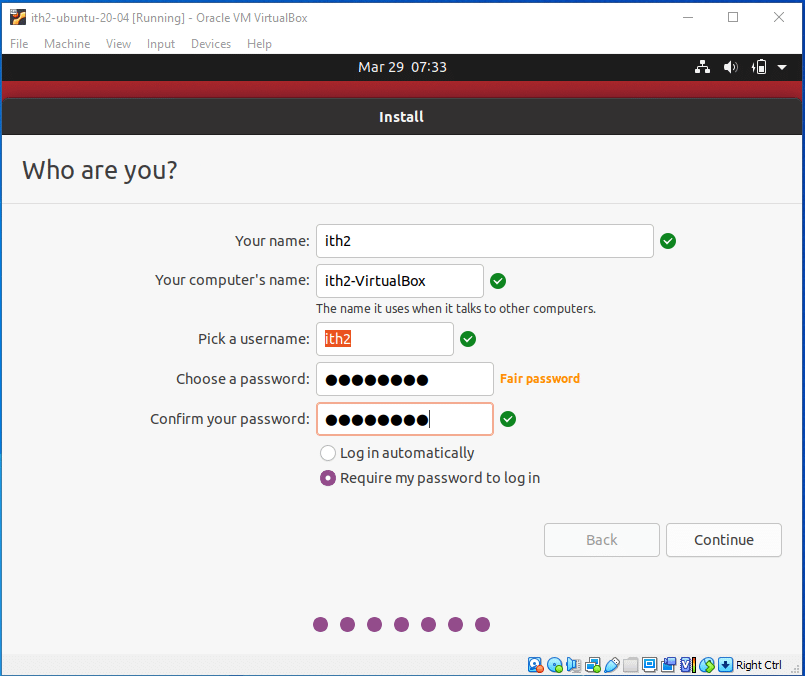
Input your name, Computer name, user name and passwords in the fields provided and click continue:
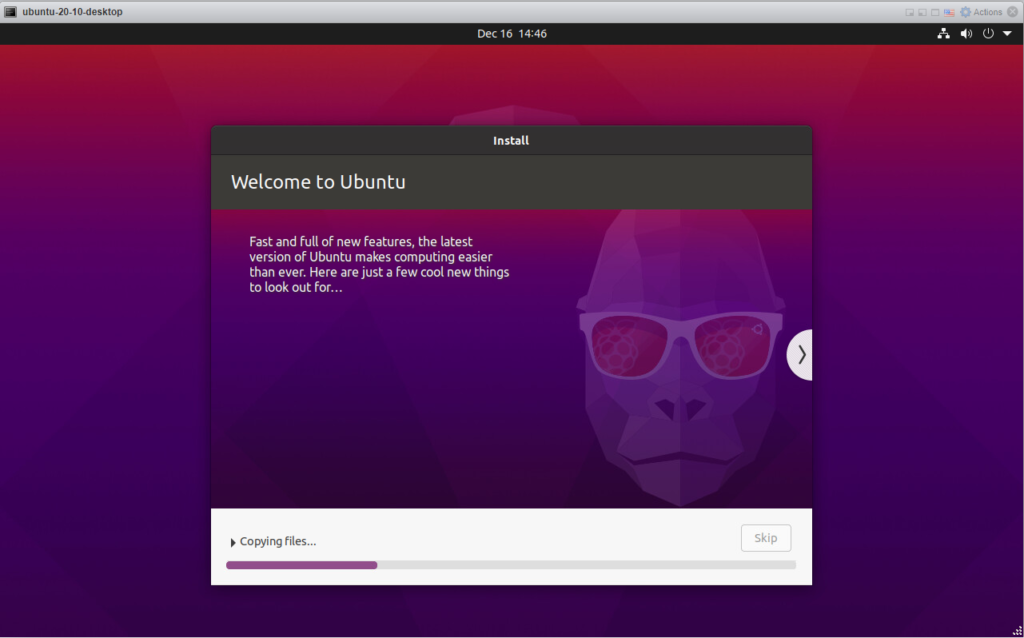
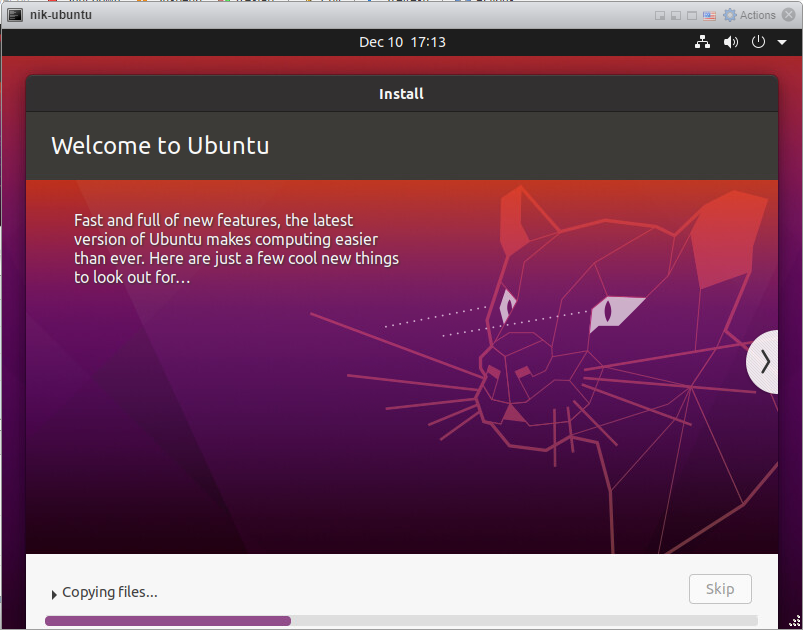
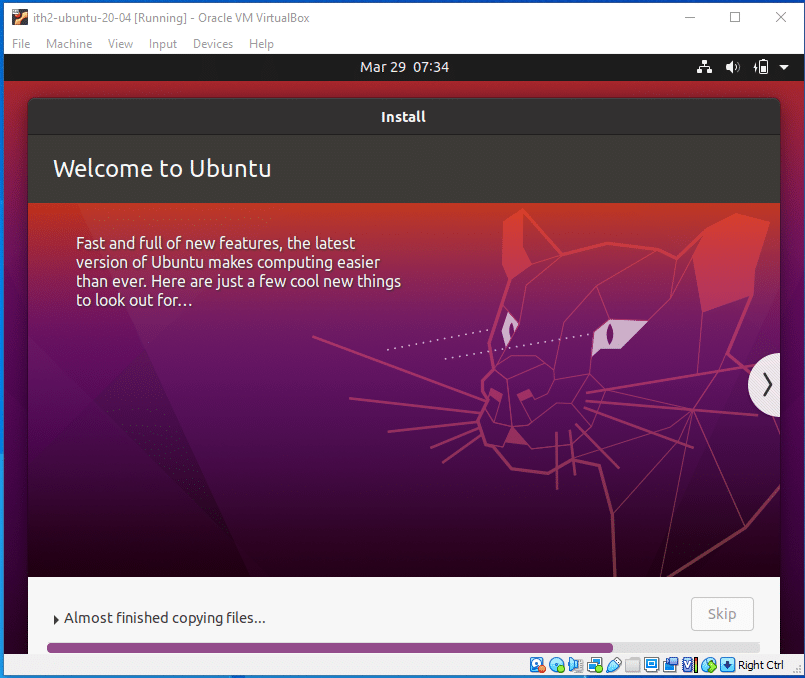
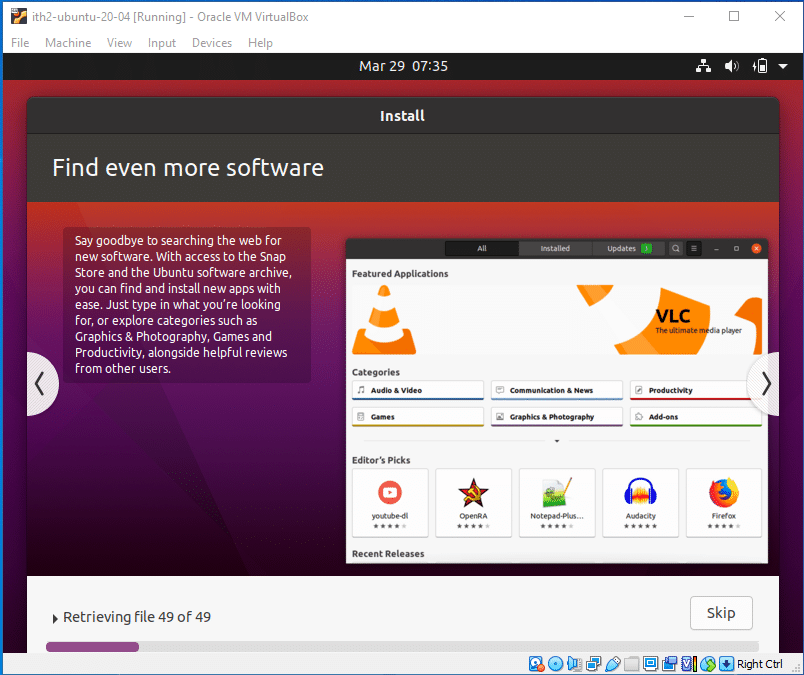
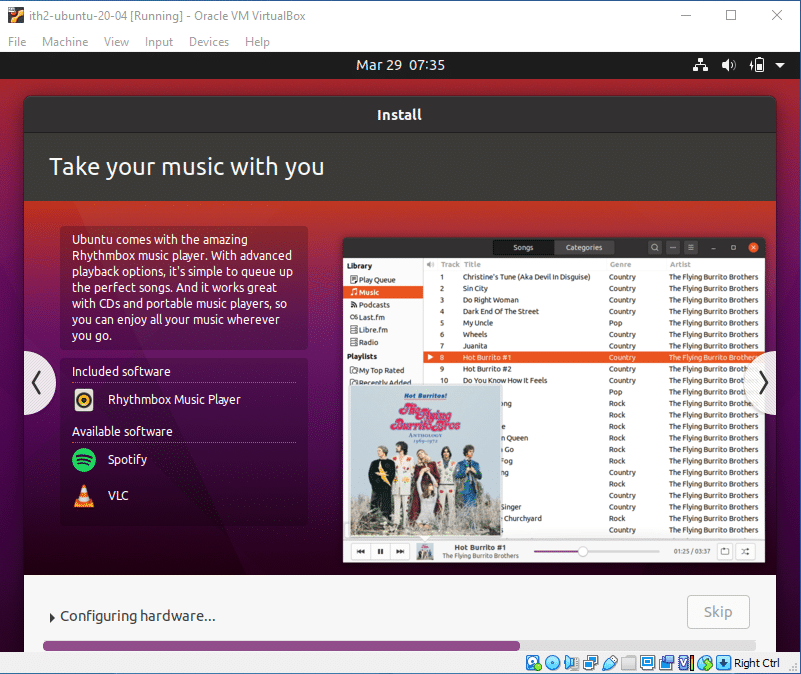
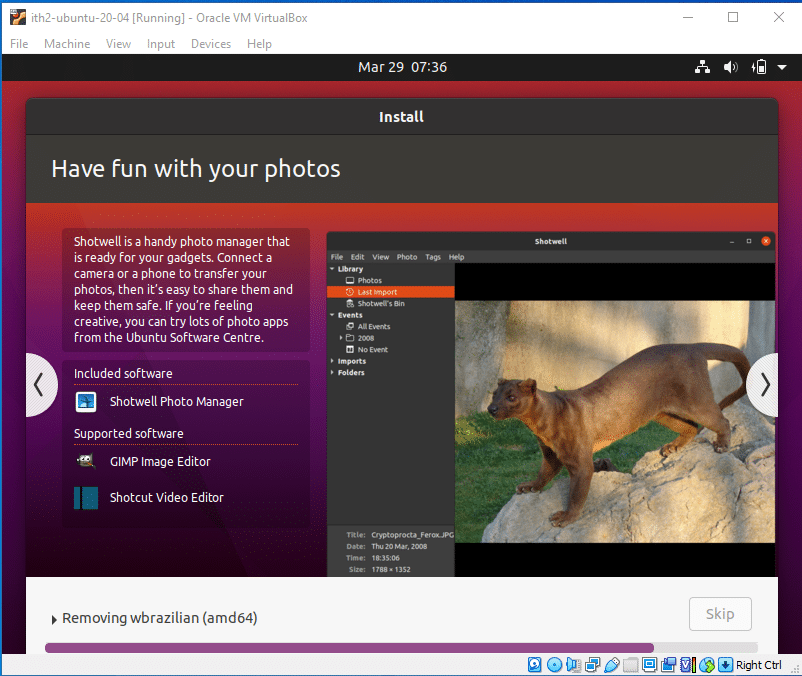
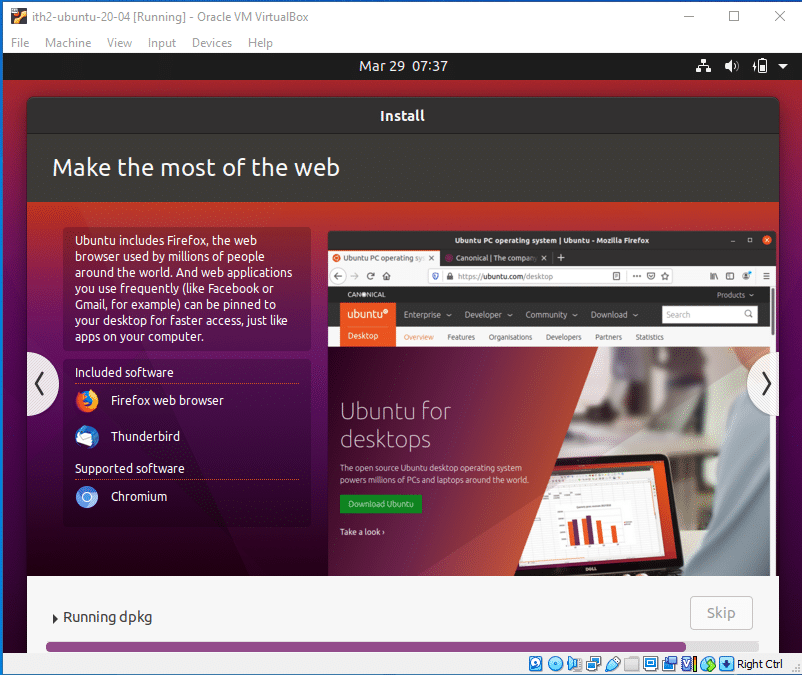
Wait for the installation to run:
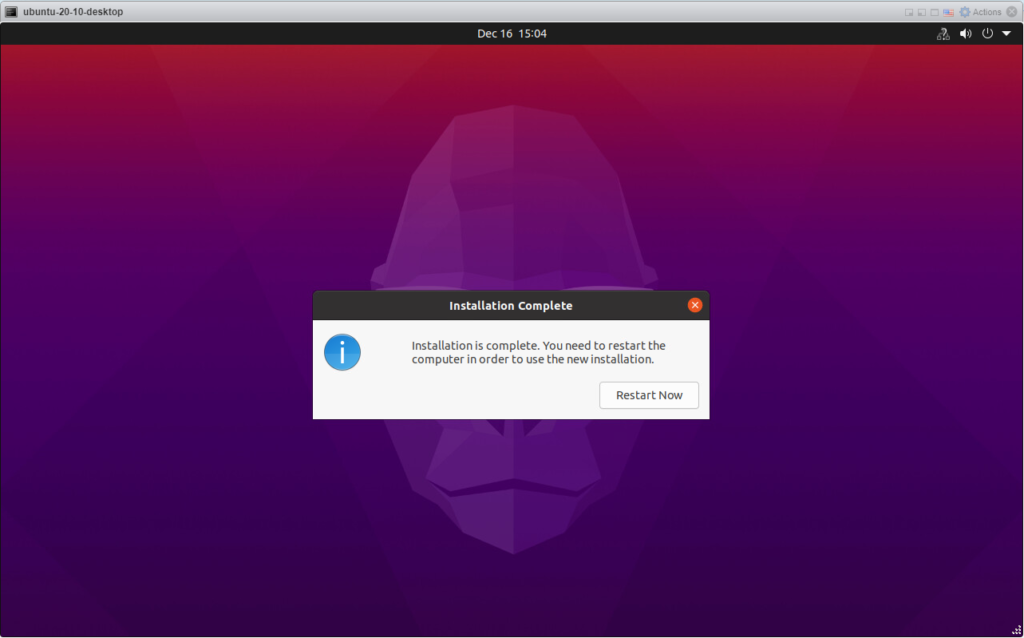
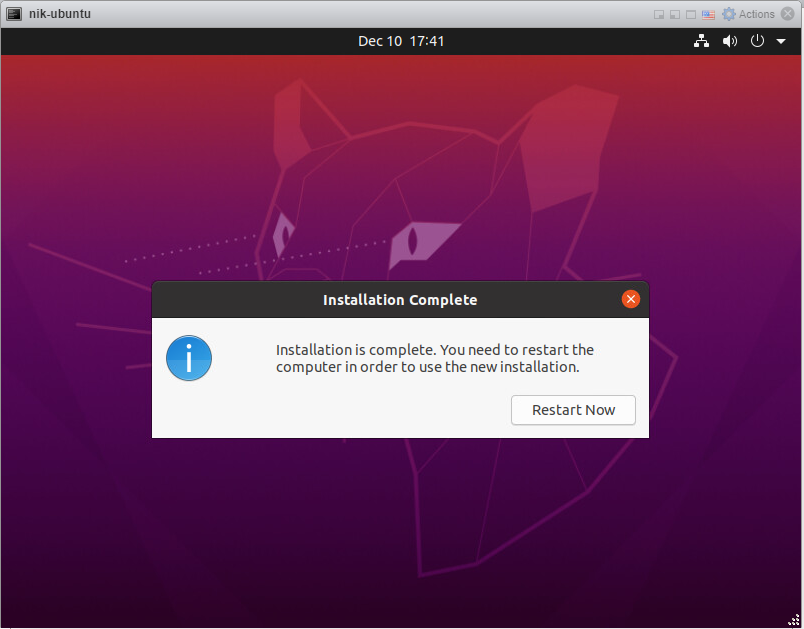
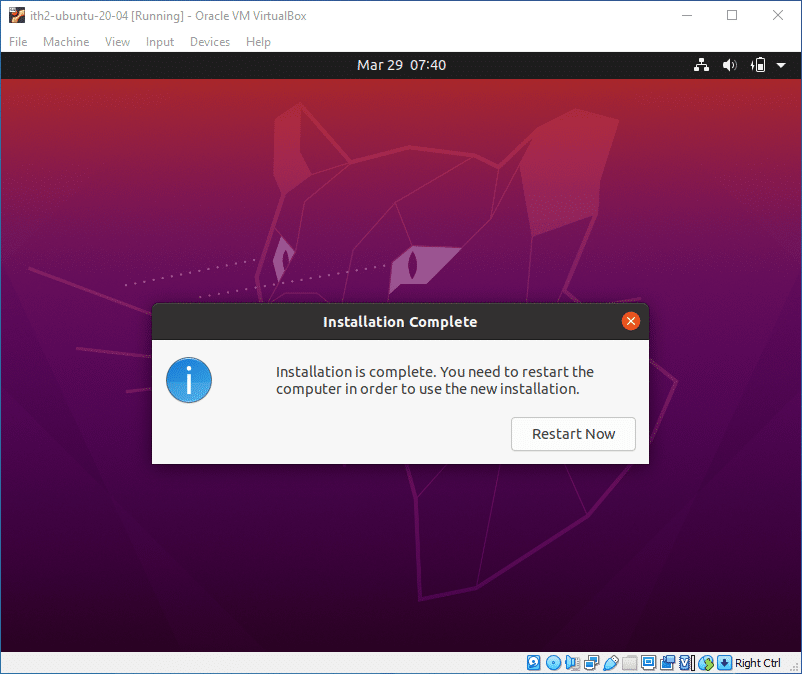
Click Restart Now to reboot the VM to finish the installation:
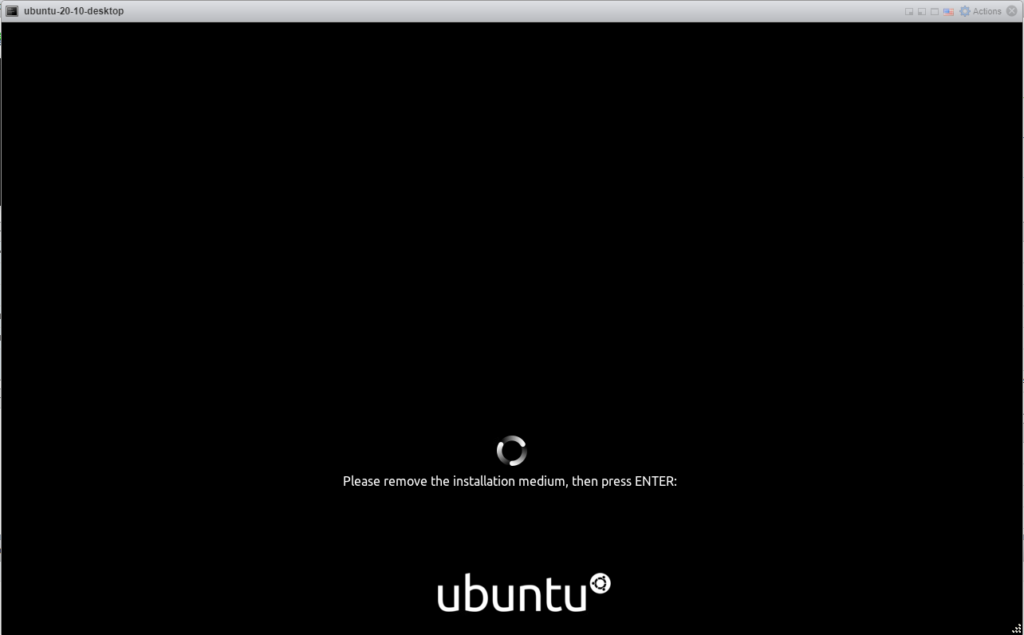
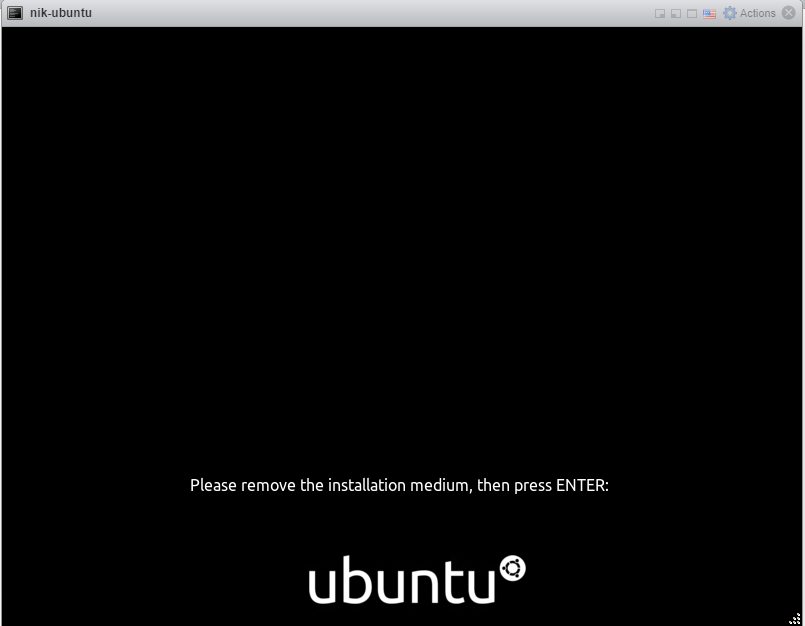
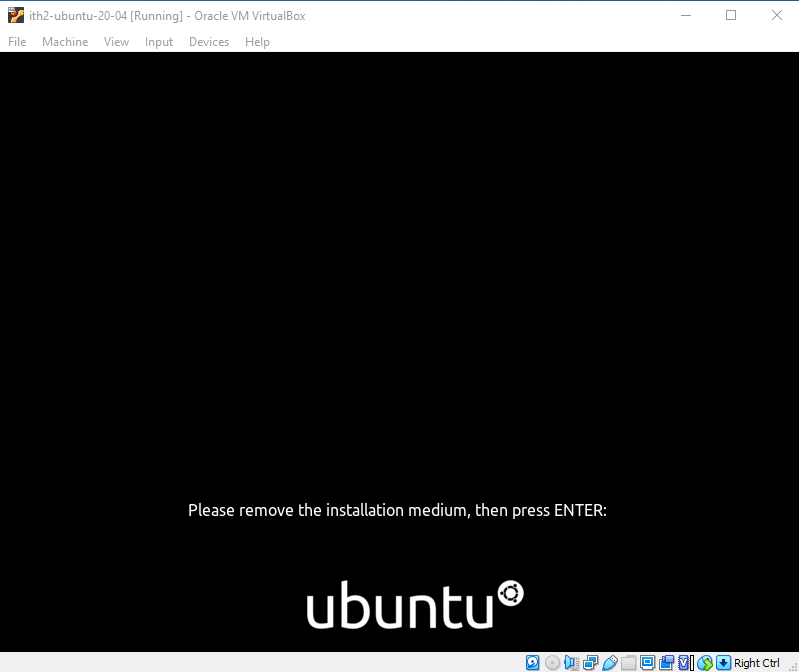
Press Enter to restart the VM:
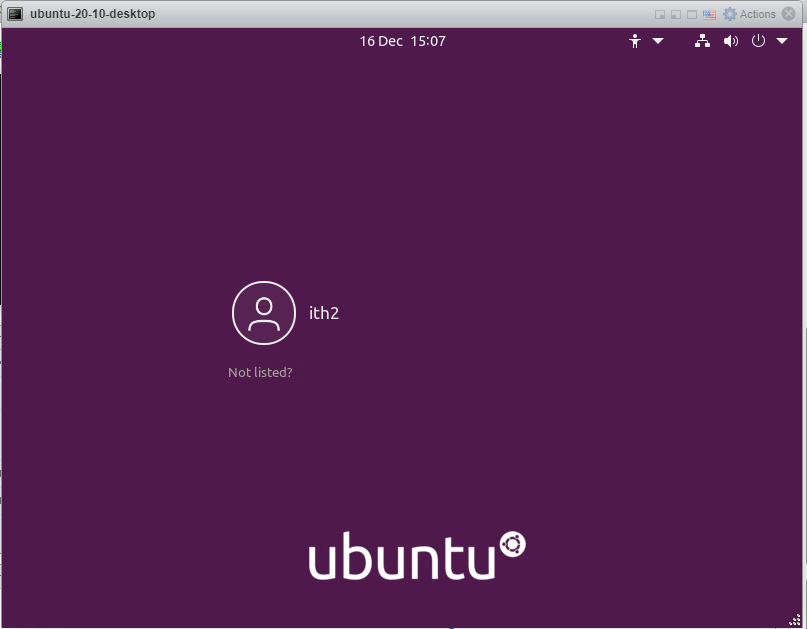
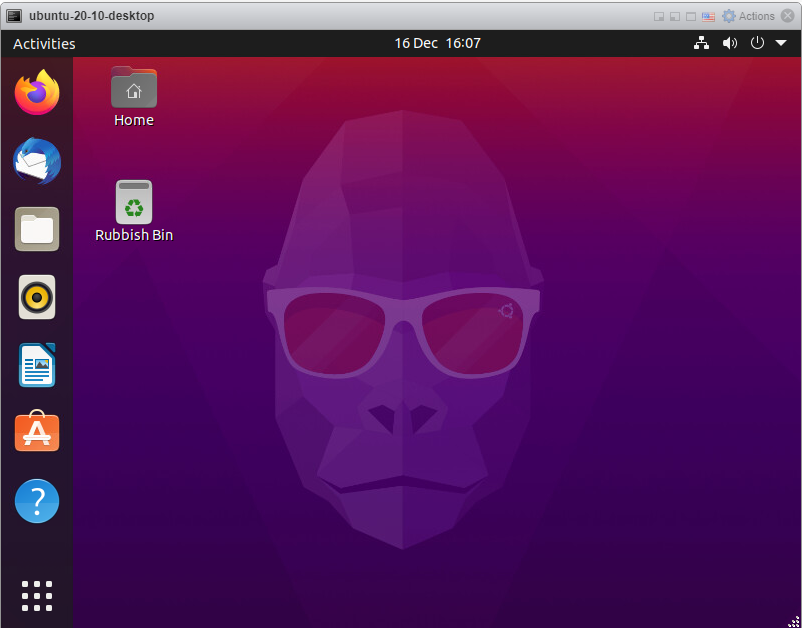
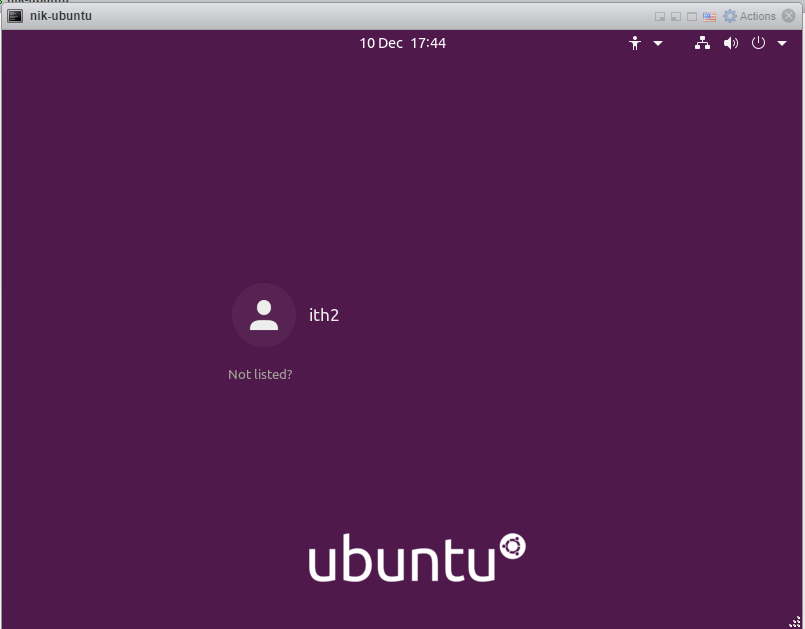
The VM will then reboot into Ubuntu 20.04 Desktop.
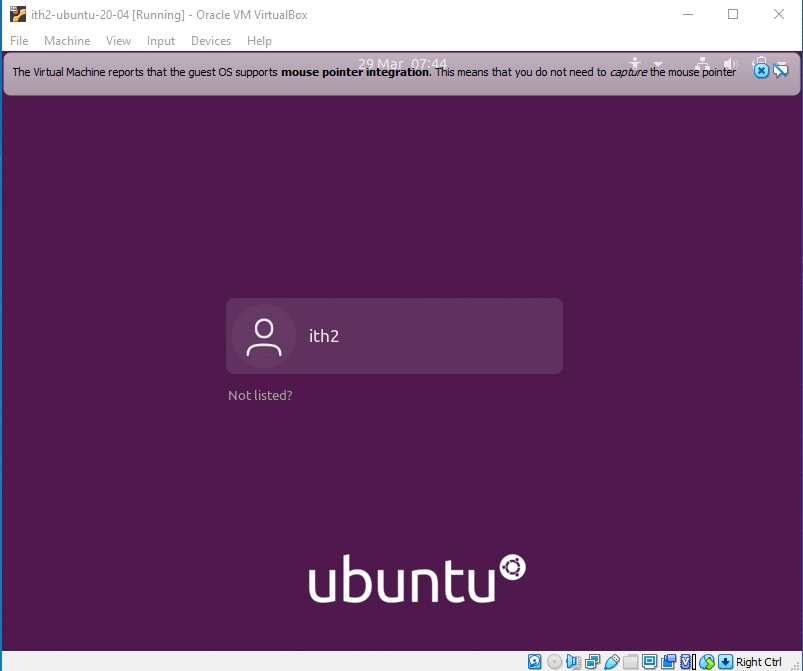
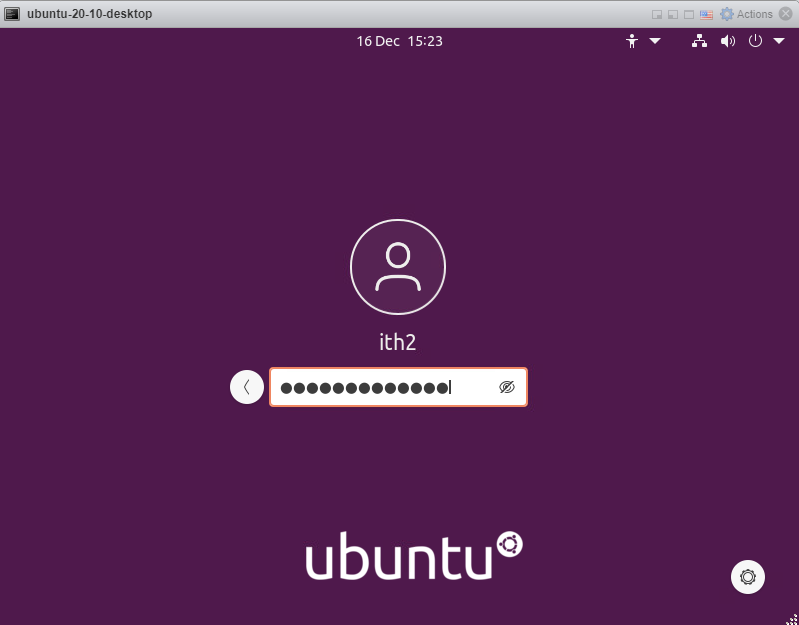
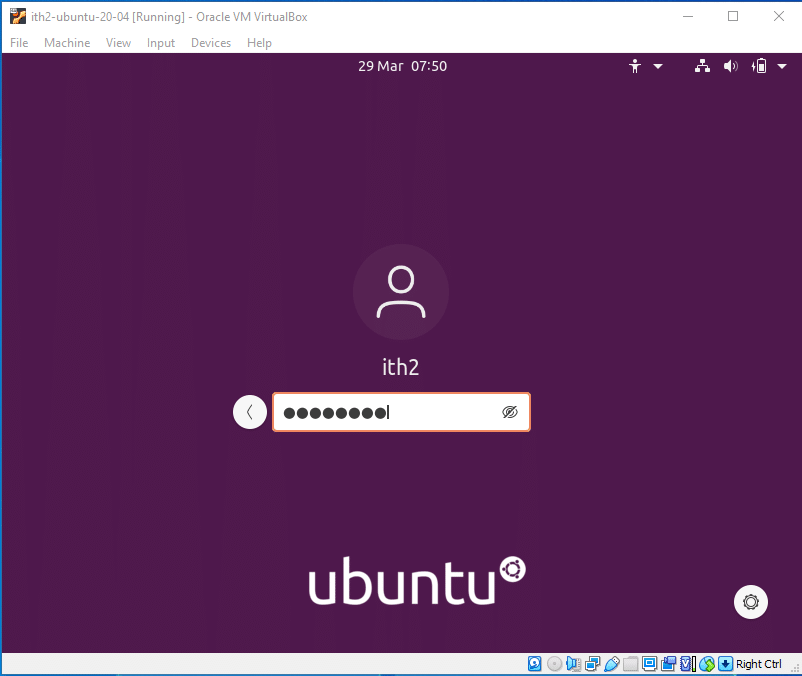
You will now be able to log in using the password created during installations and will be taken to the desktop.
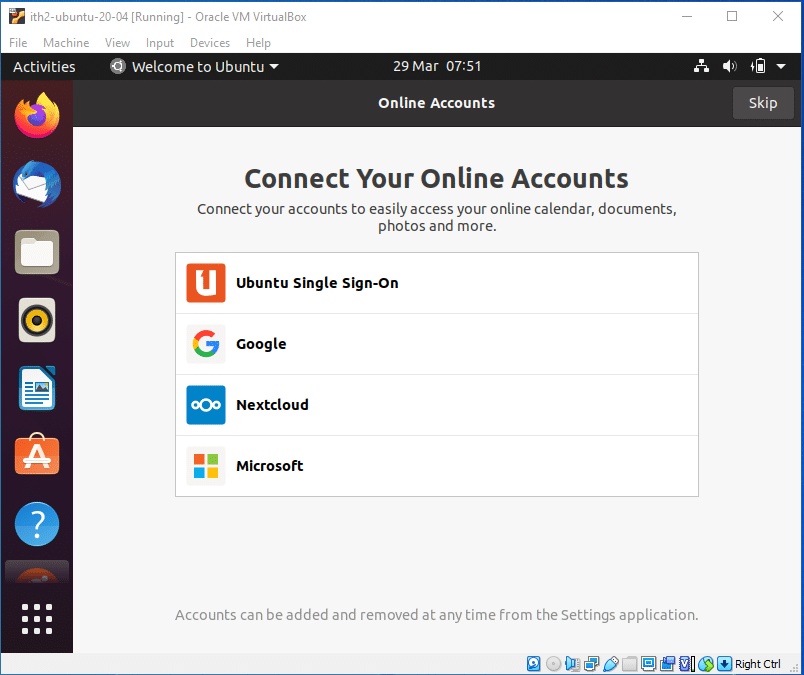
I like to setup my online accounts manually so I usually click on Skip to close the wizard. And then install Livepatch by clicking next:

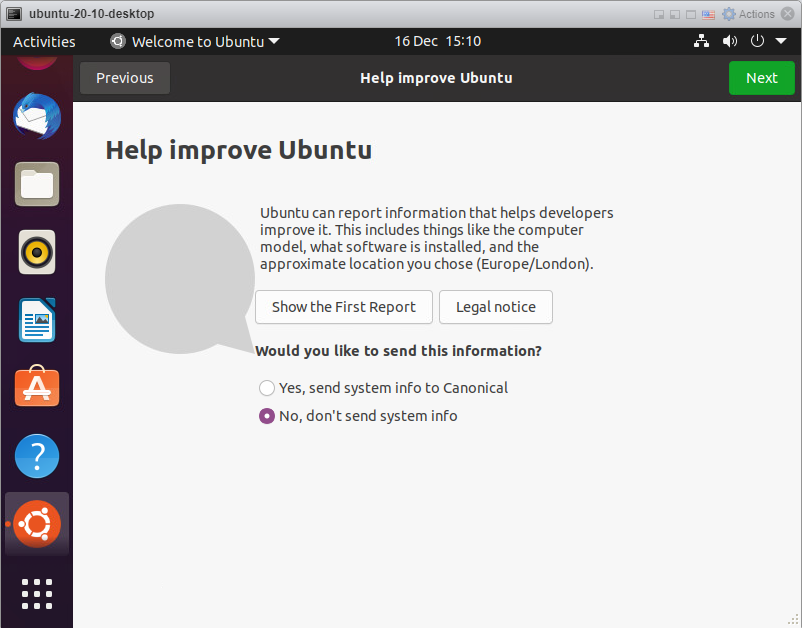
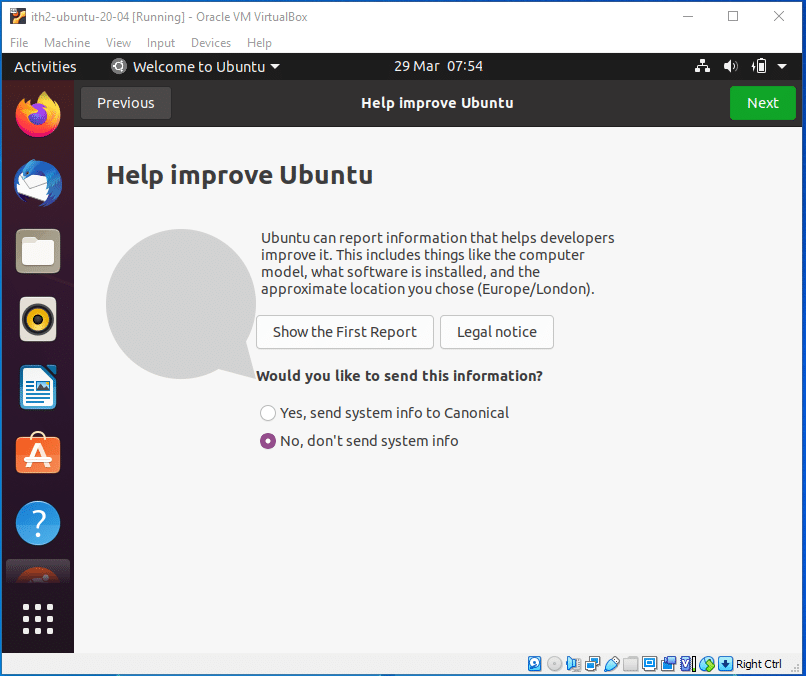
I then select No, don’t send system info to Canonical and click next.
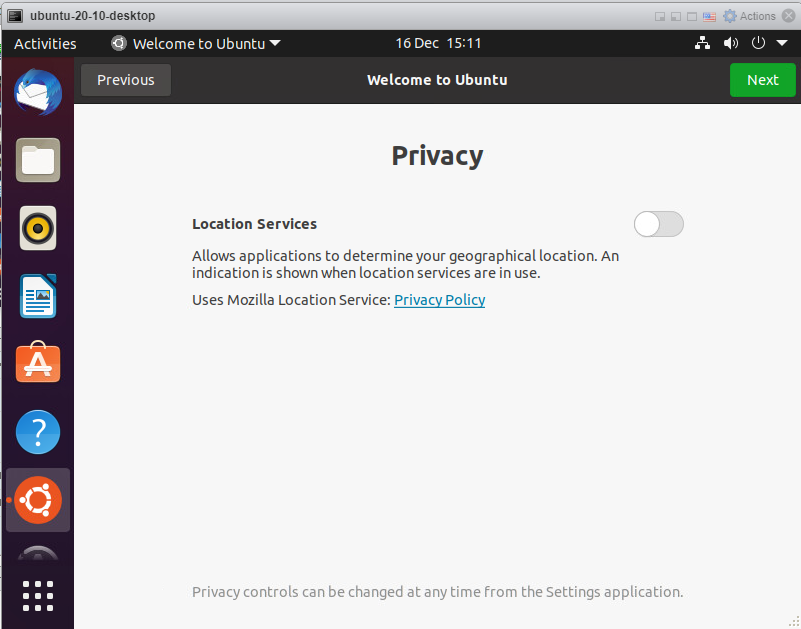
I then click next to not select location services.
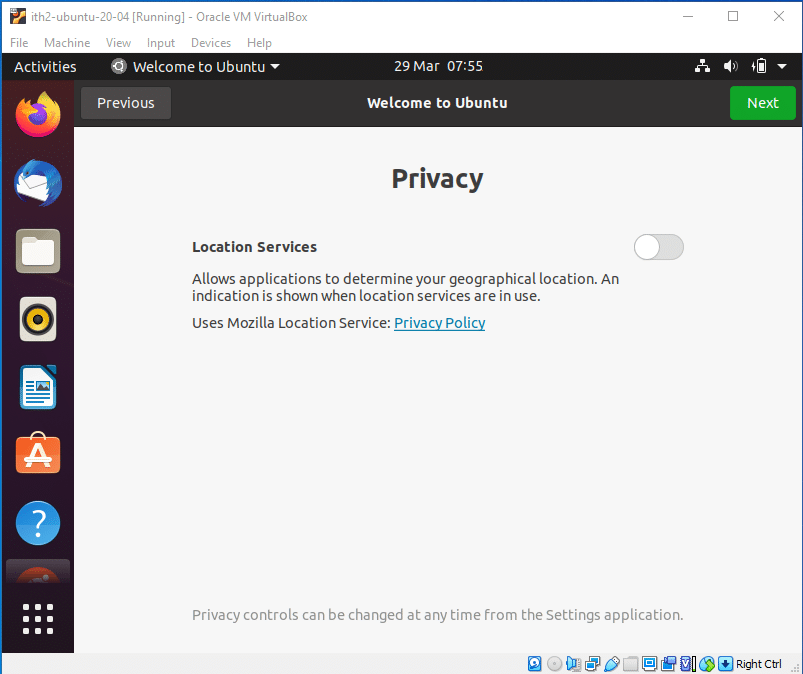
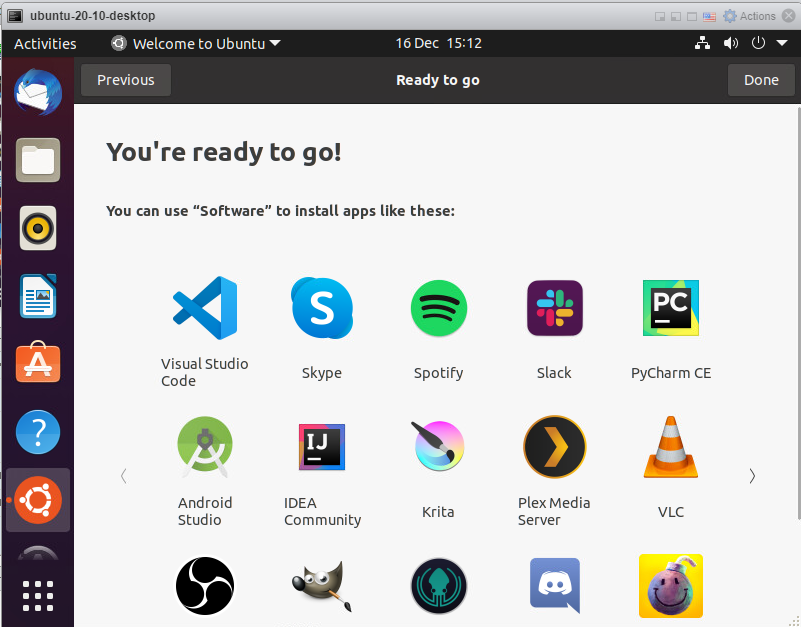
And then finally Done to close the wizard:

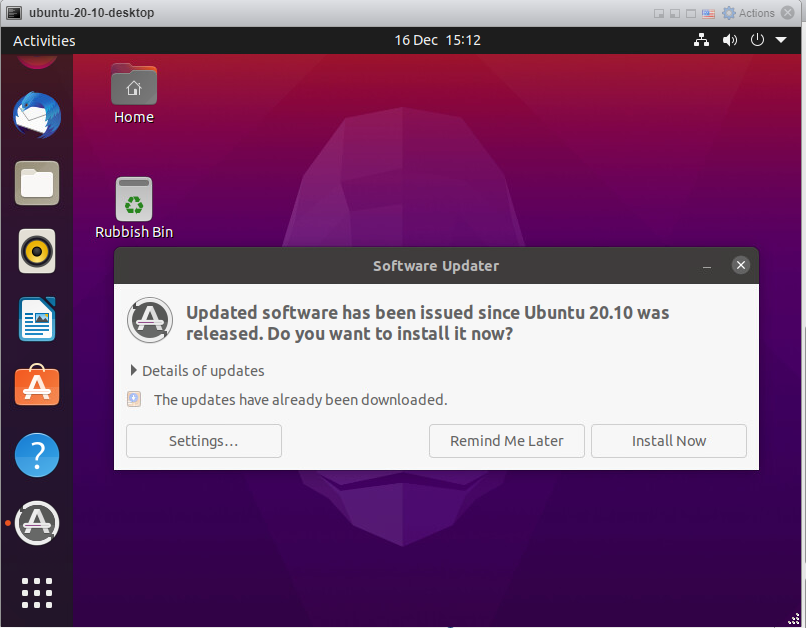
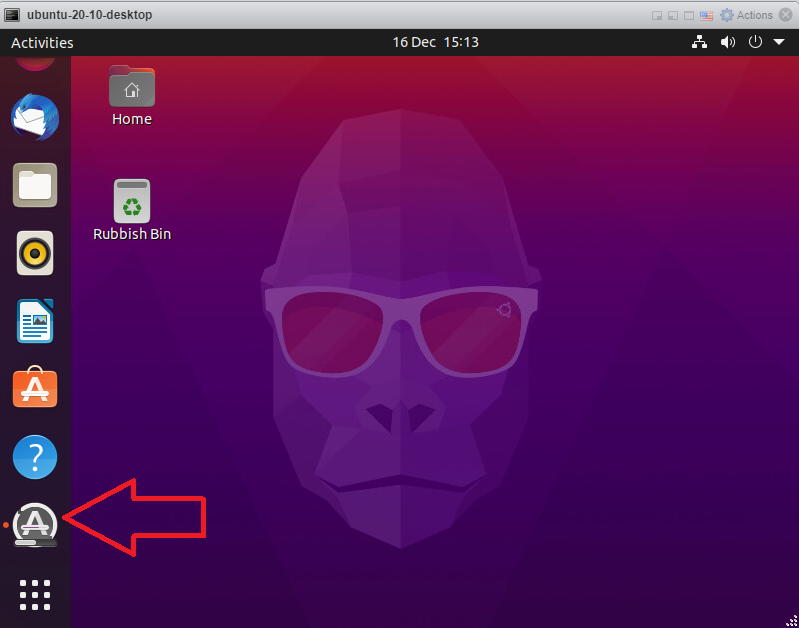
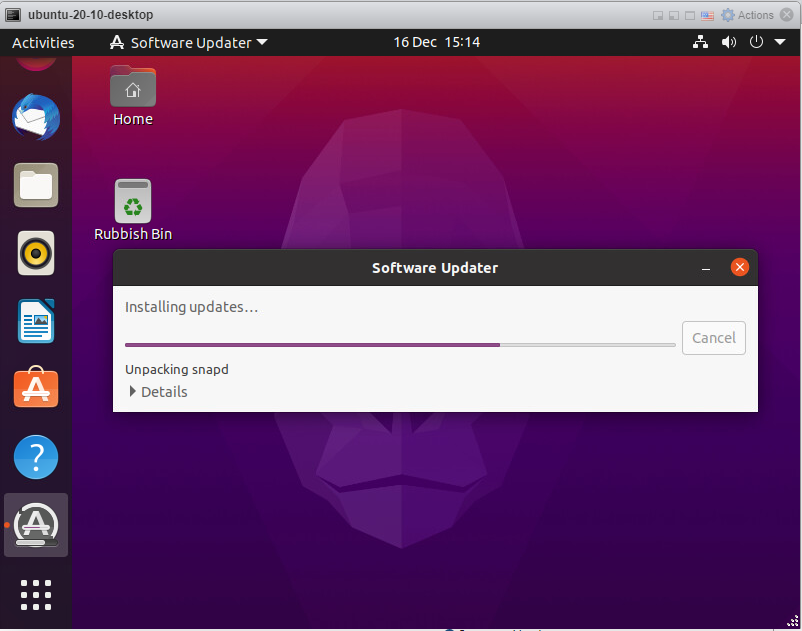
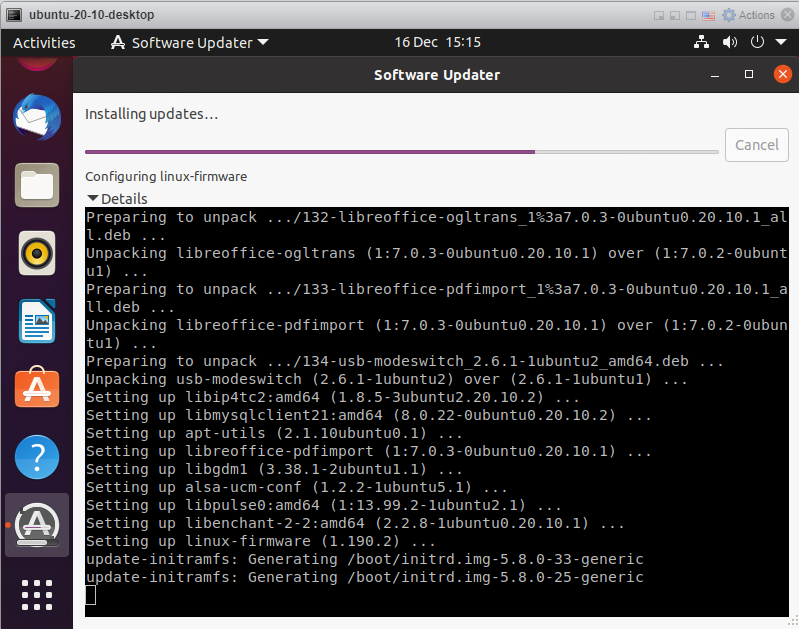
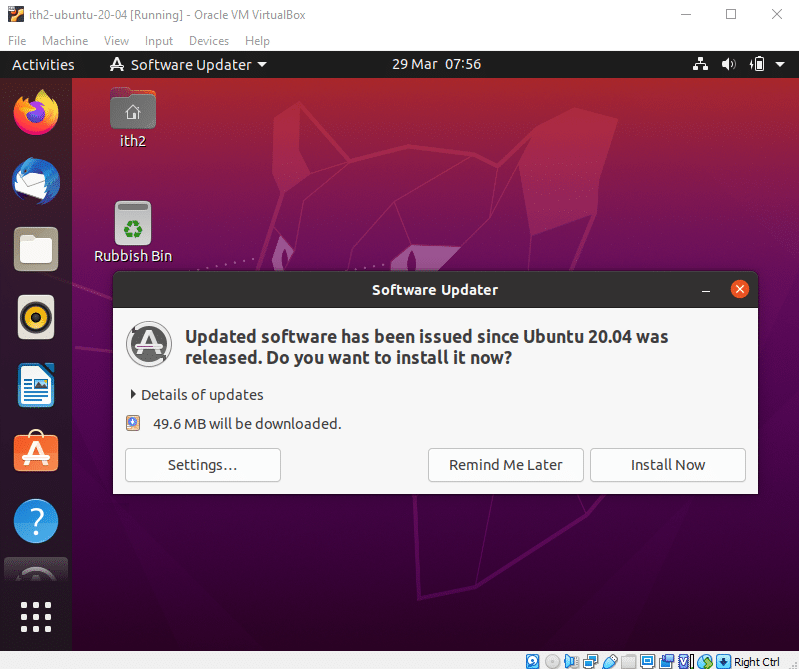
I then click on the Software Updater and click Install Now:
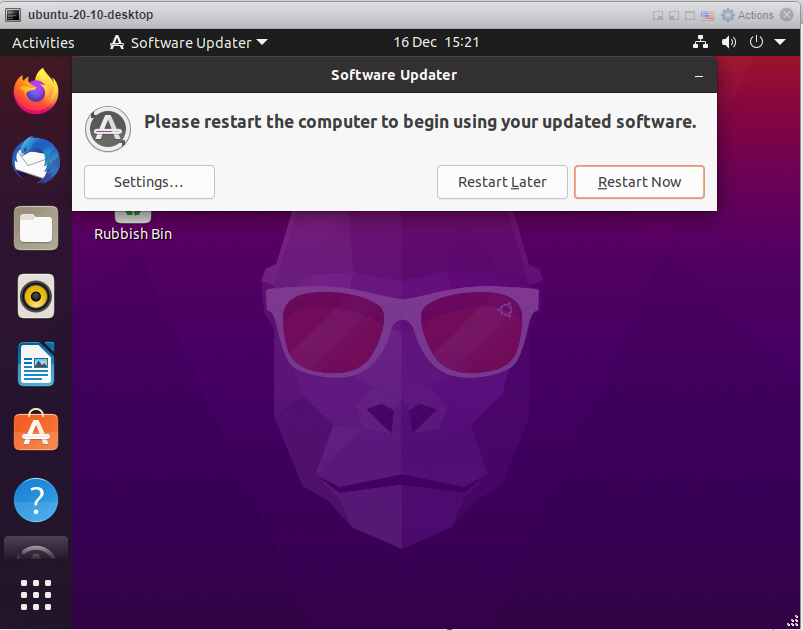
If you have followed the instructions properly you will have now successfully created an Ubuntu VM on VirtualBox and Installed Ubuntu 20.04 Desktop so you will now have a working Ubuntu 20.04 Desktop pc running in VirtualBox.
For ideas on what to do next with your freshly installed Ubuntu VM take a look at out other Ubuntu 20.04 posts.
Once the Software updates have finished installing it is a good idea to install the Guest Addons.
Installing Guest Addons:
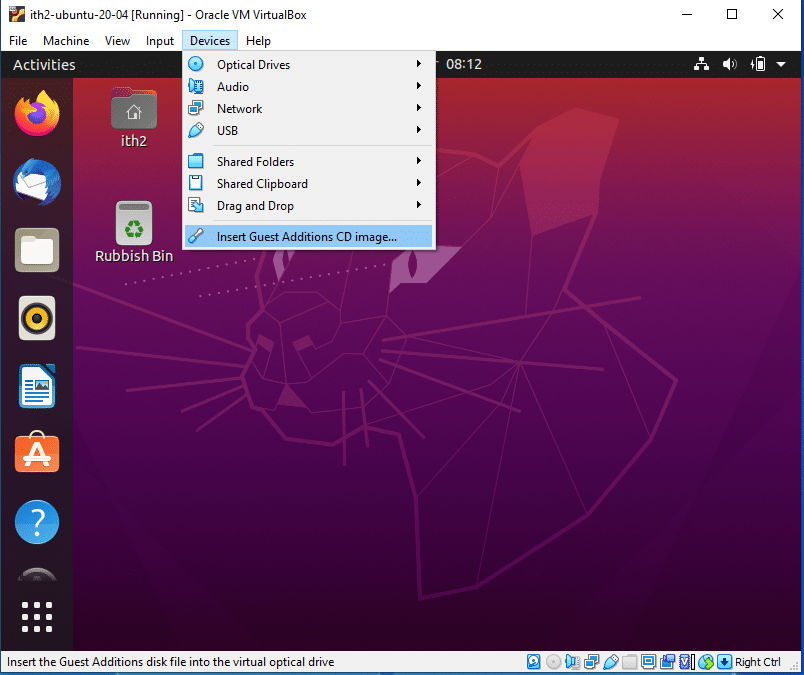
Click on Devices, Insert Guest Additions CD image….
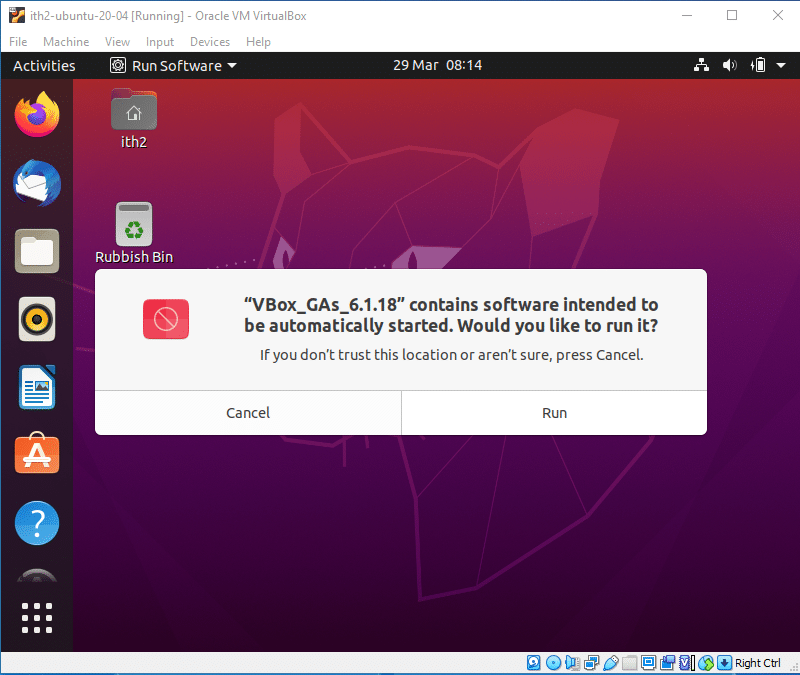
Click Run
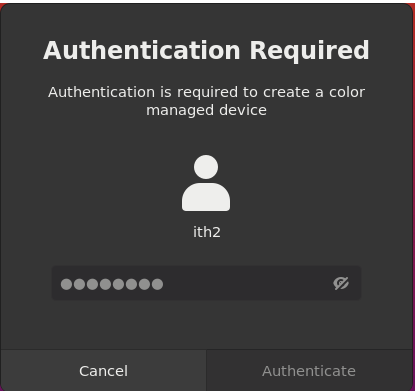
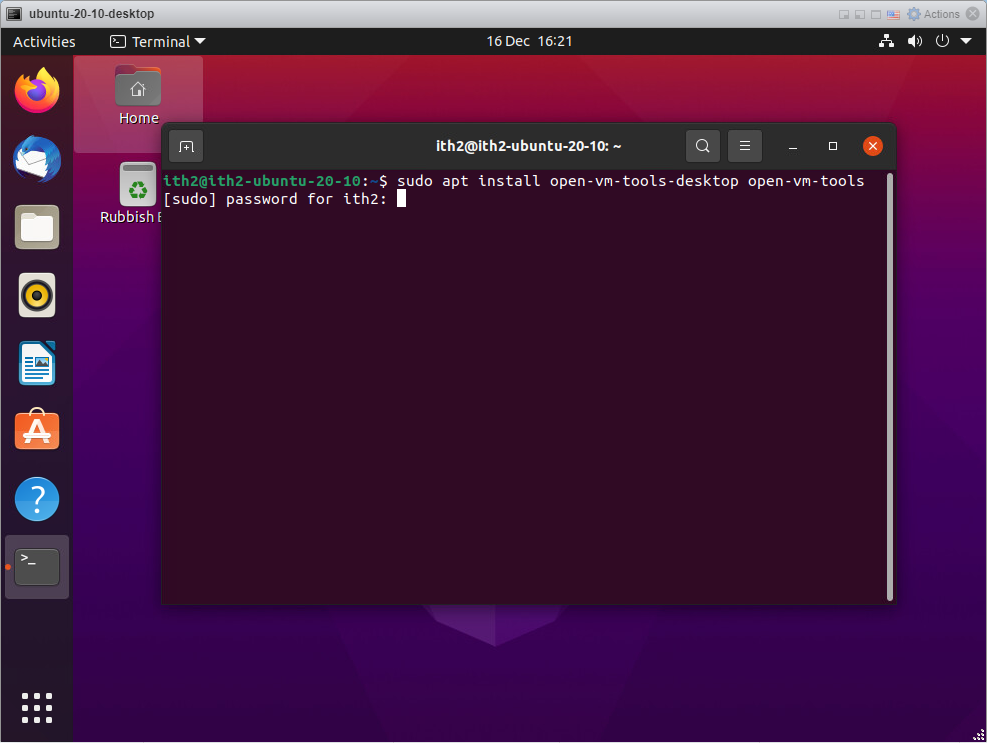
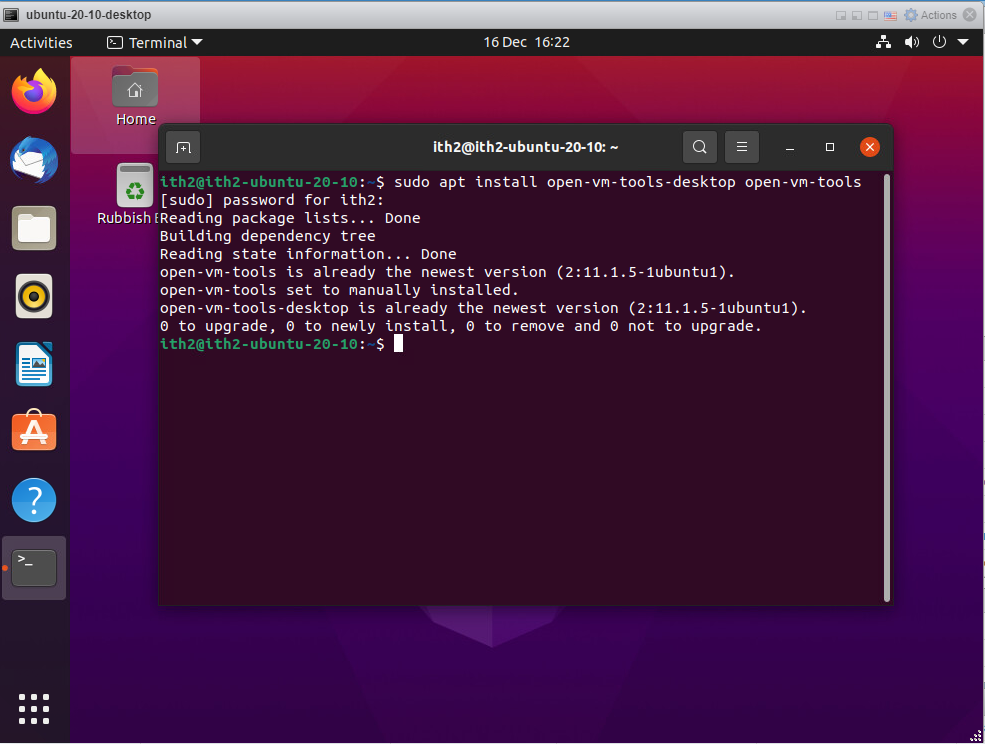
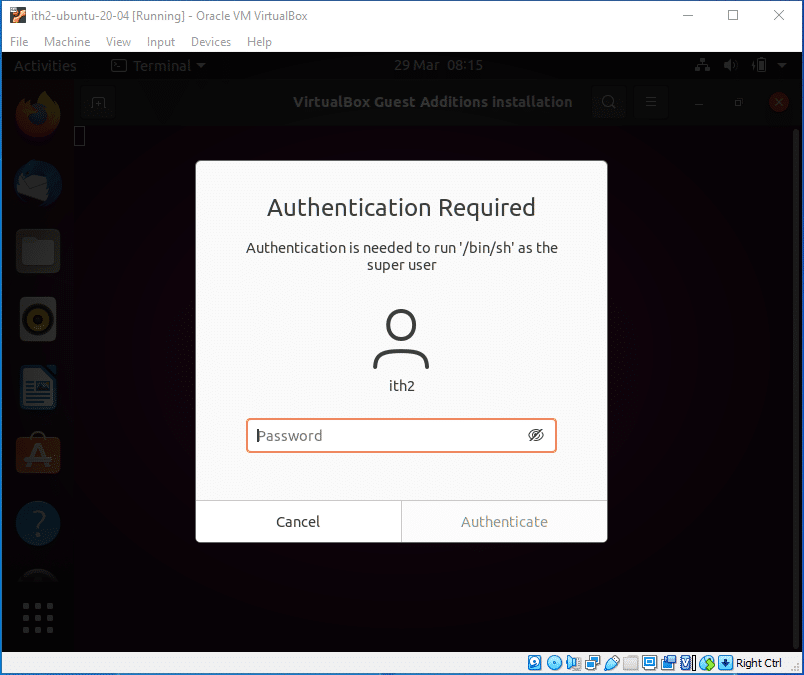
Type your Password and click Authenticate
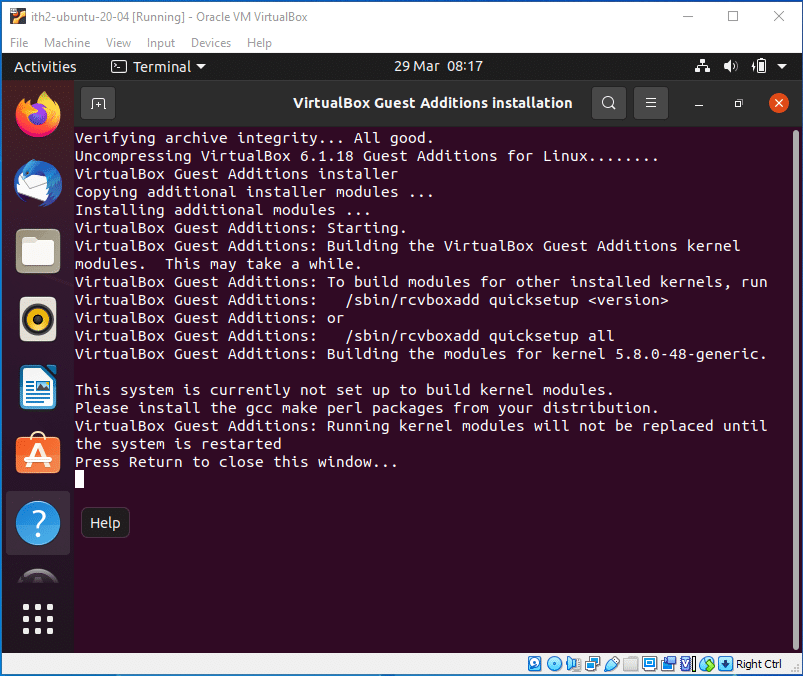
The Guest Additions will then be installed:

When the install has completed you will be asked to Press Return to close the window.
You will then need to restart the VM for the Guest Additions to be fully installed:
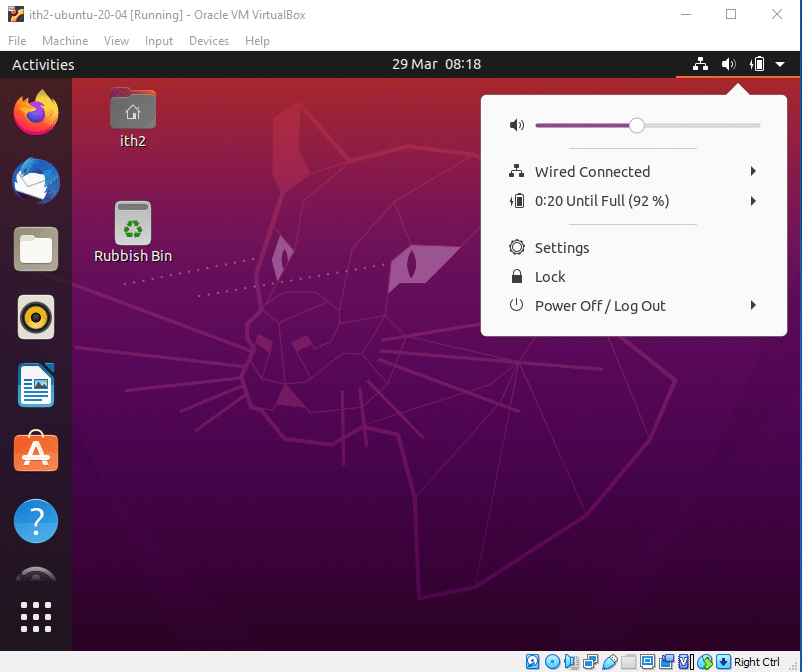

Click Power off:
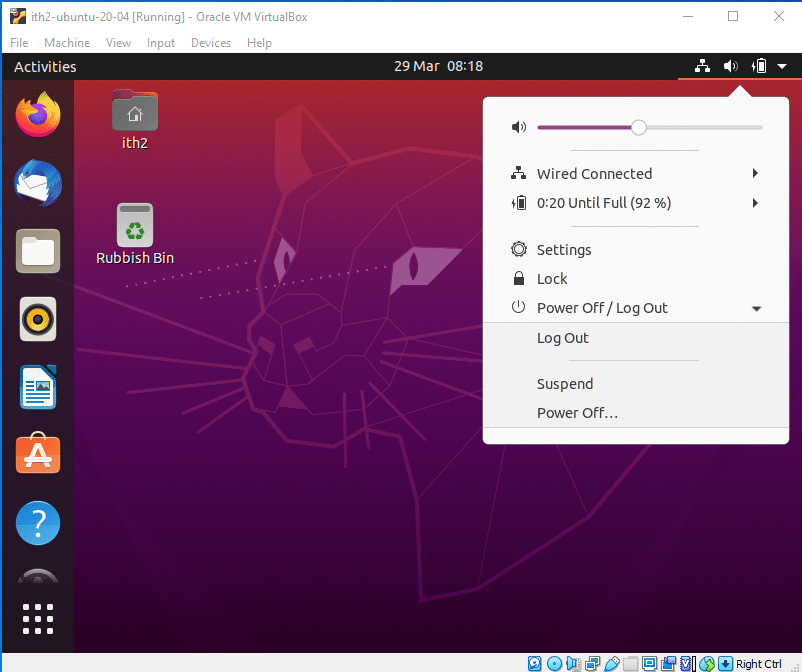
Select Restart and press enter.
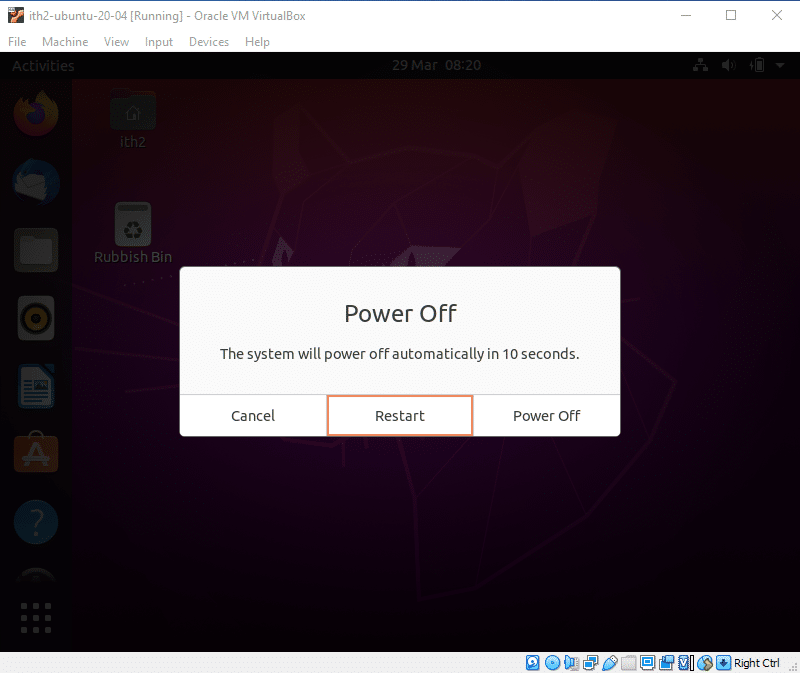
The VM will then reboot and the Guest Additions will have been installed.