This is how I setup the email on Bookstack. I used the SMTP method as I already have smtp setup on my domain so creating a new email address was quick and easy. My Bookstack environment is installed on a free AWS Ubuntu 20.04 Instance. For more options see the official guide HERE.
The email was setup as follows:
Find the .env file by searching on your server by running the following command:
find / -name *’env
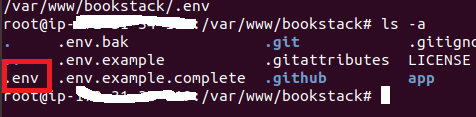
My .env was a hidden file in /var/www/bookstack
Find the file by running the following command:
ls -a
Edit the .env file:
vim /var/www/bookstack/.env
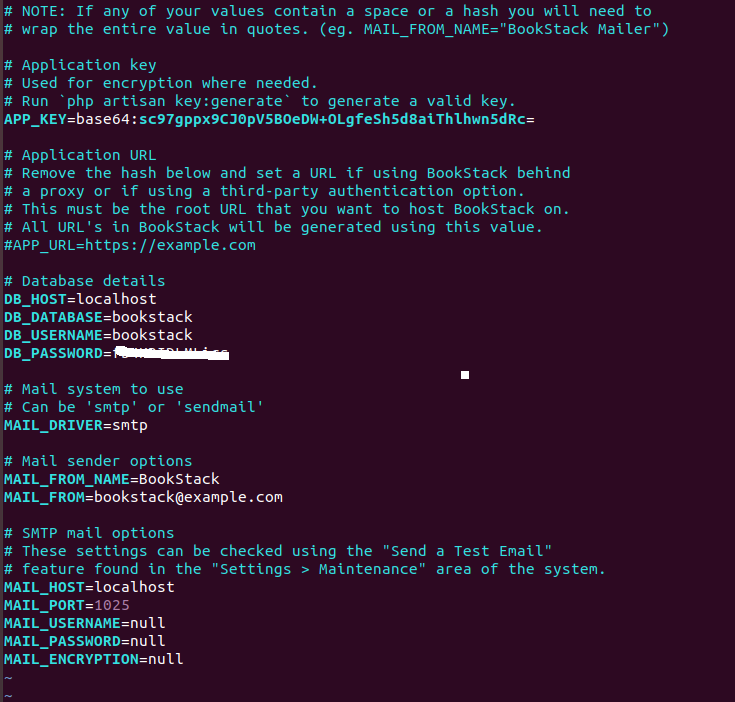
This will display the .env file:
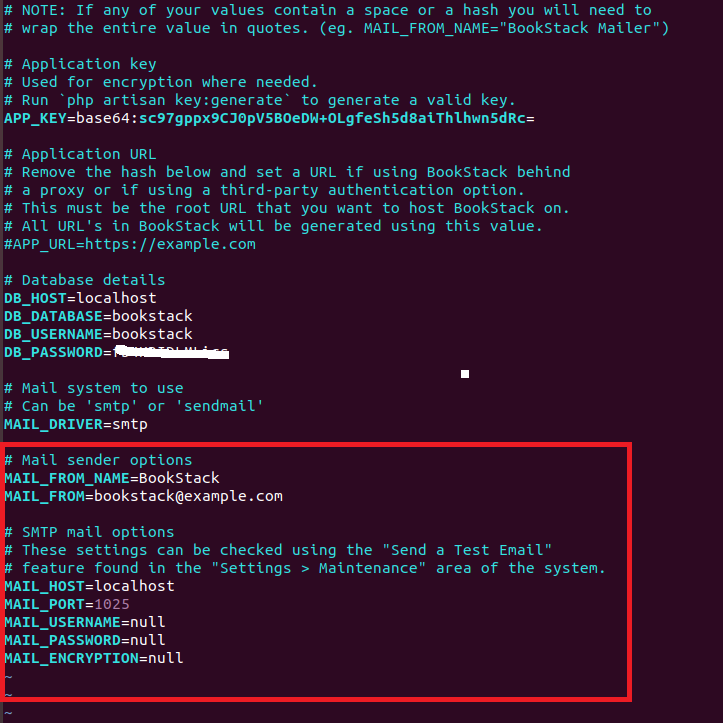
The section that need to be updated is the SMTP mail Options:
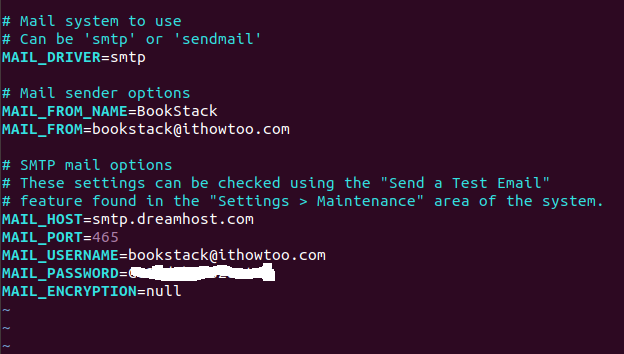
My settings were as follows (passwords redacted for security):
The settings were saved by typing esq plus :wq
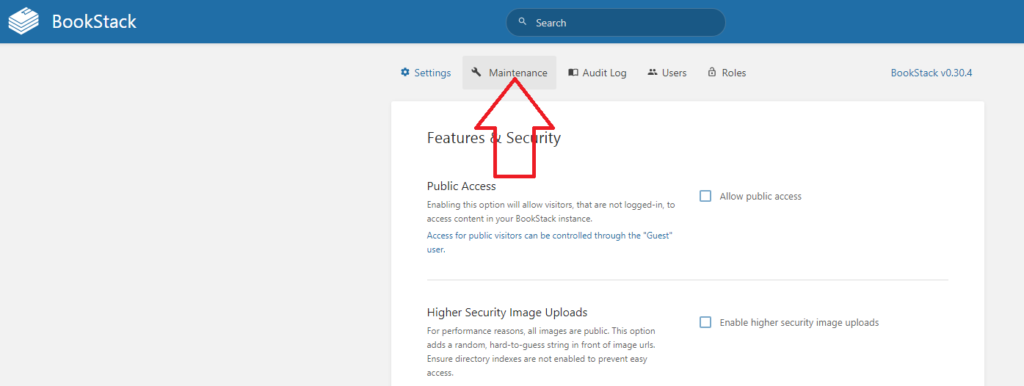
The settings were then tested by logging into bookstack as an Admin user and opening Settings:
And clicking on Maintainance:
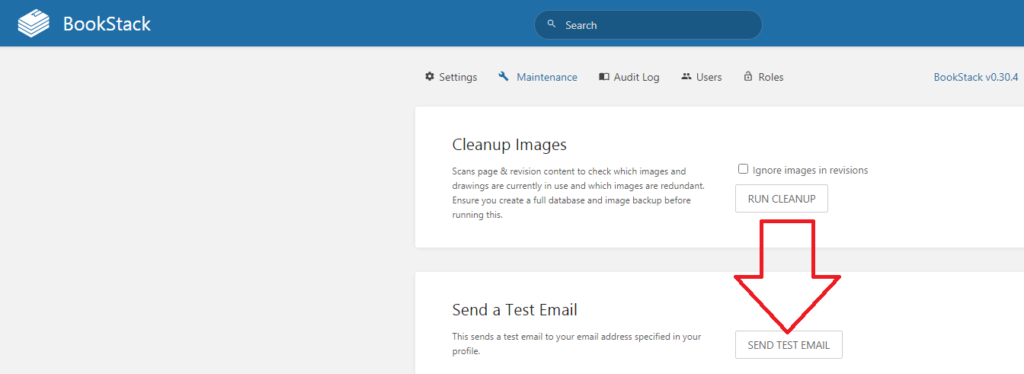
The SEND TEST EMAIL was then pressed:
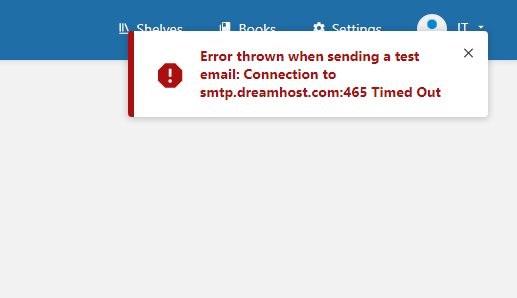
If there is an issue with the settings an error message will be shown:
I originally received this message as I had the MAIL_ENCRYPTION=null when it needed to be MAIL_ENCRYPTION=SSL.
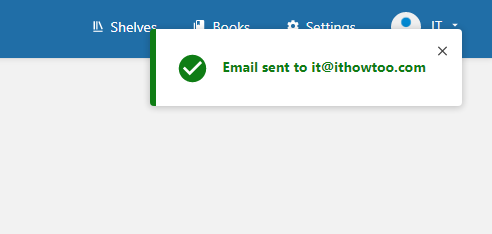
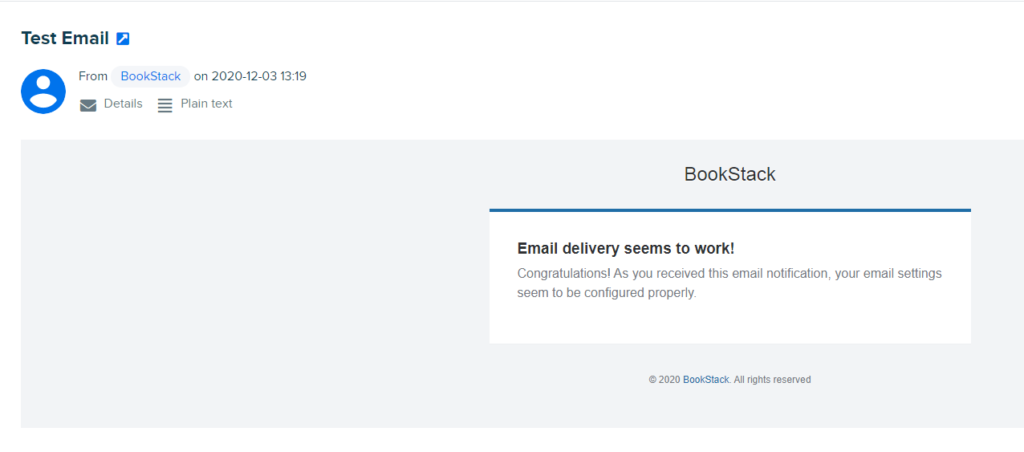
If the settings are correct then you will recieve the following message in the top right of the page:
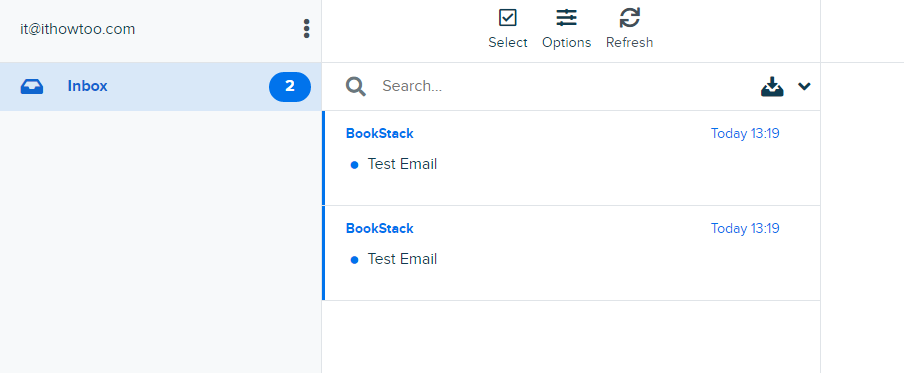
You will also receive and email in the logged in user’s inbox:
That is the email setup completed. For more Bookstack configuration take a look HERE.
Bookstack is a wiki that organises categories into virtual librarys so that you have the top level of a shelf, then on that shelf you have books and in those books you have chapters and pages. I like this visual way of organising documents as it is very visual and easy to follow.
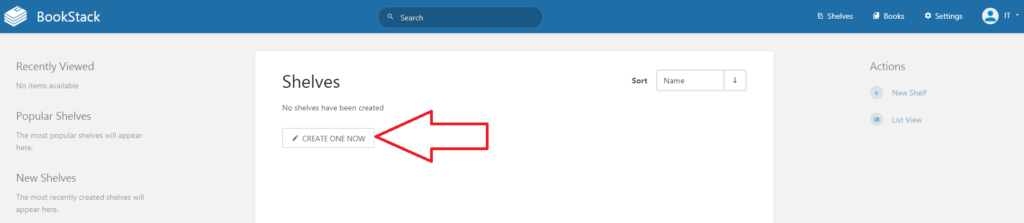
First of all you will need to create a new shelf. To do this click on the Shelves Button:
As this is a new installation there will not be any shelves created so click on CREATE ONE NOW:
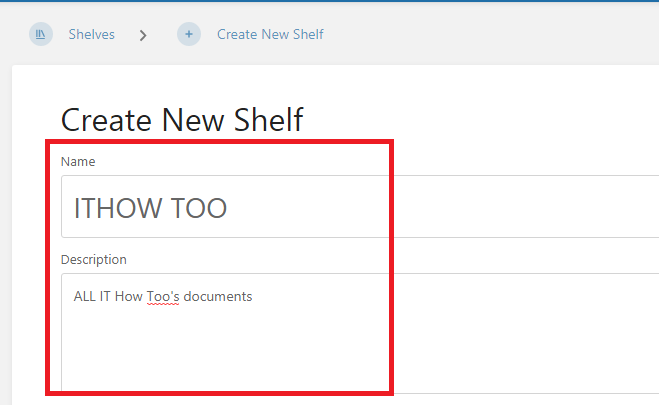
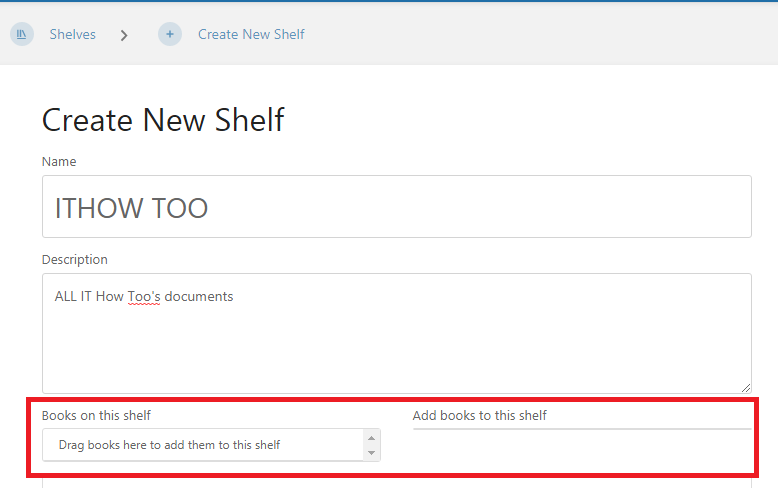
Fill in the Shelfs name and description
As we have no books at the moment we can ignore the Books on this shelf option:
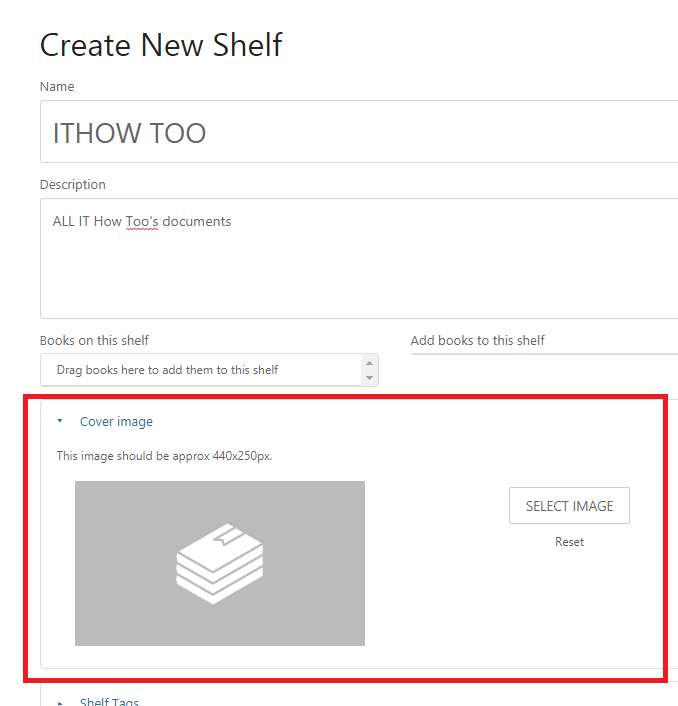
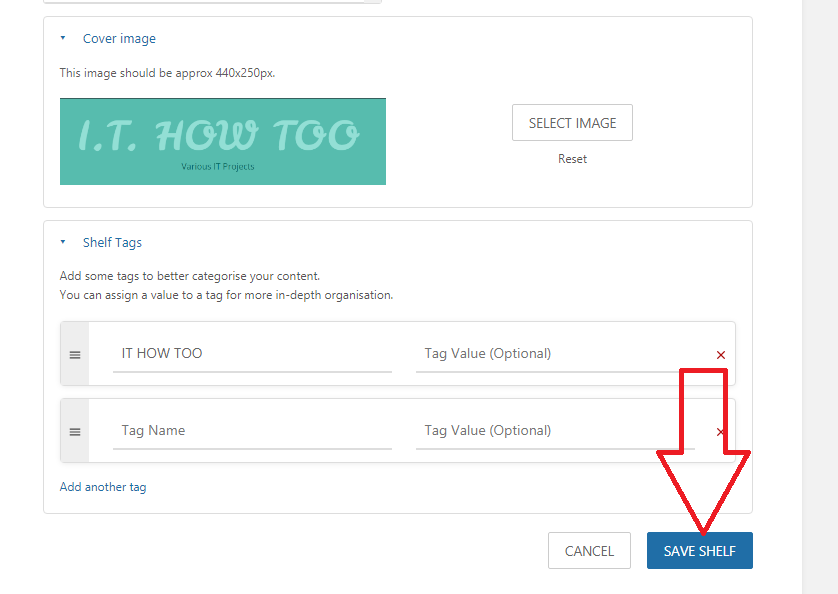
If you want to add a cover image to the shelf then expand the Cover image section and either drag the image into the section or click on the SELECT IMAGE button to search for the Image:
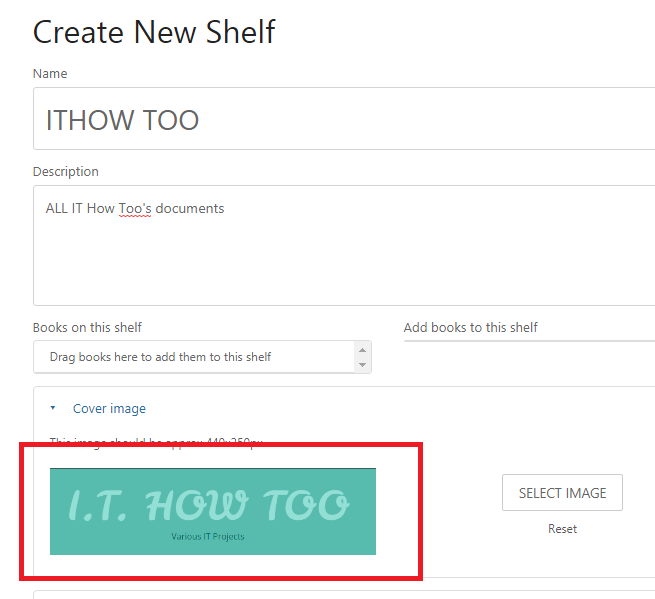
The new Image will be displayed:
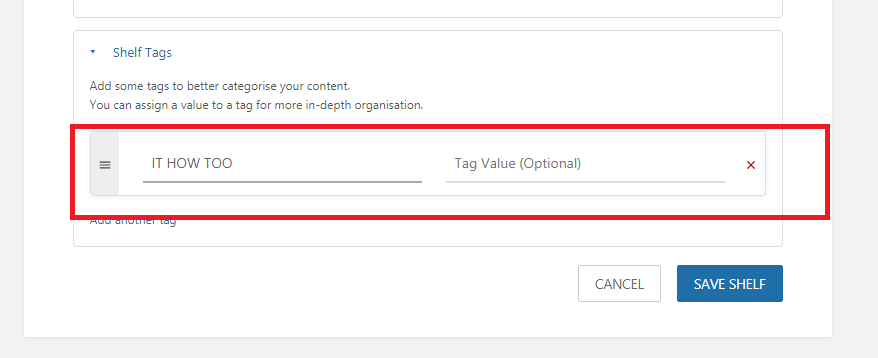
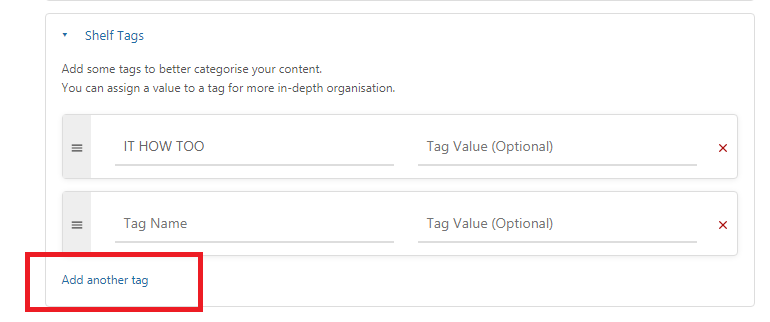
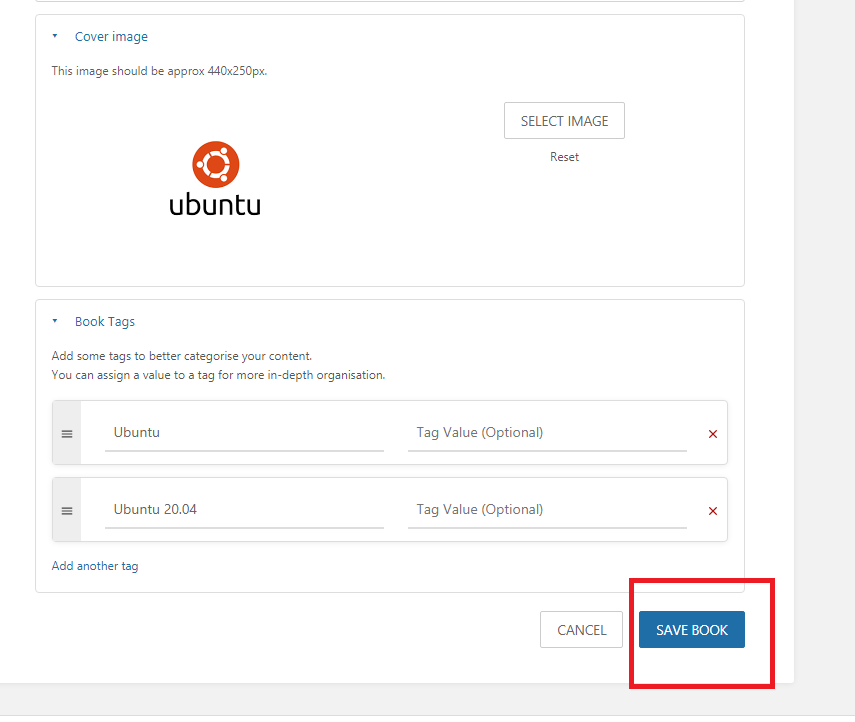
Add Tags if needed:
To add more tags click on Add another tag:
Once finished click on SAVE SHELF:
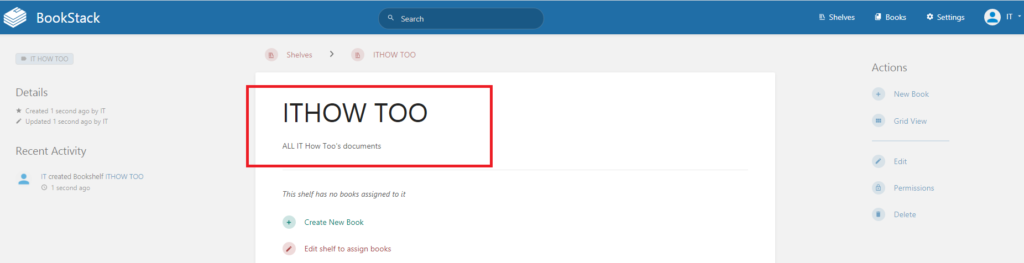
The new Shelf will now be shown on the Shelves screen:
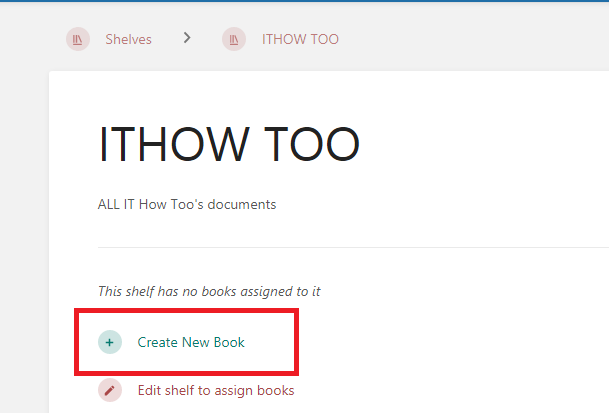
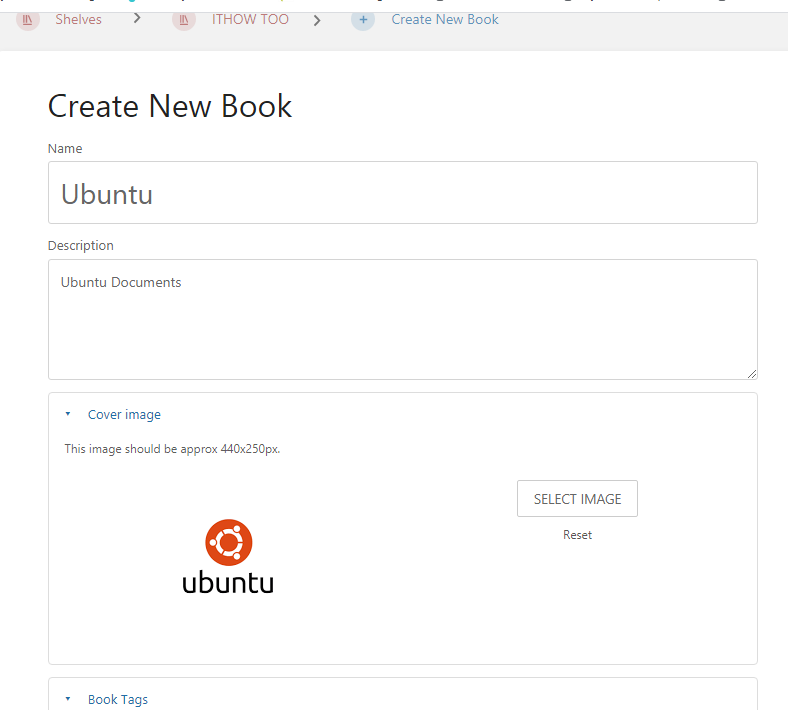
The next step is to add a new book. This can be done by clicking on the Create New Book Link:
Fill in the details of the new book as you did above for the new Shelf:
Once all the details are adduced click on SAVE BOOK:
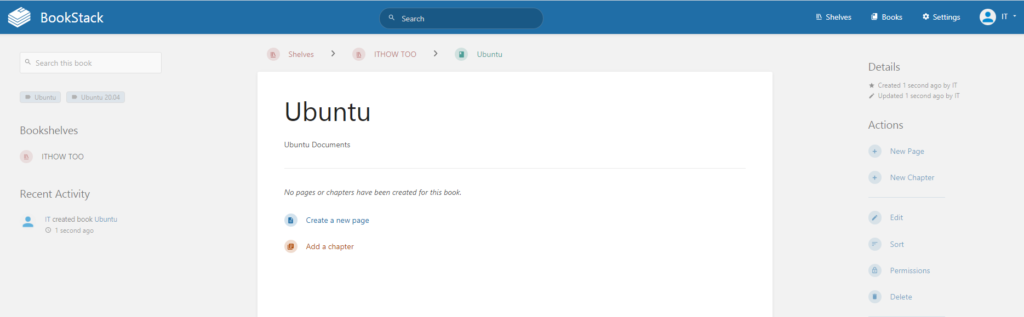
You will now be taken to the chapter setup page:
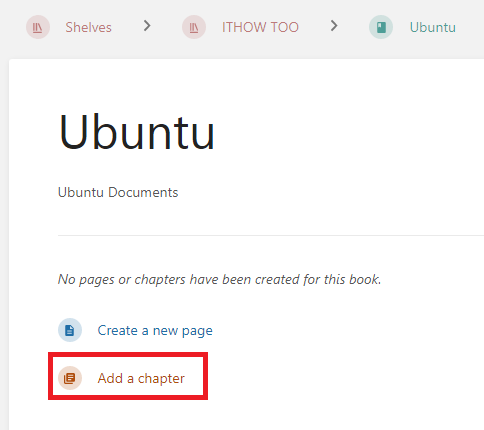
Click on Create Add a new chapter to add a new chapter:
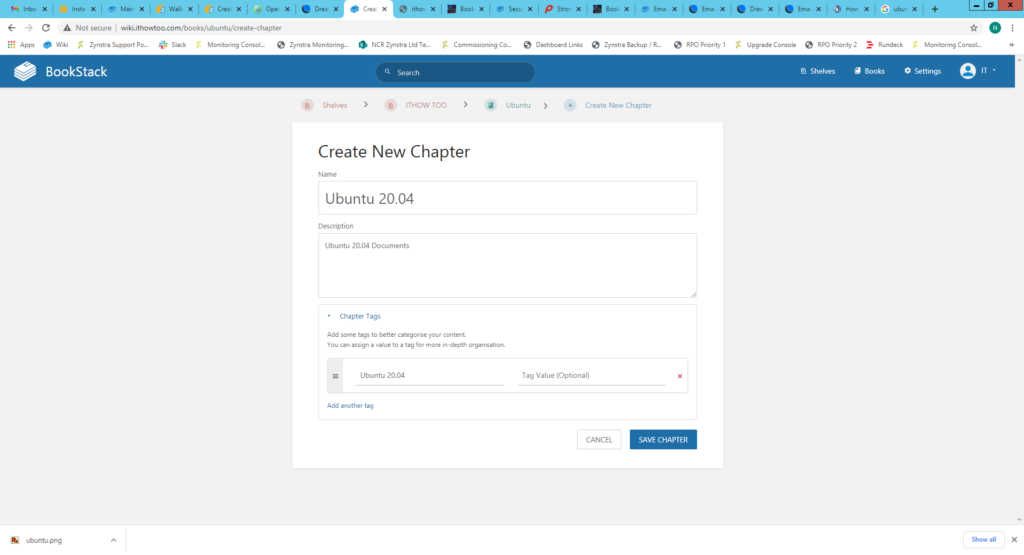
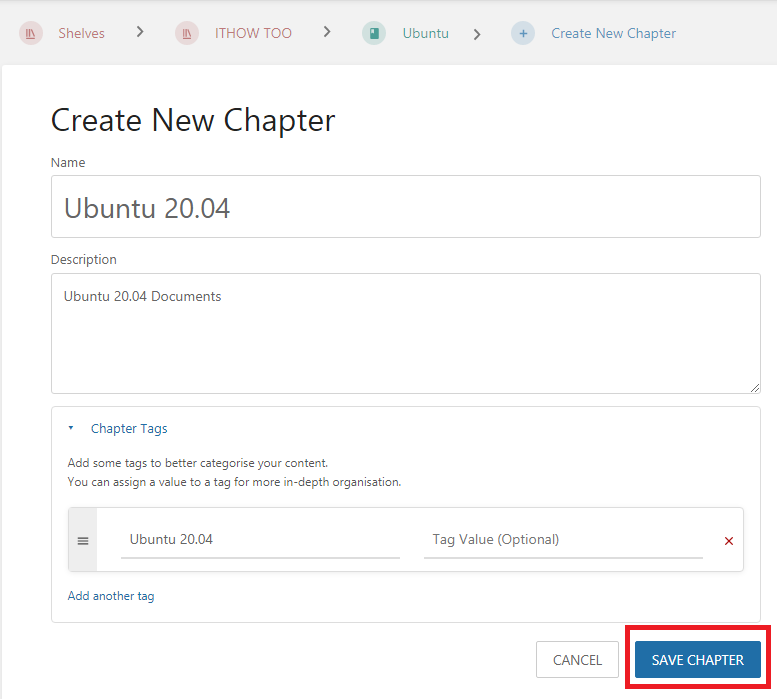
Add the chapter details:
Once all the details are added click the SAVE CHAPTER button:
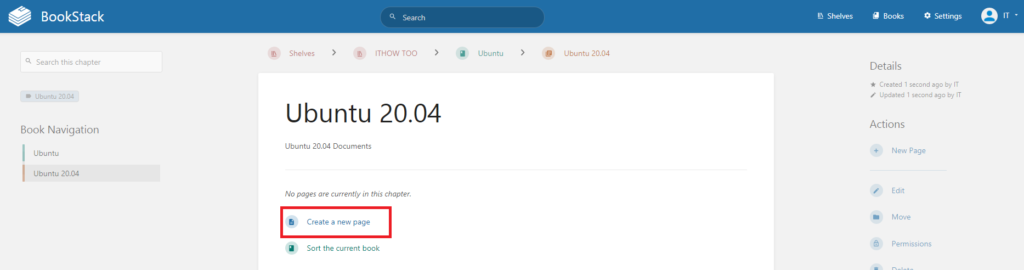
You will then be taken to the new page creation page.
Create a new page by clicking the Create new page link:
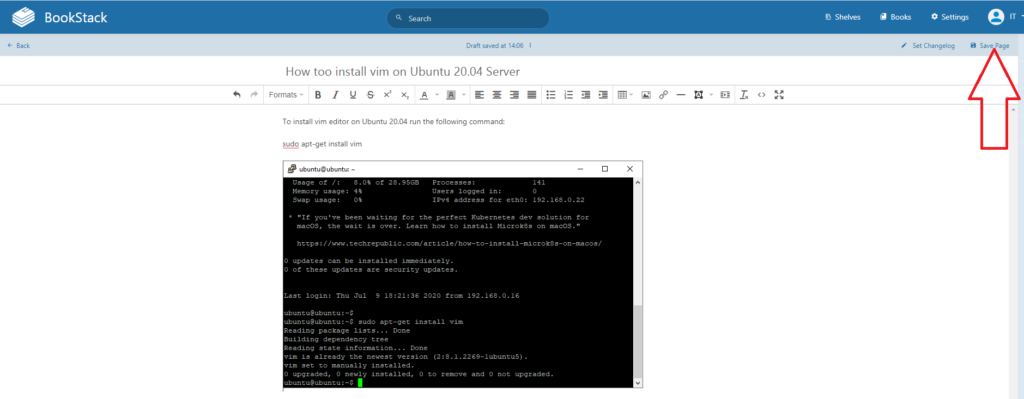
Add the title to the new page in the title field:
Add the contents of the document in the document field:
Once the contents of the document is complete click on Save Page:
This will take you to the view of the page:
You can now add more Shelves, books or pages as required in the same way as before.
For more Bookstack articles take a look HERE. For the official Bookstack documentation take a look HERE.
In order to create a user in Bookstack you need to log into Bookstack with an Admin user and do the following:
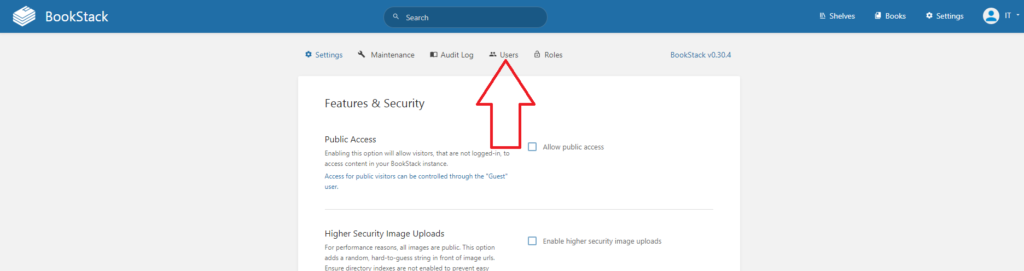
Click on Settings to open the settings page:
Click on the Users button at the top of the page:
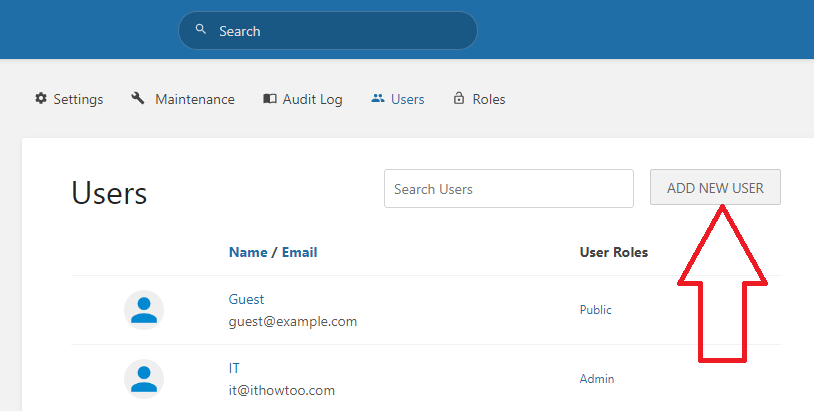
Click ADD NEW USER to open the add new user page:
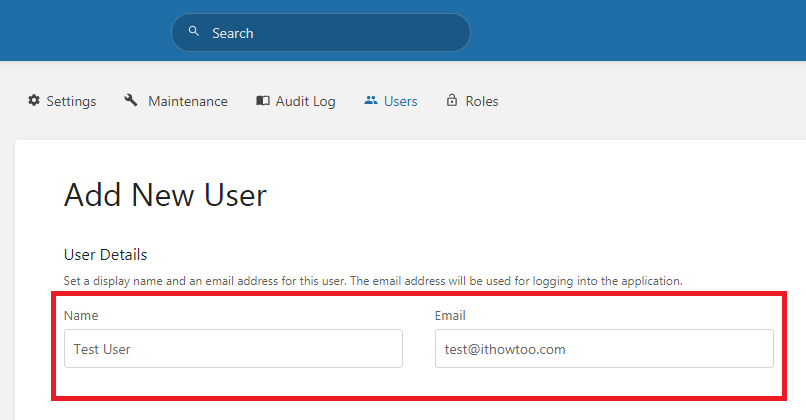
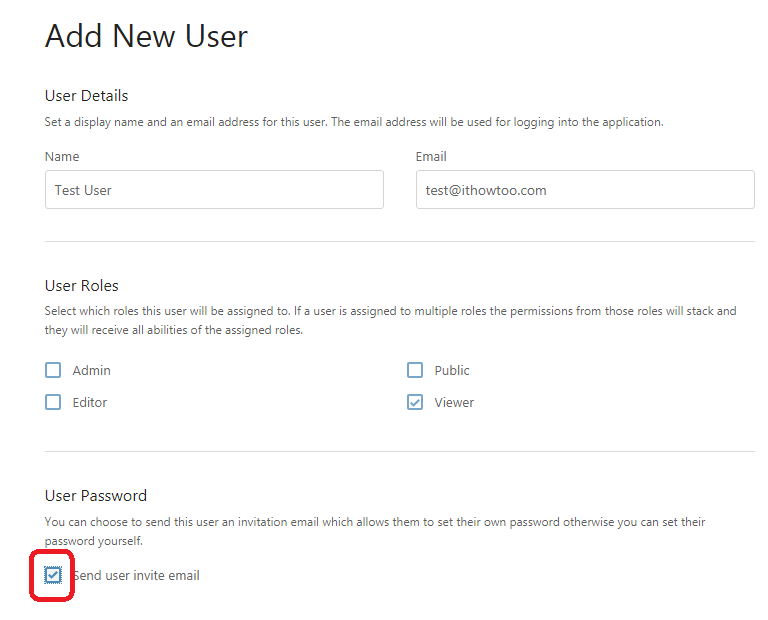
Add the new user’s Full name and Email address:
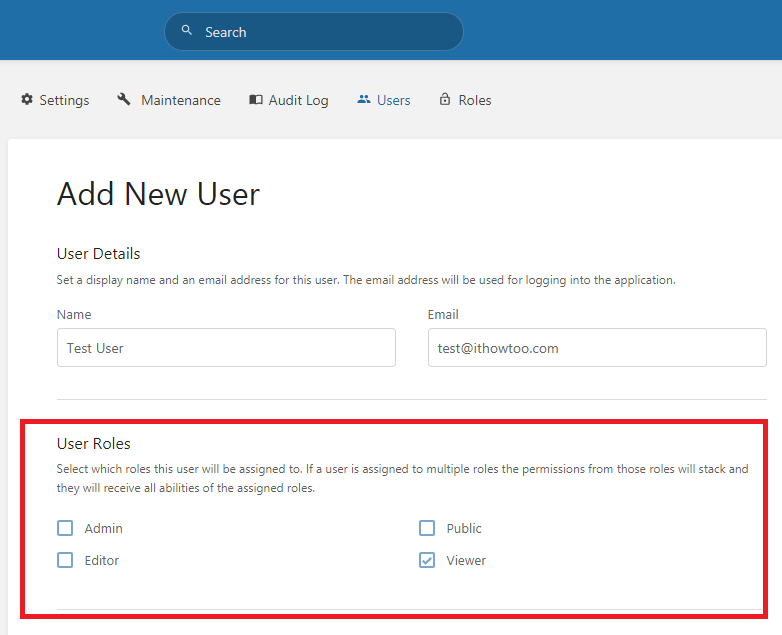
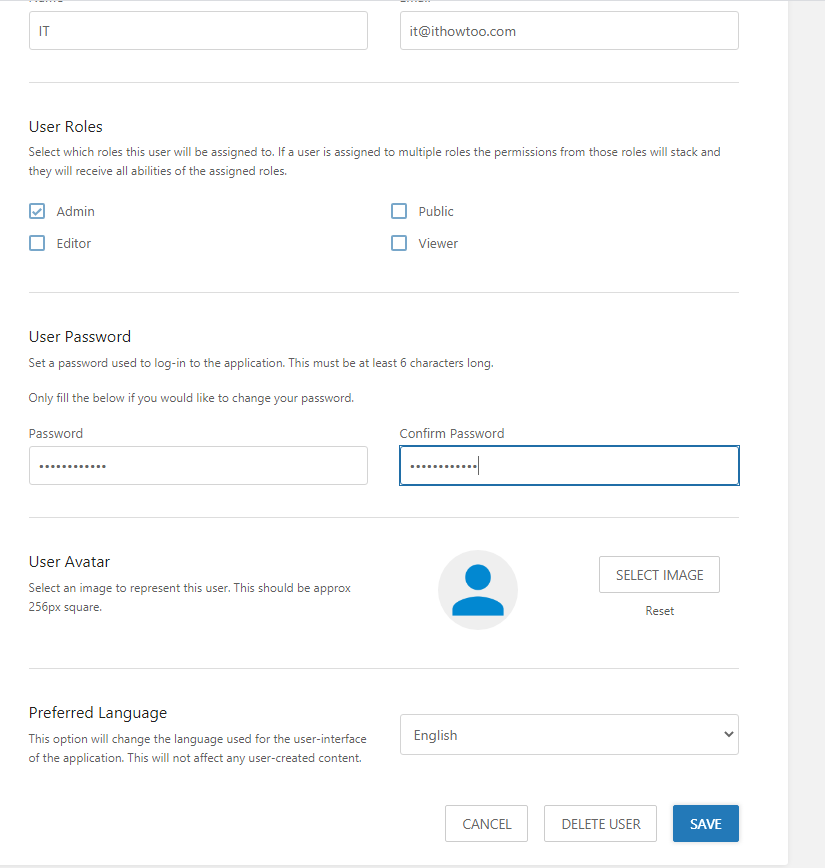
Set the users permission level. Admin has full control access, Editor can create and edit documents, Public can view Public accessible documents and Viewer can view documents:
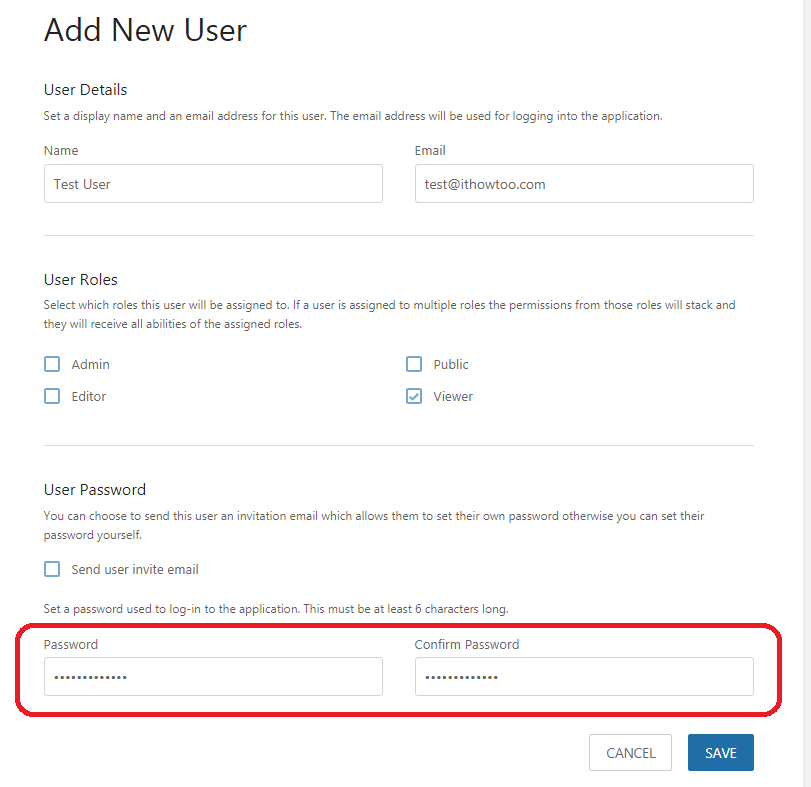
Untick Send user invite by email:
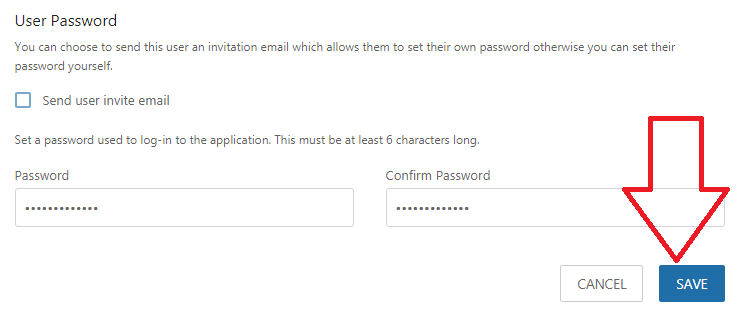
Add the password and confirm the password and:
Click Save to save the new user:
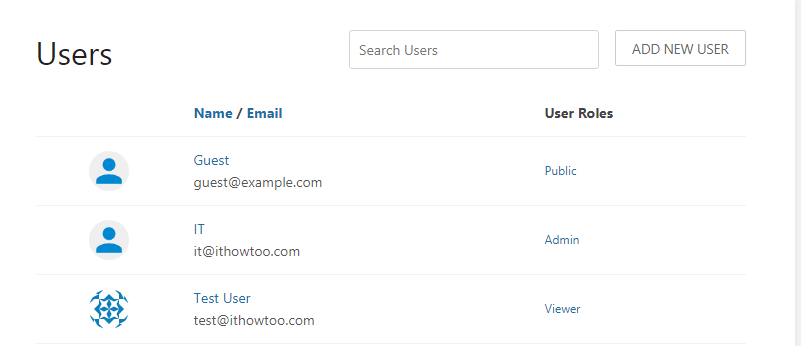
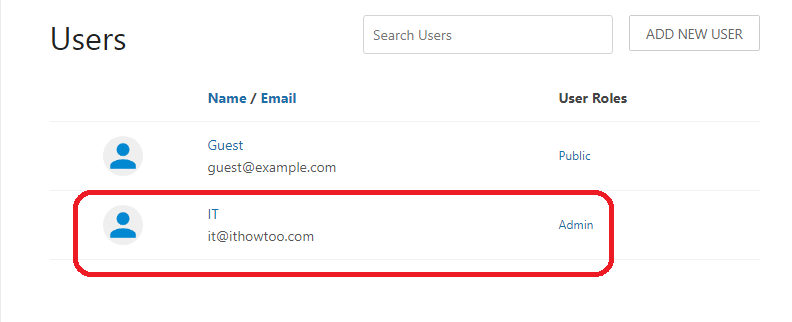
The new user will now be listed in the Users list:
You have now successfully created an new Bookstack user.
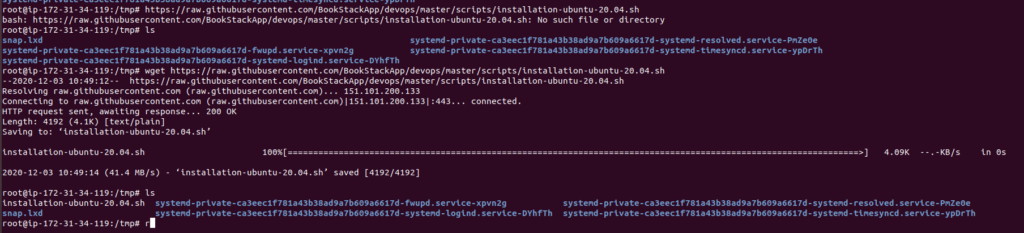
This guide is how I installed Bookstack Wiki on my AWS Free instance Ubuntu 20.04 server:
Bookstack has a handy Ubuntu 20.04 Installation script that can be run on a fresh install of Ubuntu 20.04 to automatically install Bookstack and the prerequisite software needed for it to run (Apache, MySQL 8.0 & PHP-7.4).
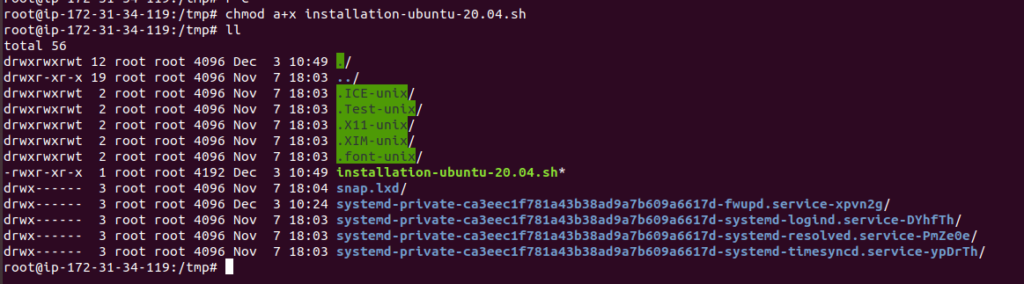
Change the downloaded script to make it executable:
chmod a+x installation-ubuntu-20.04.sh
You will now see that the script is executable:
Run the script by running:
sudo ./installation-ubuntu-20.04.sh
The script will then ask for the fqdn so add what you would like the site to be called. I used wiki.ithowtoo.com and pressed enter.
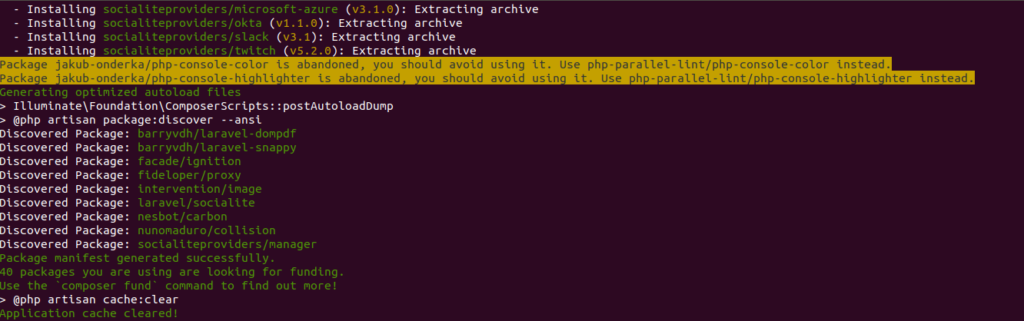
Let the script run.
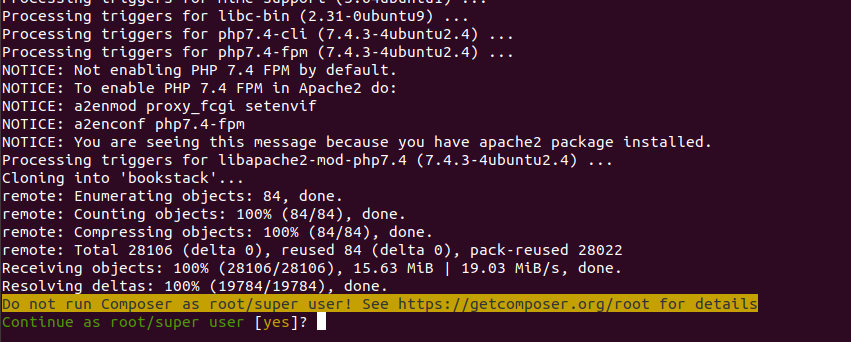
It will ask if you want to run Composer as root/super user:
I chose Yes as its the only user I have and the install continued:
When the script has finished you will see a similar message to the one below:
From the ASW interface an inbound rule was created to allow https:
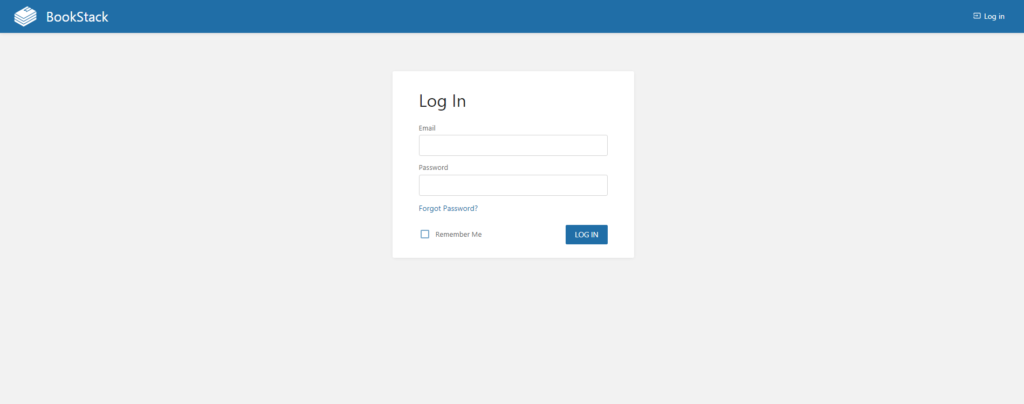
You will then be able to get to the login page:
Login using the default user and password given by the script:
User Email = admin@admin.com
password = password
On first login you will be advised to change the default password for security reasons:
Click OK.
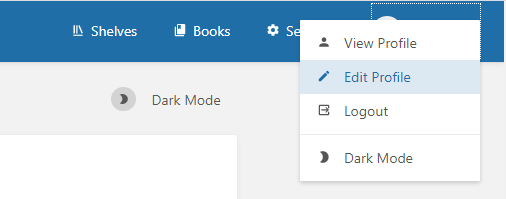
To edit the Admin user details click on Admin in the top left corner of the page:
Select Edit Profile:
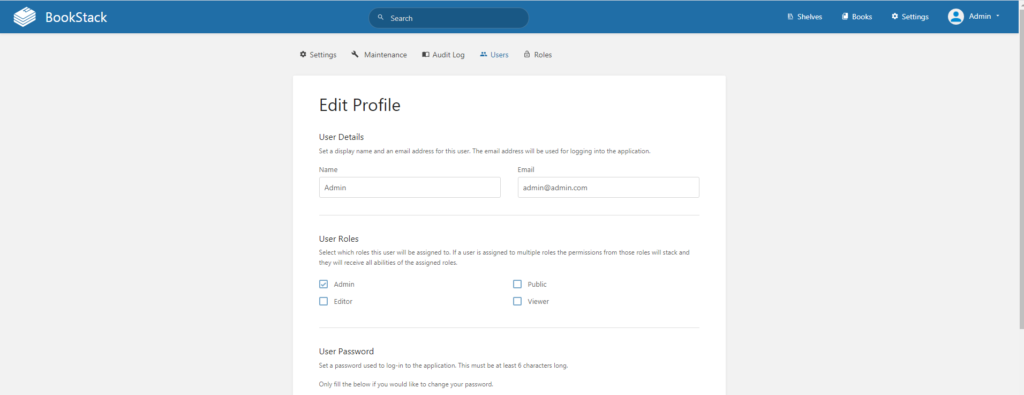
Edit the details to your details:
Click save to save the details:
You will now see your new user in the list of users as an Admin:
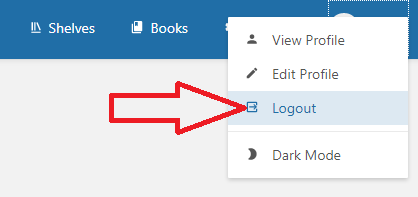
Click on the user icon in the top left corner of the page and select Logout to log out of the page and then log in with the new user to make sure everything works as it should:
I have also setup a new A record for wiki.mydomain to point to the external IP address of the server so that I can access the site via wiki.domain instead of the external IP address.
The final security measure is to set the mysql root password as it is not setup by default.
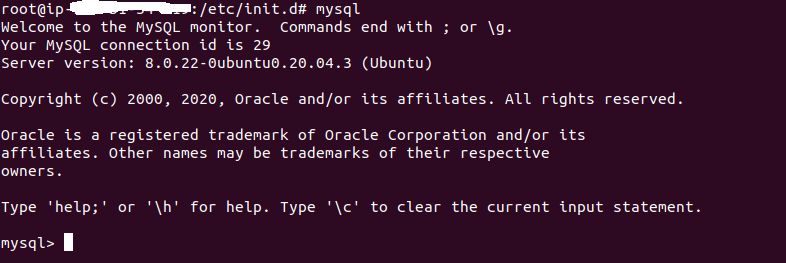
Log into mysql by typing:
mysql
You will then see the mysql prompt:
Type the following to set the root password to password:
ALTER USER 'root'@'localhost' IDENTIFIED BY 'PASSWORD';
Obviously you will want to change the PASSWORD to something more secure.
You will then need to quit mysql by typing quit. This will take you back to the normal command line:
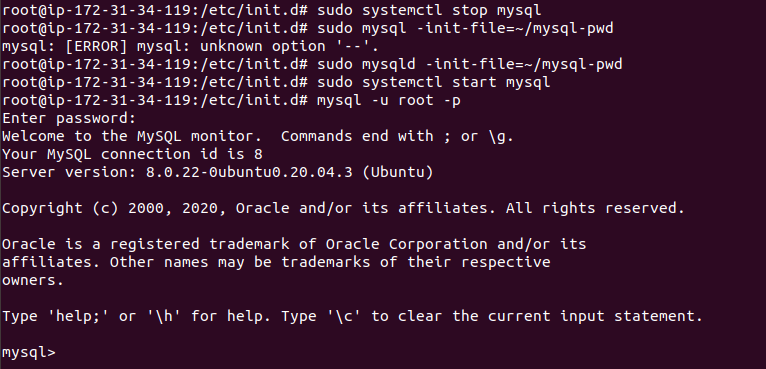
At the command prompt stop the MySQL daemon by typing:
sudo systemctl stop mysql
With the daemon stopped issue the following command:
sudo mysqld -init-file=~/mysql-pwd
Start the daemon:
sudo systemctl start mysql
You should now be able to access mysql using the root user by typing:
mysql -u root -p
You have now successfully installed Bookstack on an AWS free instance.
For more documents on Bookstack configuration go click HERE.