Welcome to WordPress. This is your first post. Edit or delete it, then start writing!
Author: test_ll6rez
How to create an Ubuntu VM on VirtualBox and Install Ubuntu 20.04 Desktop
Table of Contents
This is the procedure that I followed to create an Ubuntu VM on VirtualBox and Install Ubuntu 20.04 Desktop inside the newly created VM. I have created this post to share How to create an Ubuntu VM on VirtualBox and Install Ubuntu 20.04 Desktop in case someone else needs help to do this.
More details about VirtualBox and links to download the installers for various operating systems can be found on the VirtualBox website.
Before creating you VM download the Ubuntu 20.04 iso from the Ubuntu Website.
Creating the Ubuntu 20.04 VM:
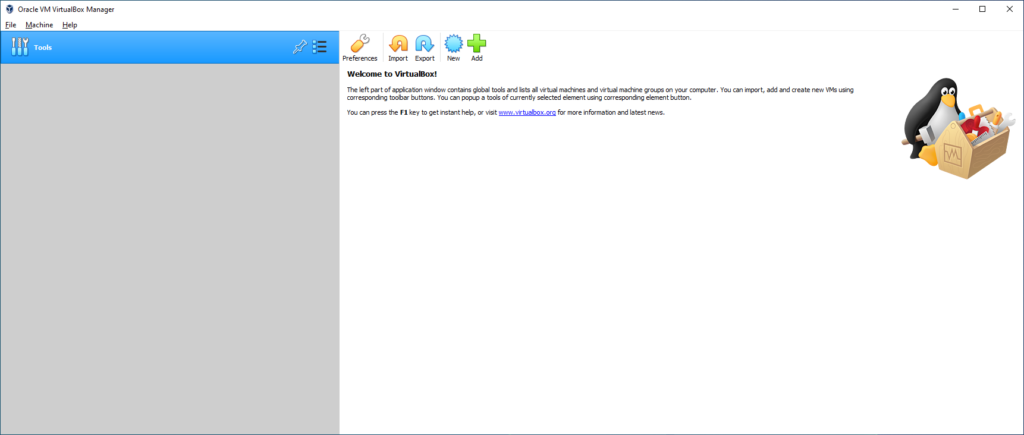
Open Virtual Box:

Click on New.

This will open the Create Virtual Machine wizard:
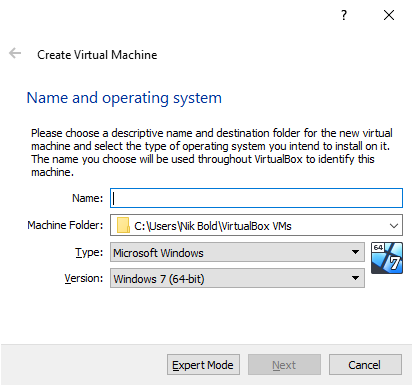
Add the VM name in the Name field:
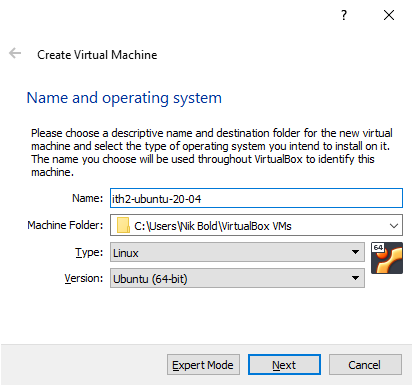
If you have ubuntu in the vm name then the wizard will automatically change the Type and Version Fields for you. If not change the Type to Linux and he Verion to Ubuntu (64-bit) as below:
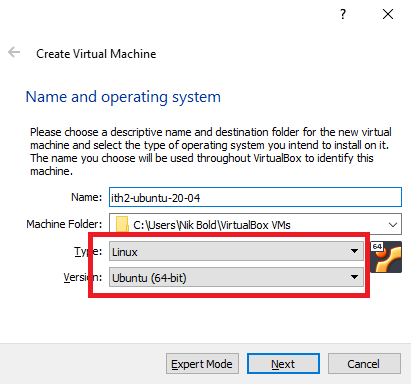
Click next to move to the next step:
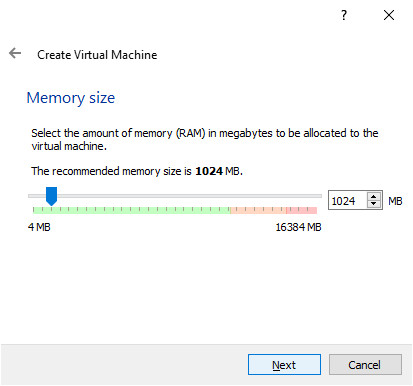
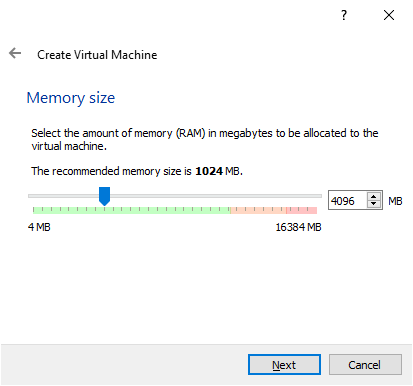
Select the amount of memory that you want to give the VM and click Next.
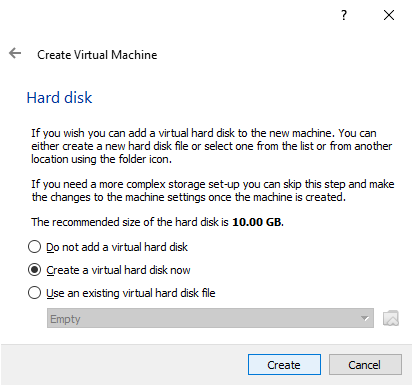
Click on Create to create a new hard disk for the VM and move to the next step:
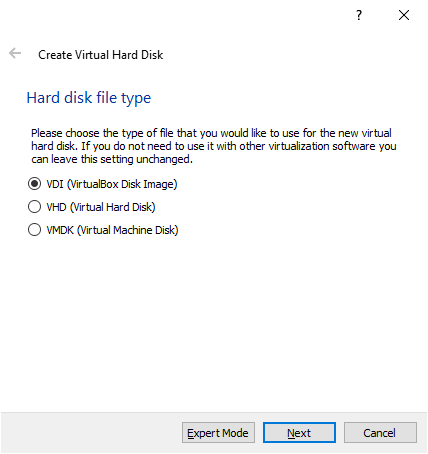
Click Select the type of disk to install and click Next to go to the next step:
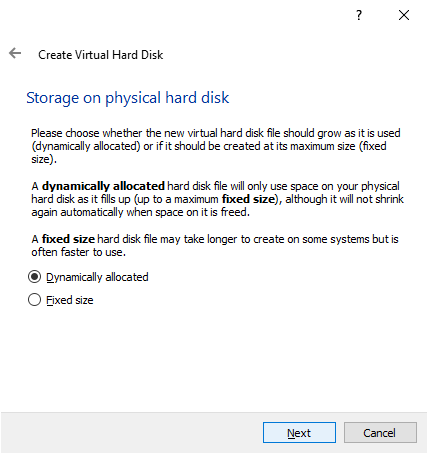
Choose the type of allocation and click Next:
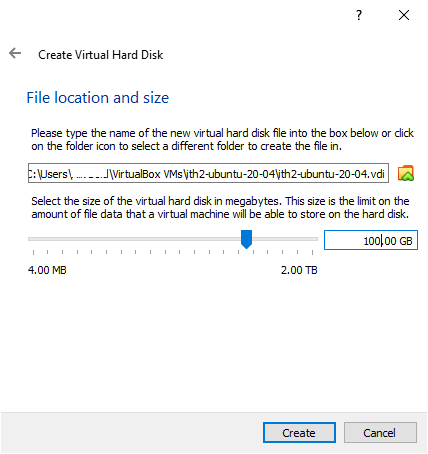
Select the desired path of the disk and the required size of the hard drive and create.
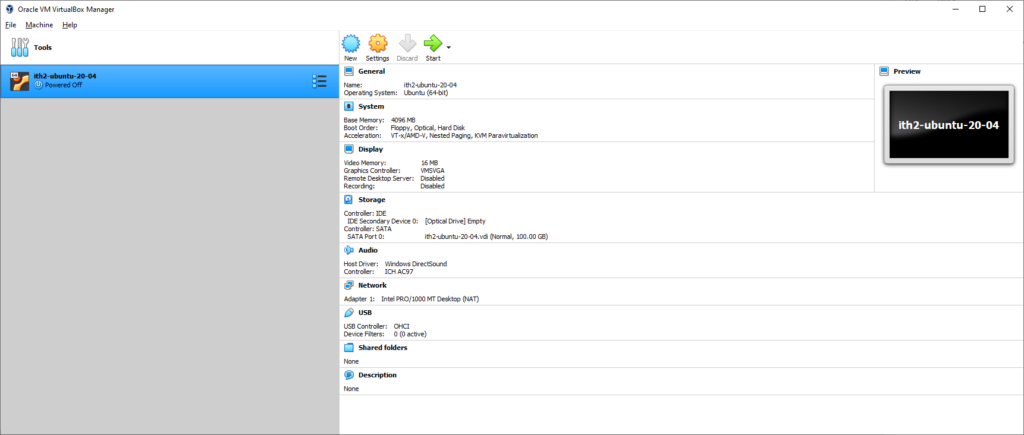
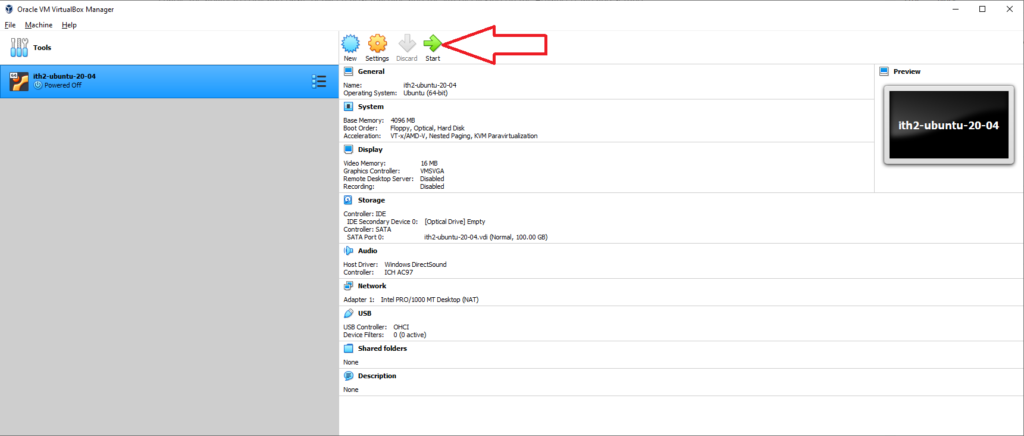
The new VM will now appear in the left hand pain of the VirtualBox window:
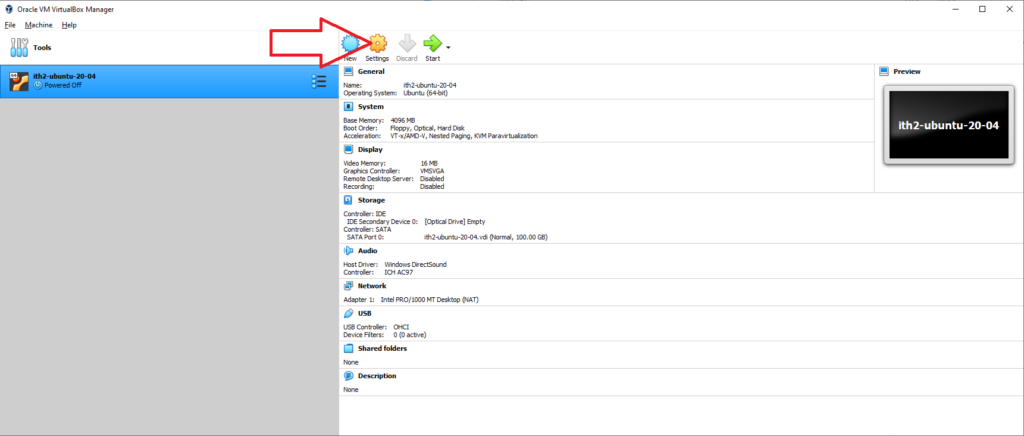
Click on Settings:
This will open the VM settings window:
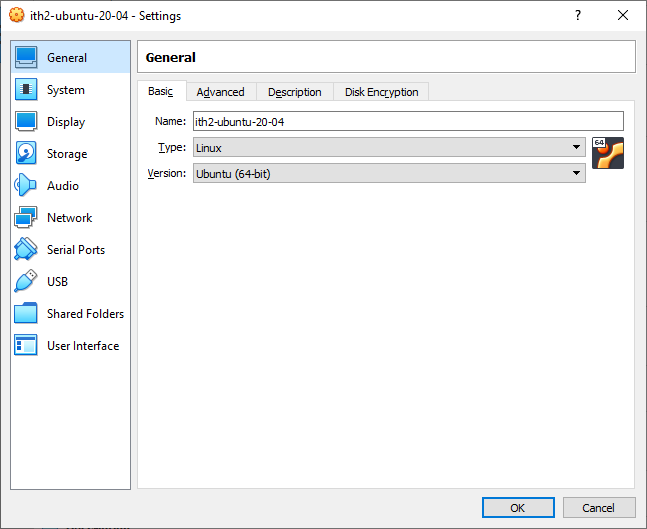
Enable the ability to copy and paste between host machine and the vm by clicking on the Advanced Tab and setting the Shared Clipboard and Drag’n’Drop to Bidirectional:
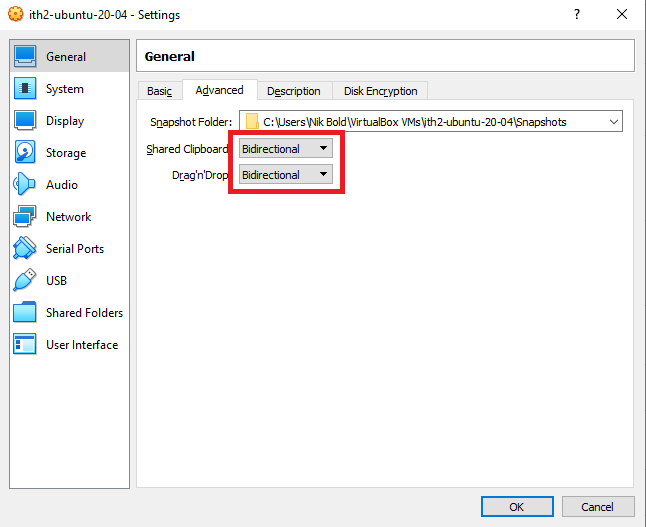
Click OK to save the changes and go back to the main window.

Install Ubuntu 20.04 Desktop in the newly created VM:
Click on Start to boot the VM.
This will power on the VM and open up the Select startup disk wizard:
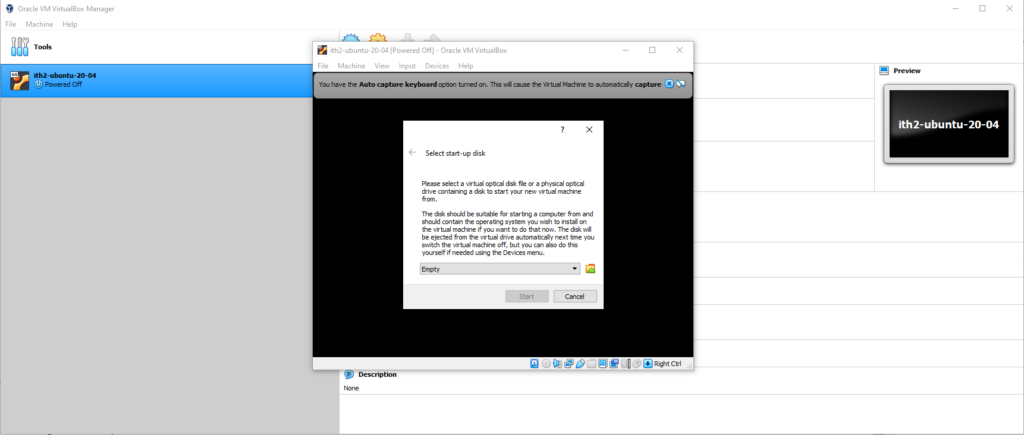
Click on the folder icon and select a virtual disk:
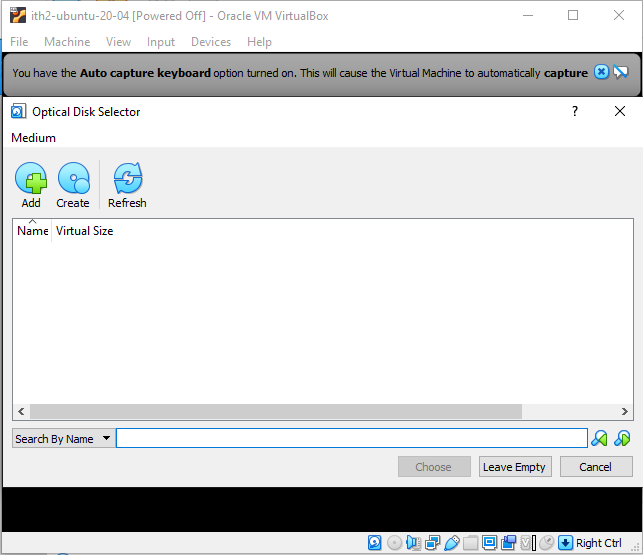
Click on Add:
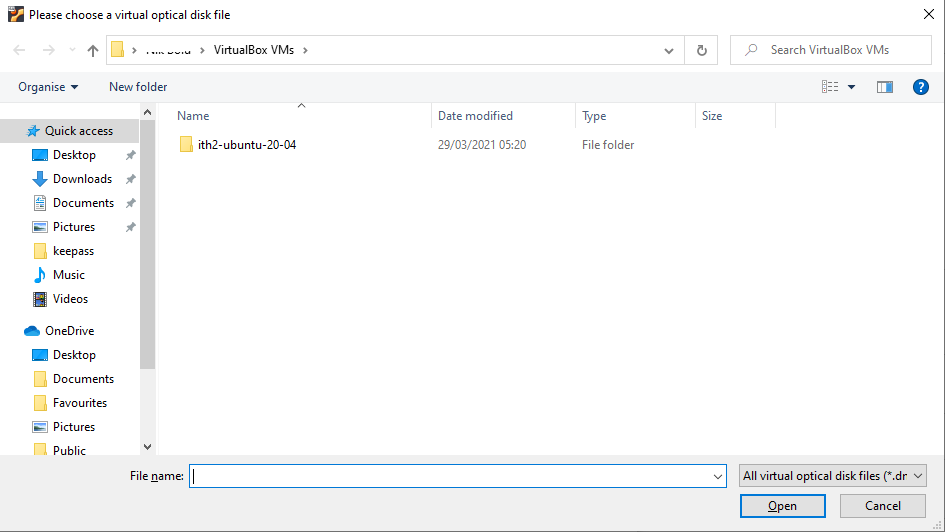
Select the path to the iso that was downloaded from the Ubuntu Website at the start of the post.
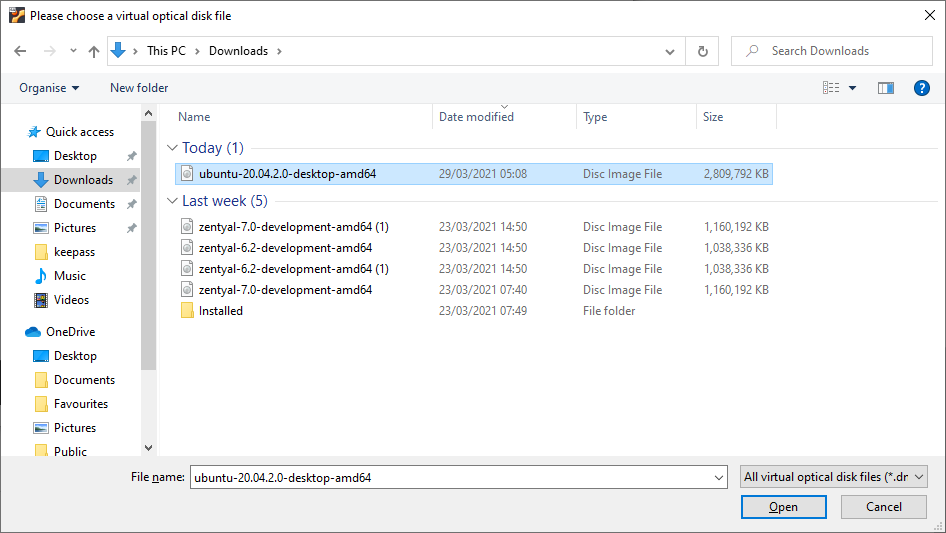
Click Open to select the disk and then the Choose button to choose the ISO:
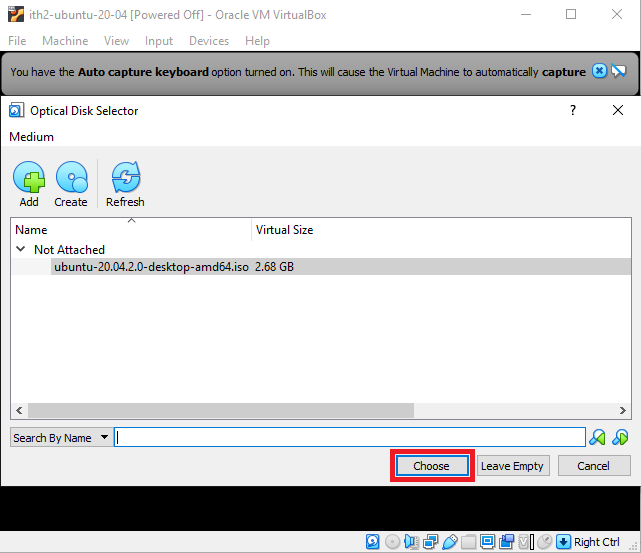
Click on Start to start the VM booting:
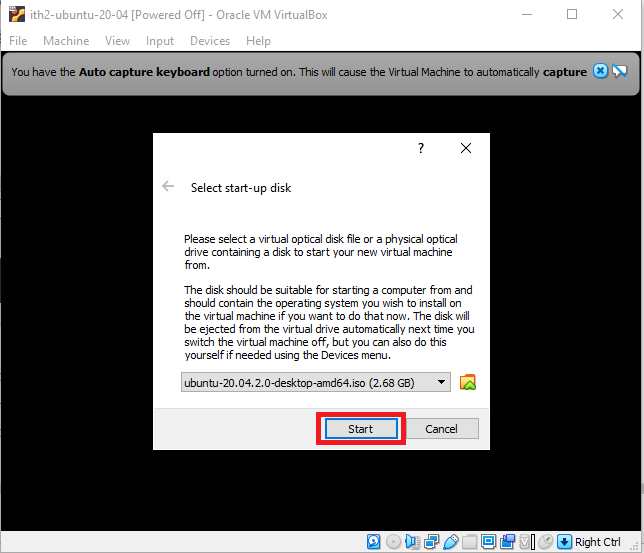
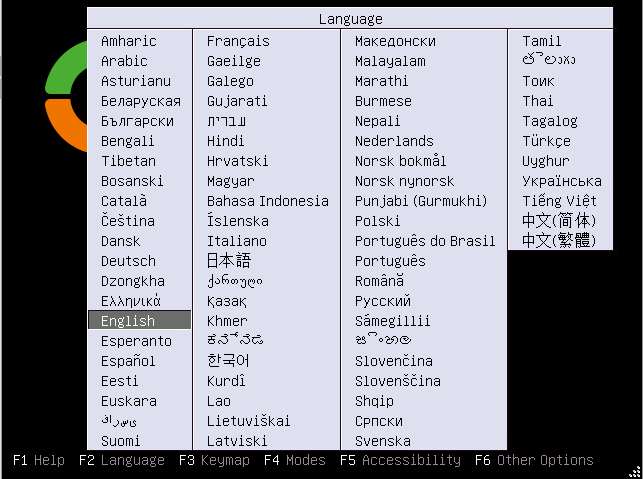
This will boot into the Ubuntu 20.04 installation Wizard:
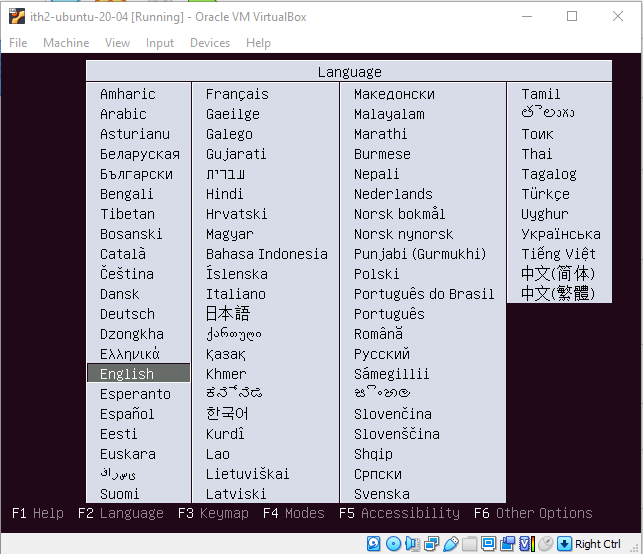
Select the desired language and press enter to move to the next step.
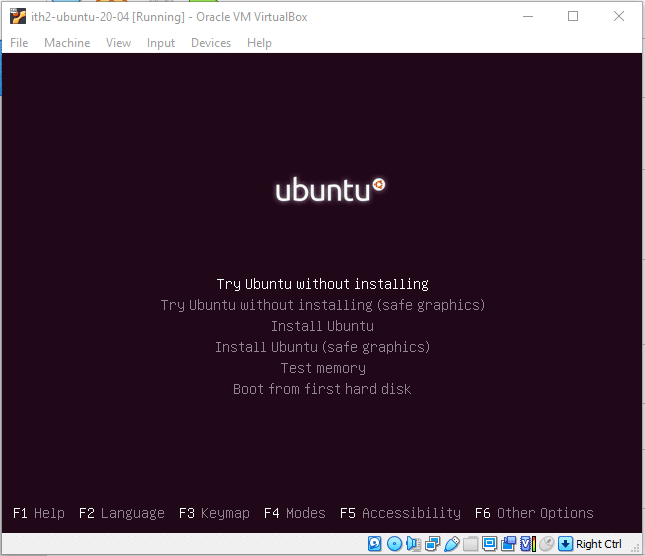
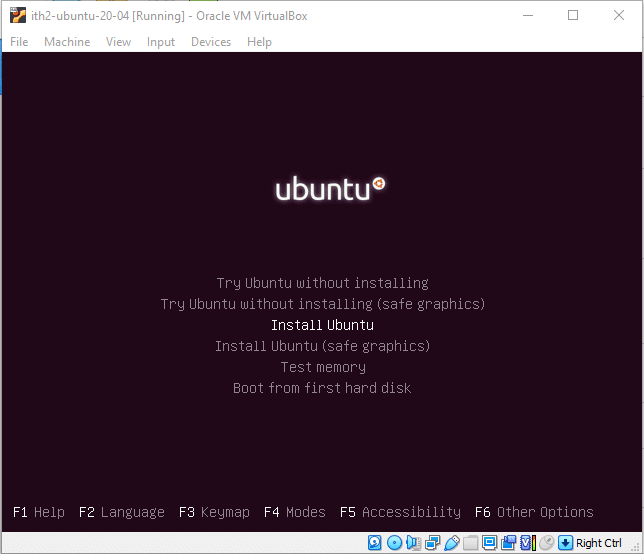
Scroll down to Install Ubuntu and press enter:
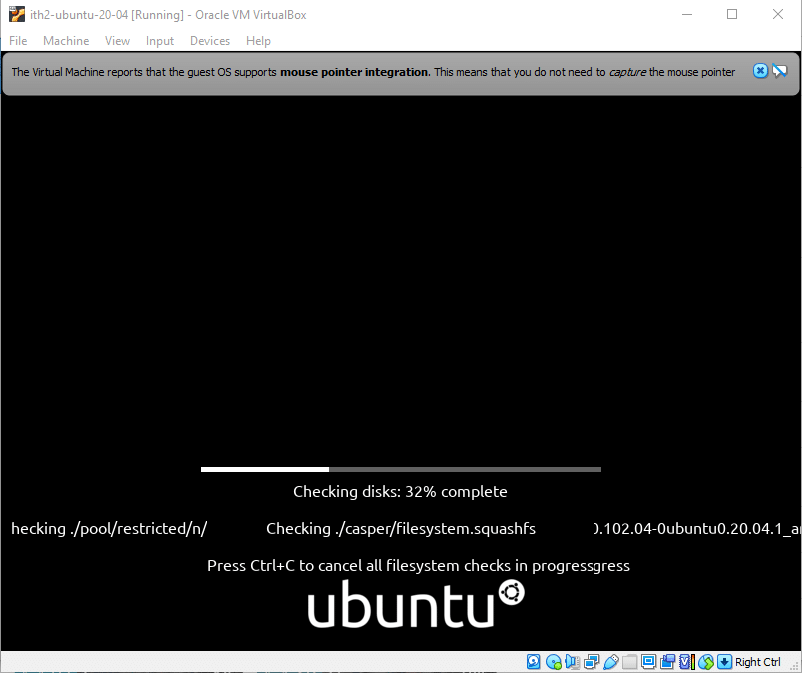
Wait for the disk check to finish:
It will then boot into the installation Wizard:
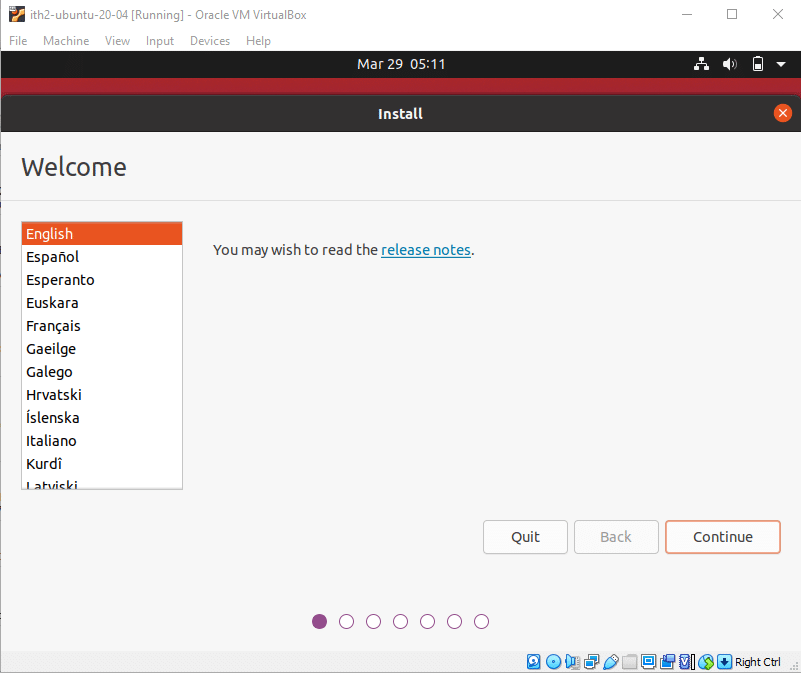
Select the language and click Continue. Then do the same again:
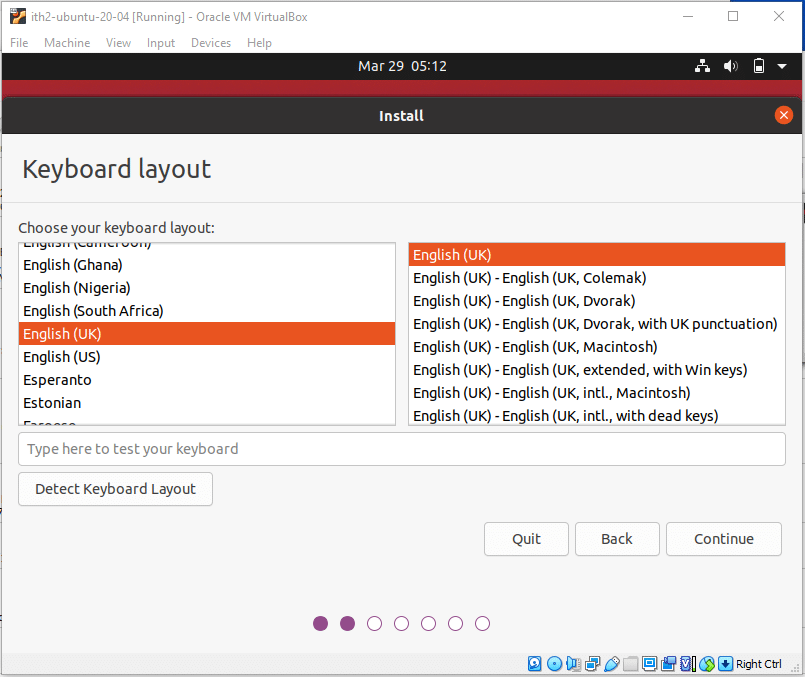
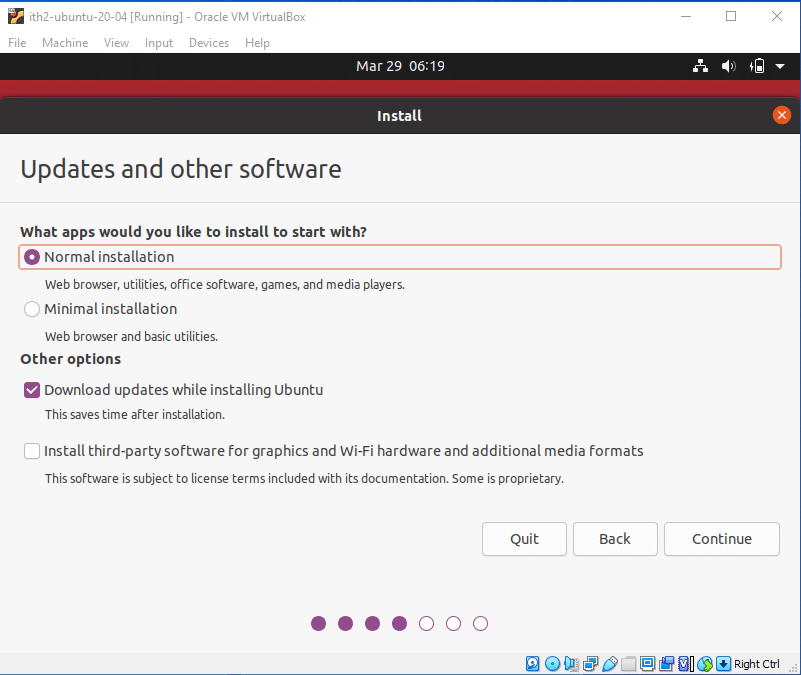
Click Continue to select the default settings and move to the next step:
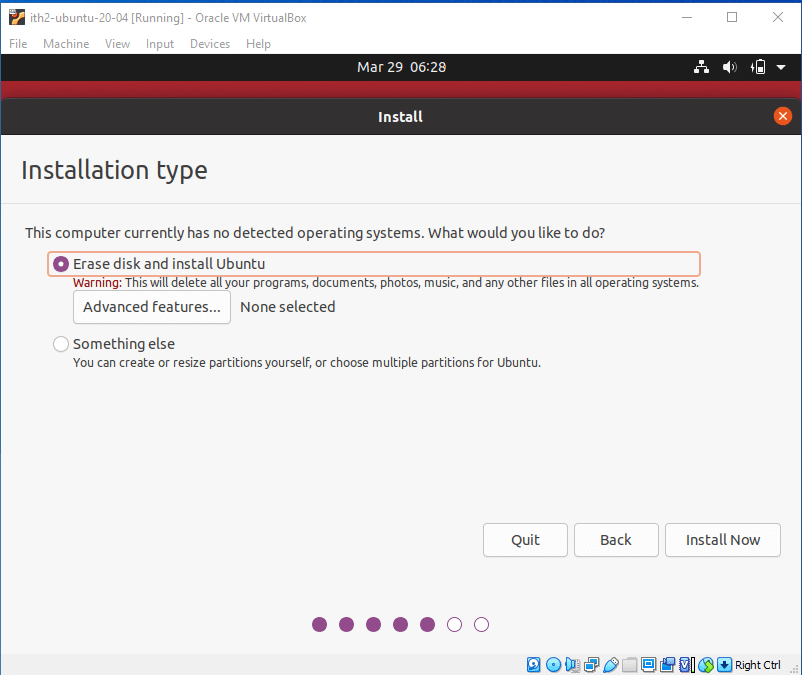
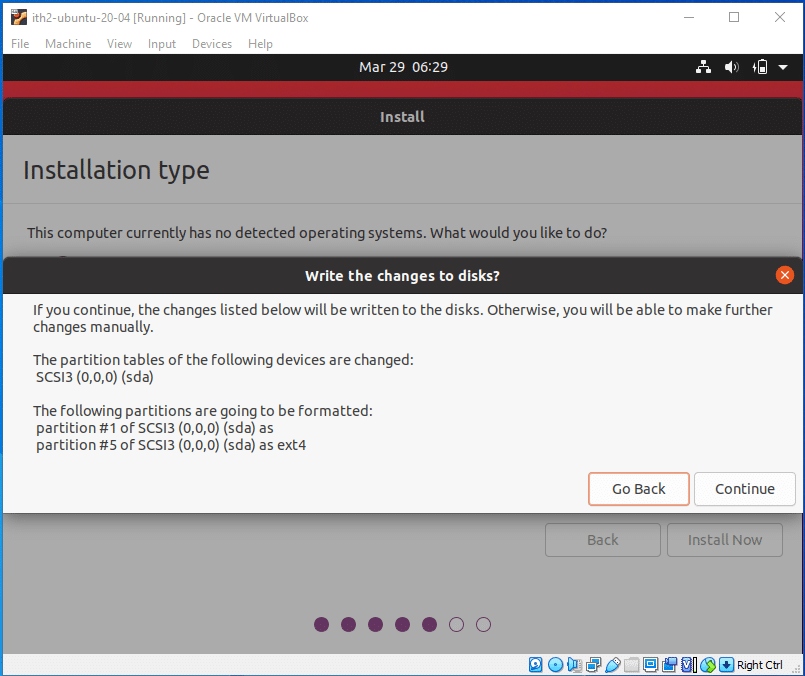
Click on Install now to erase the disk and install Ubuntu:
Click on Continue to Start the install:
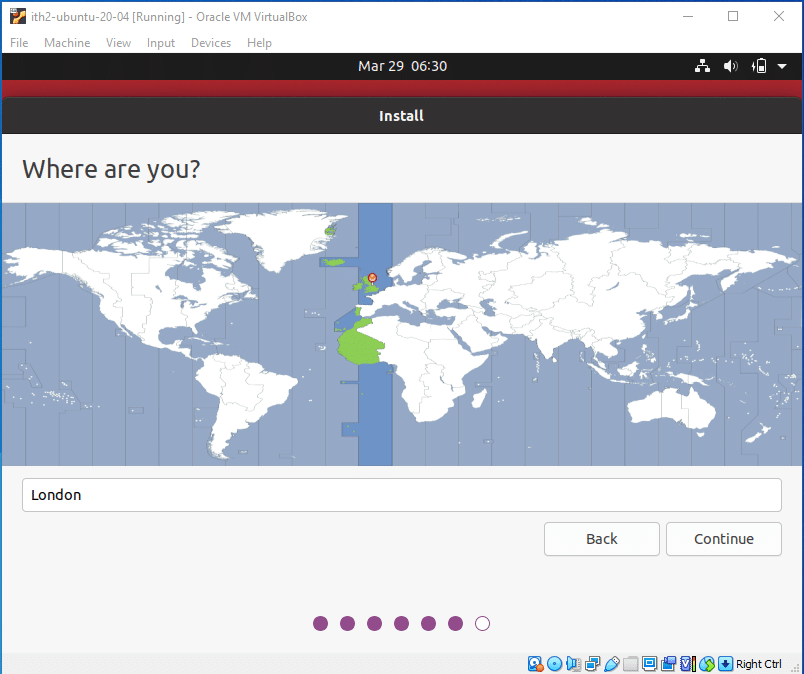
Select where you are and continue:
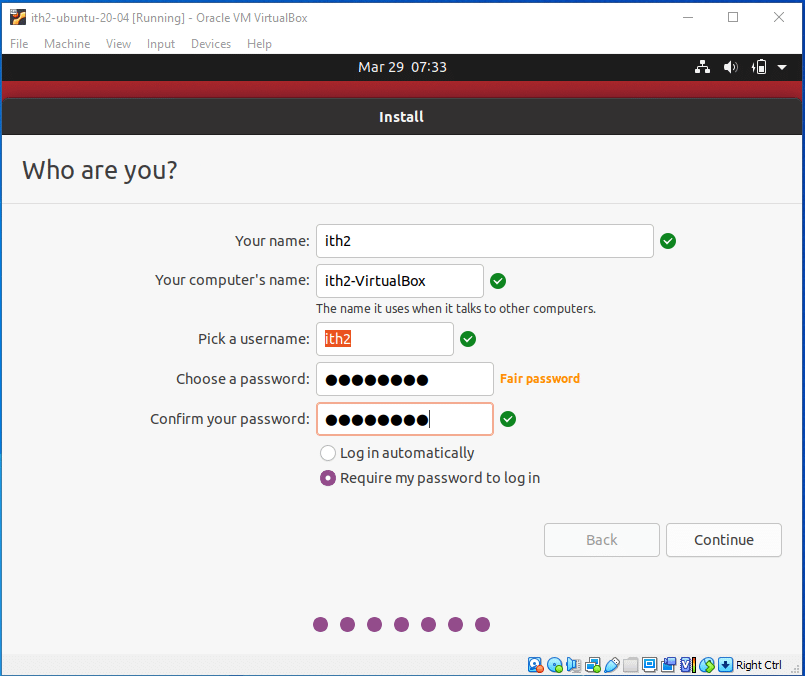
Input your name, Computer name, user name and passwords in the fields provided and click continue:
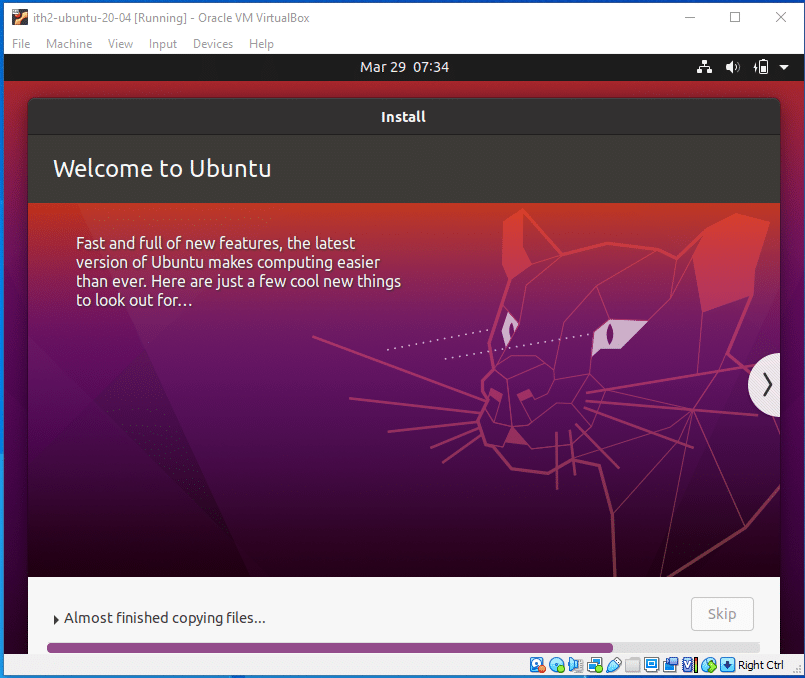
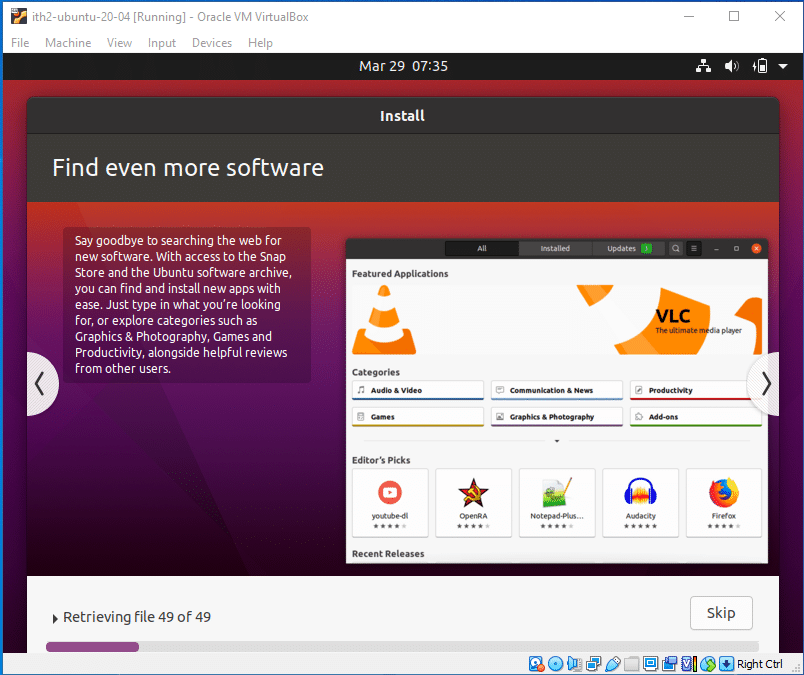
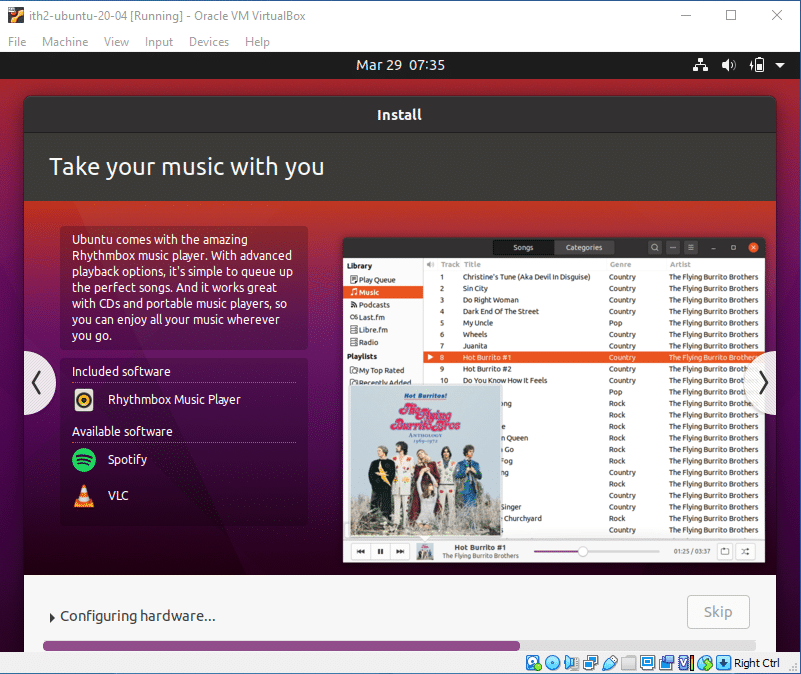
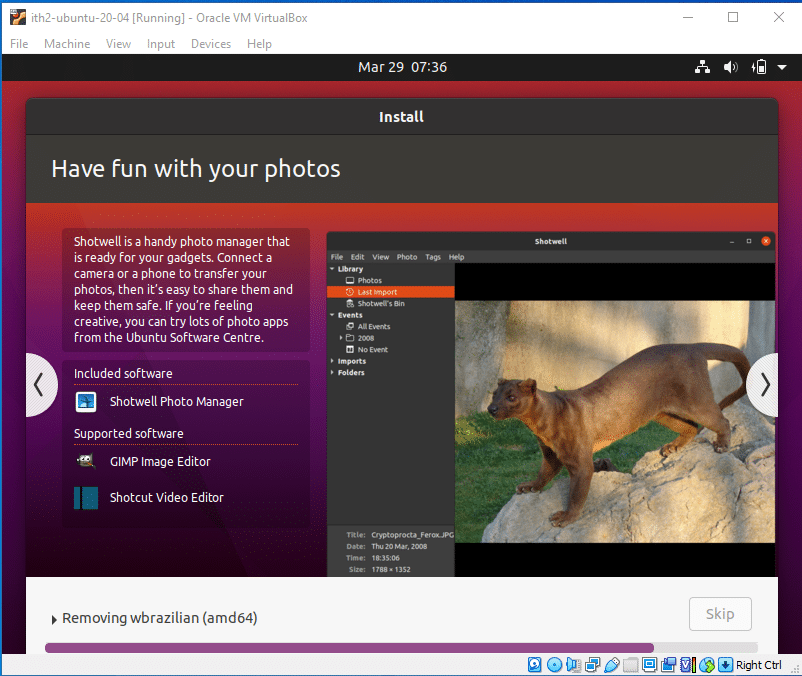
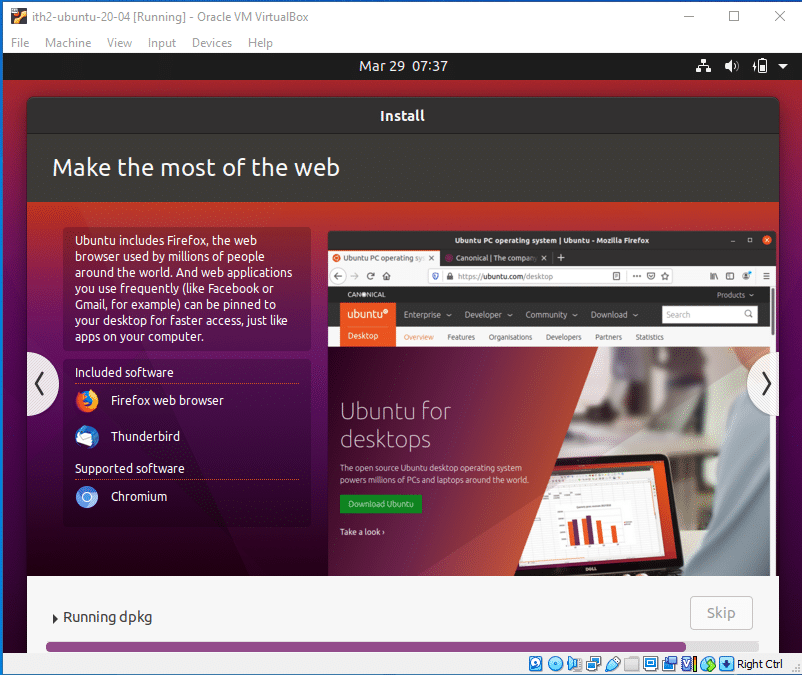
Wait for the installation to run:
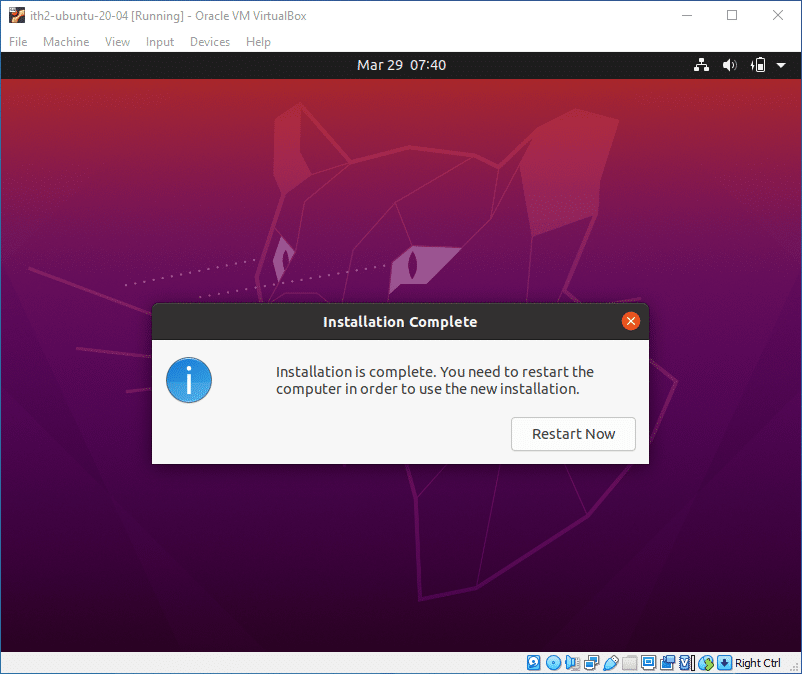
Click Restart Now to reboot the VM to finish the installation:
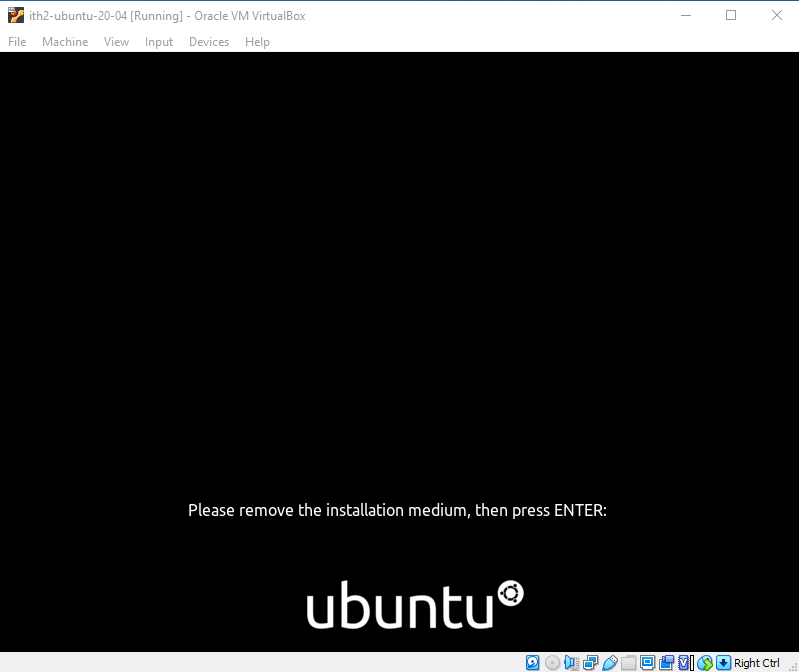
Press Enter to restart the VM:
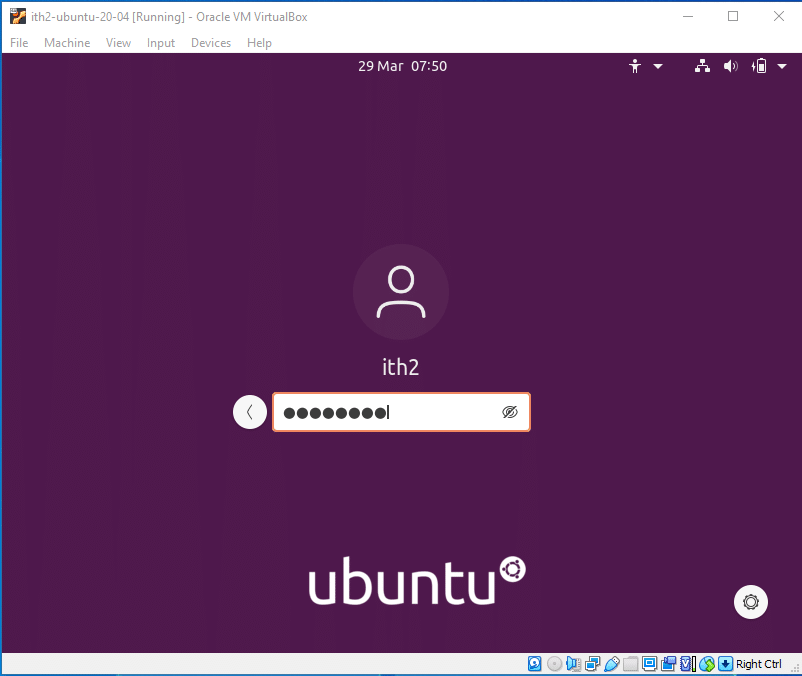
The VM will then reboot into Ubuntu 20.04 Desktop.
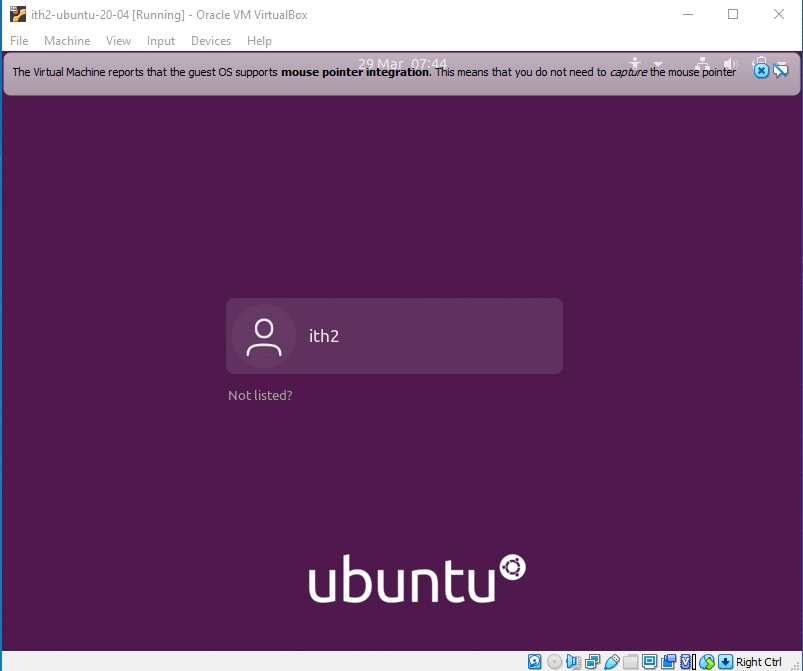
You will now be able to log in using the password created during installations and will be taken to the desktop.
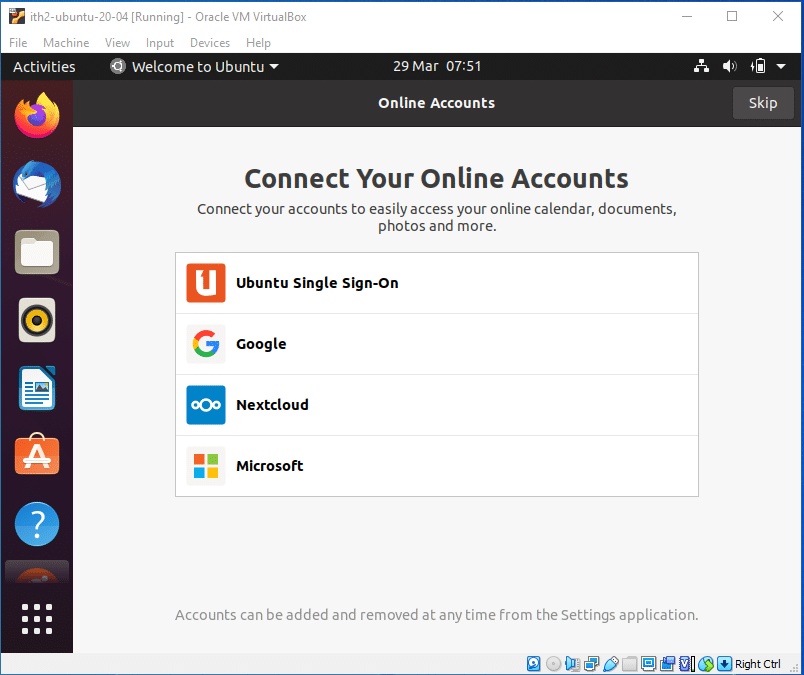
I like to setup my online accounts manually so I usually click on Skip to close the wizard. And then install Livepatch by clicking next:

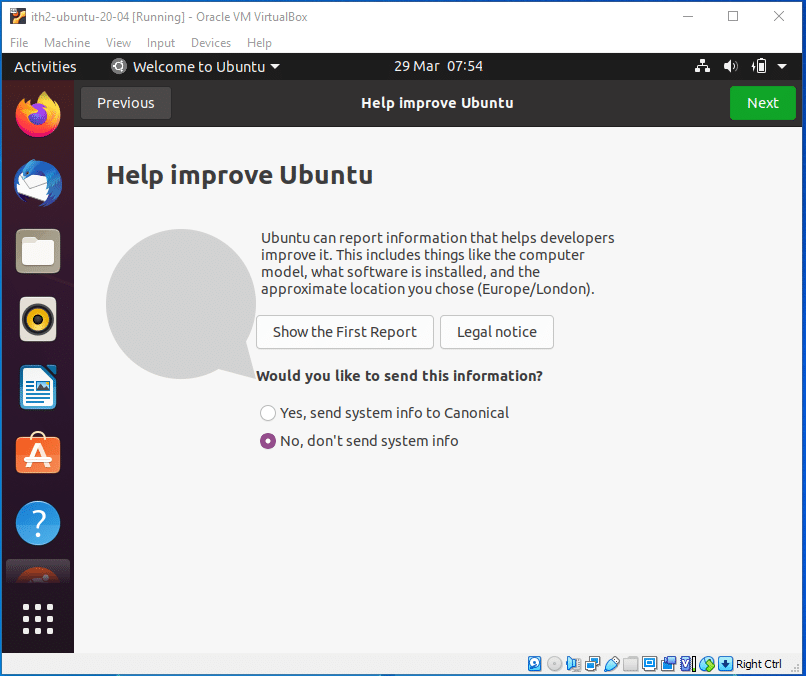
I then select No, don’t send system info to Canonical and click next.
I then click next to not select location services.
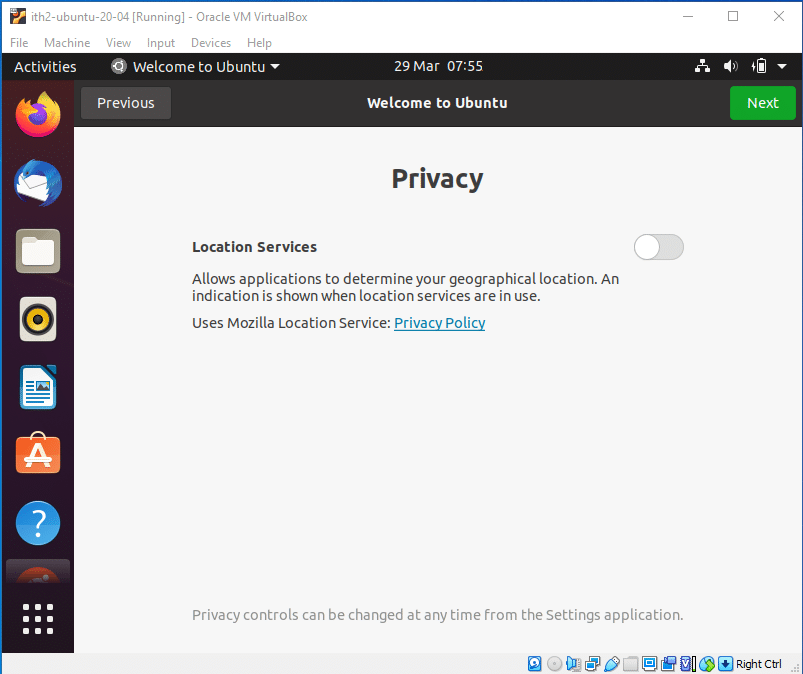
And then finally Done to close the wizard:

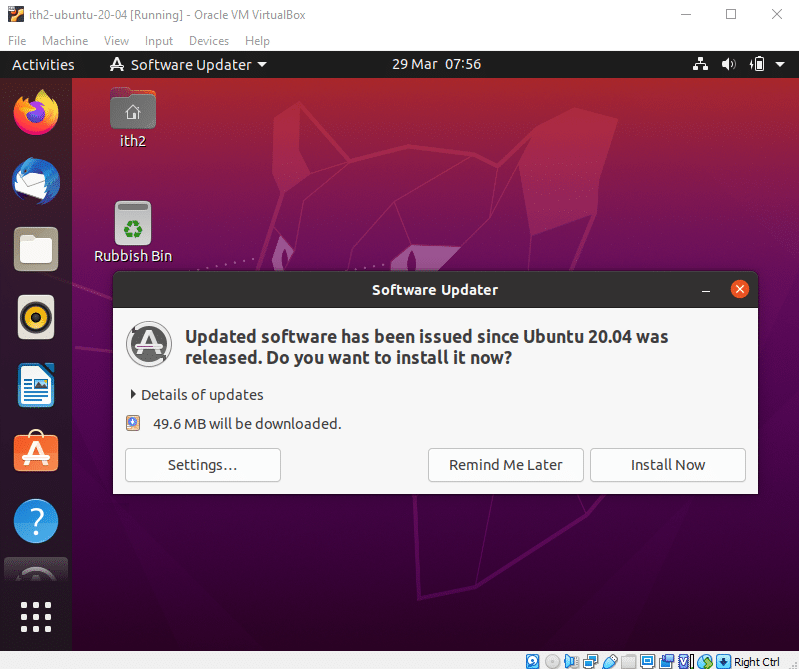
I then click on the Software Updater and click Install Now:
If you have followed the instructions properly you will have now successfully created an Ubuntu VM on VirtualBox and Installed Ubuntu 20.04 Desktop so you will now have a working Ubuntu 20.04 Desktop pc running in VirtualBox.
For ideas on what to do next with your freshly installed Ubuntu VM take a look at out other Ubuntu 20.04 posts.
Once the Software updates have finished installing it is a good idea to install the Guest Addons.
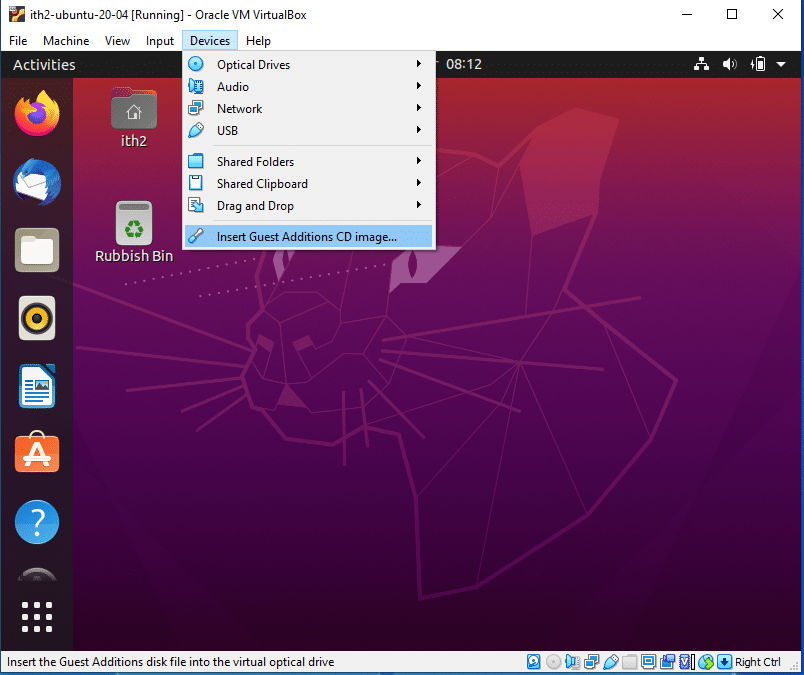
Installing Guest Addons:
Click on Devices, Insert Guest Additions CD image….
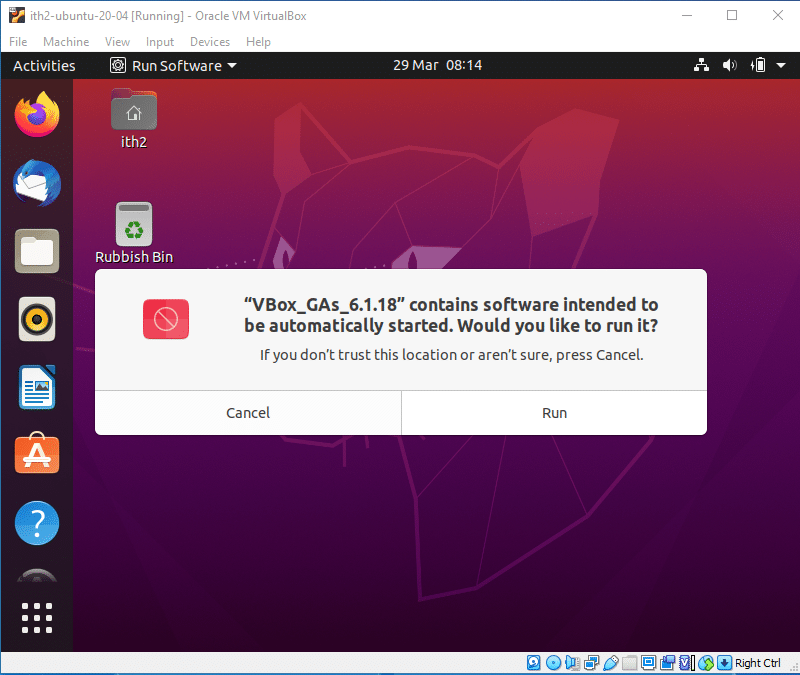
Click Run
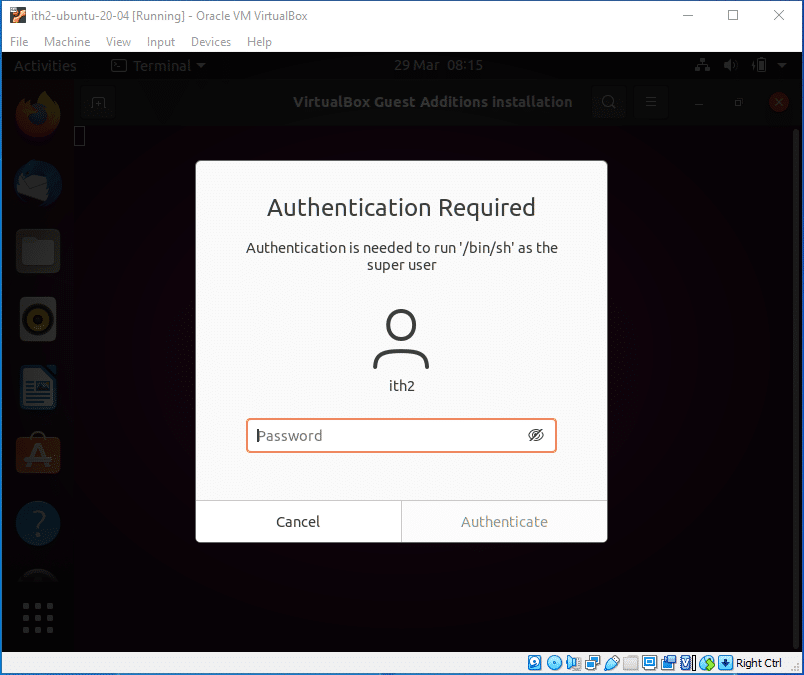
Type your Password and click Authenticate
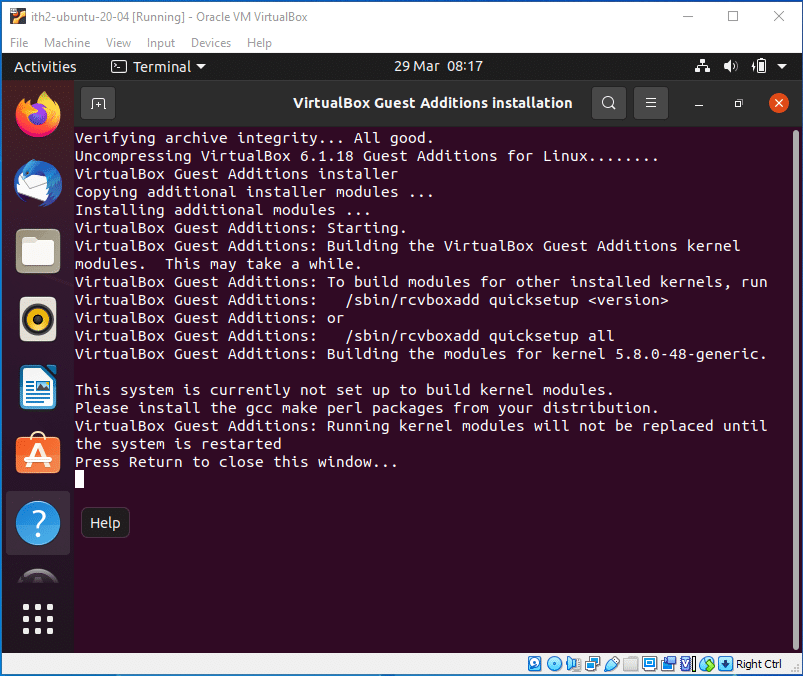
The Guest Additions will then be installed:

When the install has completed you will be asked to Press Return to close the window.
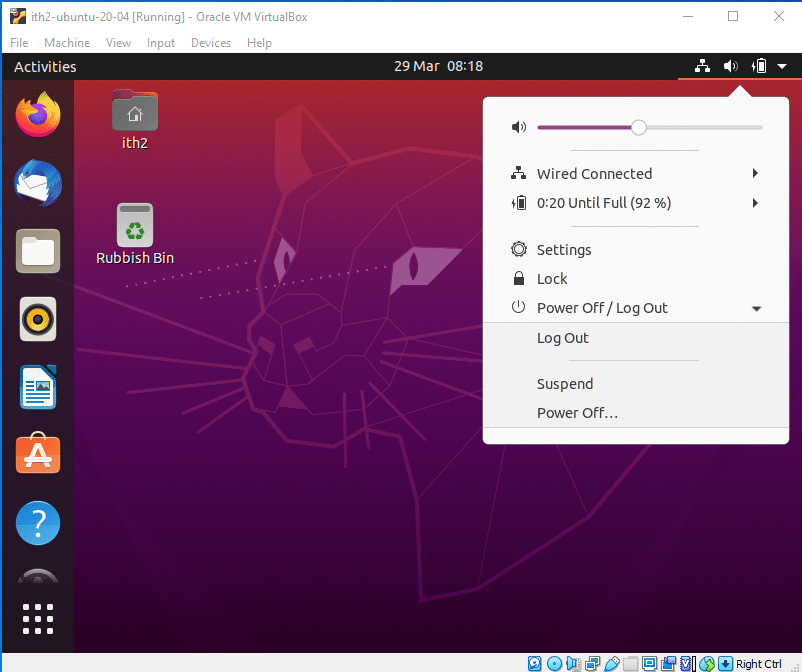
You will then need to restart the VM for the Guest Additions to be fully installed:
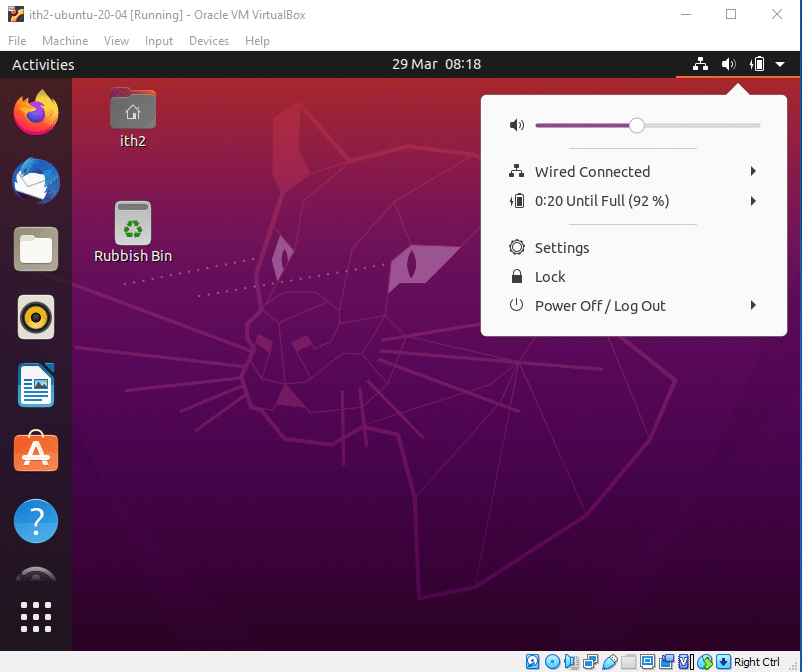

Click Power off:
Select Restart and press enter.
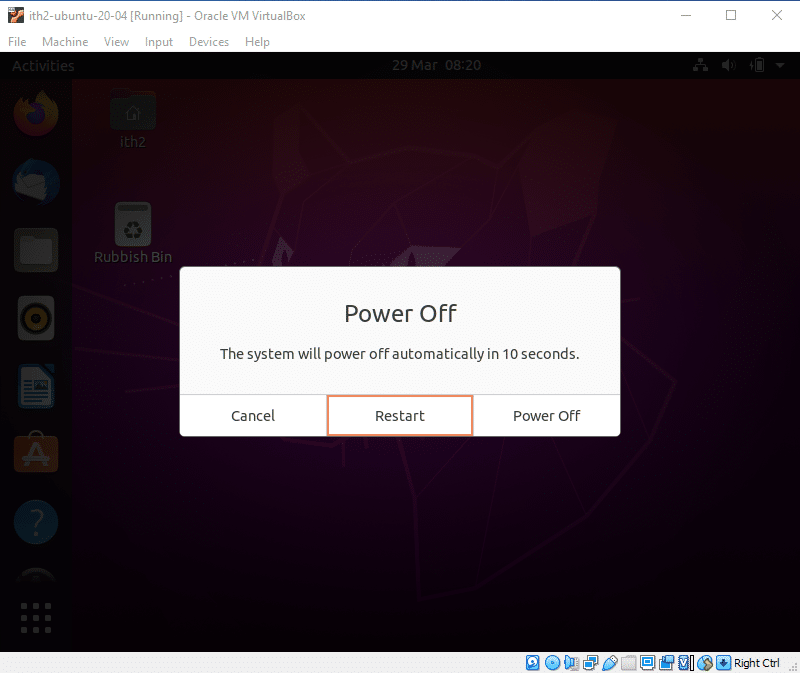
The VM will then reboot and the Guest Additions will have been installed.
Windows 10: Download and Install VirtualBox.
VirtualBox is a powerful x86 and AMD64/Intel64 virtualization product for enterprise as well as home use. Not only is VirtualBox an extremely feature rich, high performance product for enterprise customers, it is also the only professional solution that is freely available as Open Source Software under the terms of the GNU General Public License (GPL) version 2. See “About VirtualBox” for an introduction.
Windows 10: Download VirtualBox:
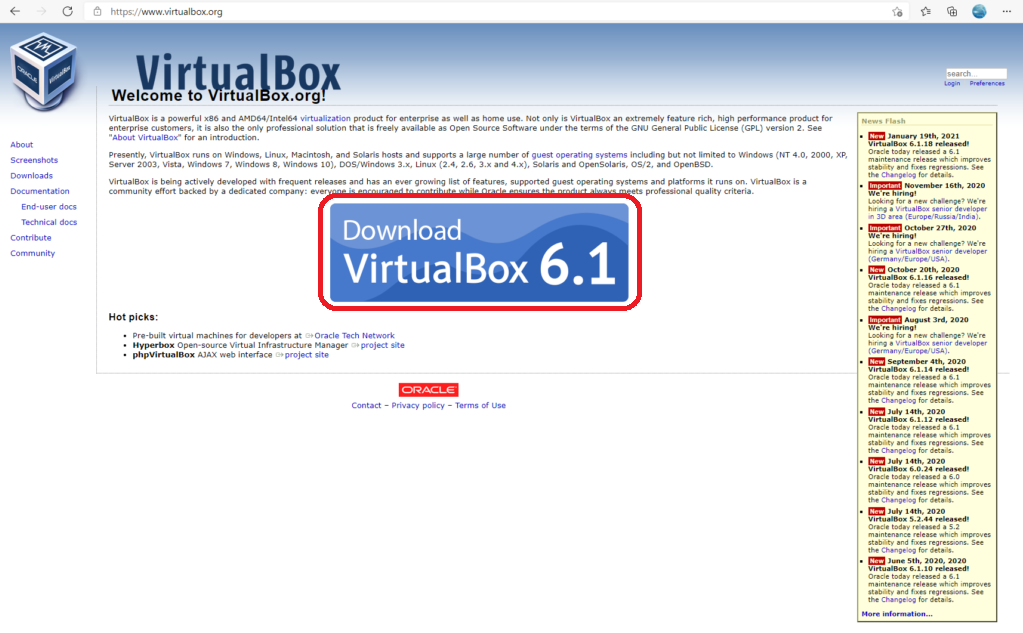
To download the latest VirtualBox Installed open a browser and go to Oracle VM VirtualBox.
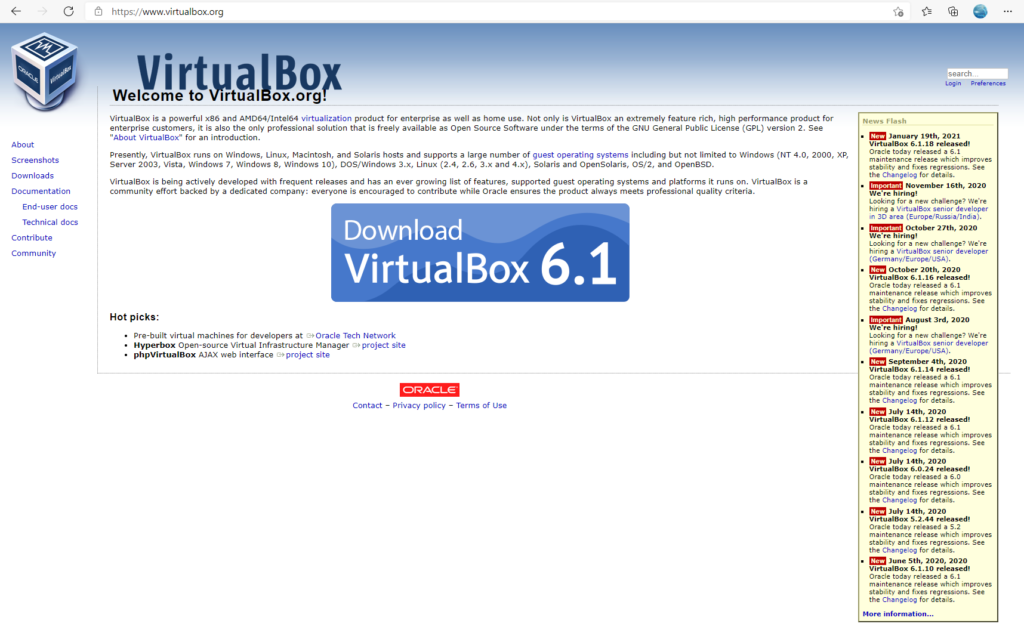
Click on the Download VirtualBox button to start the download:
This will take you to the download page:

Click on the OS that you are using. In this case we want Windows hosts:

This will start the download:
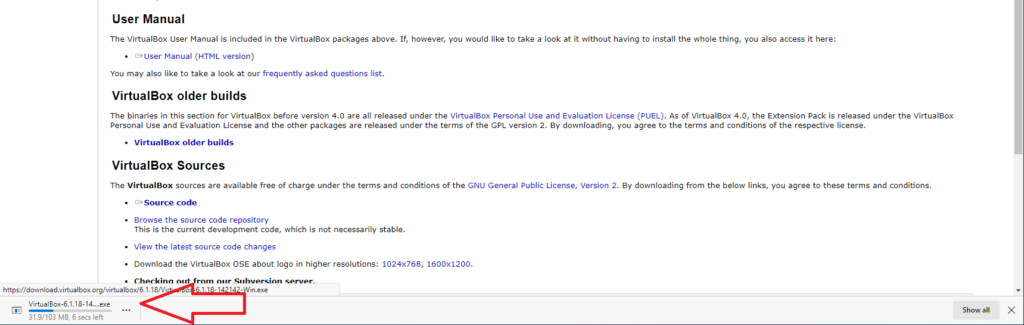
Once the installer has downloaded we are ready to install:

Installing Virtual Box:
To install Virtual Box you need to click on the Open file link under the download:

This will start the VirtualBox installation wizzard:
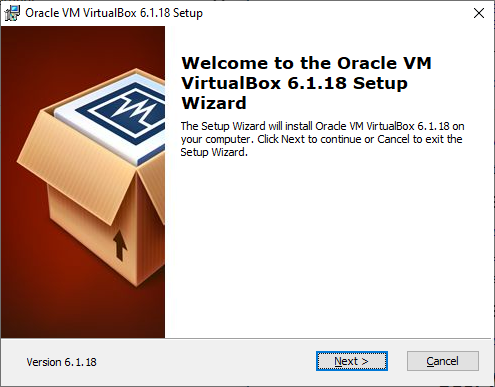
Click Next to move to the next option.

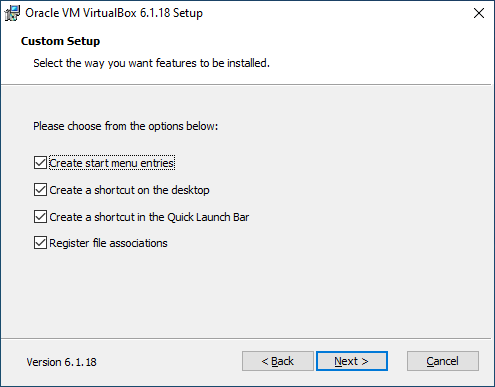
Click next to choose the default settings.
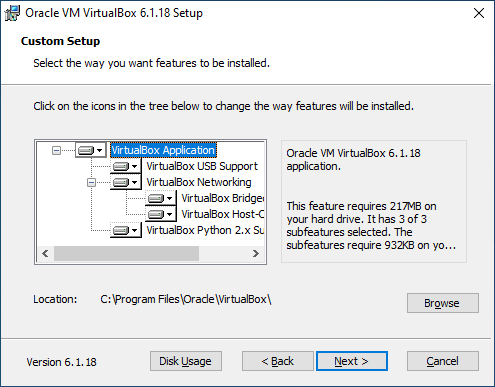
Click Next again.
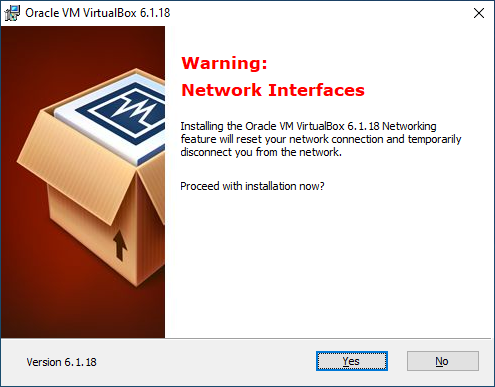
Click Yes to allow networking to be installed.
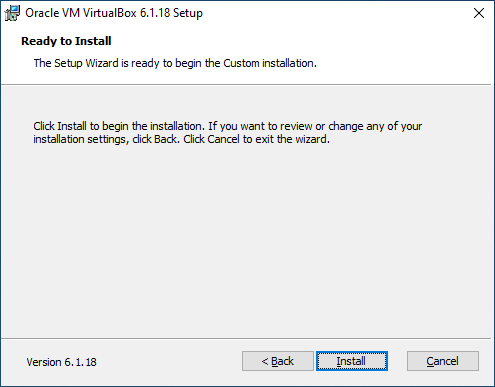
Click Install.
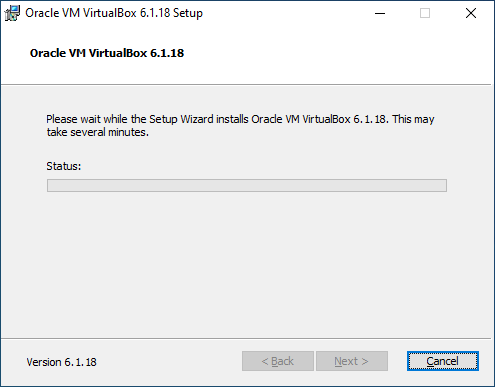
The installation will run
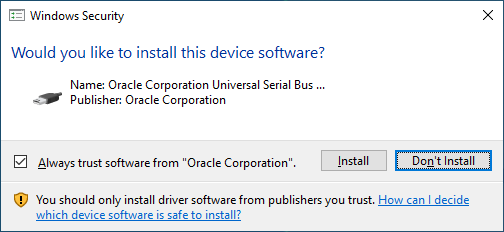
Click Yes to install the software as an administrator and also Install to install the device software:
Click Finish to finish the installation and open VirtualBox:
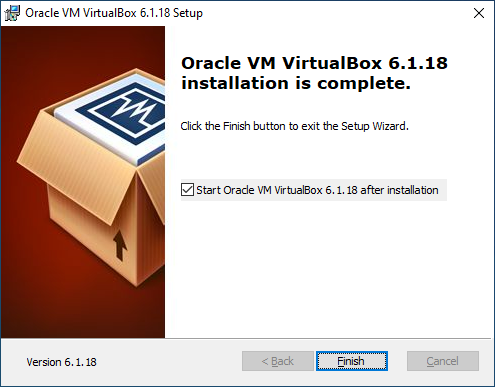
VirtualBox is now installed:
For more VirualBox How To’s go to our VirtualBox Category.
Zentyal 7.0: How to install and setup Zentyal Sever 7.0 Development Edition.
Table of Contents
Zentyal Sever 7.0 Development Edition is the latest version of Zentyal Development Server (released 27/01/2021). The server is a linux replacement of Windows Small Business Server and the Development edition is the free version of Zentyal Server 7.0 aimed at organizations with in house Linux experience as it offers no support. For more details check out the Zentyal Website.
To download the ISO to install Zentyal 7.0 Development Edition check out our previous POST.
Once the ISO is downloaded and the installation media is created boot the machine off of the installation media.
Installing Zentyal 7.0 Server Development Edition.
When the installation media boots it will land on the screen below. Select the desired installation language and click enter:
Select Install Zentyal 7.0-development (delete all disks). This will delete all disks but this is not an issue as we are doing a fresh install.
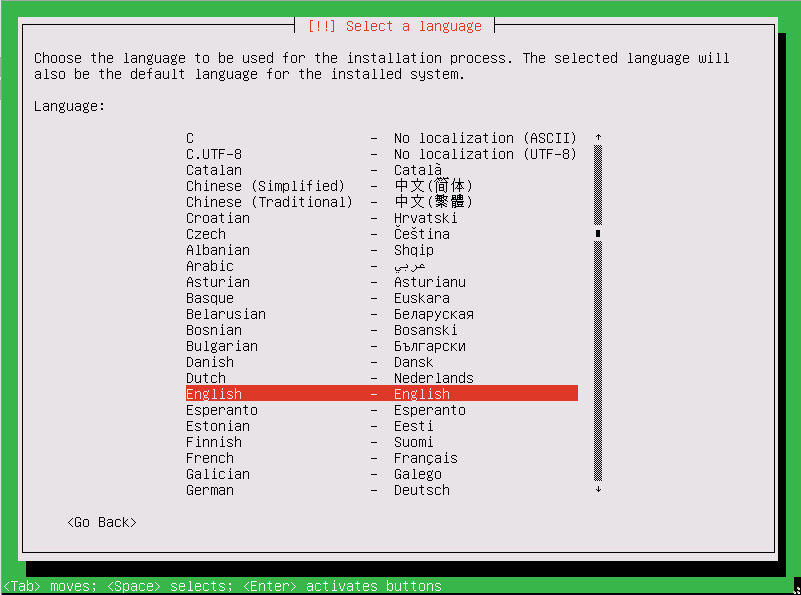
Choose the desired language and click enter.
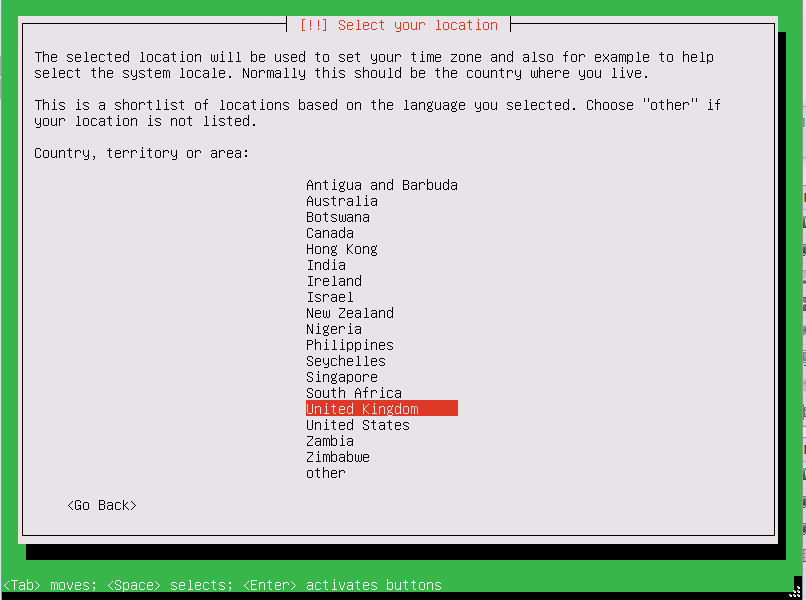
Select the correct Region and hit enter.
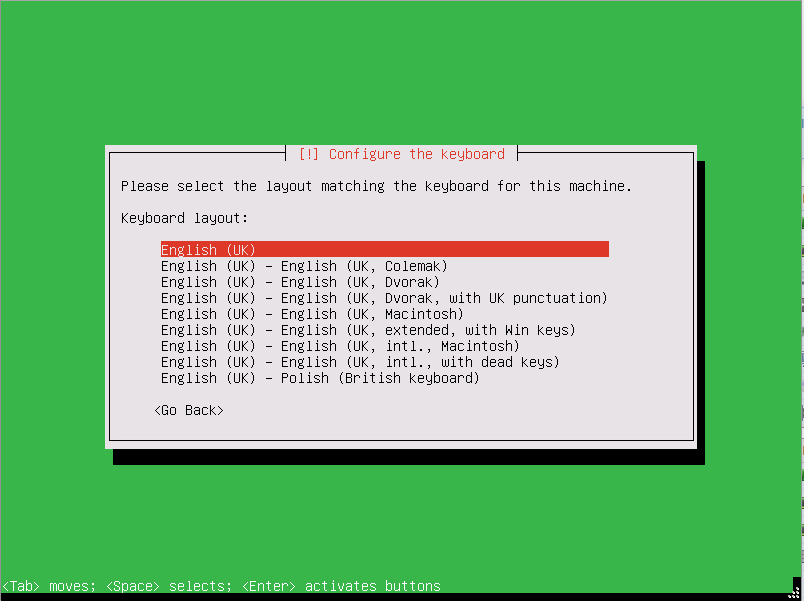
Find the correct Keyboard layout and press enter.
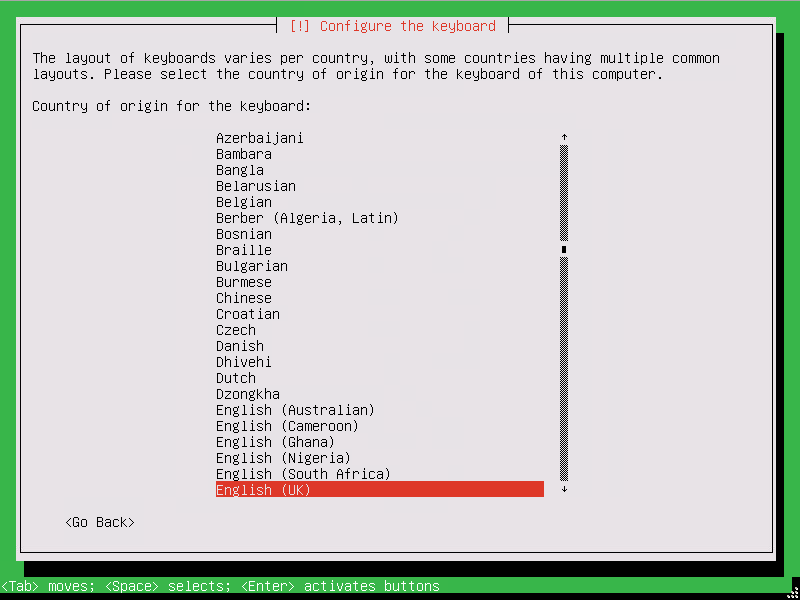
Press enter again to select the correct keyboard layout.
The installation will then load additional components:
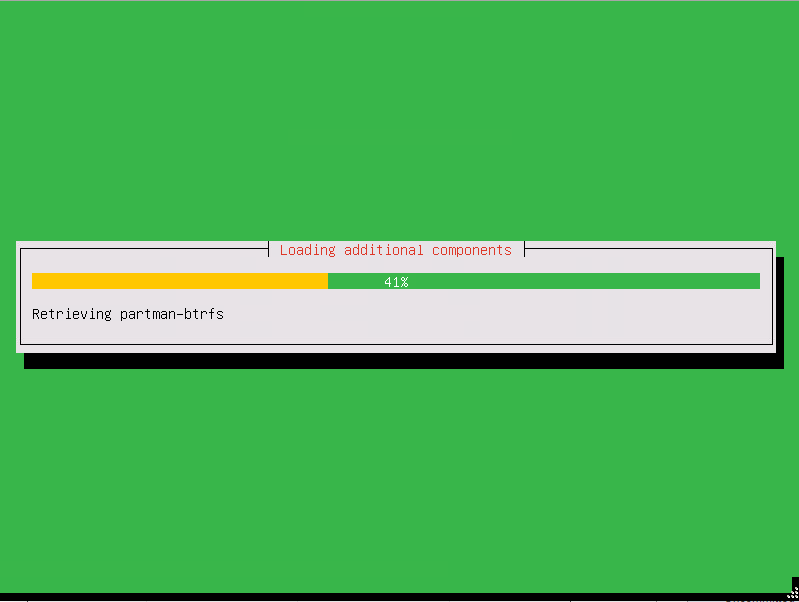
Once it is finished it will bring up the following screen:
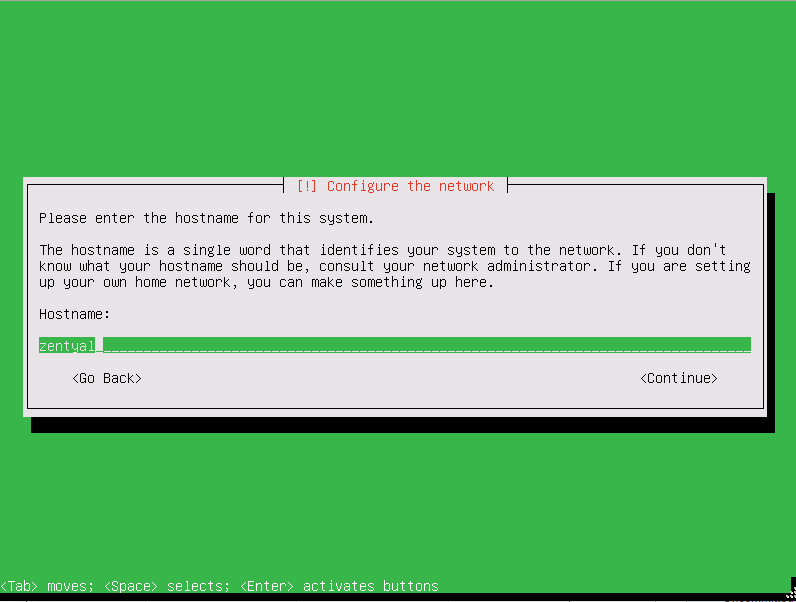
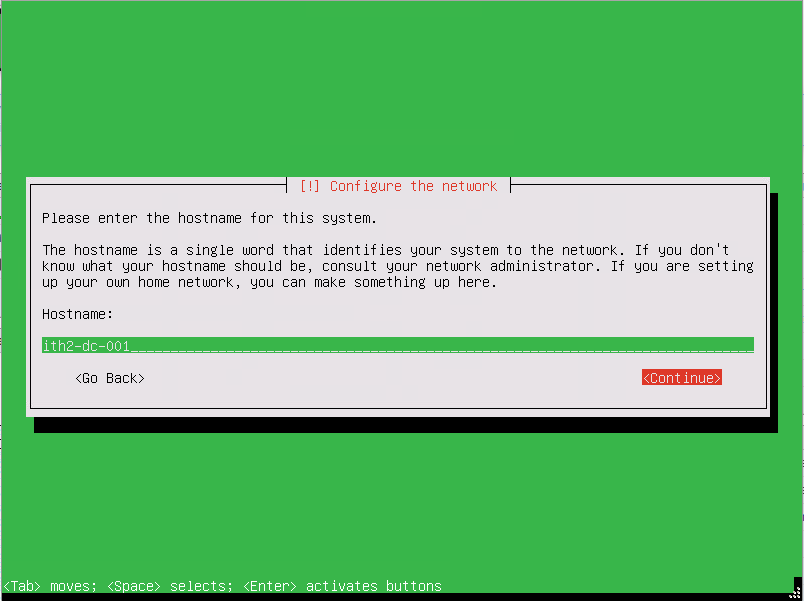
Change the Hostname to the desired name and then press the tab button to select the Continue option and then enter to move to the next step:
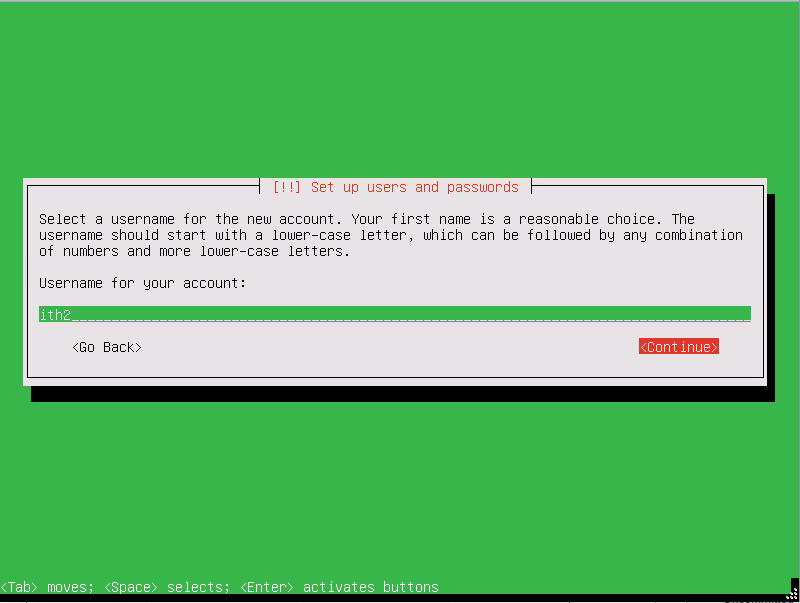
Add a username for the Administrator user, and then tab and enter to move to the next screen:
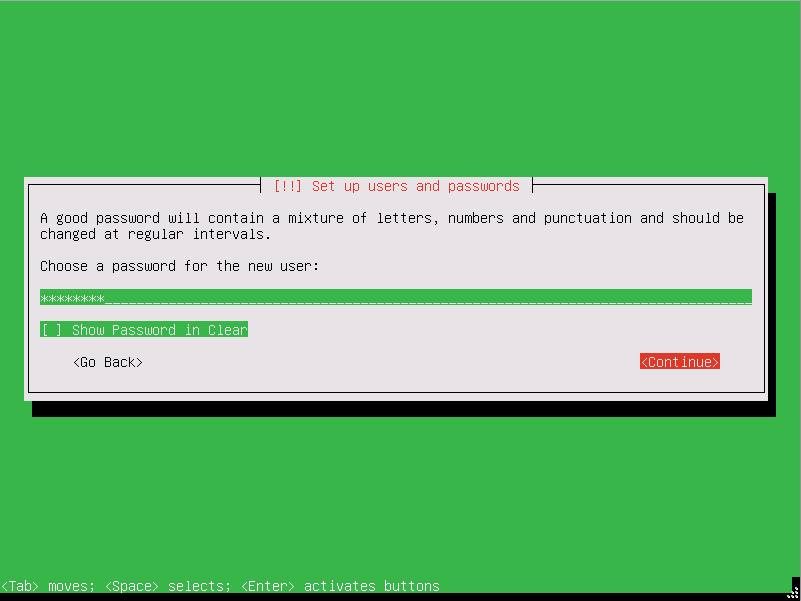
Type a password for the user then tab (twice) and enter.
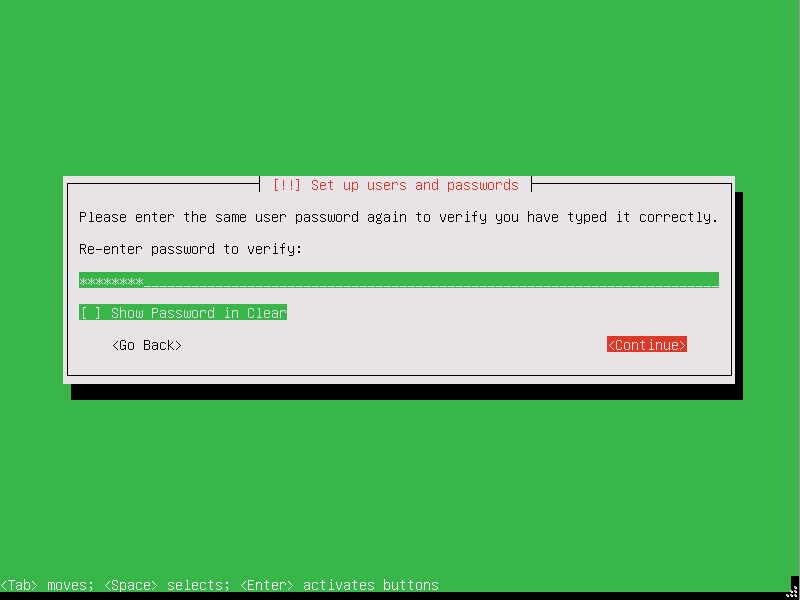
Type the password again and then tab (twice) and then enter to move to the next screen.
If the chosen time zone is correct press enter to move on.
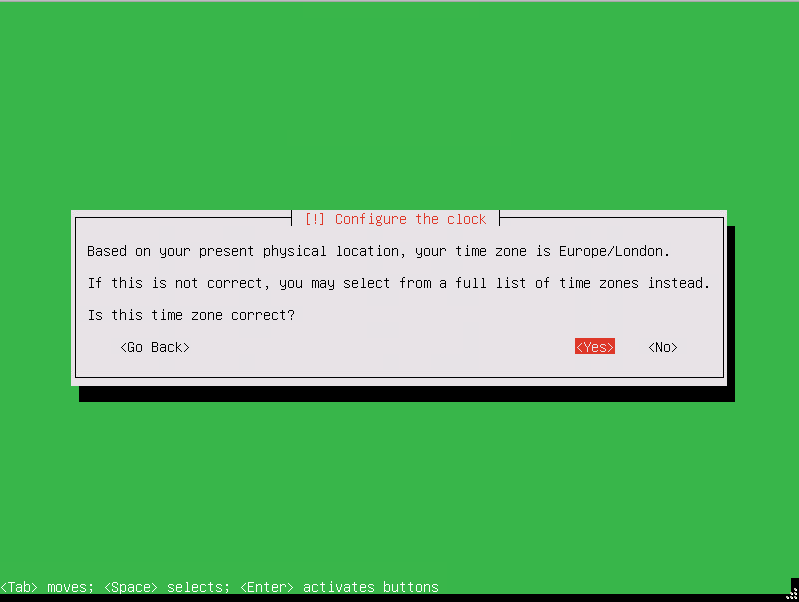
If it is not correct select <No> and hit enter.
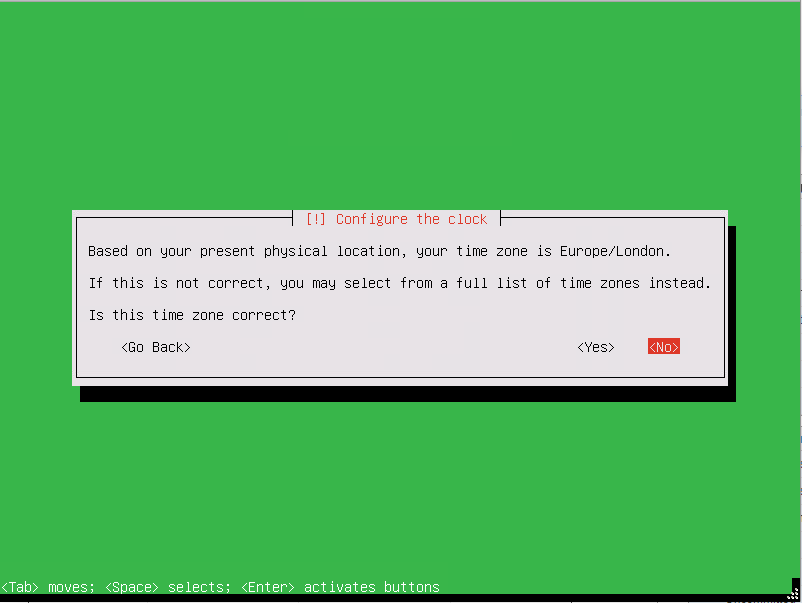
You will then be able to select the correct timezone.
Once the correct time zone is selected The installation will start:
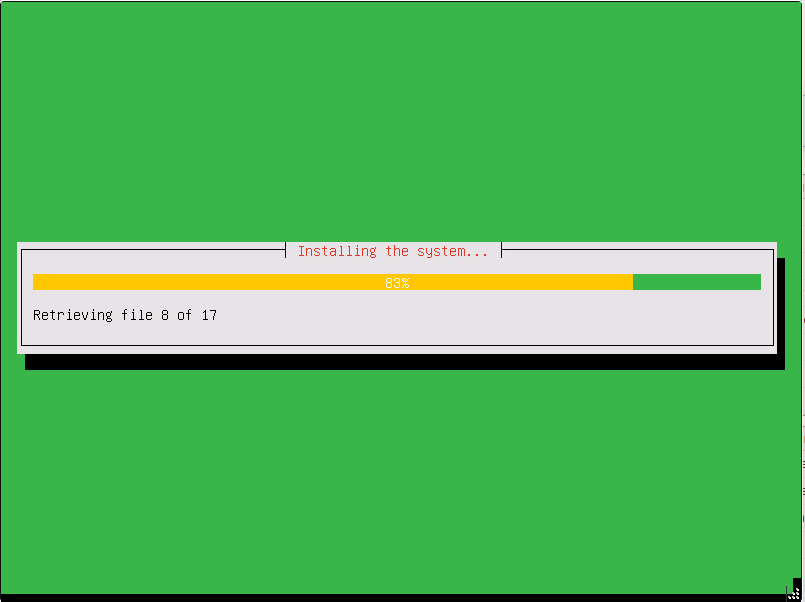
Wait for the installation to finish. Once finished press enter to continue.
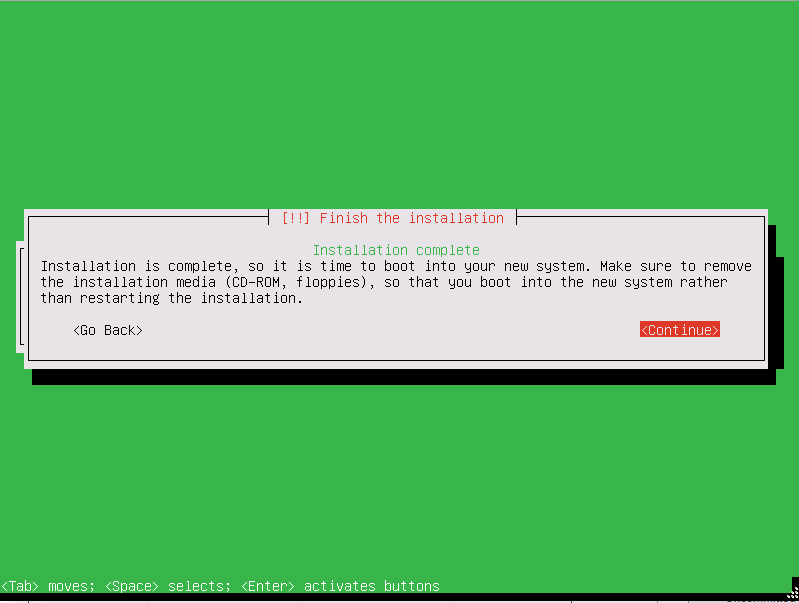
The machine will reboot and start booting Zentyal 7.0:
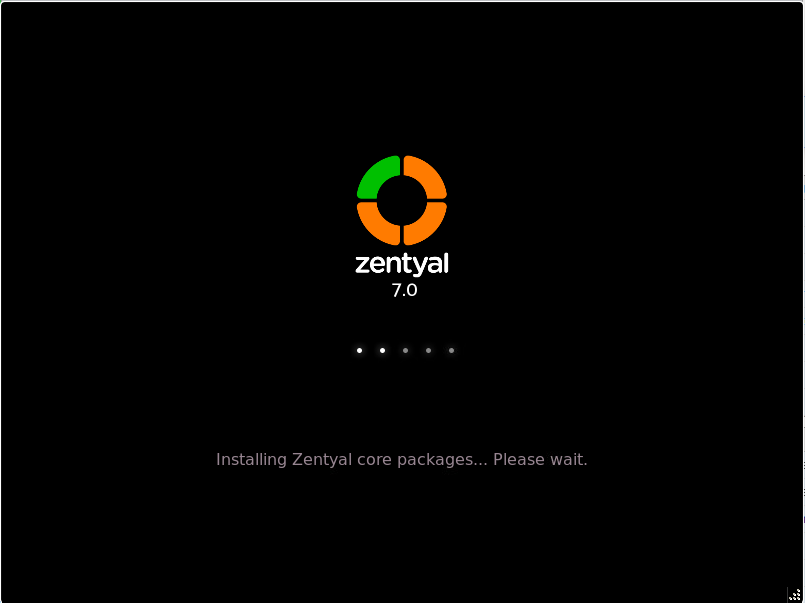
Wait for the server to boot. This could take between 10-15 minutes so just be patient.
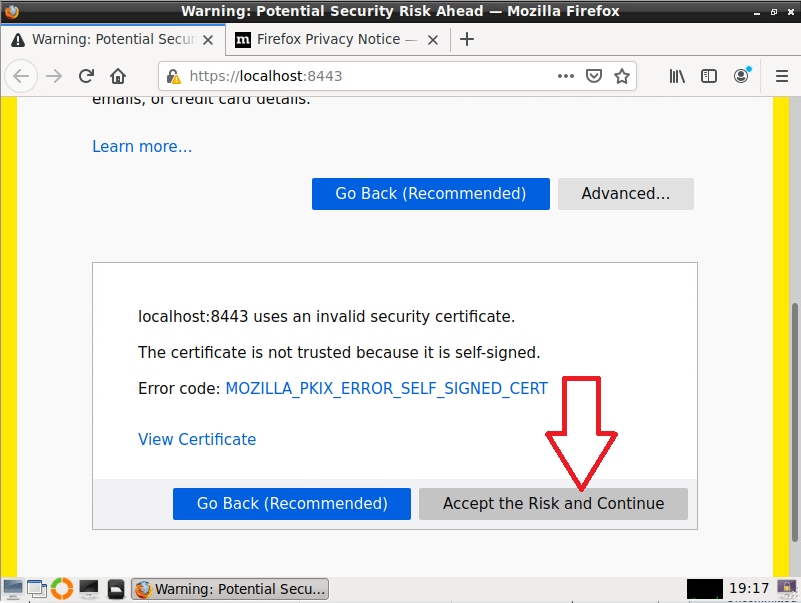
Once it has booted you will see the foloowing screen:
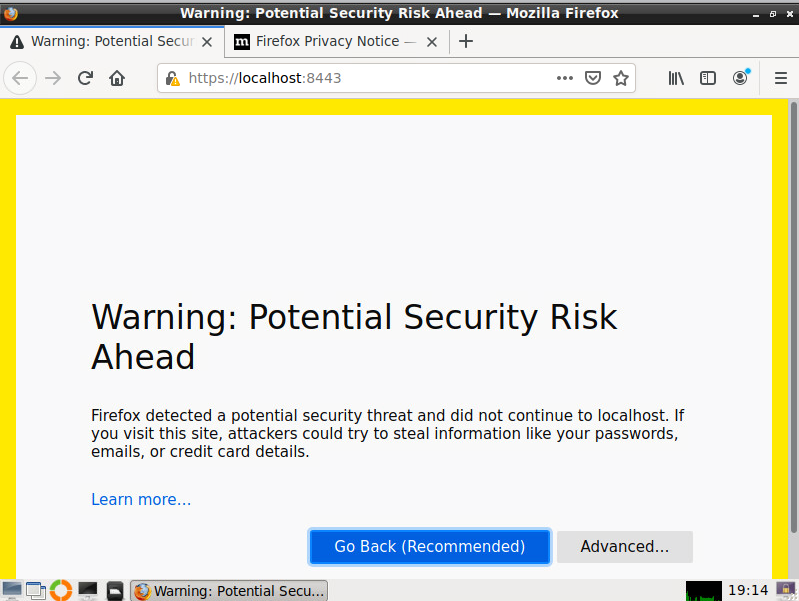
Click on Advanced and then Accept the Risk and Continue:
This will bring up the login page:
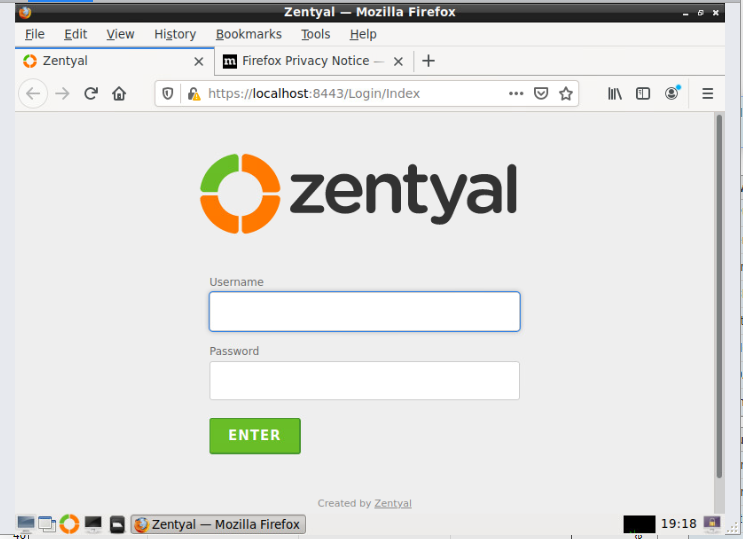
Log in using the user and password that were created during setup and click on Enter.

Click on Don’t save as you dont want to save the admin password for security reasons:
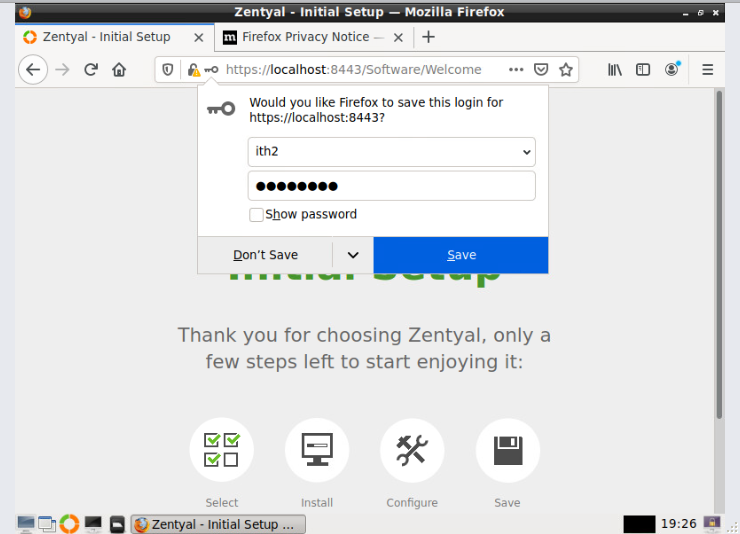
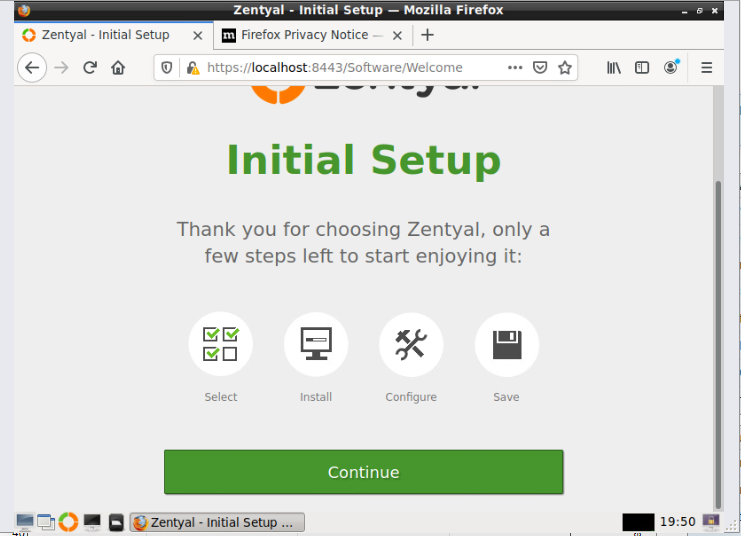
You are now at the Initial Setup screen.
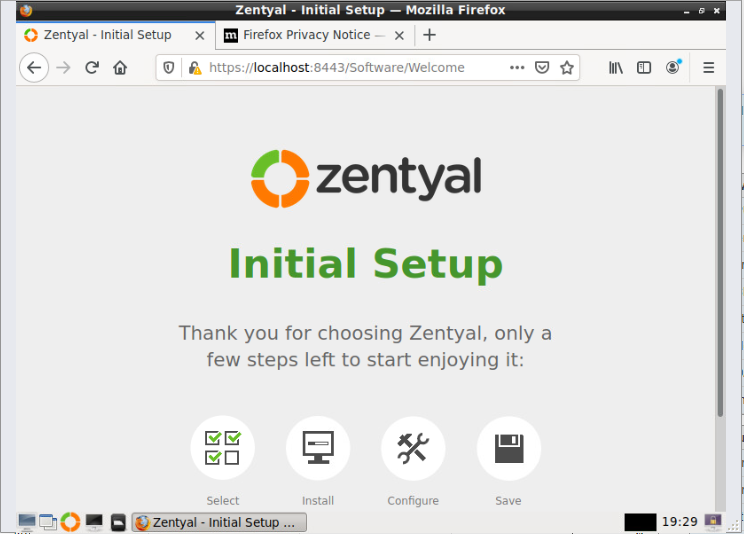
Initial Setup of Zentyal 7.0:
To start the Initial Setup click on Continue.
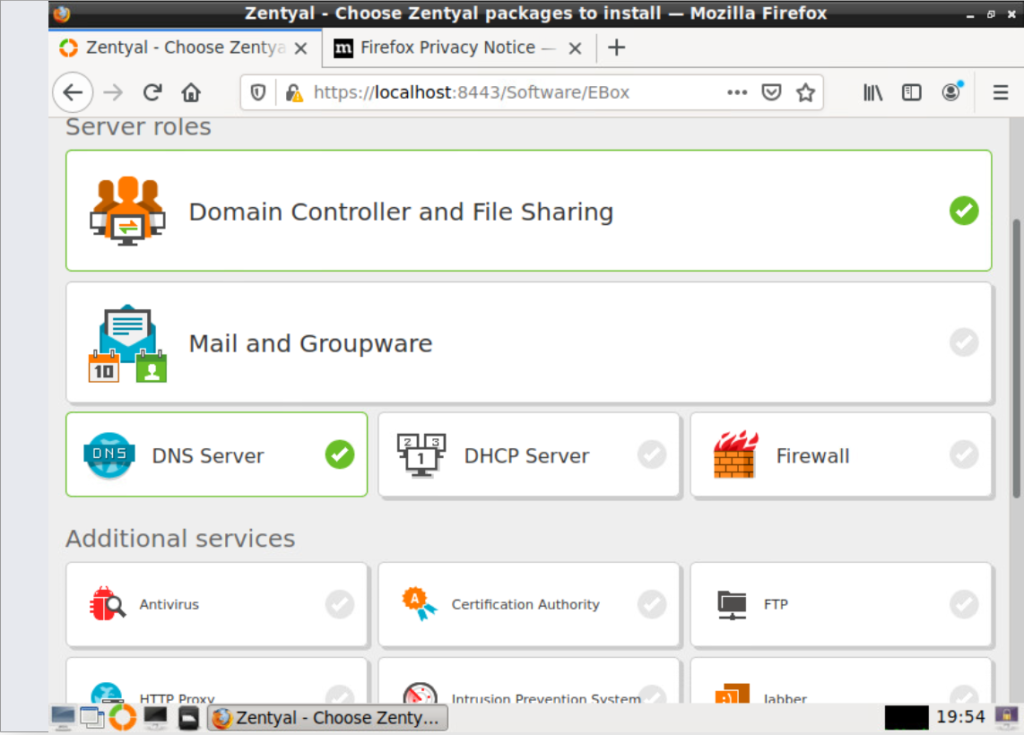
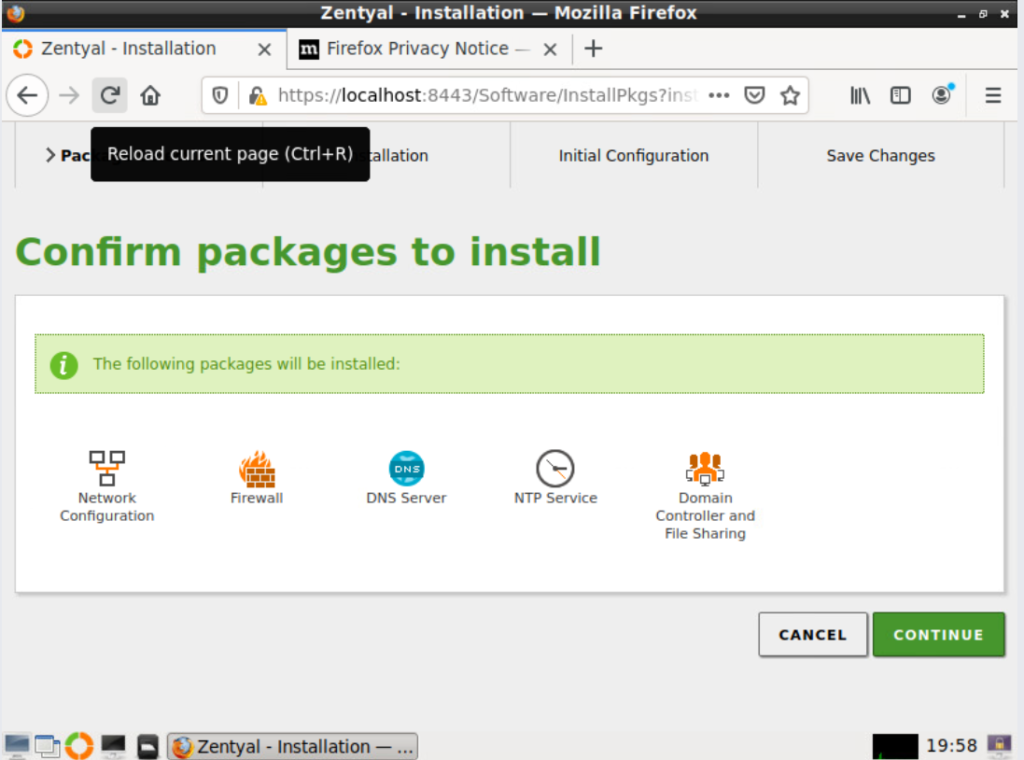
Choose the required packages from the list. As this install is a DC I am just going to choose Domain controller and File Sharing and DNS Server only:
Scroll down to the bottom of the screen and click Install to install the selected packages:
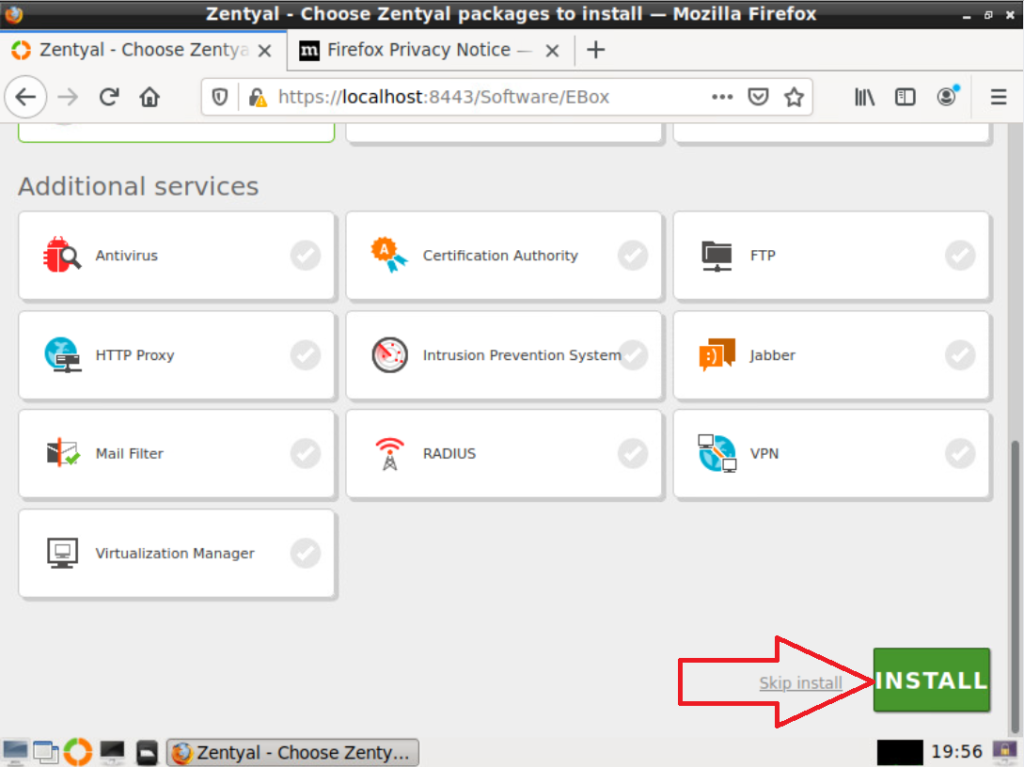
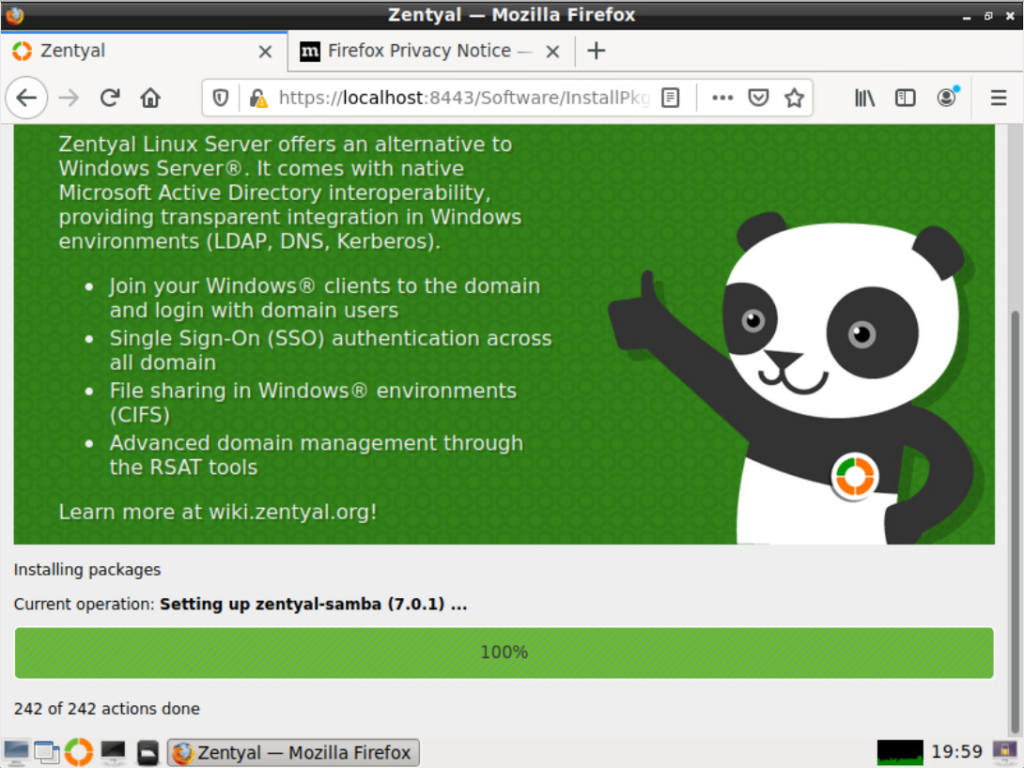
Click on the CONTINUE button to Start the installation of the packages.
Now wait for the package installation to finish:
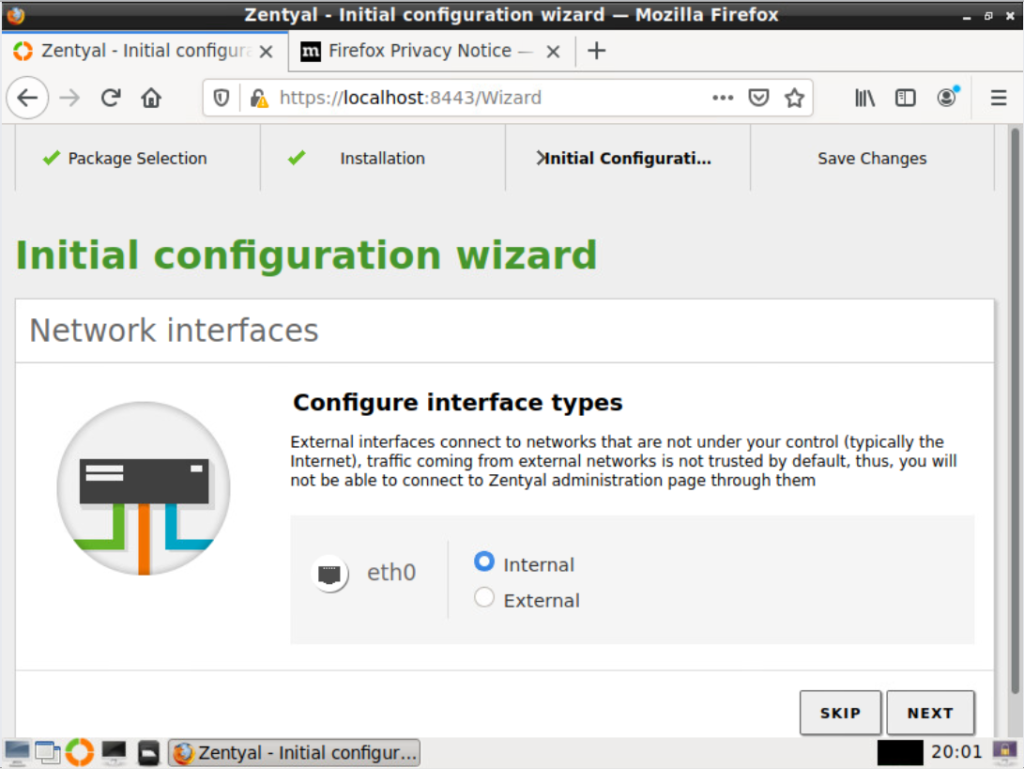
Next select the eth0 type Internal for a DC installation and external if you are installing a firewall. Click next to go to the next screen.
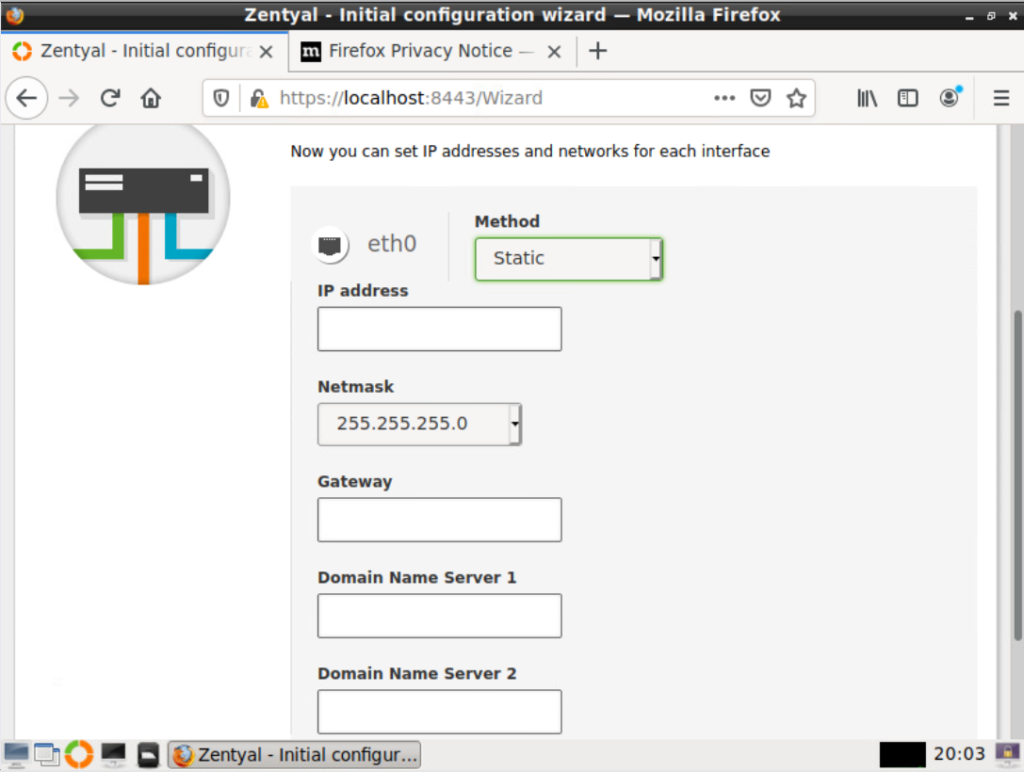
Select the network config for eth0. If you want to use dhcp to give the server an IP address (which I do ) click next. If you want to add a fixed IP select Static and add the correct IP details:
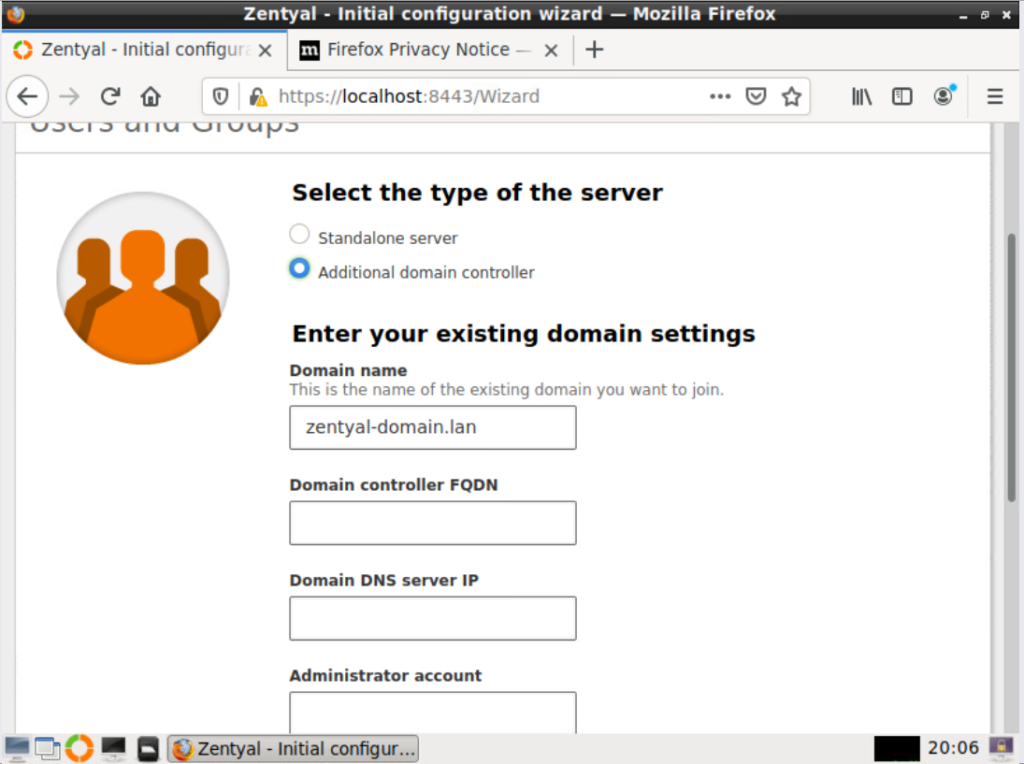
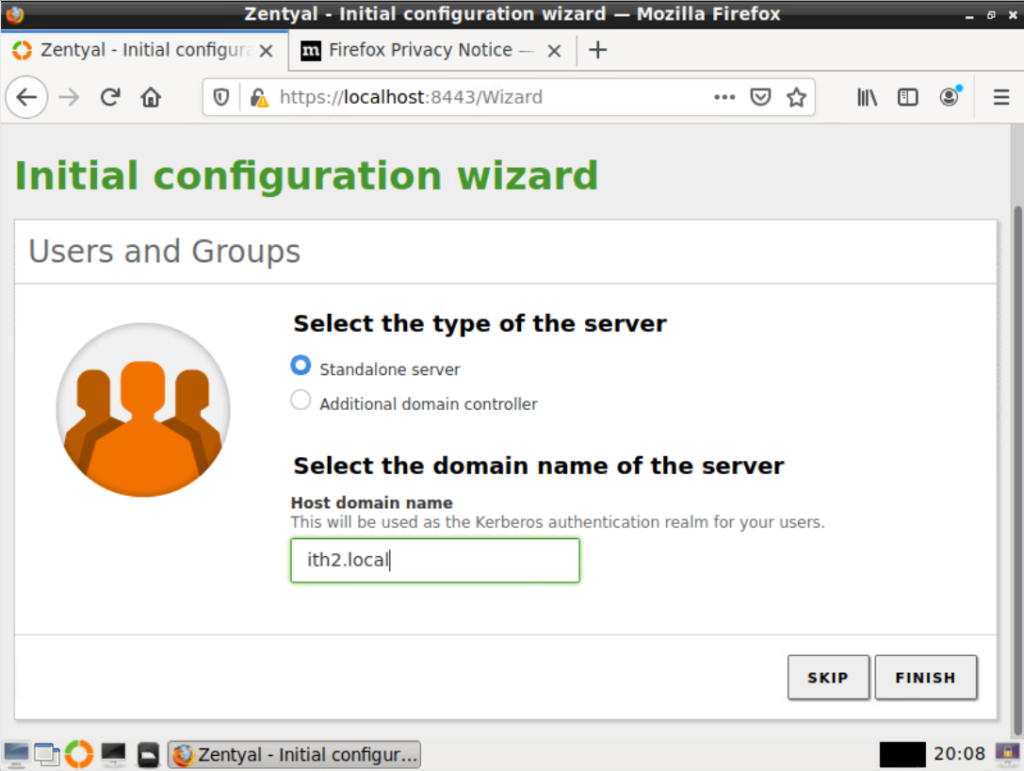
Select the server type. To create a new domain select Standalone server and add the domain name in the Host domain name field. If you already have a domain configured select Additional domain controller and then add the domain details.
As stated before I want to install a new Domain DC so I chose Standalone server and added my new domain (ith2.local) to the Host domain Field and then clicked Finish:
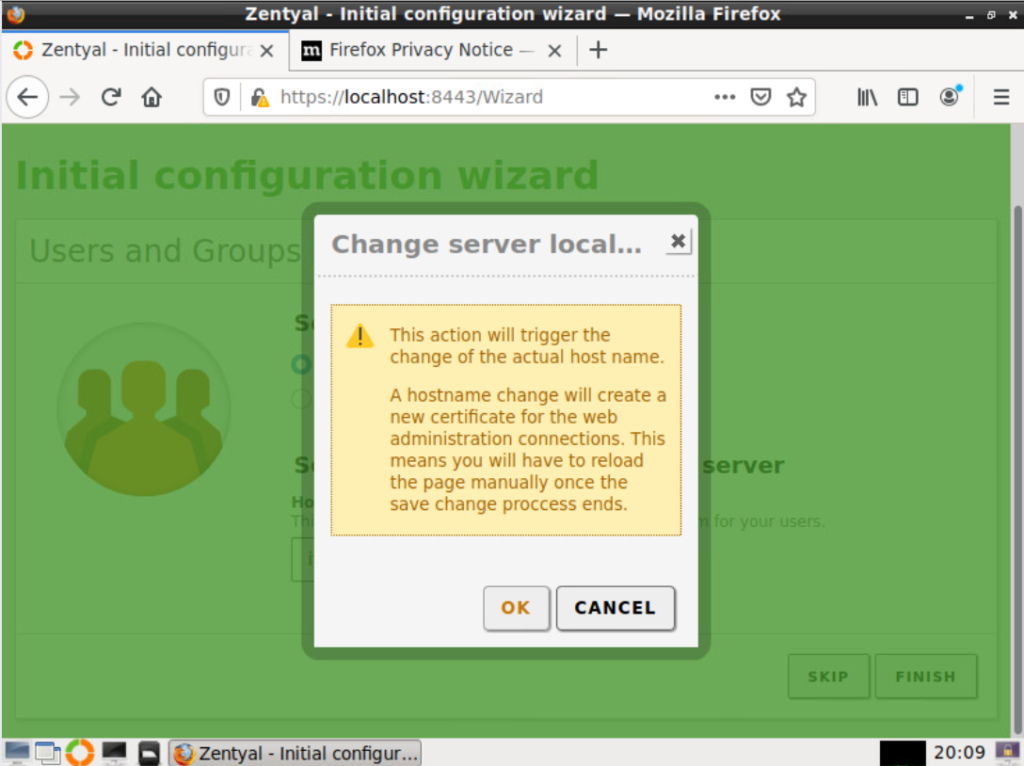
I then had to click on OK to kick off the installation:
The server was then configured:
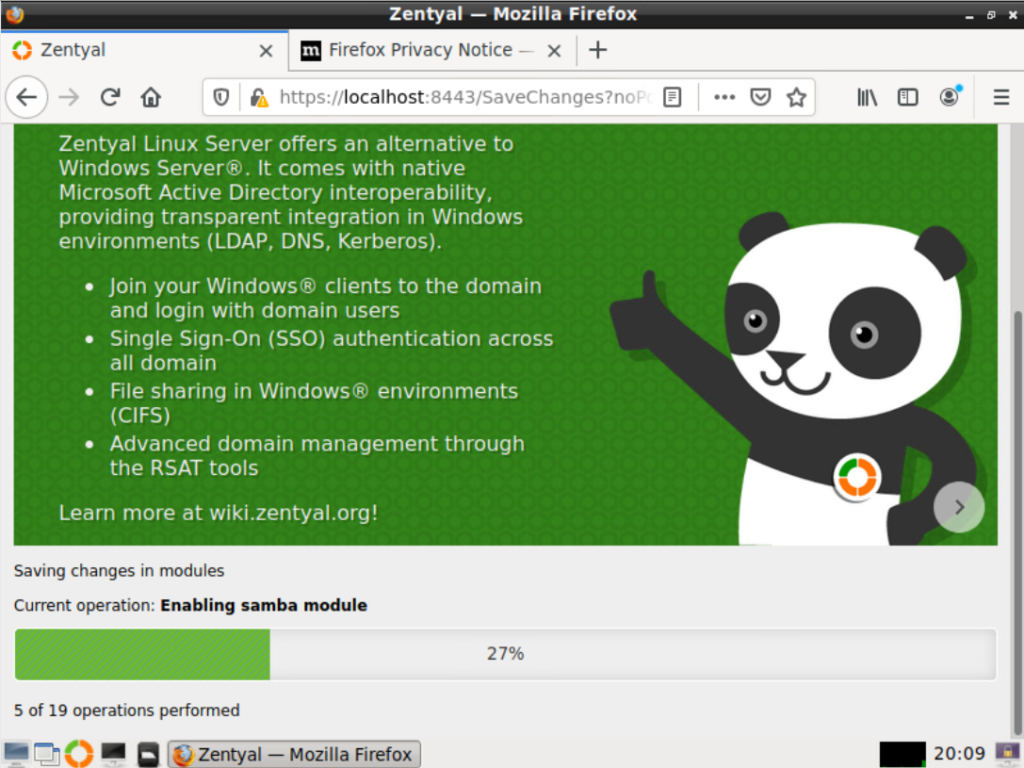
After 5-10 minutes
The Congratulations screen was then shown so I clicked on GO TO THE DASHBOARD close the Initial setup window.
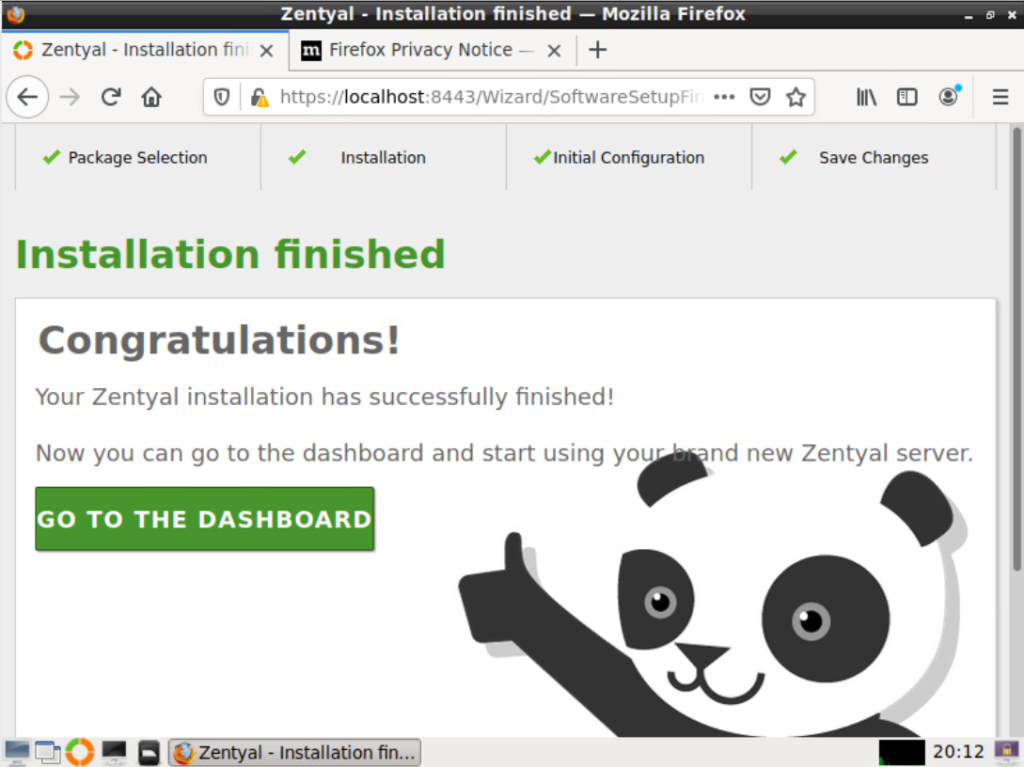
From the dashboard I found the ip address of the server so that I could connect to the server via the web gui:

Connecting to the Zentyal 7.0 Web Gui:
The Zentyal server has a web gui console that can be used to administer the server without having to use the local console which is much more convenient and the resolution of the web gui is much better than the local console. To connect to the web console put the following link in a browser:
https://ip_address:8443
So in my case the address was https://192.168.0.71:8443
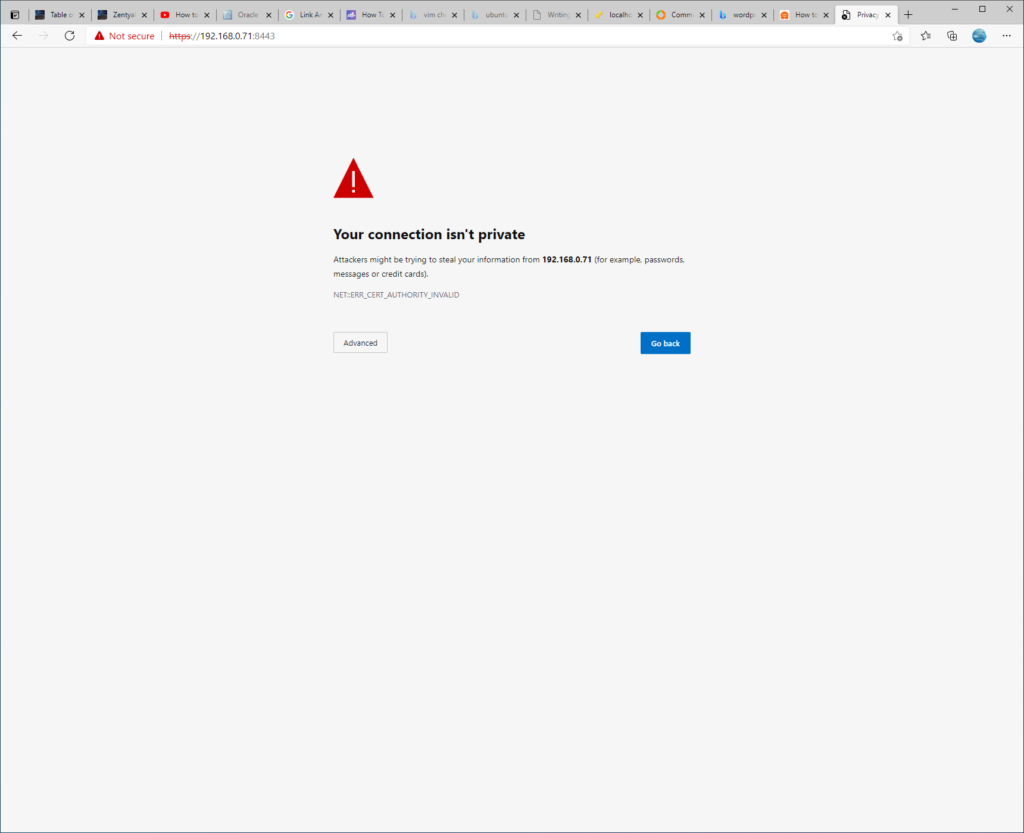
Click on Advanced and then Continue to server ip (unsafe):
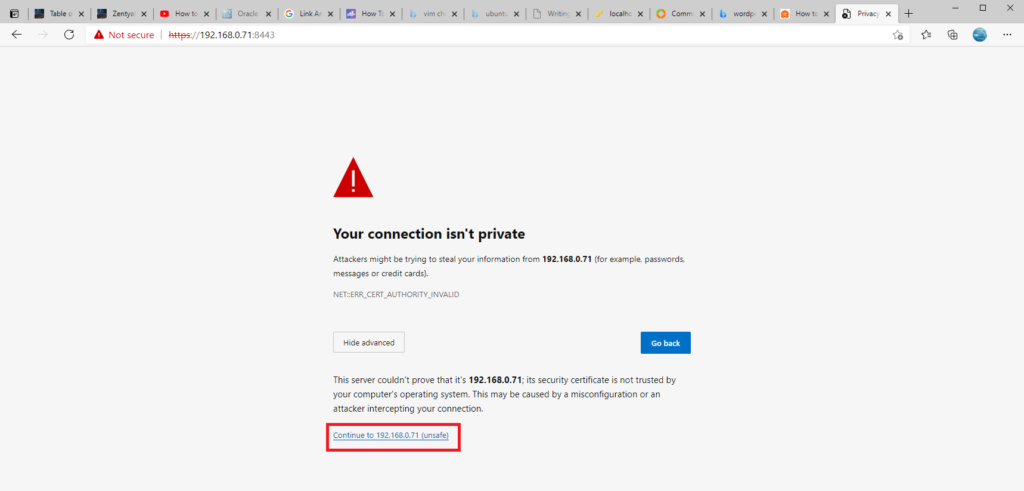
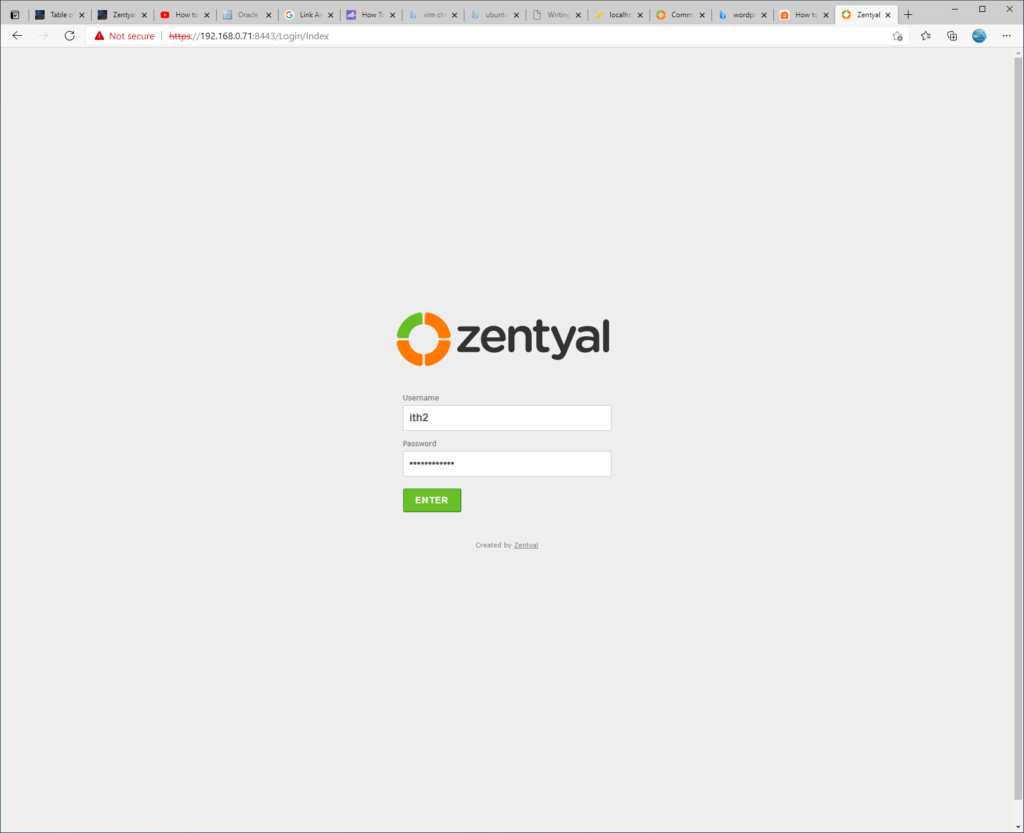
The login page will be displayed in all its glory:
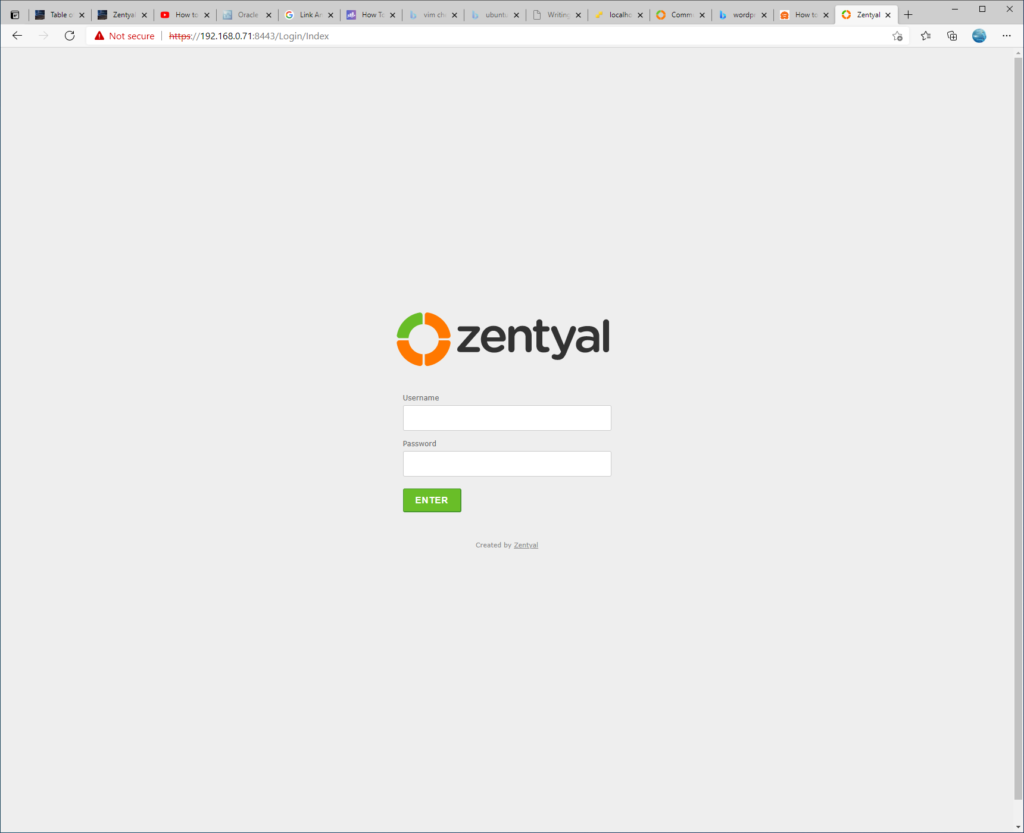
Log in with the user and password created during setup and click on ENTER:
You will be taken to the dashboard:
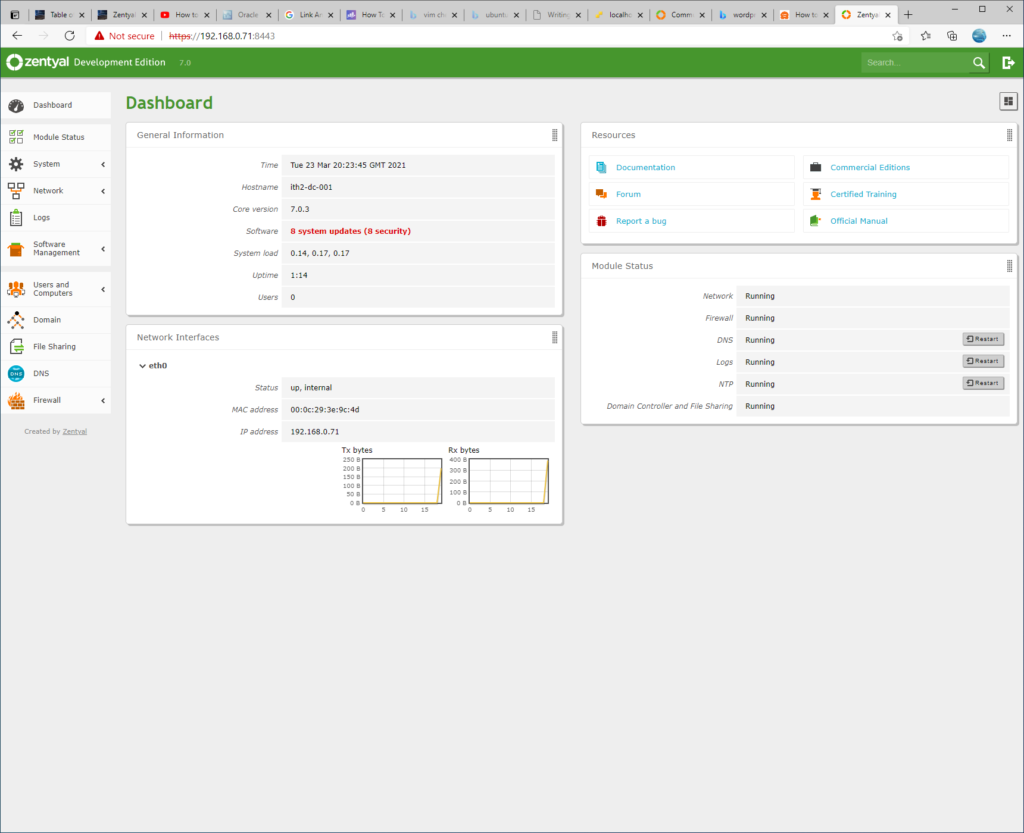
Update the system.
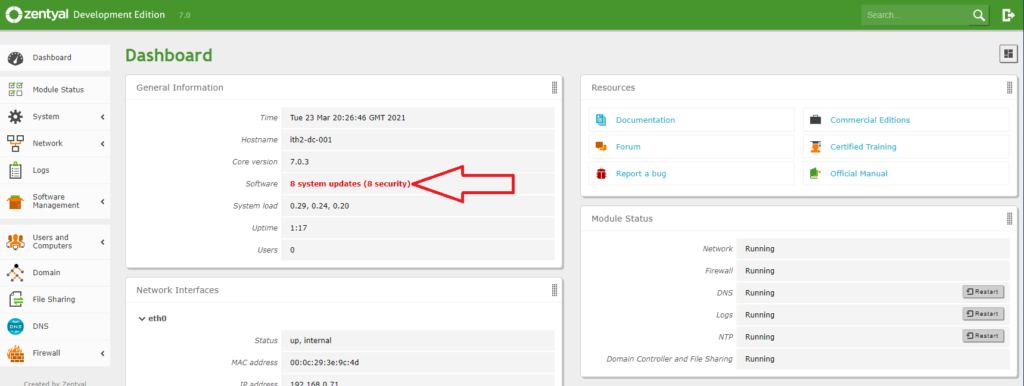
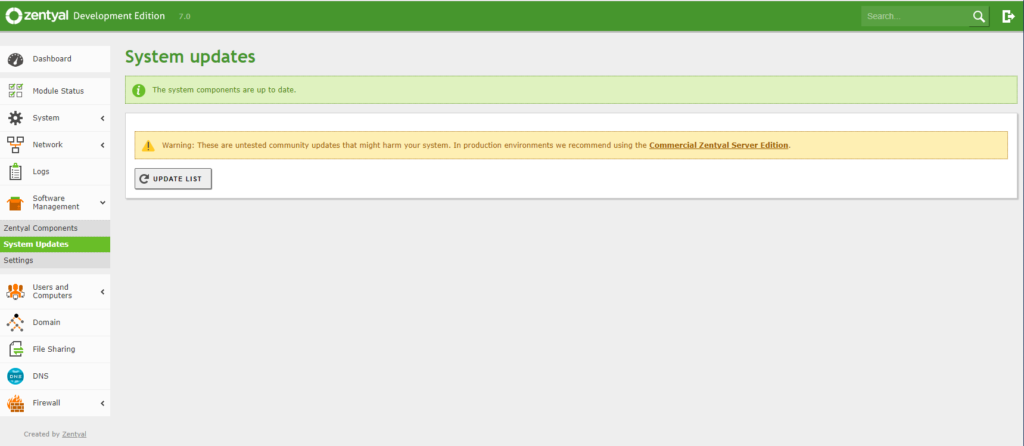
The first thing that you may notice is that the system software is out of date:
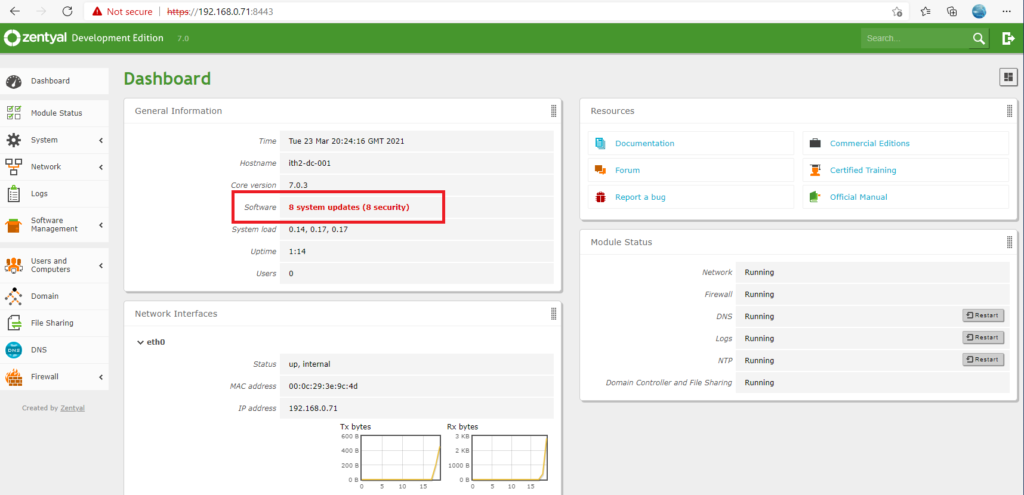
It is a good idea to update the server before doing any more confutation. To do this click on the red system updates warning to the right of Software:
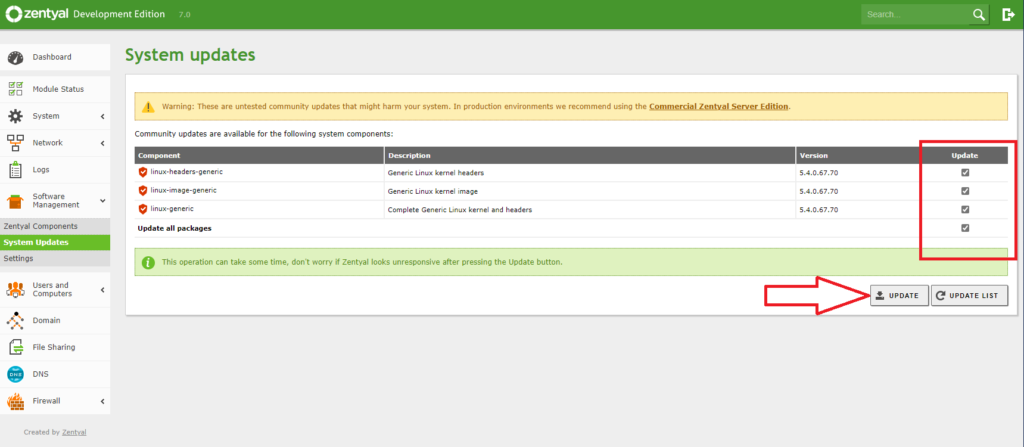
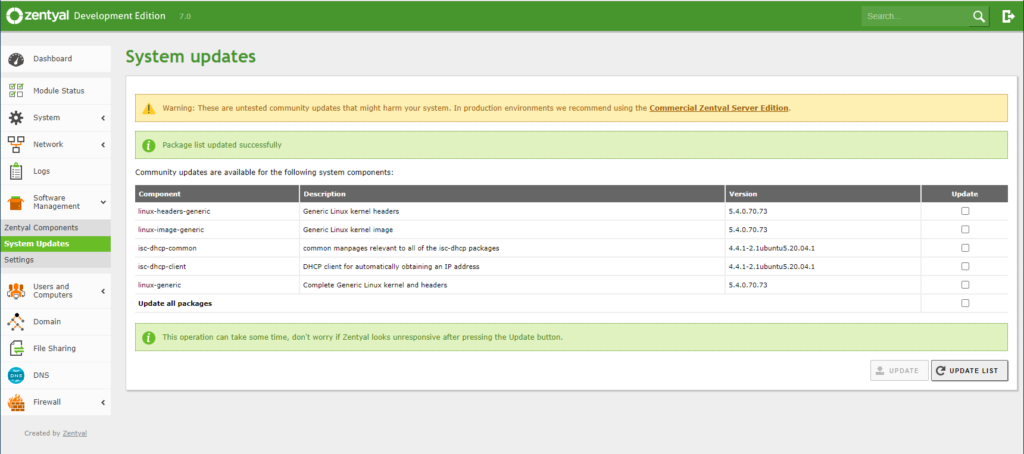
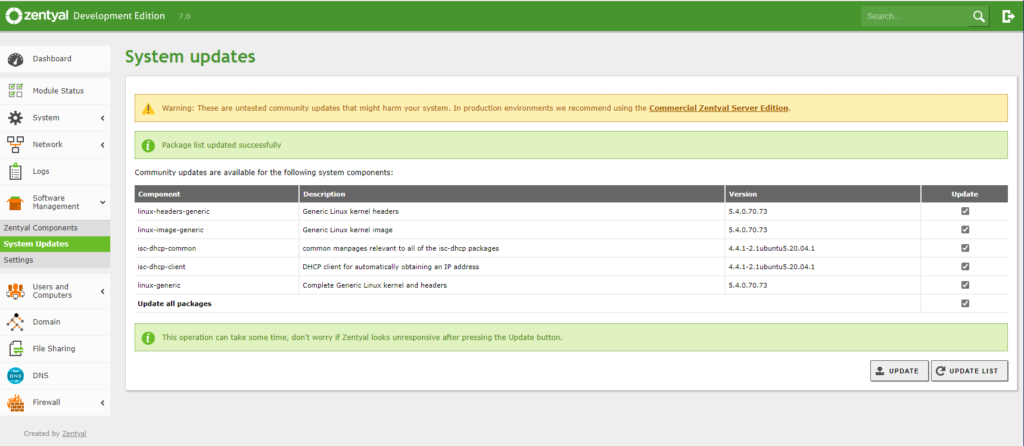
Select the updates to be installed by ticking the boxes in the update column:
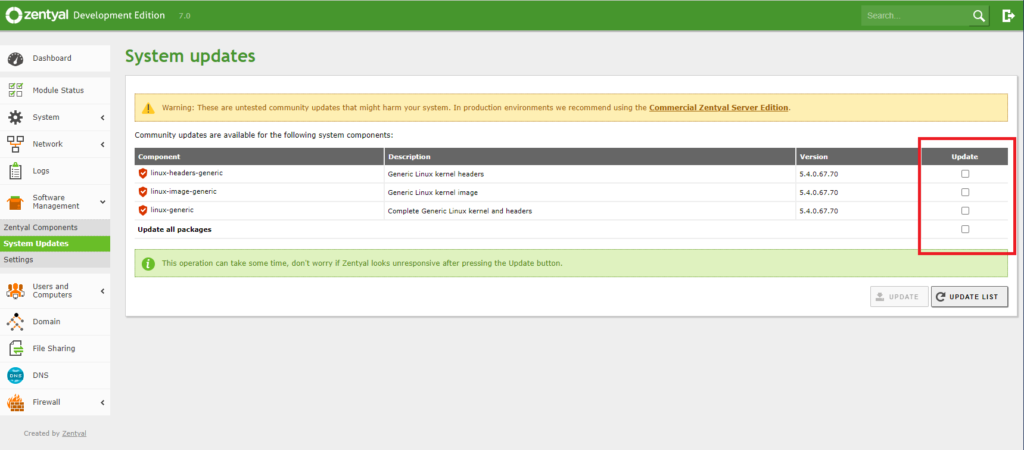
Once you have selected the updates to install click on UPDATE to run the updates:
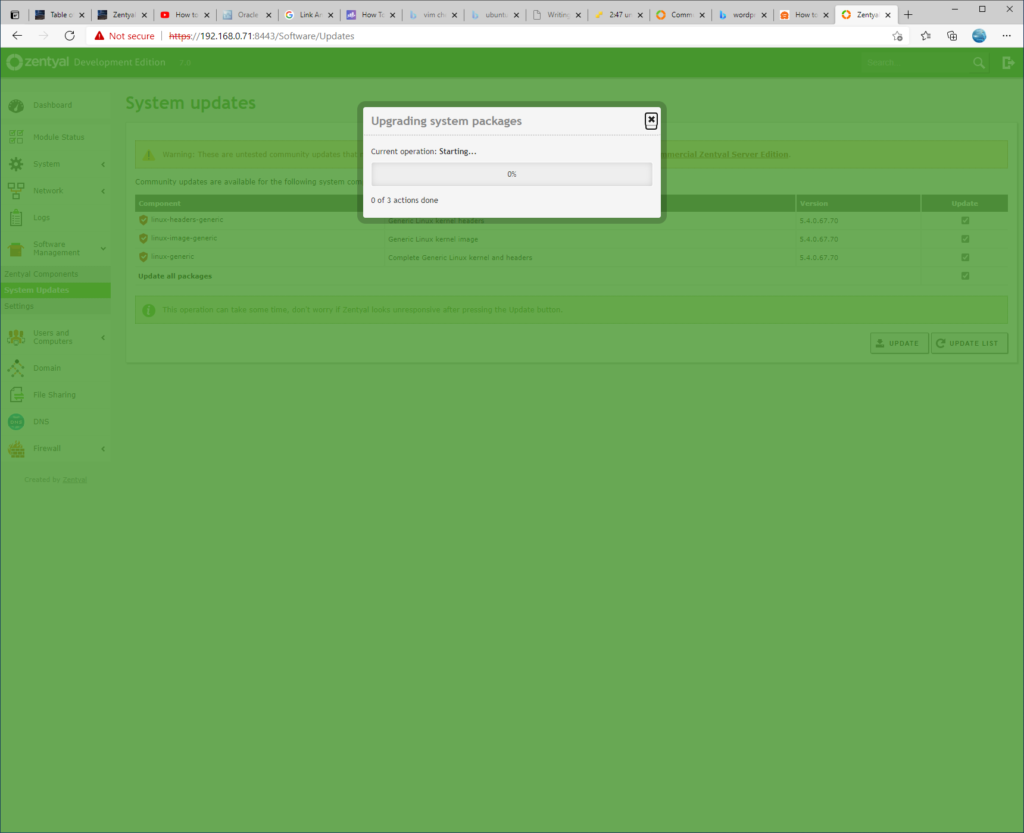
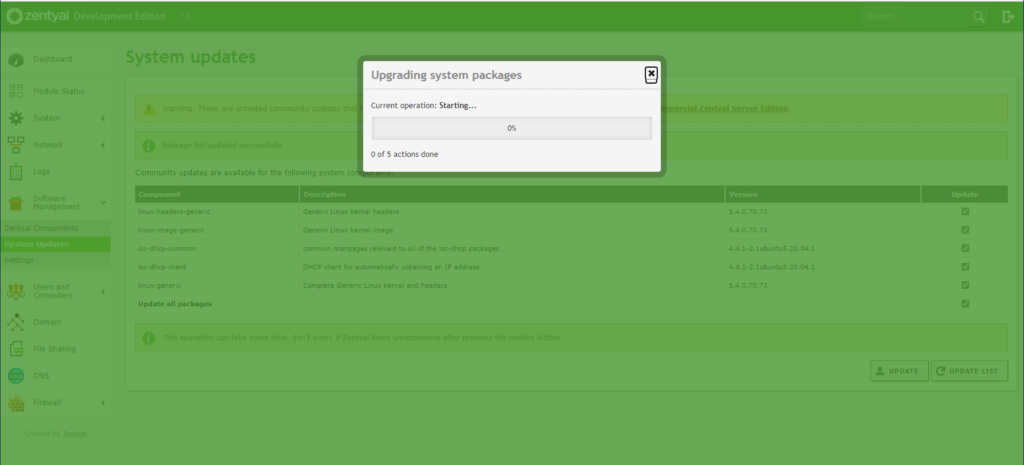
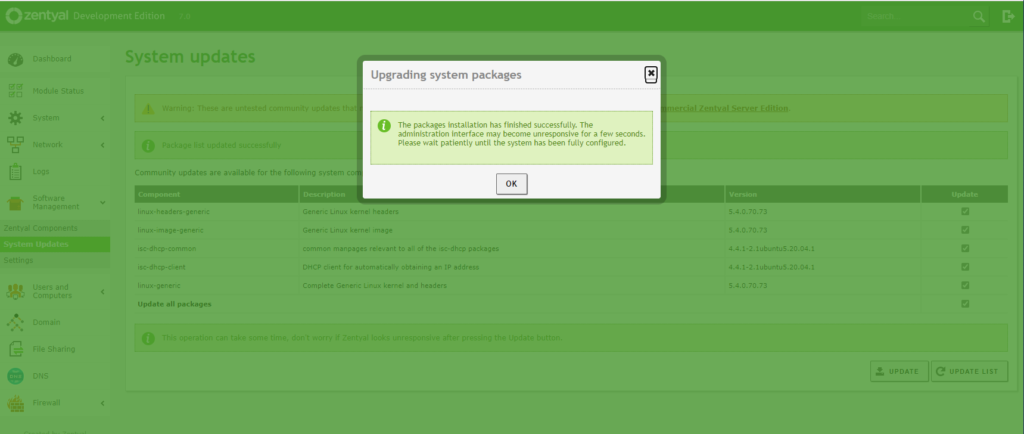
The software updates will now be installed:
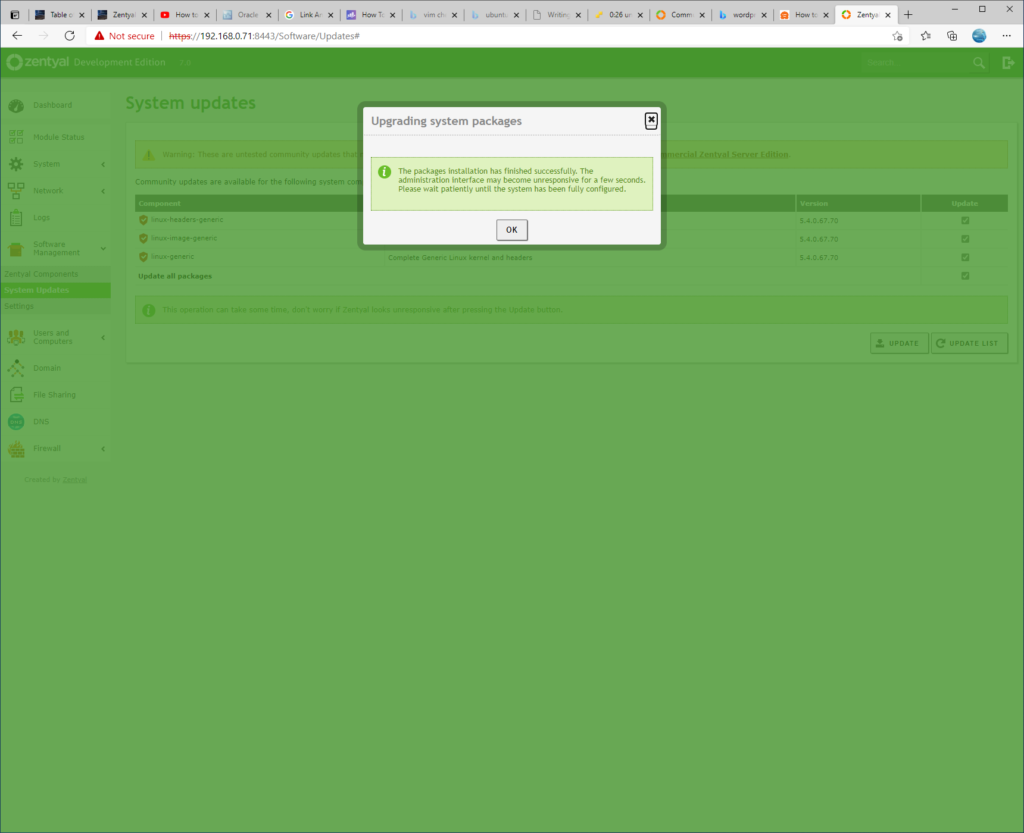
Wait for them to finish and then click OK to finish the updates.
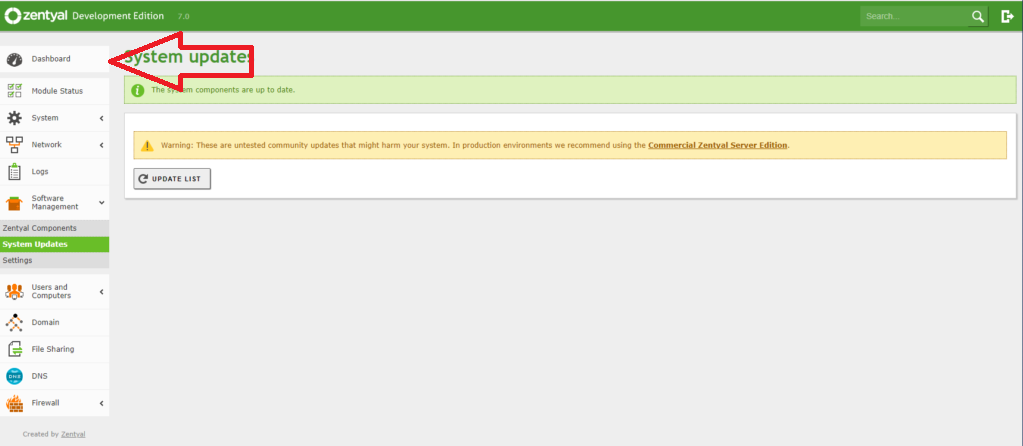
Check that there are no more updates to install by clicking UPDATE list:
In my case the wizard found a bunch more updates:
So I again selected them and clicked on UPDATE again to install them:
I had to then wait again for the updates to install:
Once finished OK was clicked again:
I then clicked UPDATE LIST again to see if there were any more updates:
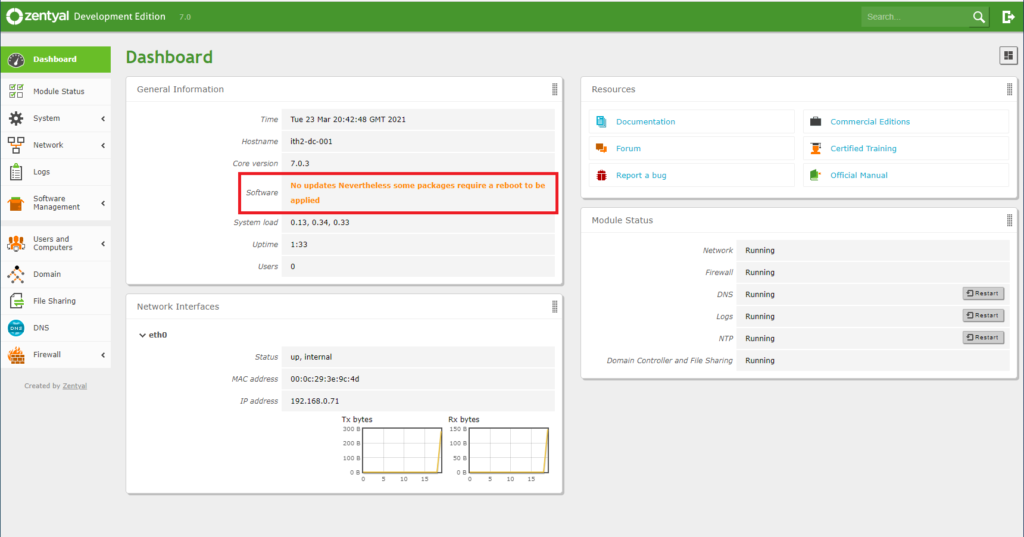
There were no more updates found so I went back to the dashboard by clicking Dashboard on the left hand menu:
From the dashboard I could see that there were no more updates but the system needed a reboot to finish installing the updates installed previously:
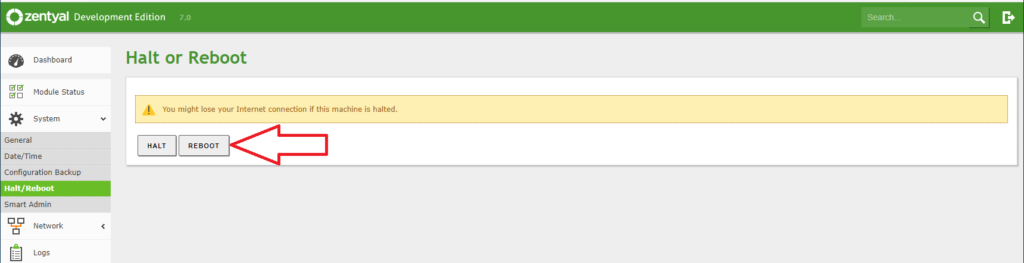
So I clicked on the system menu option and then Halt/Reboot:
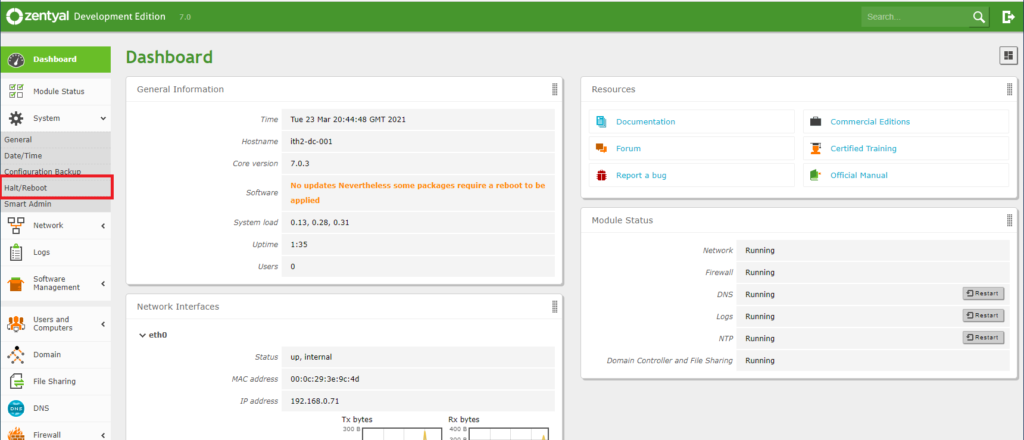
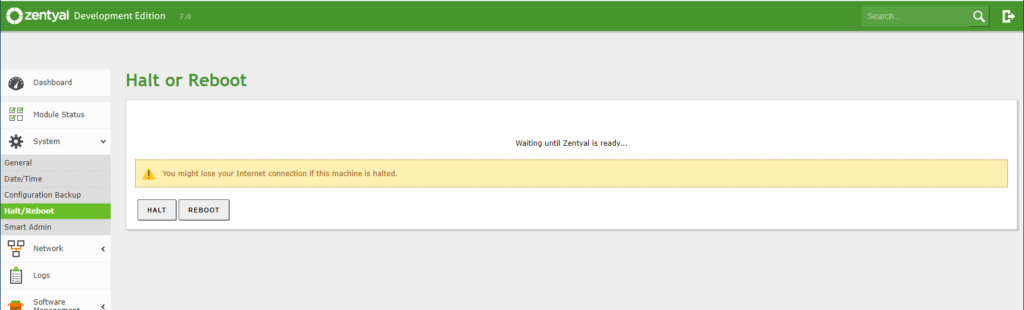
I then clicked REBOOT to reboot the server:
I then waited for the system to reboot:
After a few minutes I went to https://ipaddress:8443 and was back at the Your connection isn’t private screen so I clicked on Advanced and Continue to IP Address (unsafe) as I did before and was taken to the login screen again:
When I logged in I found that there were no more updates:
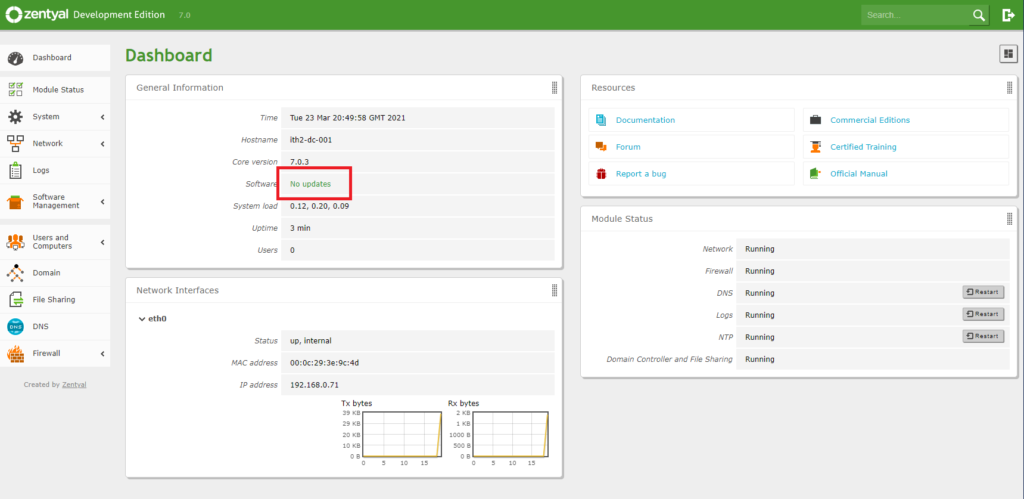
The server is now configured as a Domain controller and File Server.
For more Zentyal 7.0 articles take a look at our Zentyal Category.
Zentyal Community Edition 7.0: How to Download Zentyal Community Edition 7.0 Server ISO.
To download the Zentyal Community Edition 7.0 ISO follow the following procedure.
Download Zentyal Community Edition 7.0 Server ISO:
Open a browser and go to Community – Zentyal Linux Server
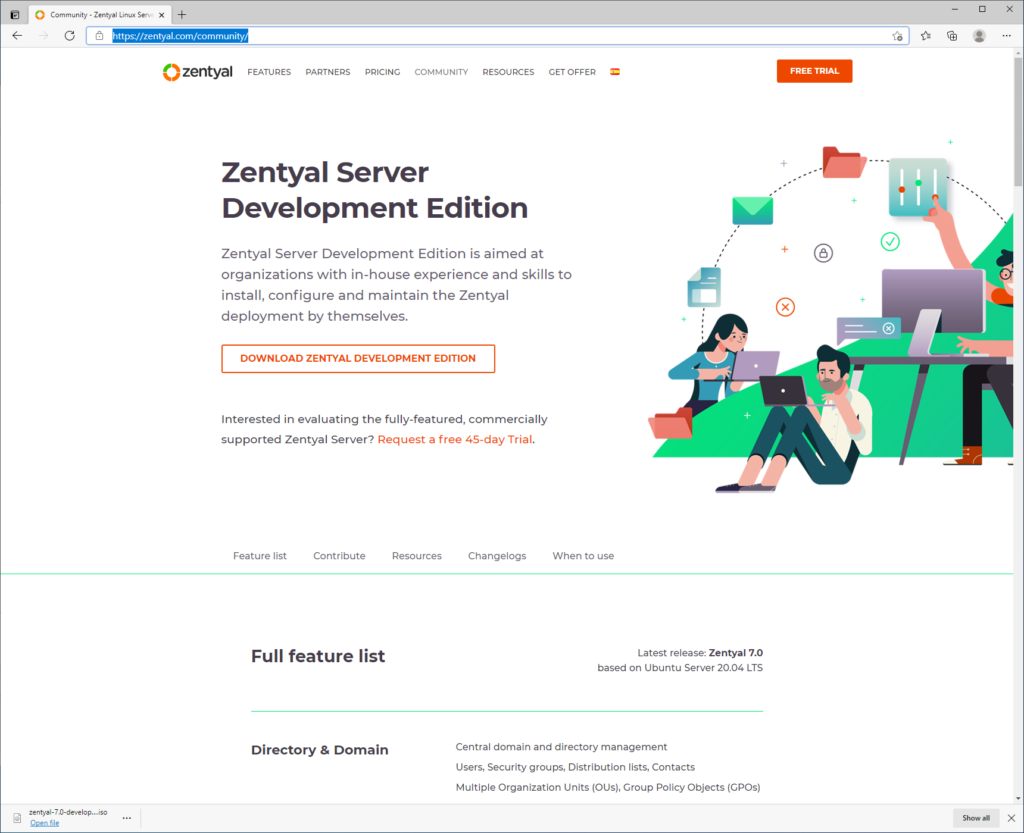
Click on DOWNLOAD ZENTYAL DEVELOPMENT EDITION
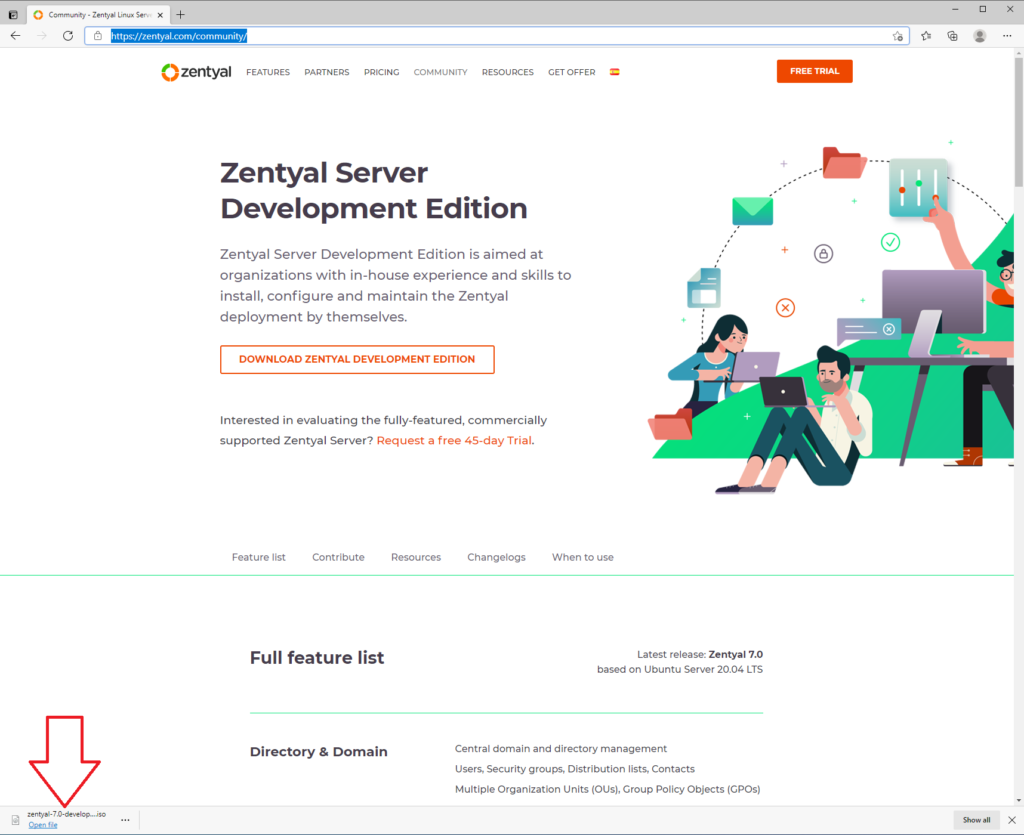
This will then start the download of the ISO. Once it is complete you will see the download at the bottom of the Browser window:
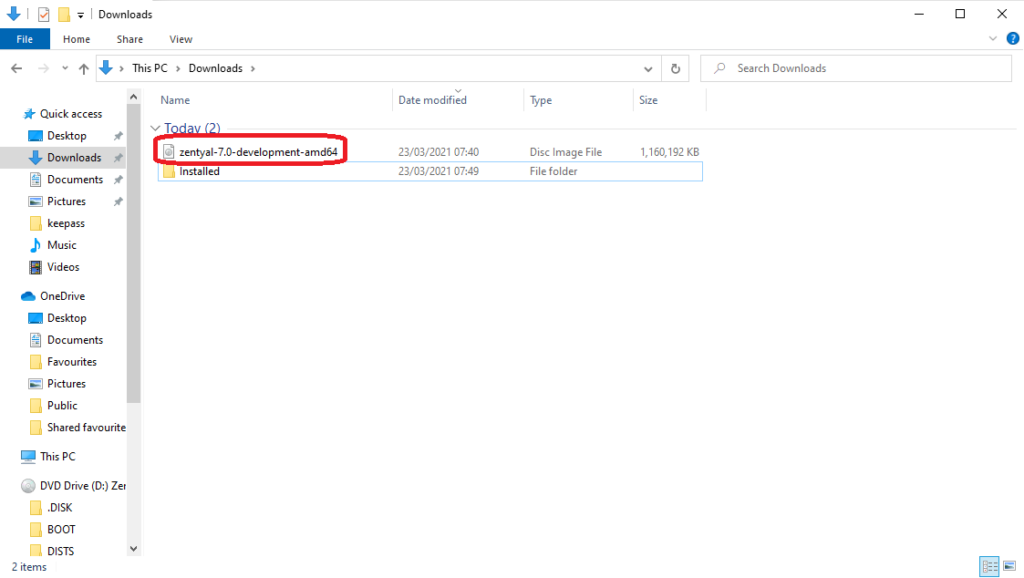
The iso will now be in your downloads folder and can be used to create boot media or install a VM:
For more help with Zentyal go to our Zentyal Category.
There is also a lot of useful information on the Zentyal Website.
Windows 10 PowerToys, Installing and configuring FancyZones to make a 34″ Ultrawide Monitor act like 2 screens.
I started using Windows 10 PowerToys, Installing and configuring FancyZones to make a 34″ Ultrawide Monitor act like 2 screens when I installed my Iiyama ProLite XUB3493WQSU 34″ Ultra Wide monitor on my laptop (https://www.ithowtoo.com/2021/03/07/iiyama-prolite-xub3493wqsu-monitor-arrived-07-03-2021/) I found it really annoying to have to manually resize windows manually to fit side by side to make the monitor act like 2 monitors.
After about 15 minutes I was ready to swap back to my old 2 monitor setup and give the ultrawide monitor to my son to use.
I decided to do some googling as for a program to split the screen into defined areas as I knew that other monitors shipped with software to do this as standard! After about a 5 minute search I found out that Microsoft has an app that does this in their power tools for Windows 10 that does exactly what I wanted to do.
Download Windows 10 PowerToys:
The process to install the Power Tools is also very easy:
In a browser go to https://docs.microsoft.com/en-us/windows/powertoys/ and click on Install PowerToys:
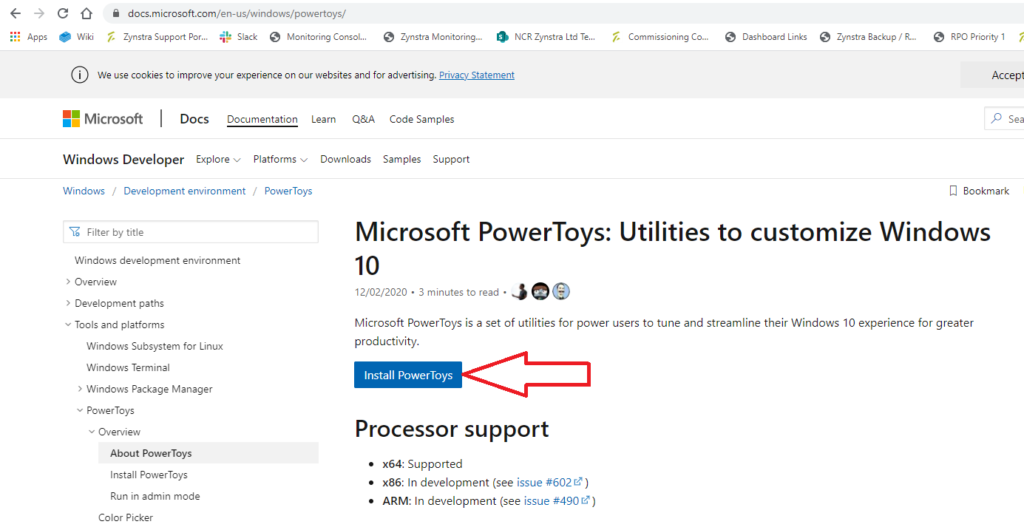
This will open a new page.

Install Windows 10 PowerToys:
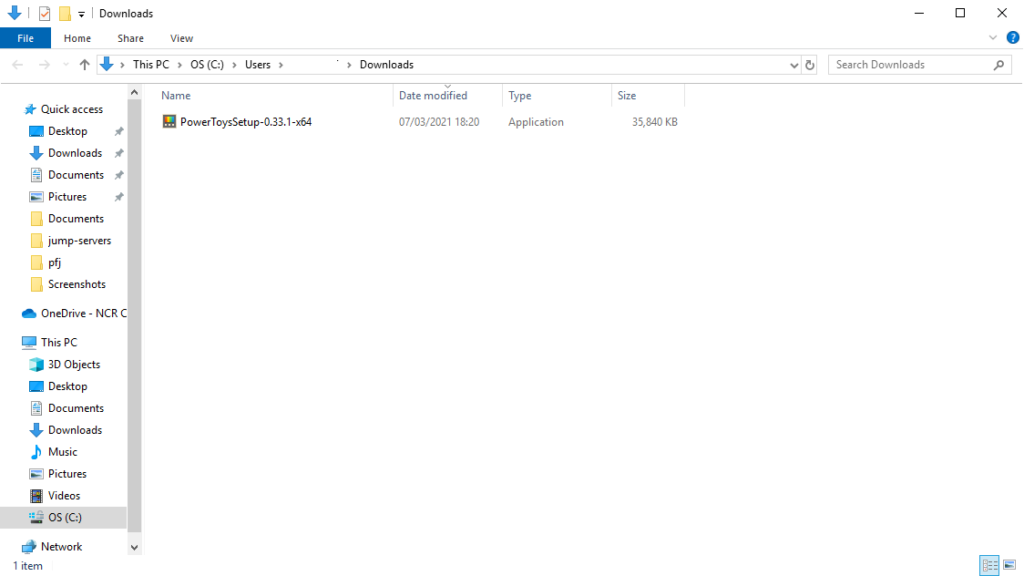
Scroll to the bottom of the page and click on PowerToysSetup-0.33.1-x64.exe:
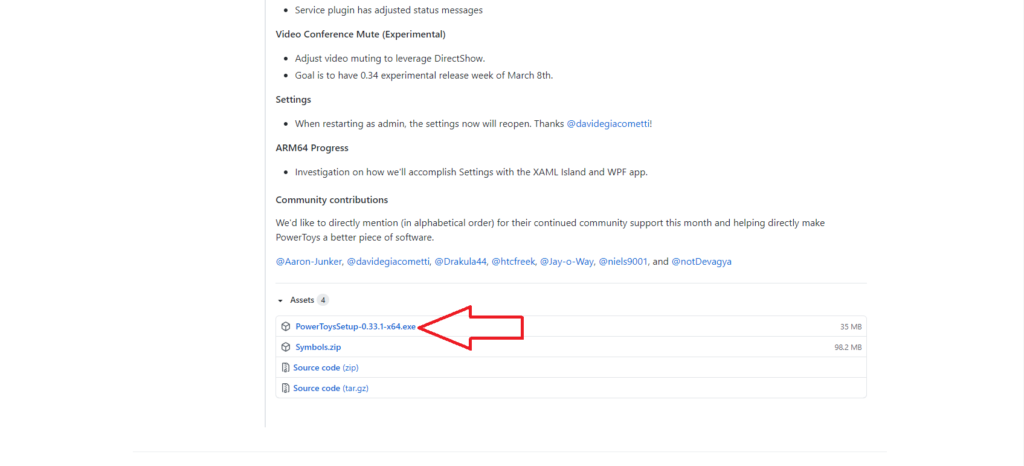
Wait until the installer is downloaded.
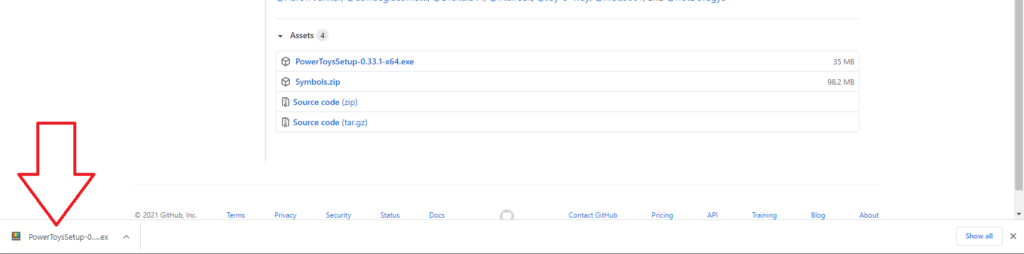
Click on the arrow by the download name and select Show in Folder:
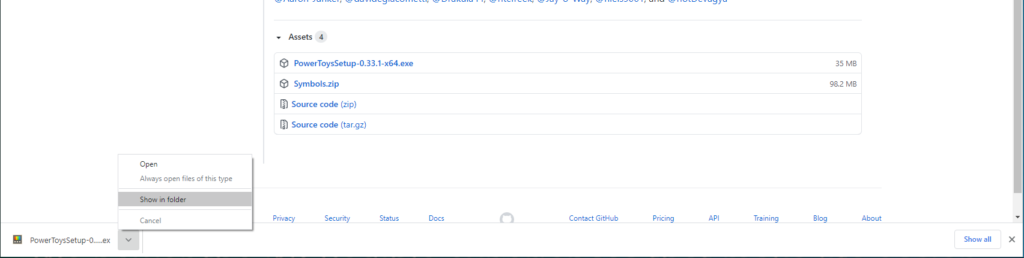
This will open a new window with the folder where the download was saved:
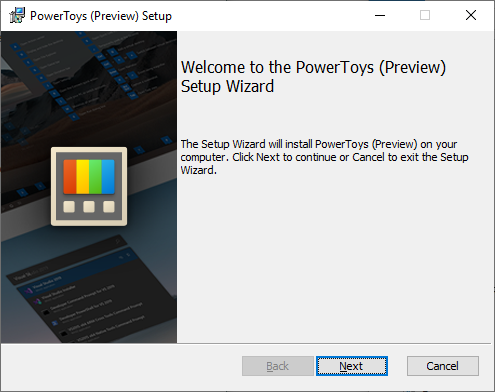
Double click on the executable to start the install and open the Installer Wizard.
Click Next to start the install:
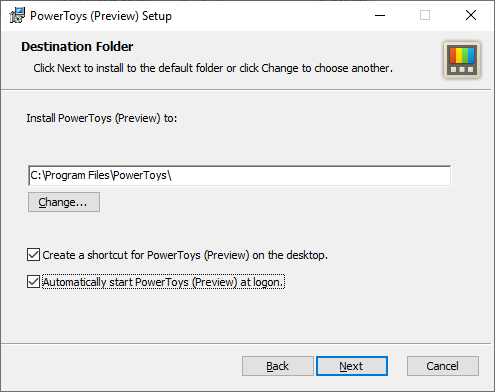
Click Next to accept the License.

Select all the options and then click Next.
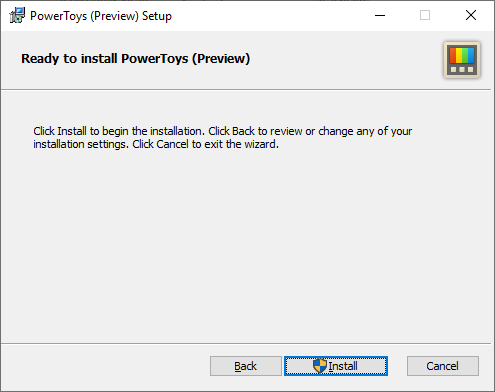
Click Install:
Click Yes and then wait for the PowerToys to install. Then click Finish:

Windows 10 PowerToys is now installed on your machine.
Go to the desktop and open the PowerToys Icon.
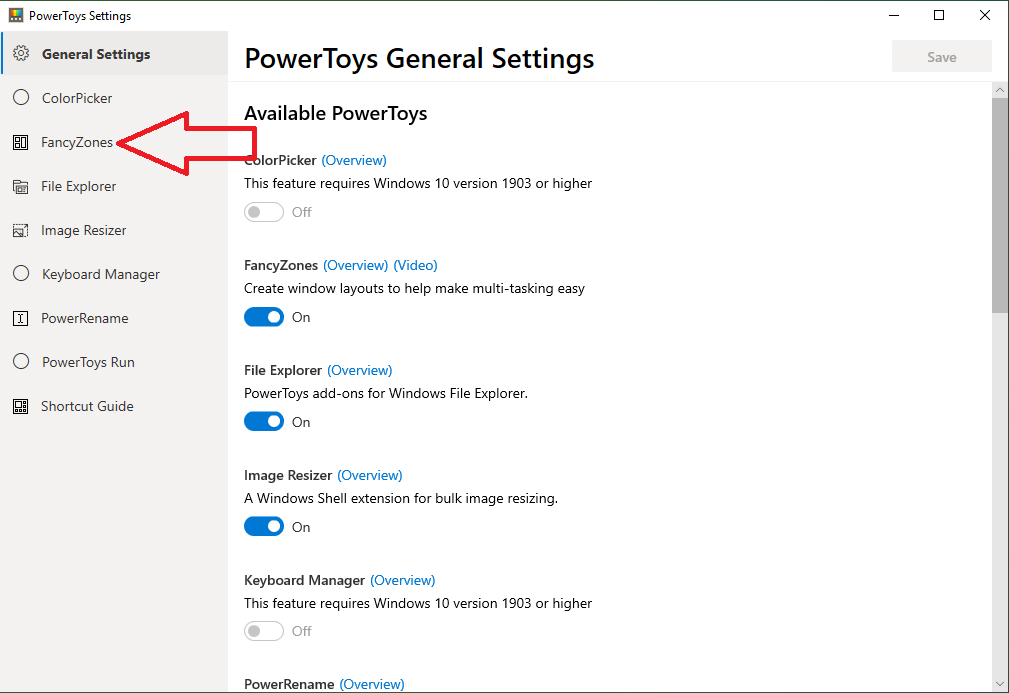
On the menu on the left of the Power Tools General Settings, click FancyZones.
Click Edit Zones.

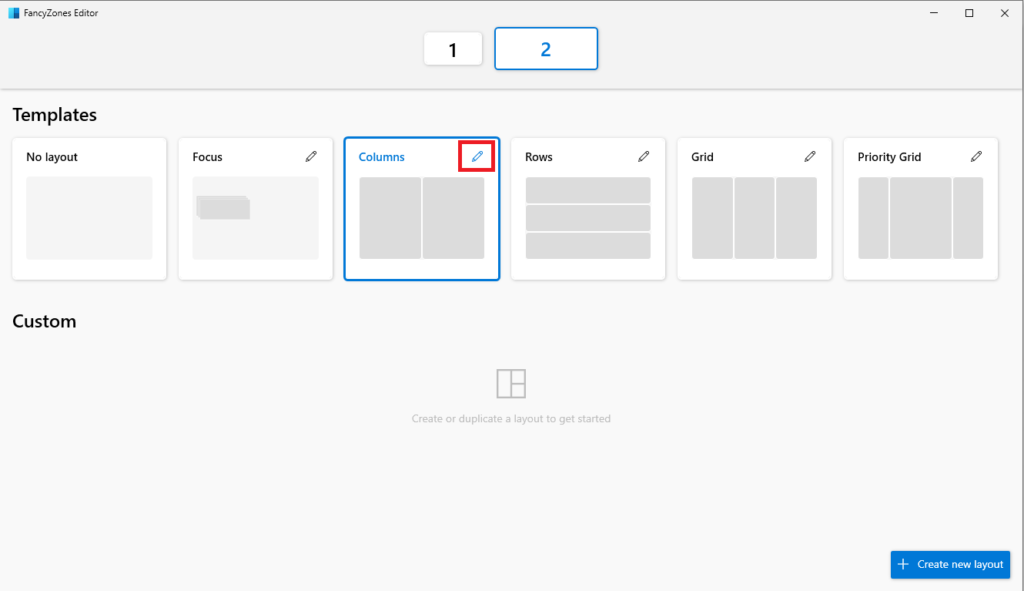
Click on the pencil next to Columns to edit the settings:
Change the settings to be the same as below:
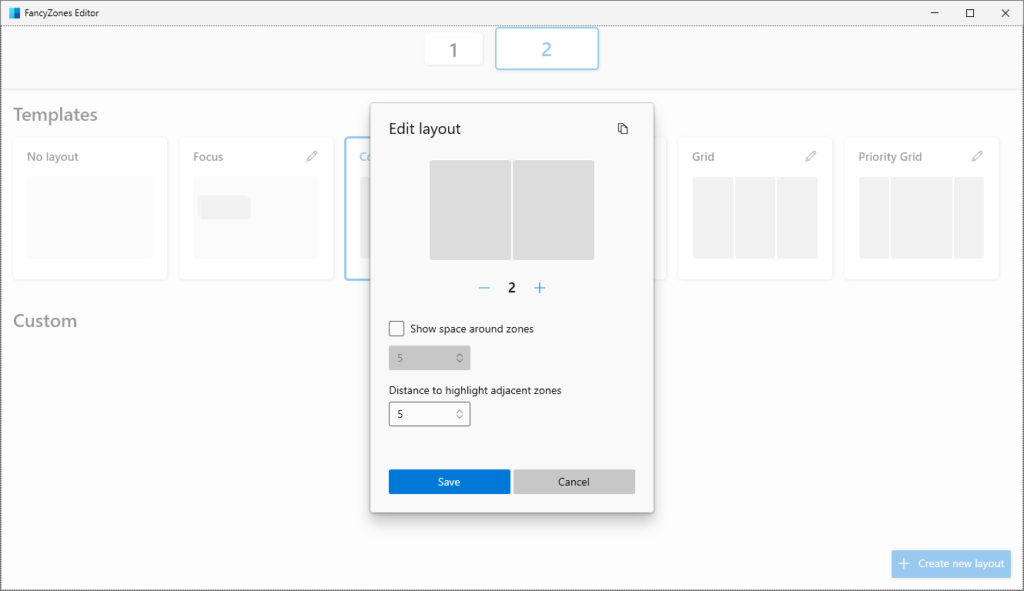
Click Save.
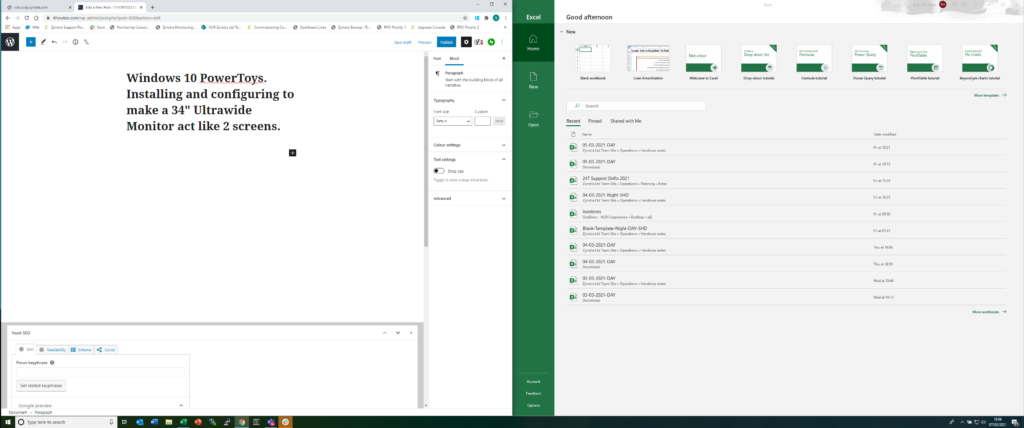
Your screen will now have 2 zones setup.
To move apps to a zone press and shod the shift button and move the App to the side of the screen that you want it to move to and you will now have 2 equally sized zones or screens so you can work as though you are using 2 monitors:

The advantage of this is that if you want one window to cover both screens you can do this too my making the app full-screen so you get the best of both worlds:
I have now been using the screen in this way for the past hour and I am loving the flexibility of going from 2 screens to one big screen with just a few button and mouse clicks! I am so glad that I tried this instead of going back to my old 2 monitor setup.
See the video below to see how the shift and move function works:
Update after 2 Weeks Use:
https://www.ithowtoo.com/2021/03/07/iiyama-prolite-xub3493wqsu-monitor-arrived-07-03-2021/I have been using the Windows PowerToys Fancy Zones feature configures in 2 zones with my laptop and my Iiyama ProLite XUB3493WQSU 34″ Ultra Wide monitor for both Work and Personal Use and I am loving it over the 2 monitor setup that I had before as I have the flexibility of using the full 34″ screen for things like Excel spreadsheets and certain web sites that work better in the Ultra Wide format, but can then go back to using the 2 screen setup by holding shift and moving the app to either the left or right side of the screen. Also not having the lines down the middle of the screens also helps a lot.
I have adjusted so well that I can’t see myself going back to a 2 screen setup ever again! I am dreading having to go back into the office as there is no way that my firm will shell out for a 34″ screen for me 🙁
Iiyama ProLite XUB3493WQSU 34″ Ultra Wide monitor arrived – 07/03/2021
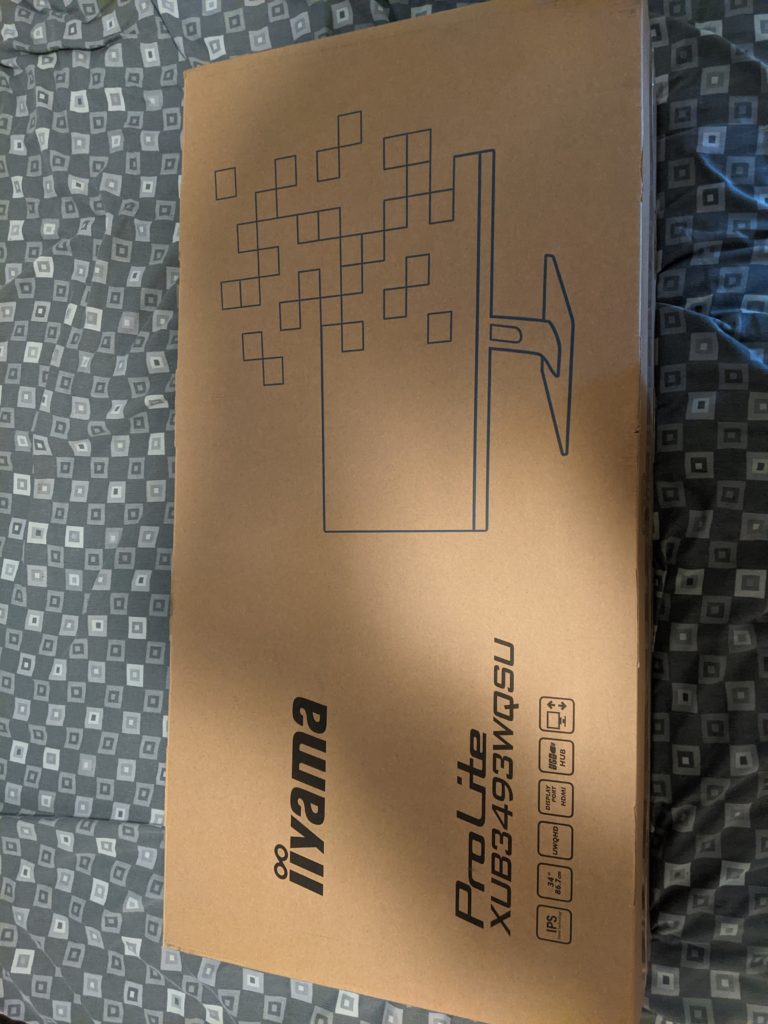
My new Iiyama ProLite XUB3493WQSU 34″ Ultra Wide monitor has just arrived after I ordered it Friday evening.
Really impressed with the service from https://www.overclockers.co.uk/ and I was not expecting the monitor to arrive until Monday afternoon at the earliest and it was delivered at 10am on a Sunday morning.
The box is massive so hopefully the monitor will be equally impressive 😁
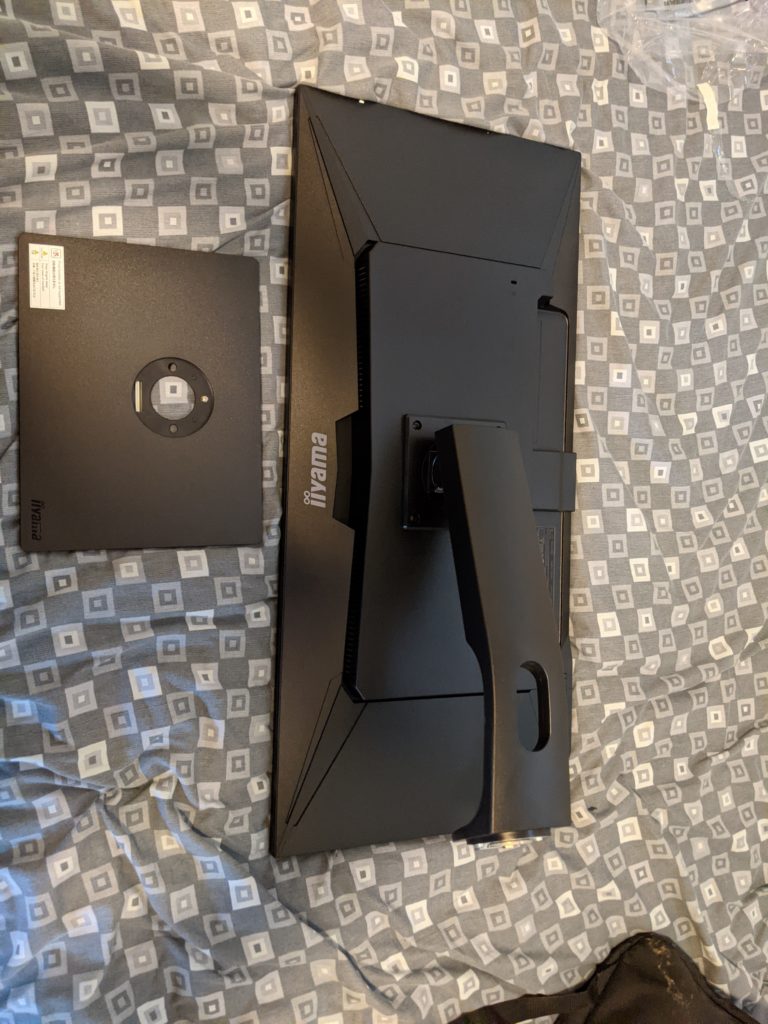
I have unboxed the monitor:
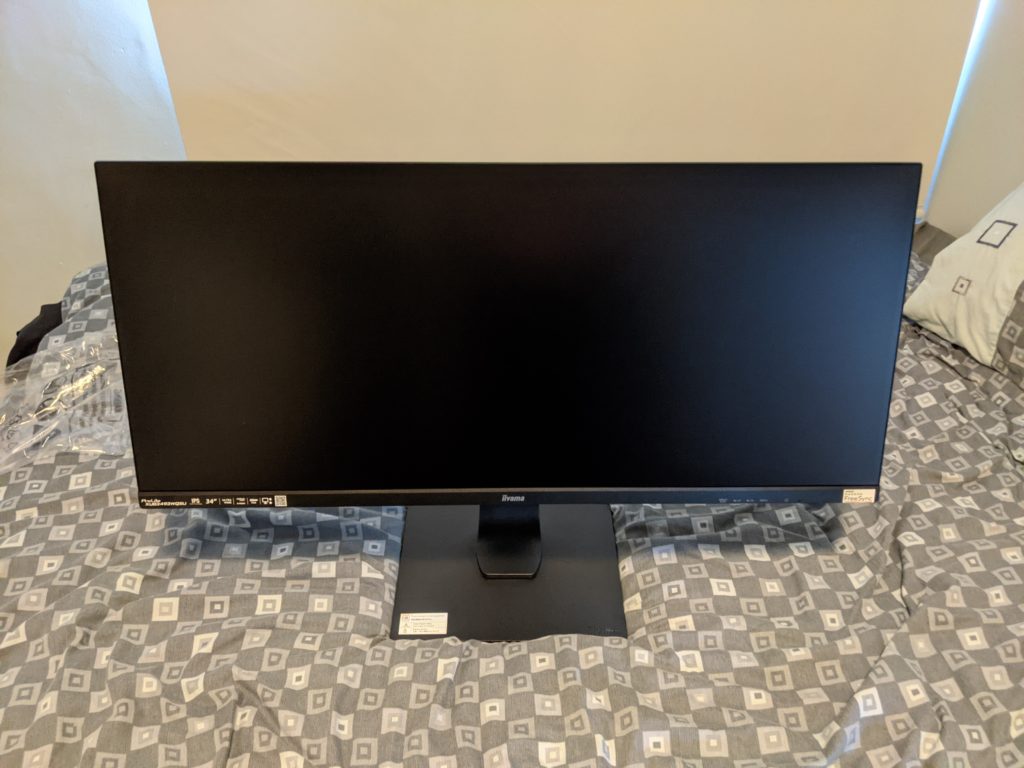
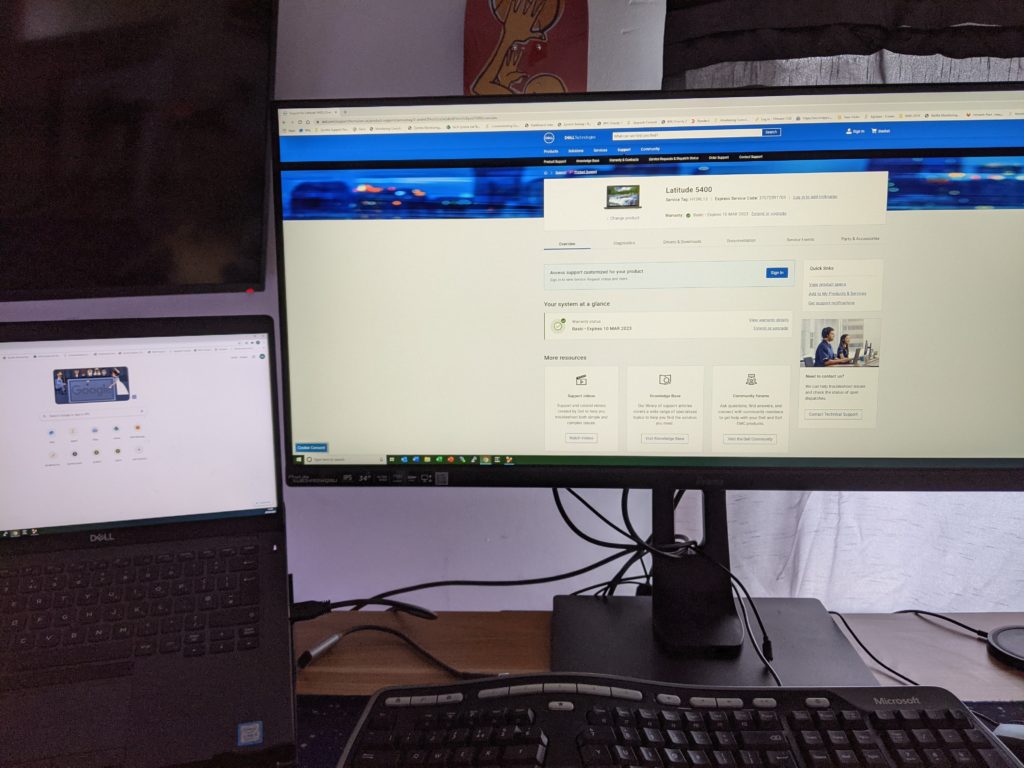
I then connected the monitor up to my laptop (Dell Latitude E5570) and also my work laptop (Dell Latitude 5400) and neither would support a resolution of 3440×1440. That was until I tried the dock on my work laptop and then it worked at the proper resolution.
I quite like not having a line in the middle of the 2 screens but apart from that I am finding that I prefer having 2 seperate monitors as it is easier to seperate workspaces compared to the one big screen.
I am going to give the Ultra Wide a week to get used to and then if I don’t get on with it I will give it to my son for his pc and I will go back to the 2 screens and maybe upgrade my middle monitor to a 28″ screen to have a higher resolution on the main screen.
Apart from that the screen seems pretty good to be honest. The colours are really clear and videos playback is really good.
Ubuntu 20.10: Installing Python 3.9 on Ubuntu 20.10 Desktop.
Installing Python 3.9 on Ubuntu 20.10:
To install Python on Ubuntu 20.10 open the terminal (ctrl + alt + t).
Update apt
sudo apt updateInstall Python 3
sudo apt updateCheck the version of Python installed
python3 --version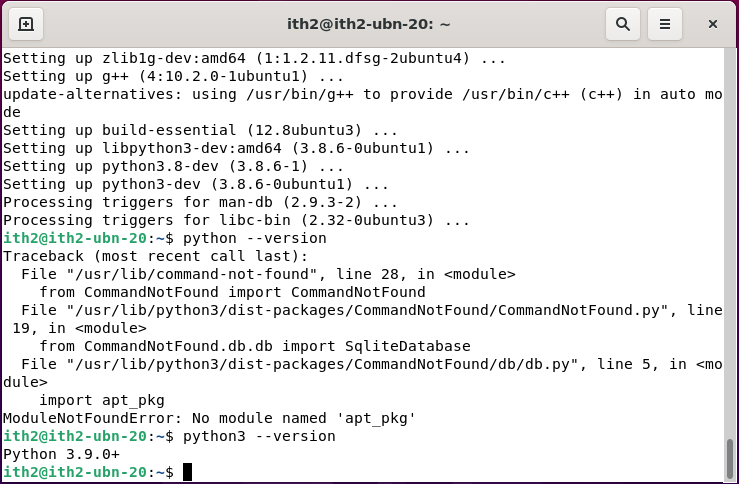
Python is now installed.
Zentyal 7.0 released today (27/01/2021)
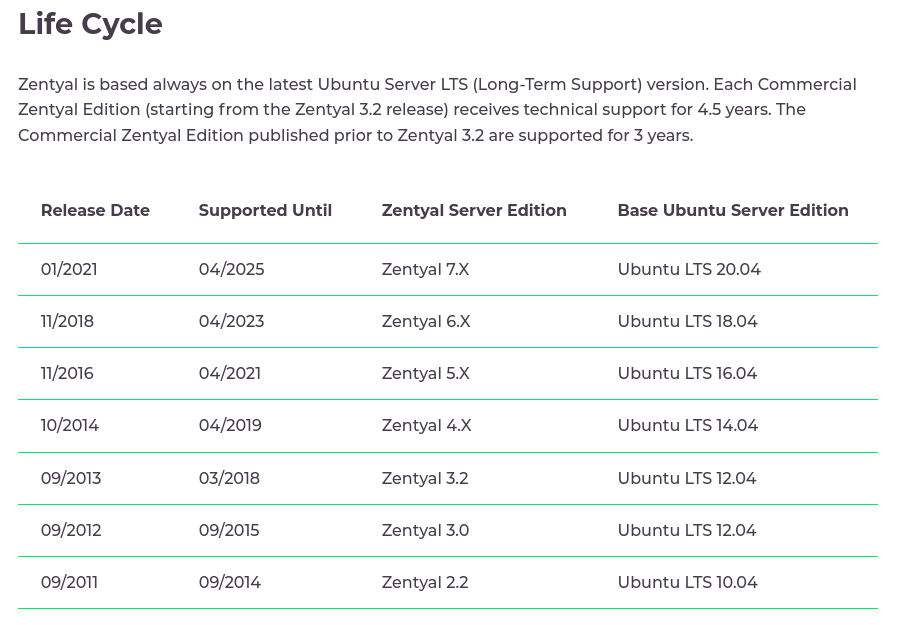
I received an email notification that Zentyal 7.0 was released today. According to the life cycle it is now based on Ubuntu LTS 20.04:
According to the email I received the major changes are:
Zentyal 7.0 can be downloaded HERE.
The ISO is currently downloading and I will add an installation How too shortly. To find this how too and others relating to Zentyal click HERE.
According to the Zentyal website other than being based on Ubuntu Server 20.04 LTS Zentyal 7.0 has the following feature list:
| Directory & Domain | Central domain and directory management Users, Security groups, Distribution lists, Contacts Multiple Organization Units (OUs), Group Policy Objects (GPOs) NETLOGON scripts, Roaming profiles Single Sign-On (SSO) authentication Supported OS: Windows® XP/Vista/7/8/10 File sharing in Windows® environments (CIFS) Users and Groups access and modification permissions (ACLs) Integrated software: Samba |
| Supported protocols: SMTP, POP3, IMAP, CalDAV, CardDAV, SIEVE Supported clients: Mozilla Thunderbird® Webmail Synchronization to mobile devices via ActiveSync Multiple virtual mail domains Single Sign-On (SSO) authentication Management via Zentyal or Microsoft ® Active Directory Antivirus & Mail filter Integrated software: Postfix, Dovecot, Fetchmail, Sieve, SOGo, SOGo ActiveSync, Amavis, ClamAV, SpamAssasin | |
| Gateway | Network configuration Routing Gateway Firewall Network authentication service (RADIUS) FreeRADIUS HTTP Proxy IDS/IPS Integrated software: Iproute2, Netfilter, Squid, Suricata, FreeRADIUS |
| Infrastructure | DHCP and DNS server NTP server Certification Authority (CA) Virtualization Manager Virtual Private Networks (VPNs) Instant Messaging (IM) service Libvirt/KVM, Duplicity FTP Server Integrated software: BIND, ISC DHCP Software, ntpd, OpenSSL, OpenVPN, ejabbered, vsftpd, Libreswan |
| Support & Updates | Advice and support for Development Edition is provided by community and development team members via Forum and GitHub If you need official technical support, do evaluate the Perpetual License and Support Subscription |
WordPress: How to display post titles only on Category pages.
I was looking over my WordPress blog this morning and noticed that in the Category pages the entire article is shown so that you have to scroll through the entire post before finding the next post! This makes it very hard to find the actual post that you are looking for which is not ideal and makes it very hard to navigate the site and also really hard for readers to find specific articles from within the site.
After 5 minutes searching google I found the solution in a the following support forum.
This told me what to do but not HOW to do it so I played around with word press a little and found the solution:
Display title only in WordPress categories:
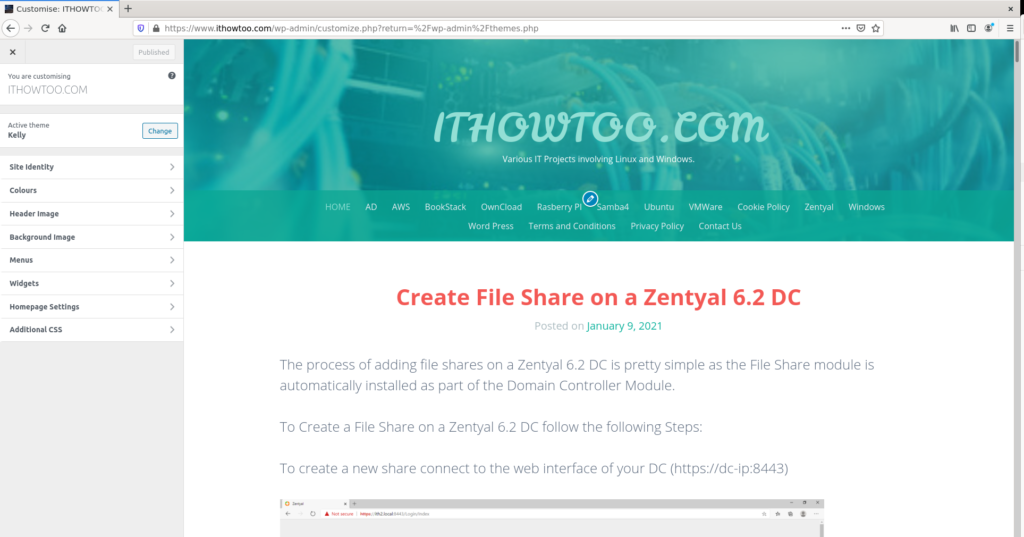
From the wp-admin interface choose Appearance, Customise and select Additional CSS:
In the Additional CSS field add the following code:
.archive.category .post .entry-content {
    display: none;
}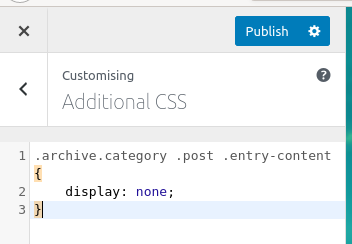
Click Publish to save the code.
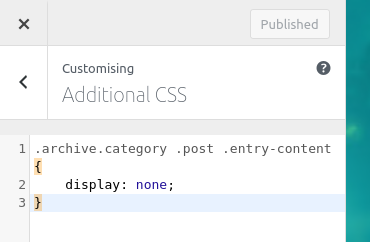
Click on the x to close the page.
Go to your page and select a category and you will now just see the post titles displayed:
This makes it much easier to find the post that you want to use.
For more Word Press Articles click HERE.