The ISO is currently downloading and I will add an installation How too shortly. To find this how too and others relating to Zentyal click HERE.
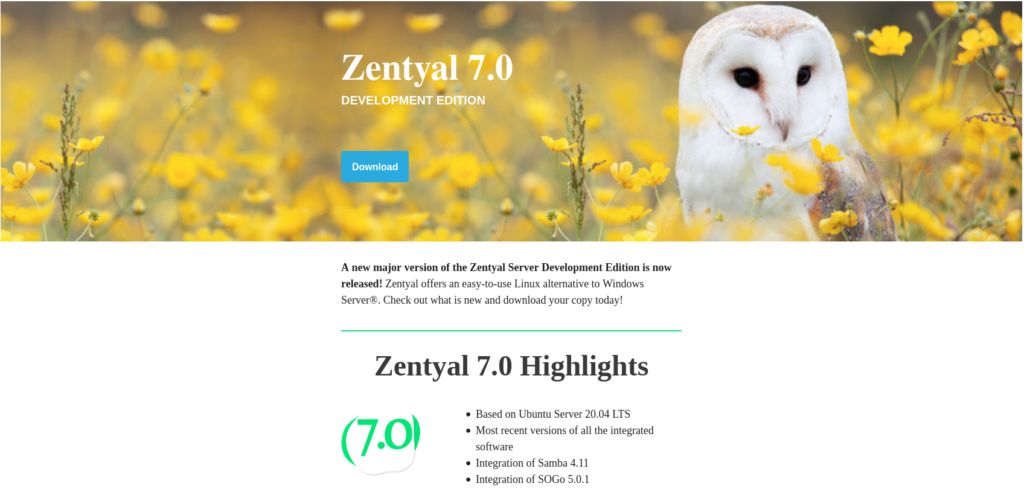
According to the Zentyal website other than being based on Ubuntu Server 20.04 LTS Zentyal 7.0 has the following feature list:
Directory & Domain
Central domain and directory management Users, Security groups, Distribution lists, Contacts Multiple Organization Units (OUs), Group Policy Objects (GPOs) NETLOGON scripts, Roaming profiles Single Sign-On (SSO) authentication Supported OS: Windows® XP/Vista/7/8/10 File sharing in Windows® environments (CIFS) Users and Groups access and modification permissions (ACLs) Integrated software: Samba
Mail
Supported protocols: SMTP, POP3, IMAP, CalDAV, CardDAV, SIEVE Supported clients: Mozilla Thunderbird® Webmail Synchronization to mobile devices via ActiveSync Multiple virtual mail domains Single Sign-On (SSO) authentication Management via Zentyal or Microsoft ® Active Directory Antivirus & Mail filter Integrated software: Postfix, Dovecot, Fetchmail, Sieve, SOGo, SOGo ActiveSync, Amavis, ClamAV, SpamAssasin
DHCP and DNS server NTP server Certification Authority (CA) Virtualization Manager Virtual Private Networks (VPNs) Instant Messaging (IM) service Libvirt/KVM, Duplicity FTP Server Integrated software: BIND, ISC DHCP Software, ntpd, OpenSSL, OpenVPN, ejabbered, vsftpd, Libreswan
Support & Updates
Advice and support for Development Edition is provided by community and development team members via Forum and GitHub If you need official technical support, do evaluate the Perpetual License and Support Subscription
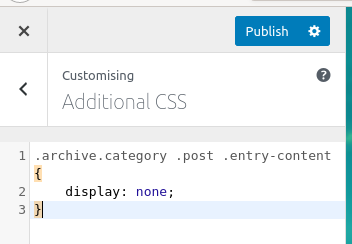
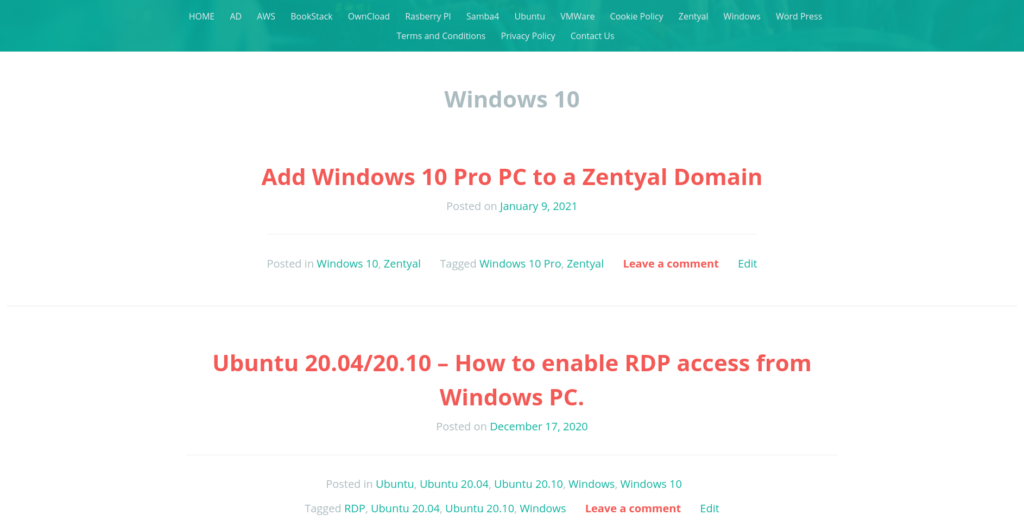
I was looking over my WordPress blog this morning and noticed that in the Category pages the entire article is shown so that you have to scroll through the entire post before finding the next post! This makes it very hard to find the actual post that you are looking for which is not ideal and makes it very hard to navigate the site and also really hard for readers to find specific articles from within the site.
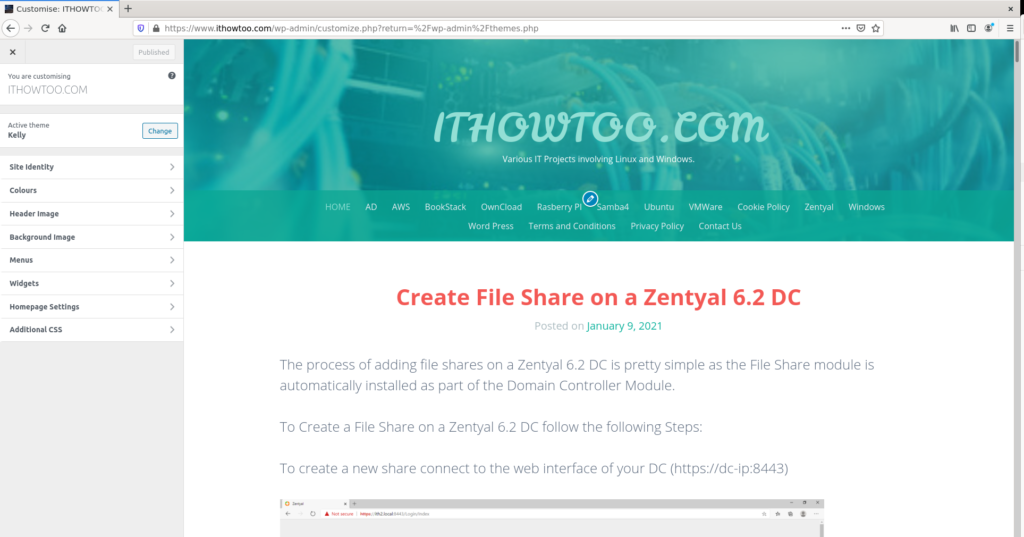
The process of adding file shares on a Zentyal 6.2 DC is pretty simple as the File Share module is automatically installed as part of the Domain Controller Module.
Create a file share on a Zentyal 6.2 DC:
To Create a File Share on a Zentyal 6.2 DC follow the following Steps:
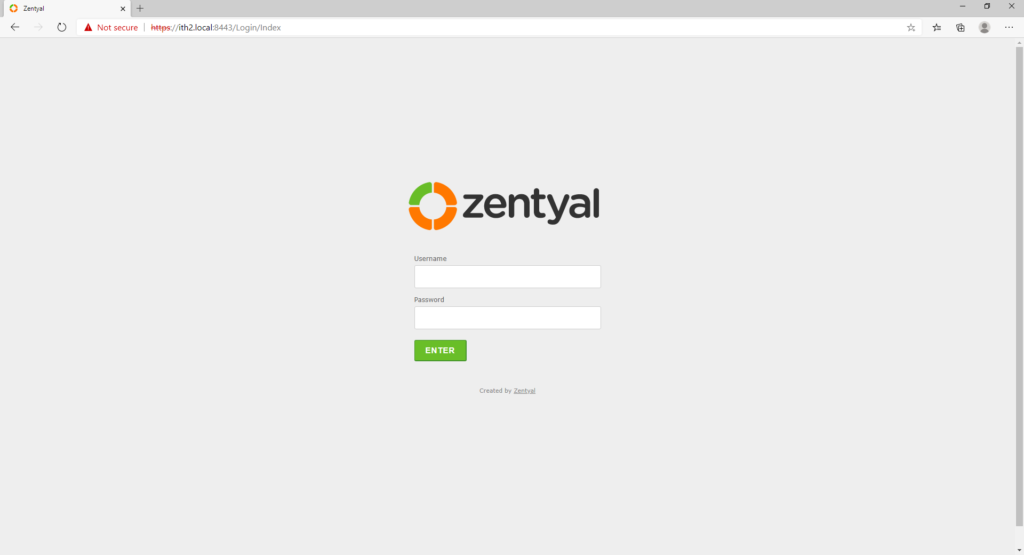
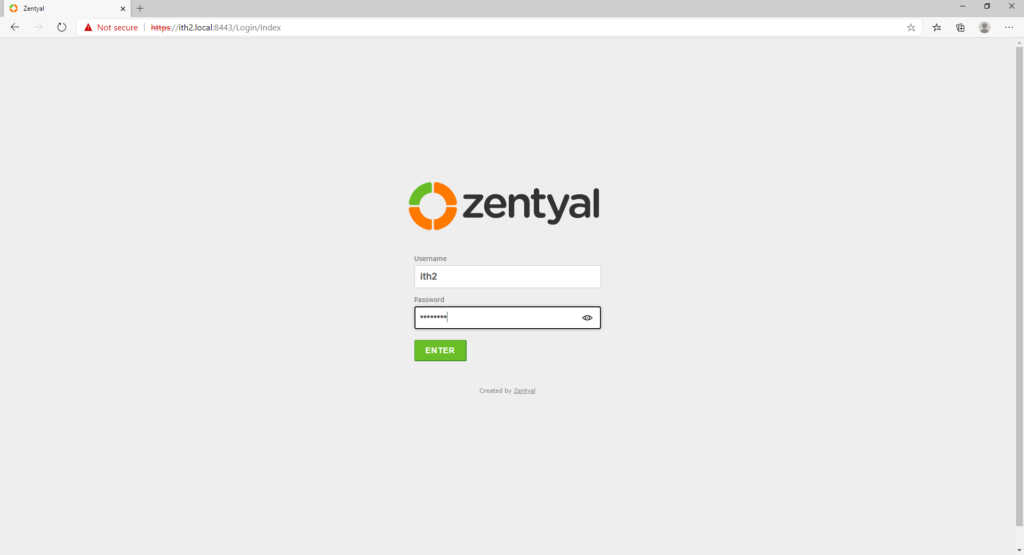
To create a new share connect to the web interface of your DC (https://dc-ip:8443)
Log in with an admin user account:
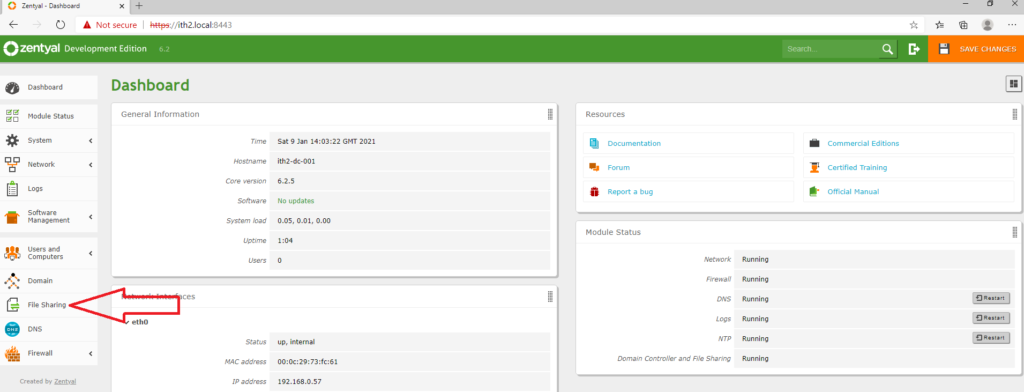
Click the File Sharing button on the left hand menu:
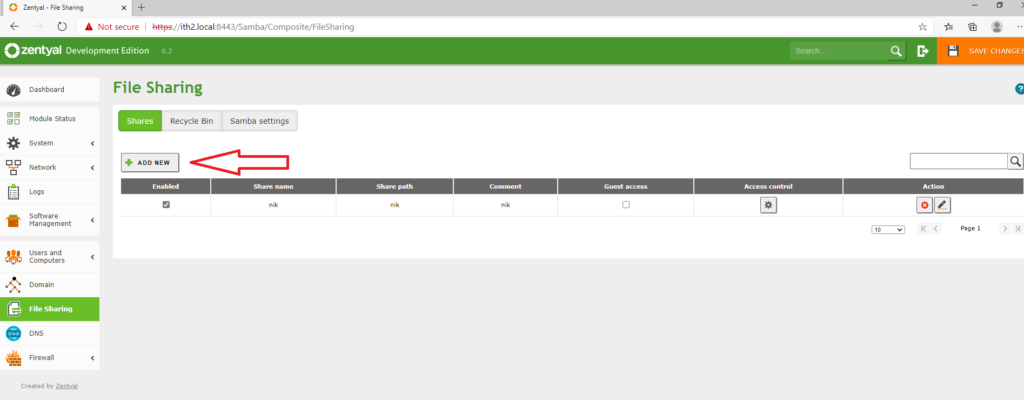
Click the ADD NEW button:
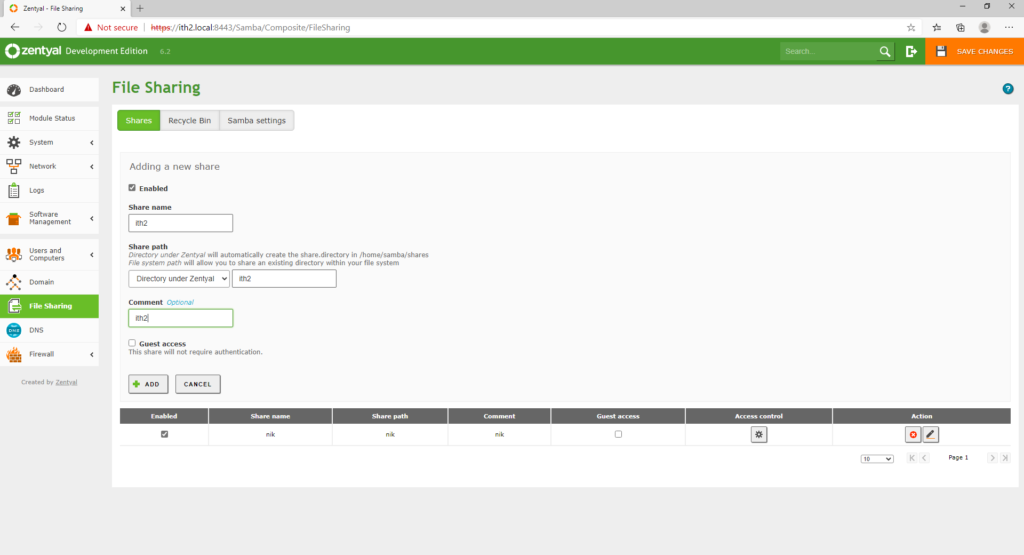
Fill in the required fields as required:
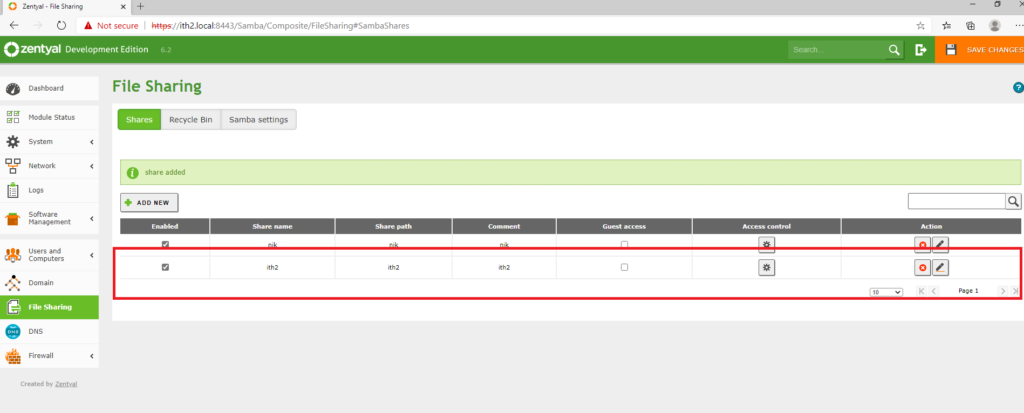
Click ADD to create the share. The new share will now be in the list of shares.
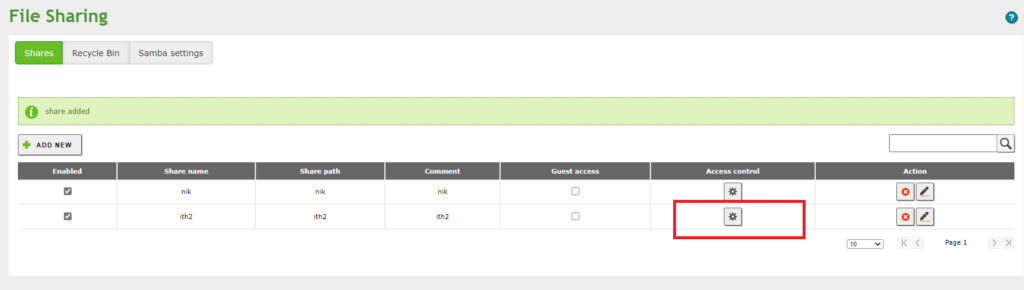
Click on the Access Control Settings button for the share.
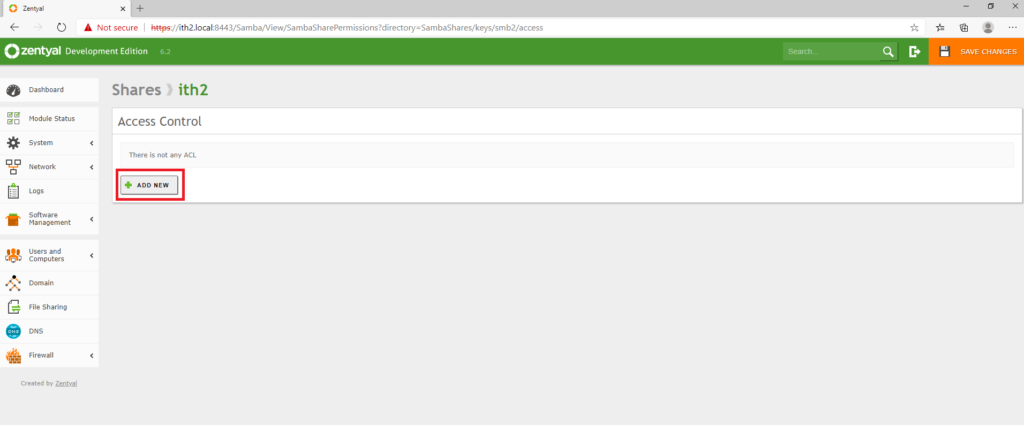
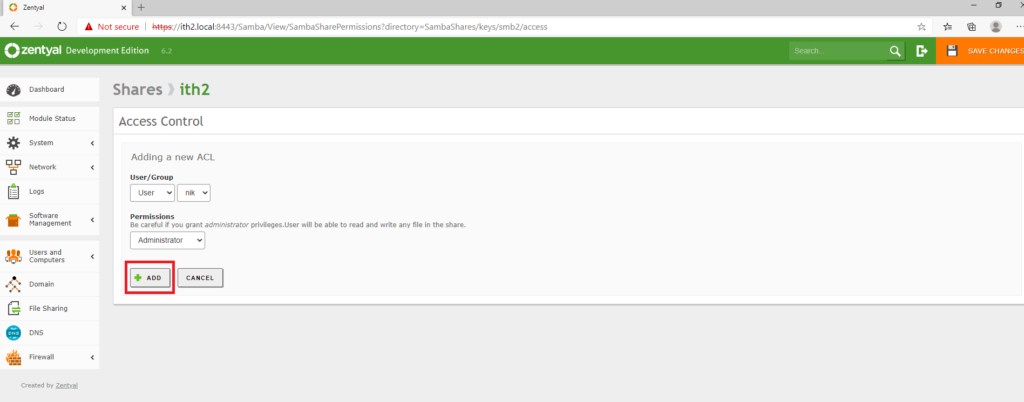
Click the ADD NEW button:
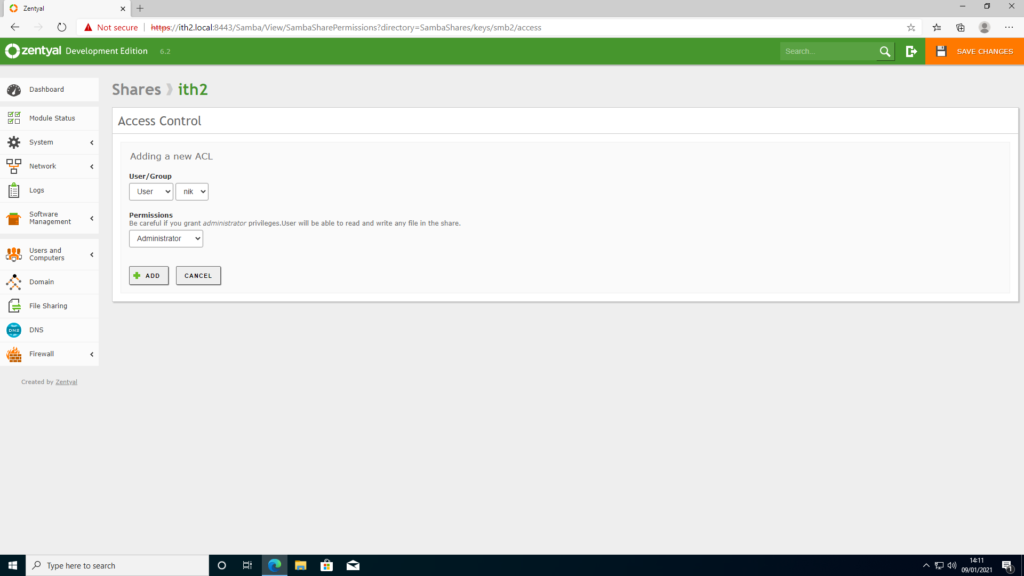
You can then chose which user or group will have access and give them the desired level of access (Read Only, Read and Write and Administrator).
Click ADD to create the access to the folder:
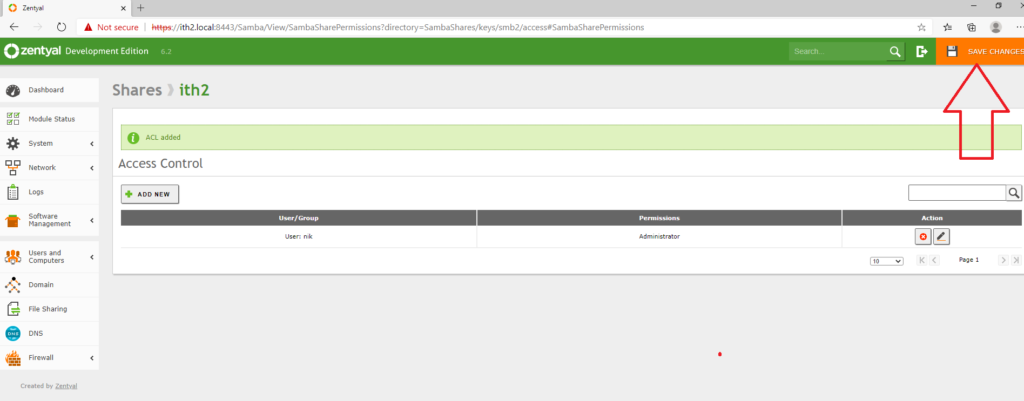
Click SAVE CHANGES to save the changes.
Click SAVE:
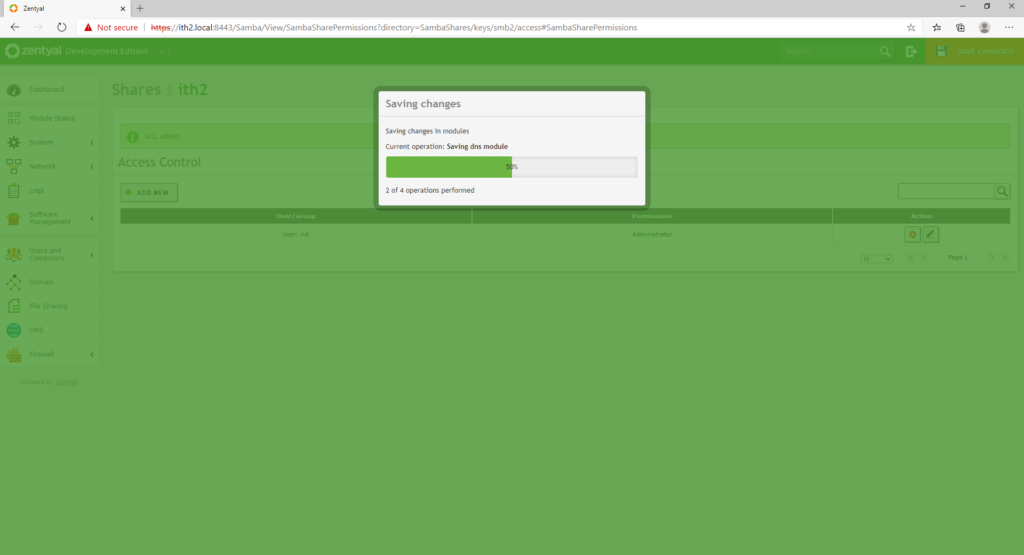
Wait for the changes to be saved:
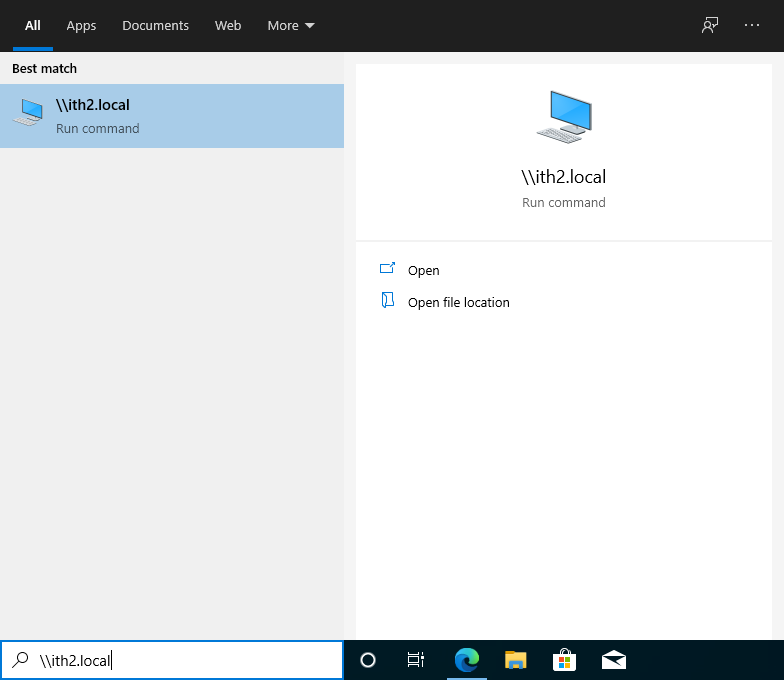
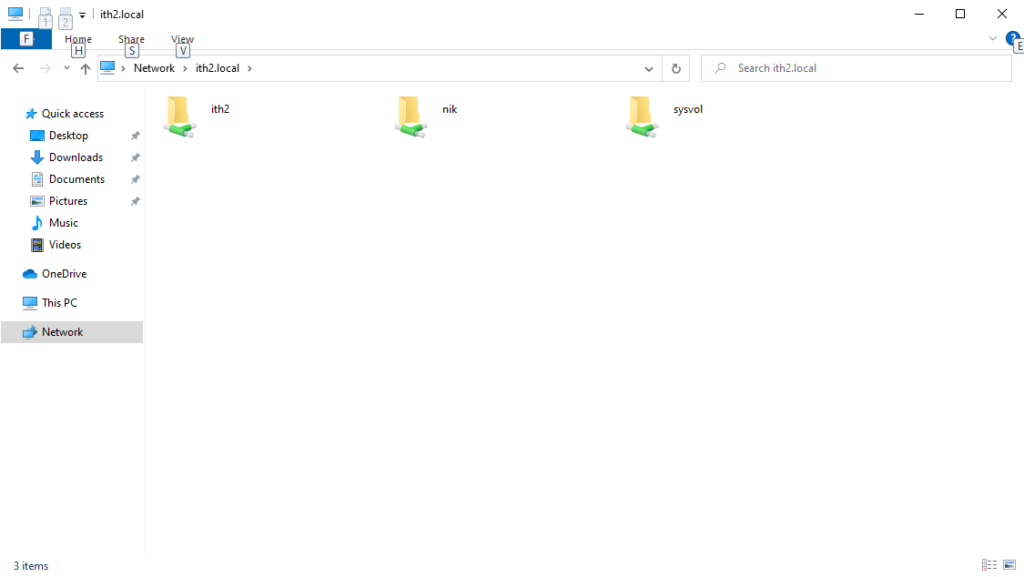
Once saved you will be able to access the share from windows by searching for \\dcipordomainname and clicking enter:
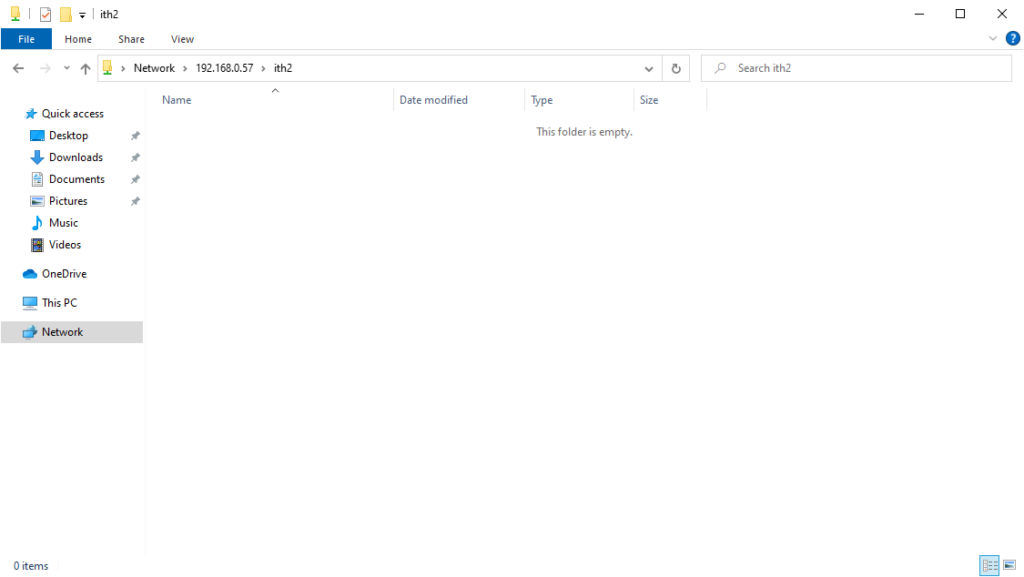
This will then open a new window showing the shares on the DC. Click on the required share and you will enter the share:
Depending on the level of access you gave the user they will then be able to copy and create folders/ documents in the folder.
If your PC is running Windows 10 PRO and your Zentyal Server is configured as a DC then the Windows PC can be added to the Domain to add the benefits of centralized login and management using AD users.
If you need to install a Zentyal Server then follow THIS guide. To configure a Zentyal server after installation go HERE.
For more information on Active Directory (AD) there is an excellent article on the Microsoft Site.
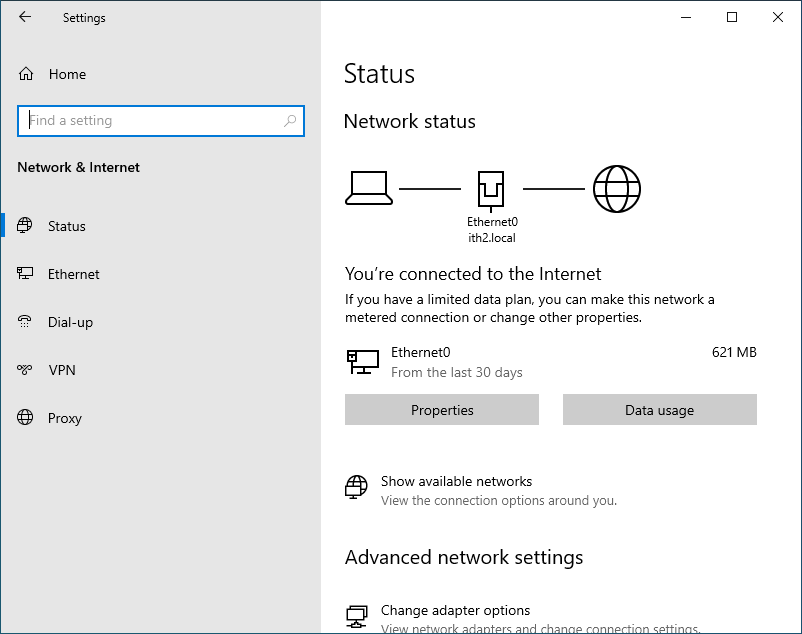
Before you try and add the PC to the domian you will need to make sure that the PC is using the Zentyal DC as its DNS server.
Make Sure PC is using Zentyal Server as the DNS server:
To do this open settings and click Network and Internet:
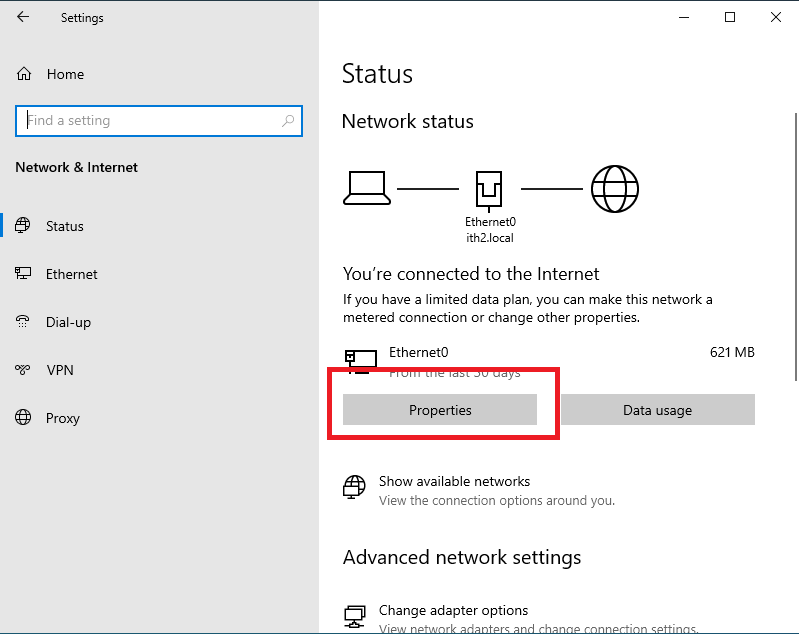
Click the Properties button under Ethernet adapter name:
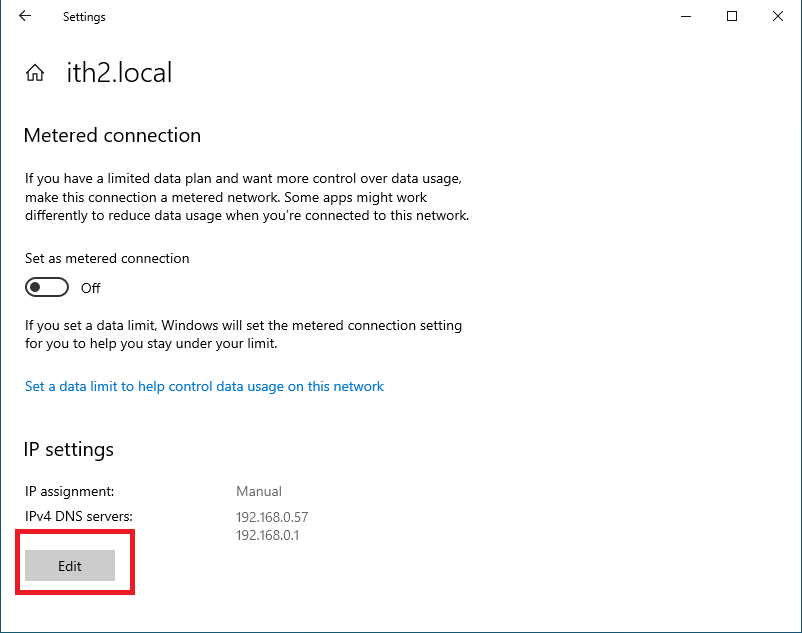
Click the Edit button:
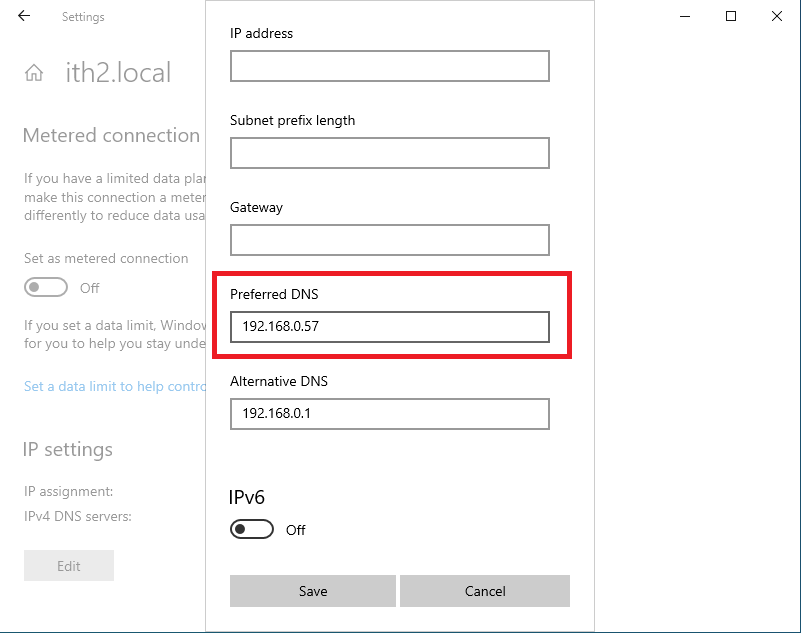
Make sure that the DC IP is set as the Preffered DNS. If it is not change it to be:
Click Save and close the Setting Window.
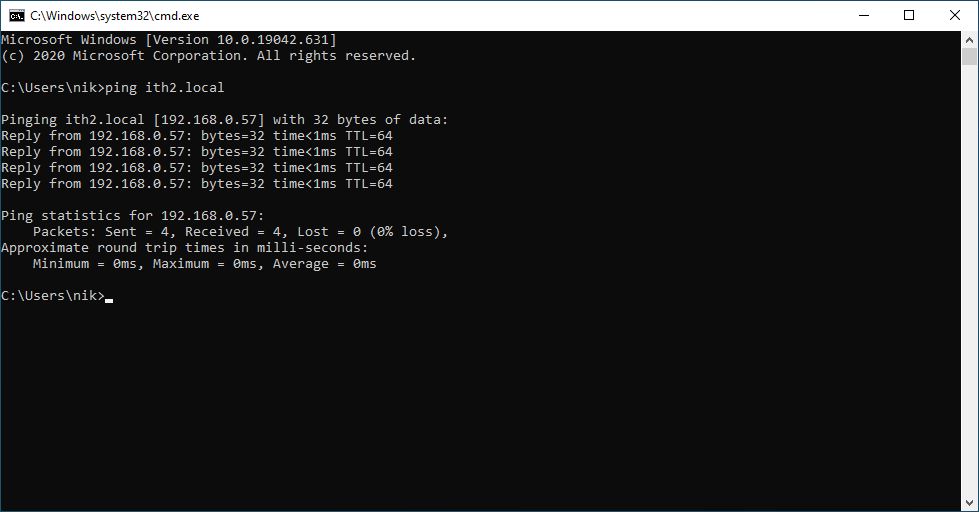
Another quick Check is to make sure that DNS is working is to ping the doman name and make sure that it responds from the correct IP address:
Add PC to Zentyal AD Domain:
The easiest way to add the PC to the domain is to:
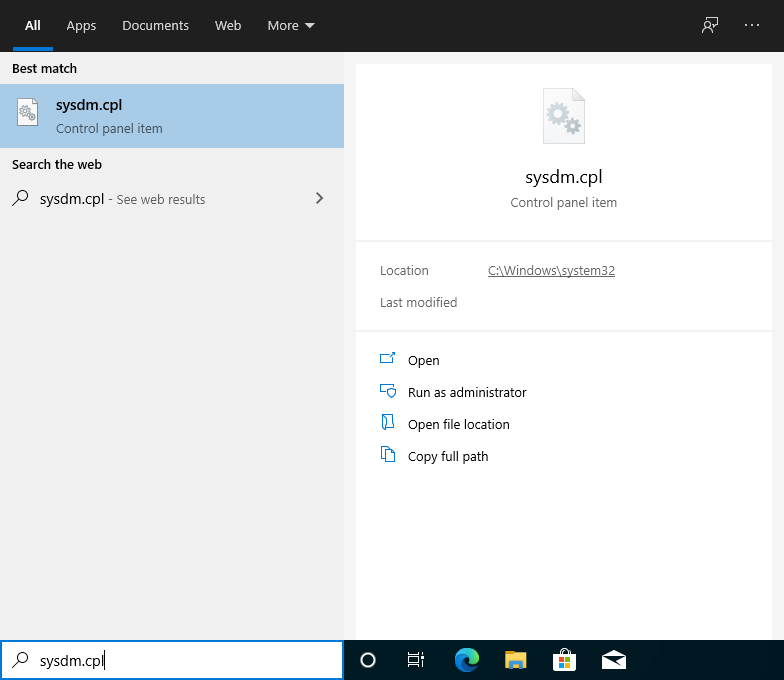
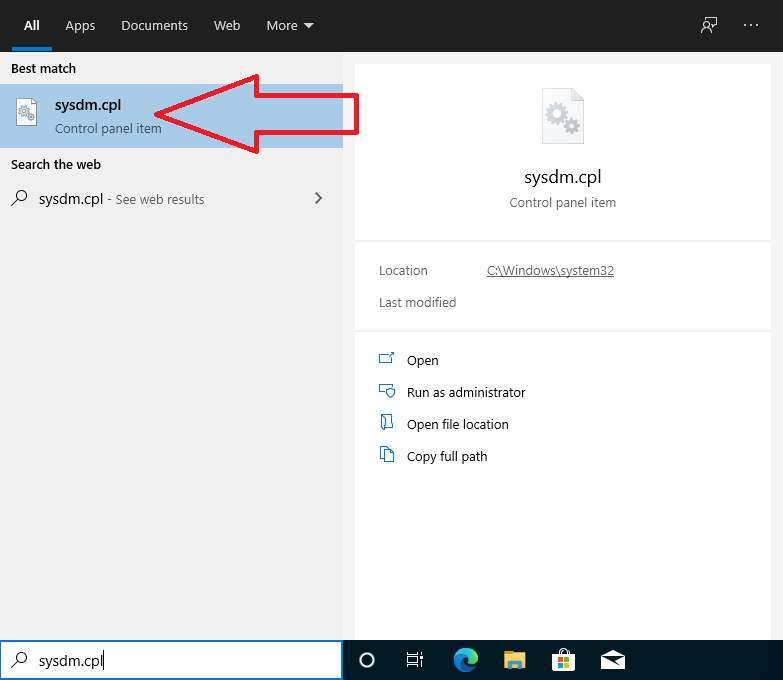
Type sysdm.cpl into the search bar:
Click on the sysdm.cpl Icon:
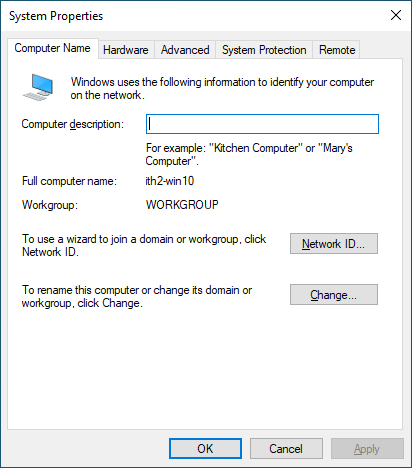
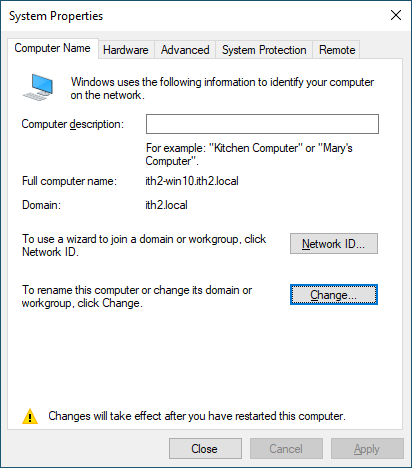
This will open the System Properties Window:
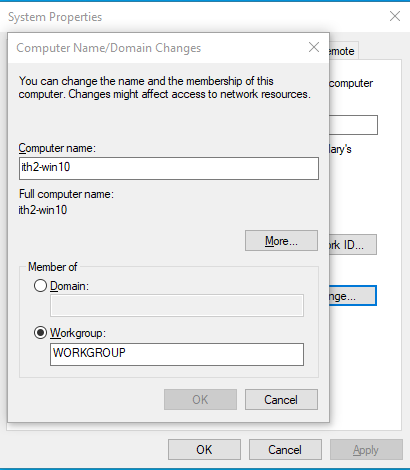
Click the Change button which will open the Computer Name/Domain Changes window:
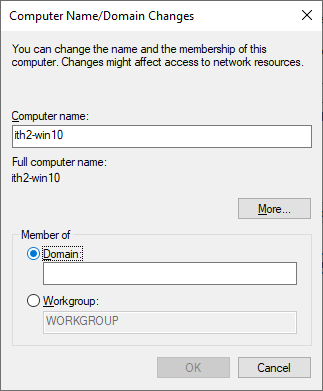
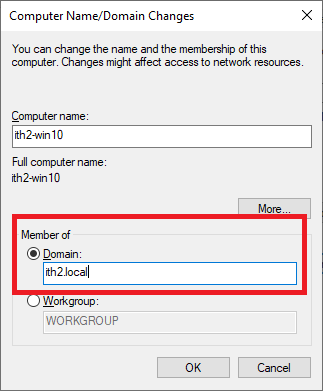
Click the Select the Domain Option:
Now add the domain name to the Domain field:
Click OK.
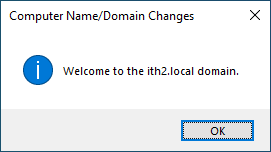
Add the Admin user details in the window that opens:
You will get another window open to say that the PC has been added to the domain:
Click OK to close this window.
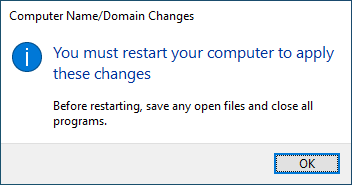
Click OK to restart the PC:
Click Close to close the System Properties:
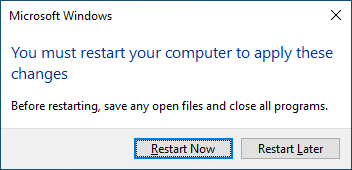
Click Restart Now to restart the PC:
When the PC has rebooted log in using a domain user account and select the correct domain to log into:
The new domain user profile will be crearted:
Once windows has created the new user (this used to take seconds not sure why it takes so long now) you will be taken to the users desktop.
You are now ready to use the PC using the domain user. The PC is now a member of the domain and can be controlled by AD and centrally managed! Yay!