This is a quick guide on how to update Ubuntu 20.04 in one command from the command line so that it will work on server and desktop versions.
The update process is really simple and is basically one command.
Update Ubuntu 20.04 in one command:
Here is how to update Ubuntu 20.04 in one command:
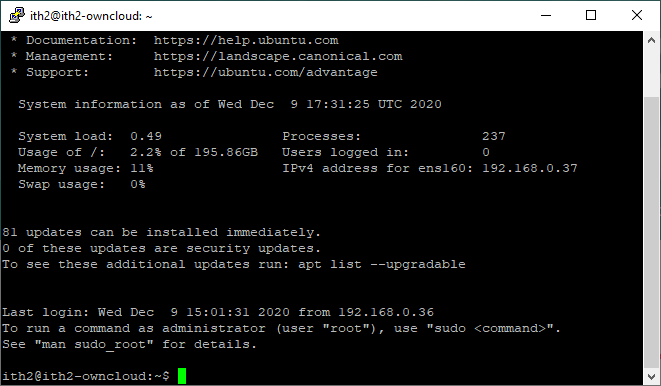
Connect to the Ubuntu 20.04 machine that needs updating.
Run the following command:
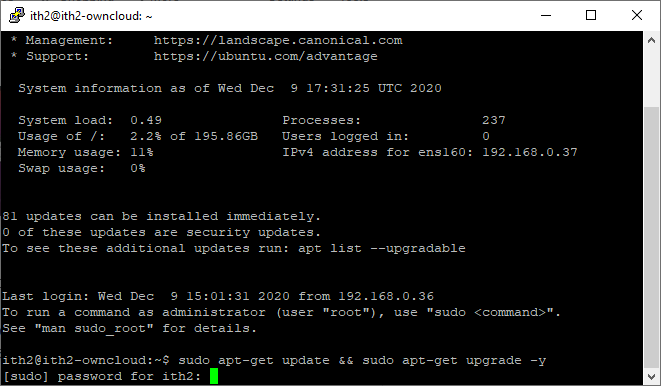
sudo apt-get update && sudo apt-get upgrade -y
When prompted type the user’s password:
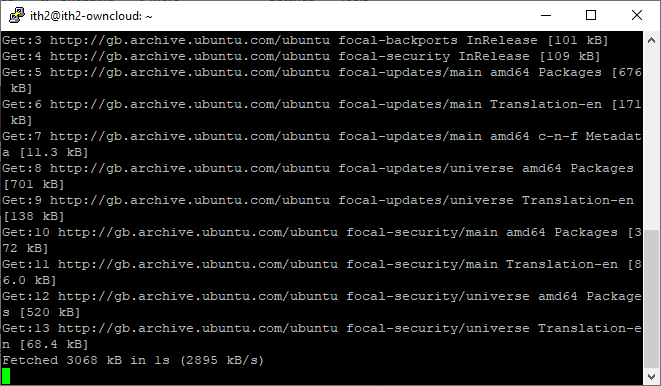
Press enter and the update process will start:
Once finished the update process will return to the login prompt.
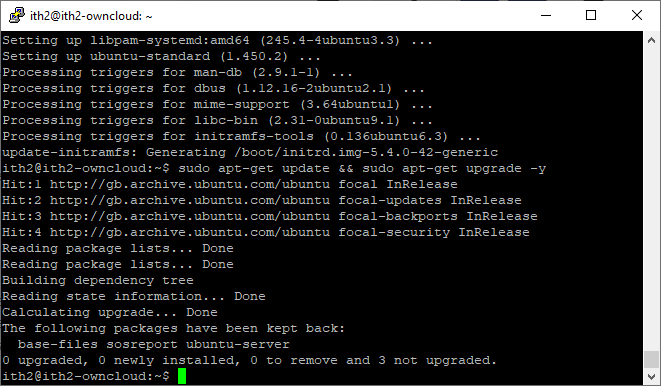
Hit the up arrow so that the previous command is on the screen and press enter and the update process will run again and you should see the following message on the screen:
Here is my step by Step how too of Installing Ubuntu 20.04.1 Server. The process will be the same if you are installing Ubuntu 20.04 Server on a physical machine of in a VM (as below).
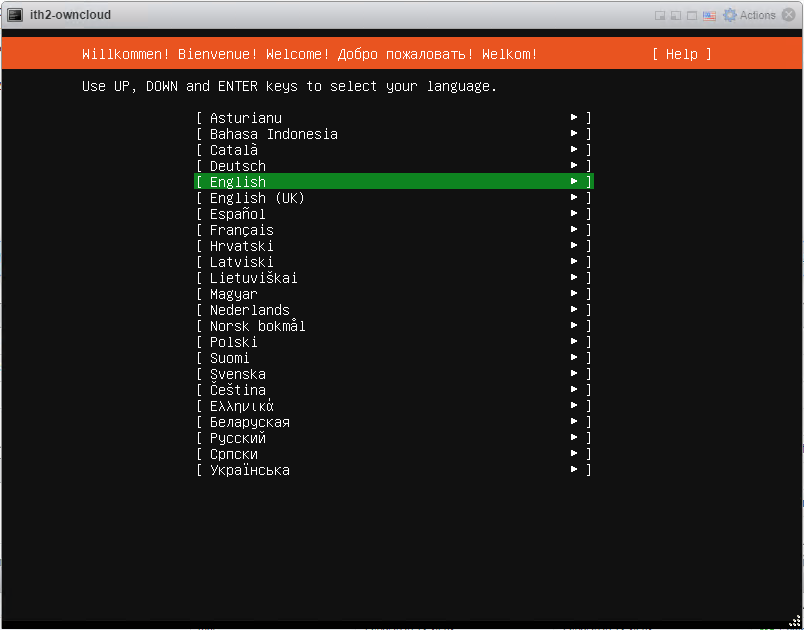
Boot the machine from the boot.iso which will boot to the following page:
Select the language you want to install (English in my case) and click enter.
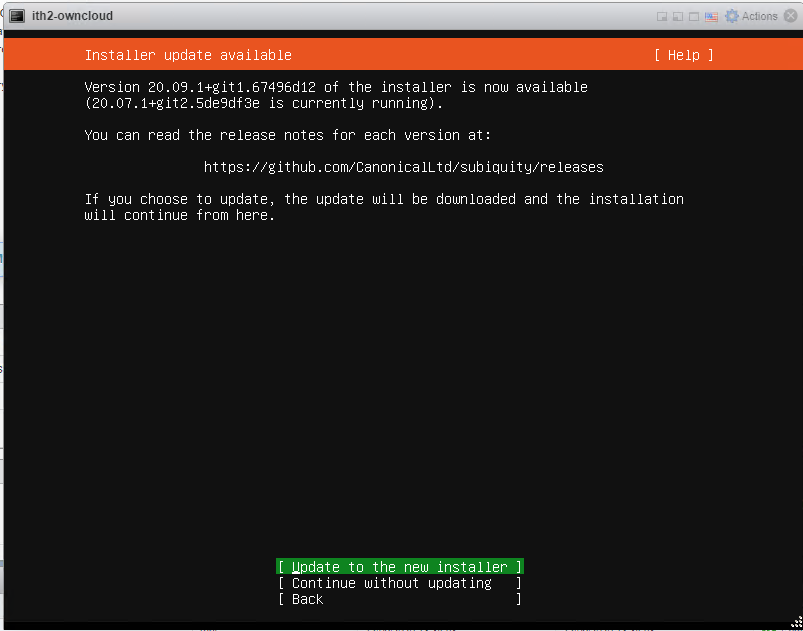
If the installer says that there was a new version of the installer available then select Update to the new installer and click enter:
The updater will be updated and then will load the following screen:
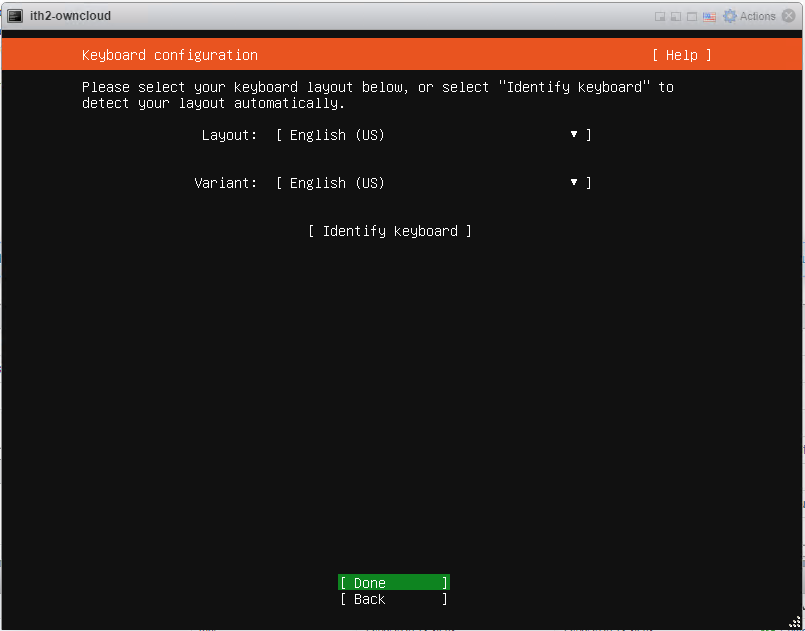
change the keyboard settings to the correct ones for your system and click Done:
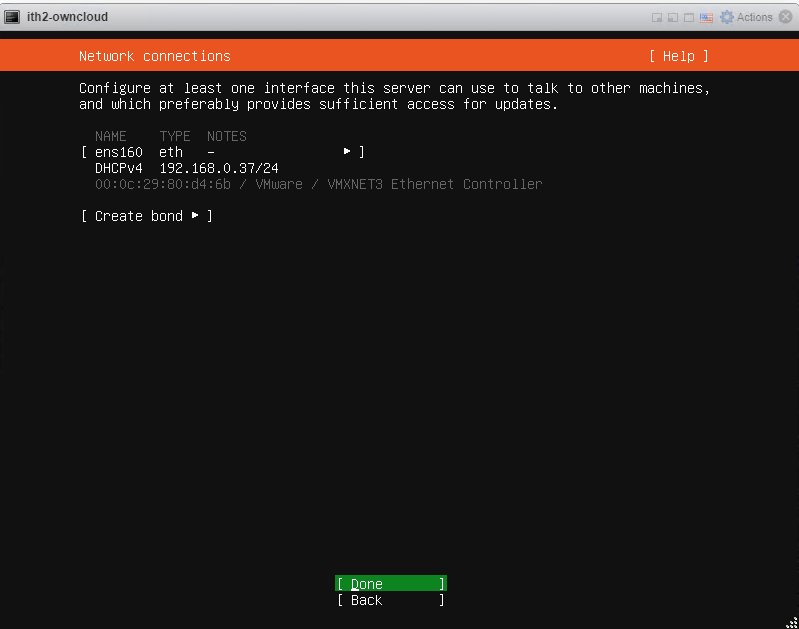
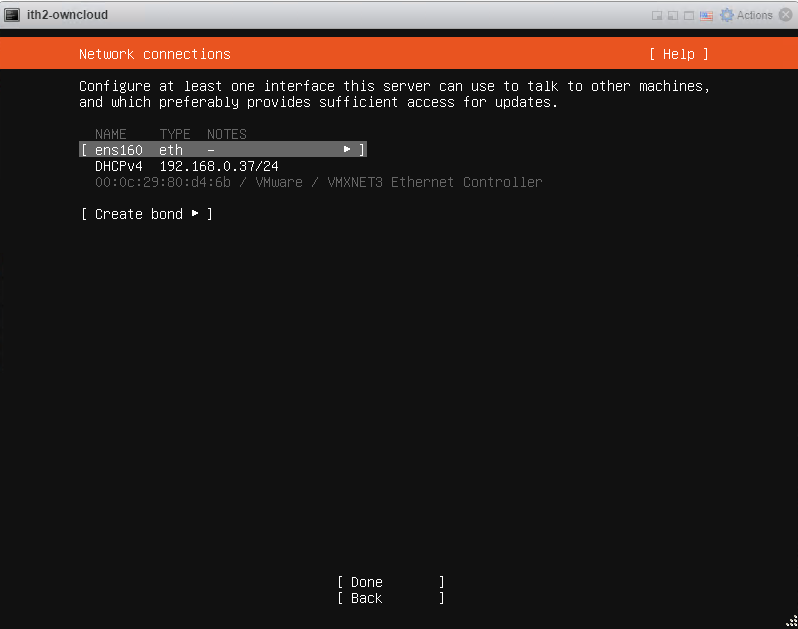
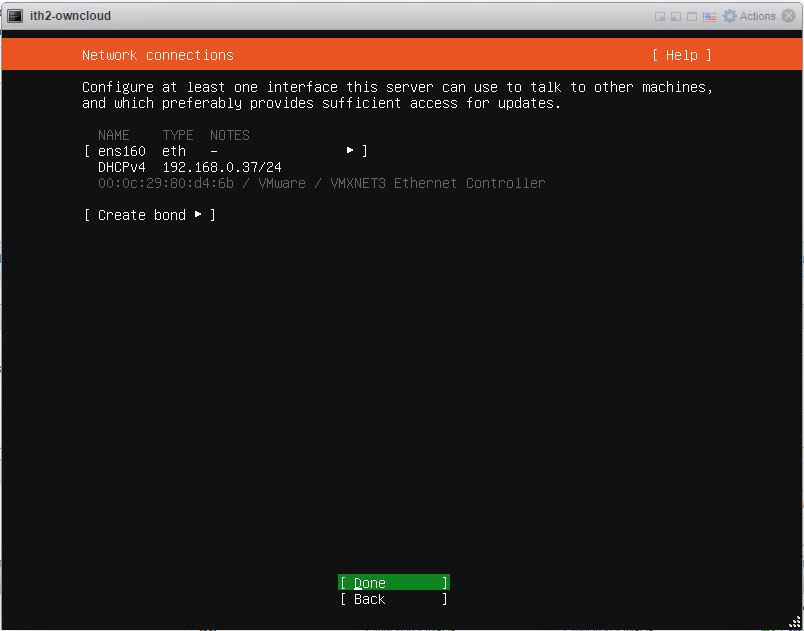
Configure the IP settings and click done. For this installation the default setting was chosen as the address was given by dhcp and ip’s are fixed in dhcp so that the server will get the same IP address all the time.
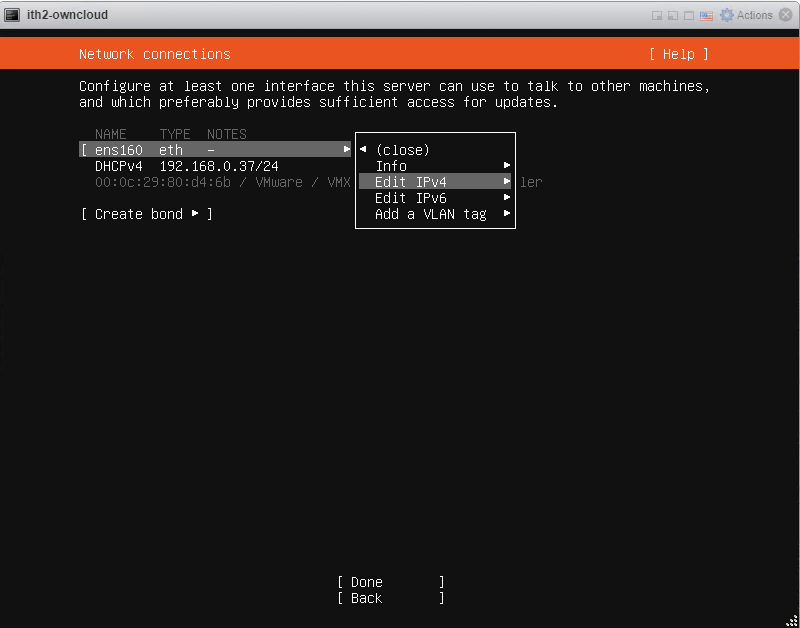
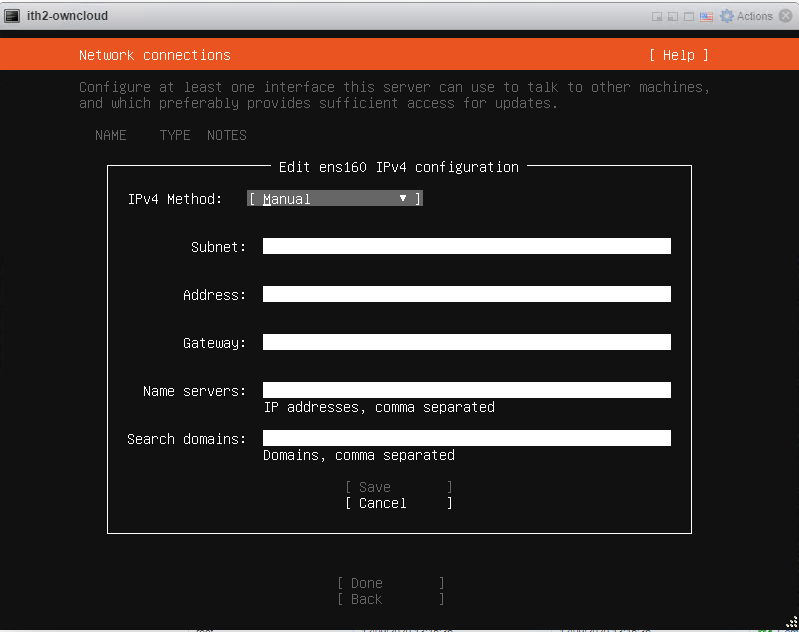
If a fixed IP is needed then select the interface.
Select Edit IPv4.
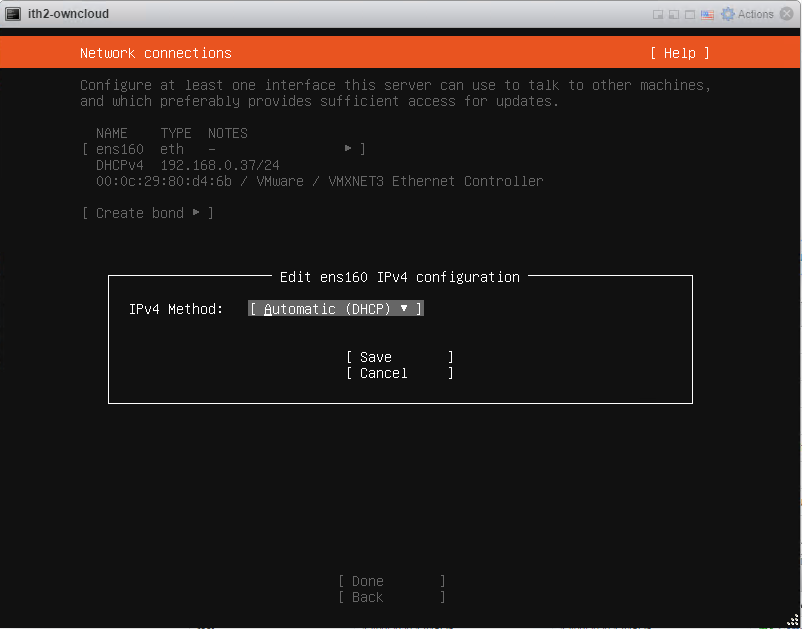
Click on Automatic (DHCP).
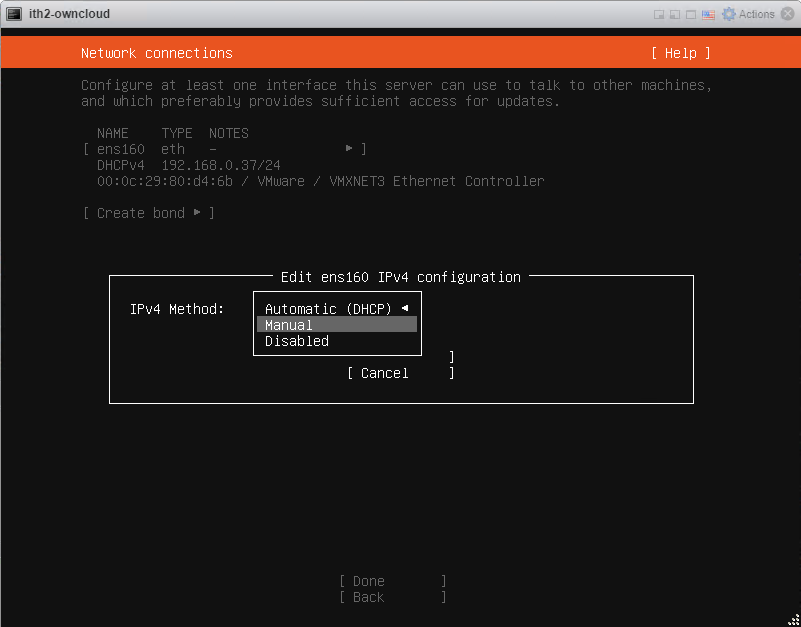
Select Manual.
Add the IP address details in the next screen and click Save to save the settings.
This will take you back to the Network Connections page. Click on Done to move to the next screen.
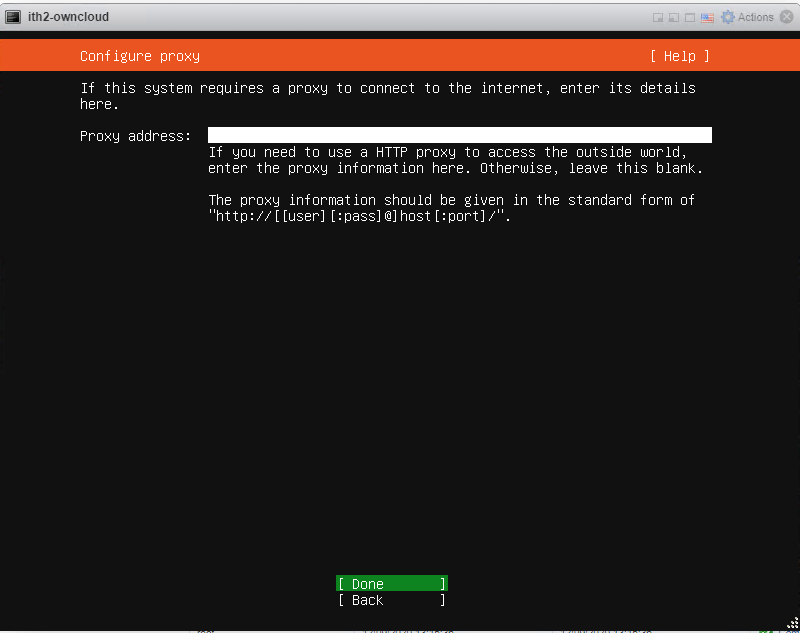
If you use a proxy server then add the details in the next page. If not click on Done to move to the next page.
Click Done to use the default mirror or change to a custom one if you prefer.
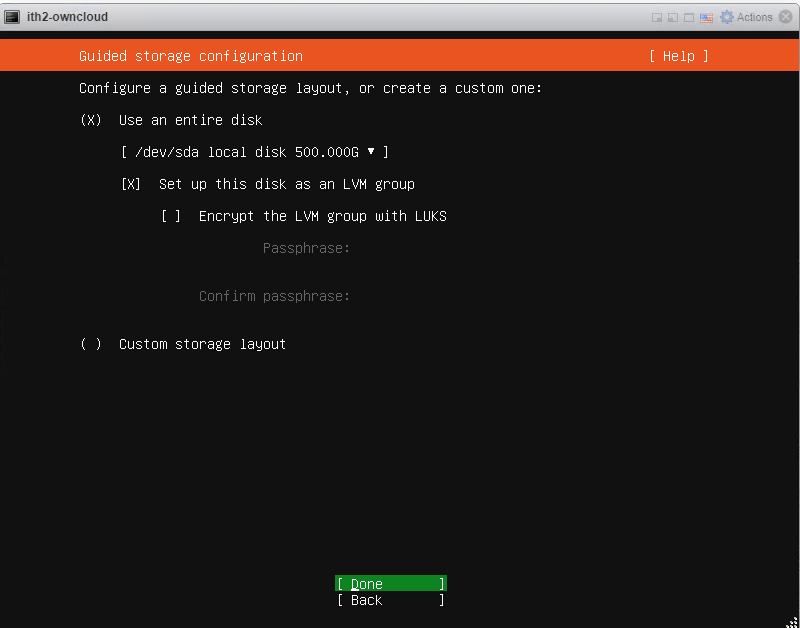
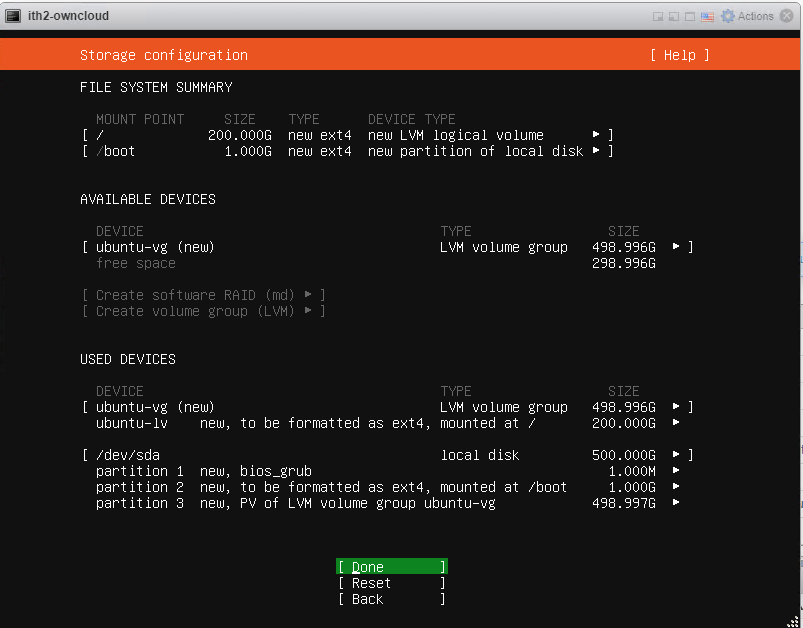
Select the default to use the entire disk and set up LVM or make a custom setting by selecting Custom storage layout (out of the scope of this post.
Choose Done and enter to start the install.
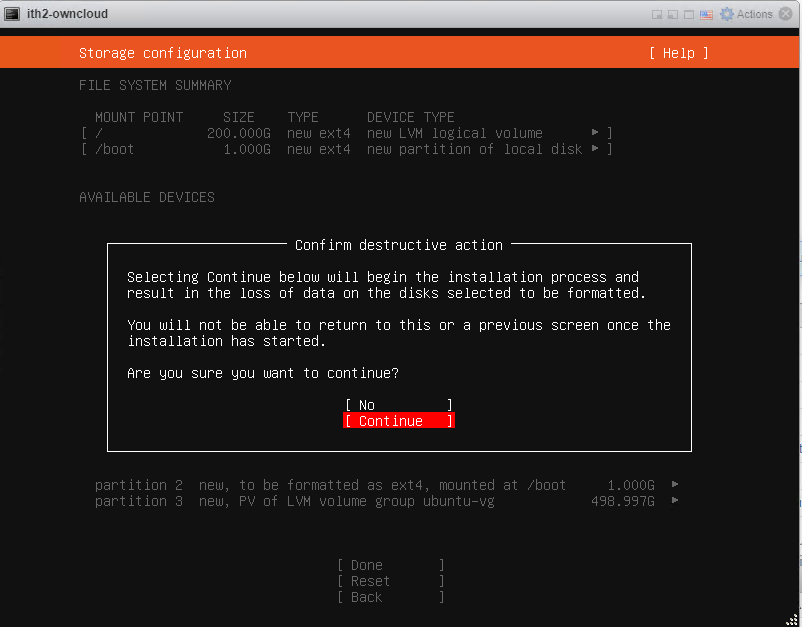
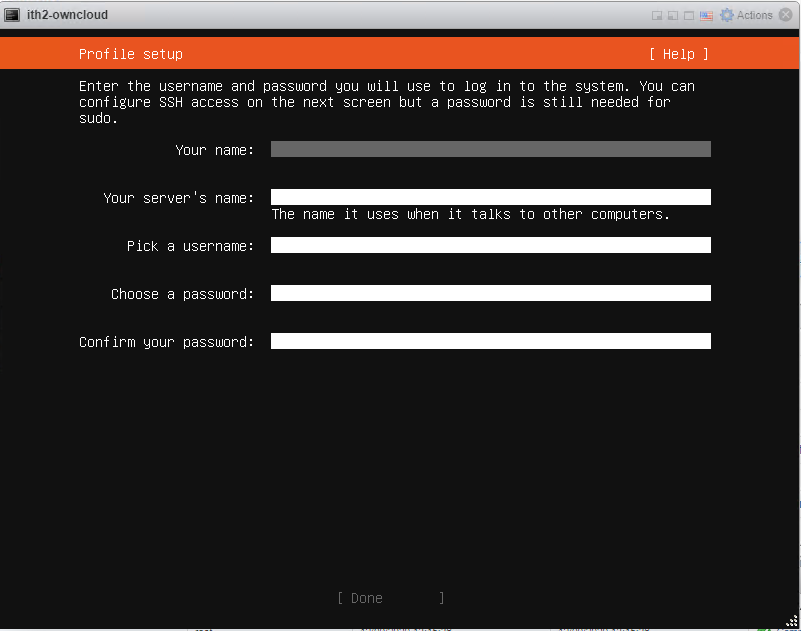
Scroll to Continue to go to the Profile setup screen.
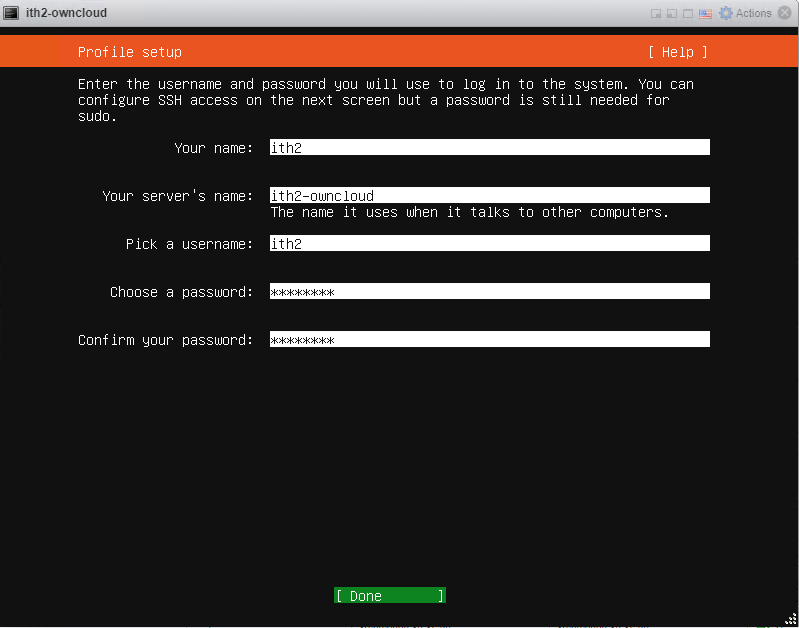
Add the user details as required.
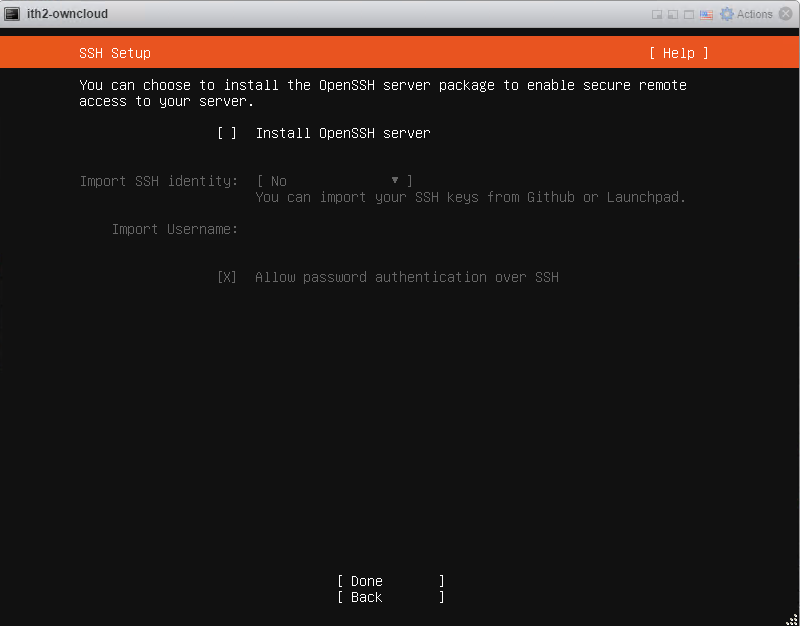
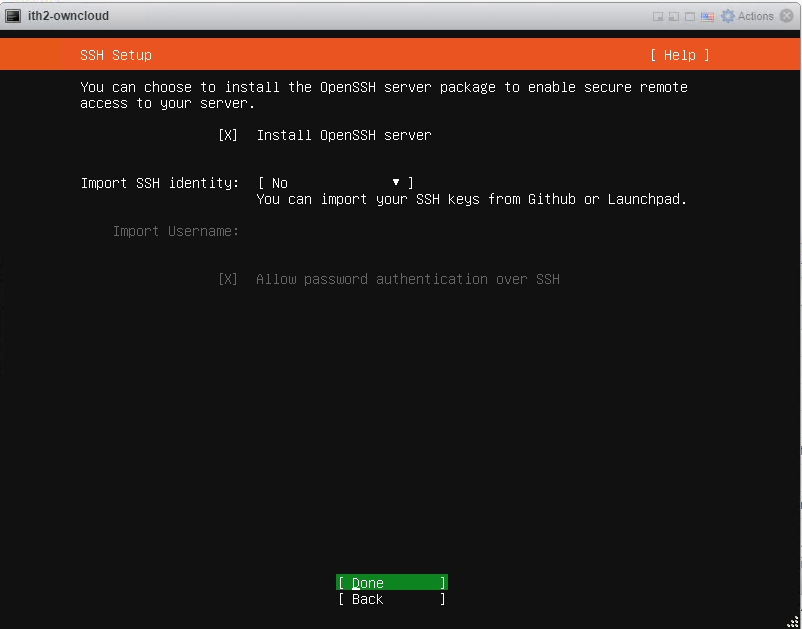
Click on Done to move to the SSH Setup screen.
If you want ssh installed then select the option if not leave it unticked.
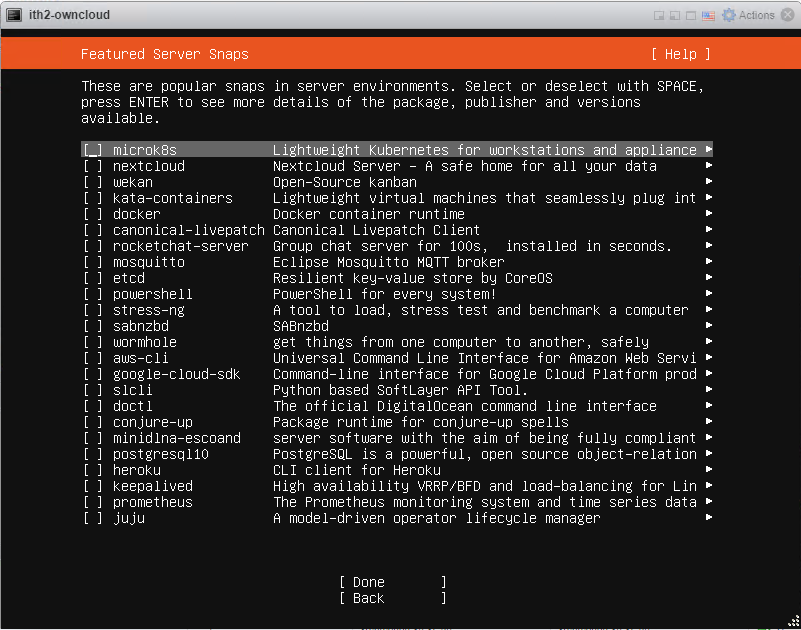
Click Done to move to the Featured Server Snaps.
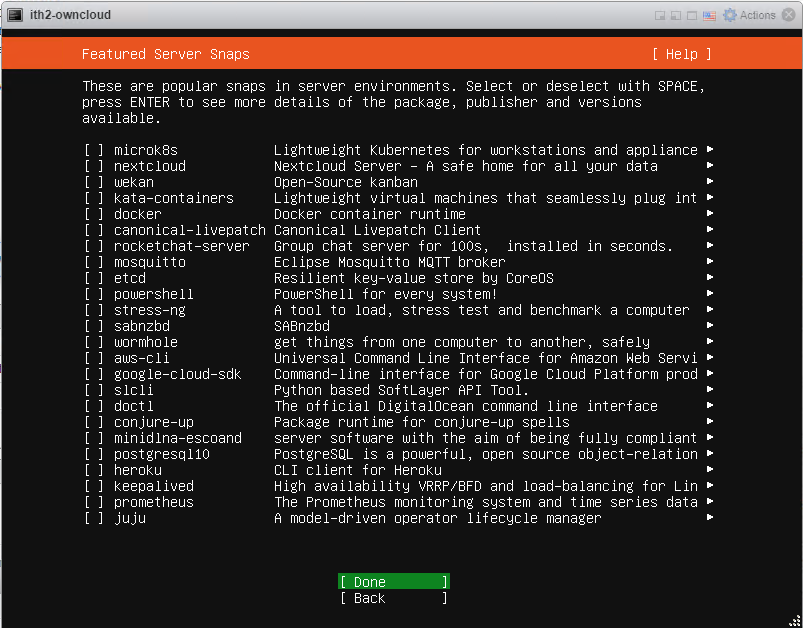
Select any Snaps that you want to install (none in this case) and click Done
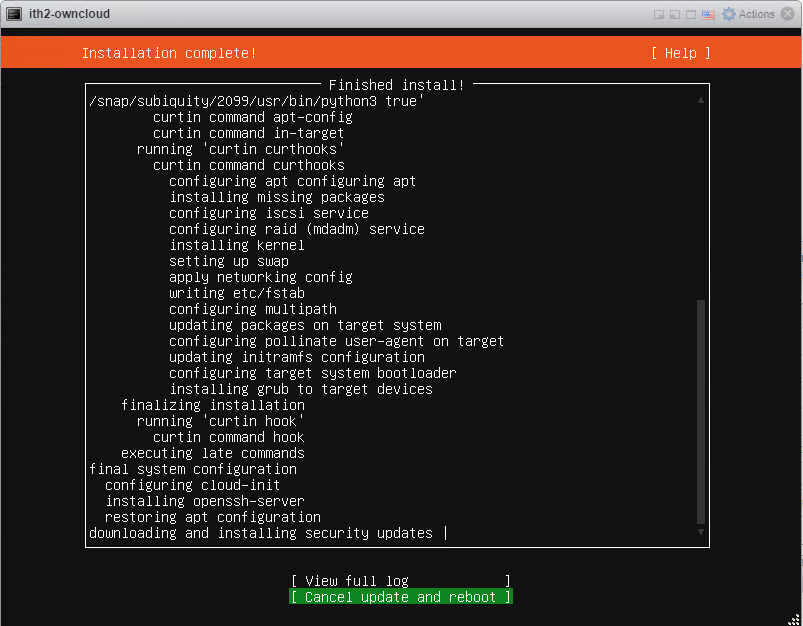
The installation will start:
Leave the install to run.
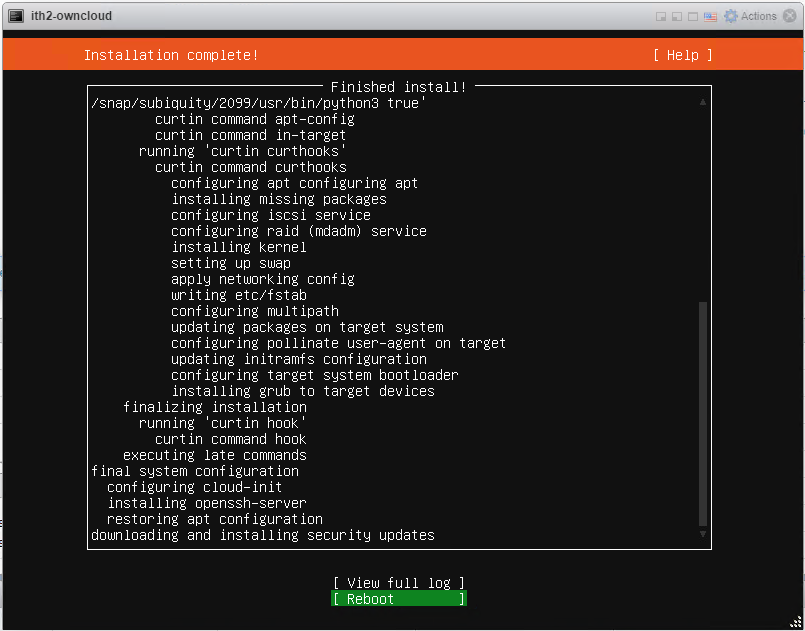
After about 10 minutes the install will complete:
Click reboot the reboot the install and boot the server to the login screen.
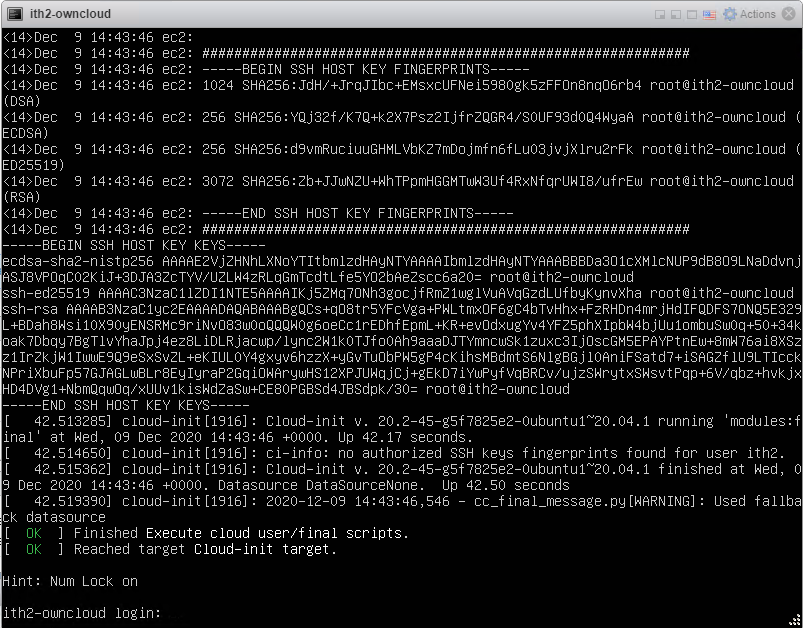
The Server will now boot to the login screen:
For ideas on what to configure and install on your server next take a look at my other Ubuntu 20.04 posts HERE.
This post explains how to Disable Windows Server 2012 R2 password expiry. The reason that I discovered how to do this was that one of my server’s local Administrator password kept expiring every 45 days which was really annoying. If this was a production server then this is a good security feature but as the server is a demo server then it is really annoying.
As a side note I use really long passwords anyway (20+) characters so the password expiry is not really an issue as there is not technology available to crack the passwords at the moment!
After a bit of clicking through the server policies I found the setting that needed to be changed and was able to disable password expiry entirely on the server.
This is how I Disable Windows Server 2012 R2 users password expiry.
It is not a good idea on an enterprise system but as my server is a test server I wanted to stop the password from expiring every 45 days. Luckily this is a really easy process that takes a couple of minutes to do.
To disable password expiry do the following:
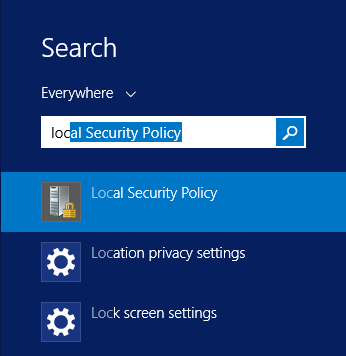
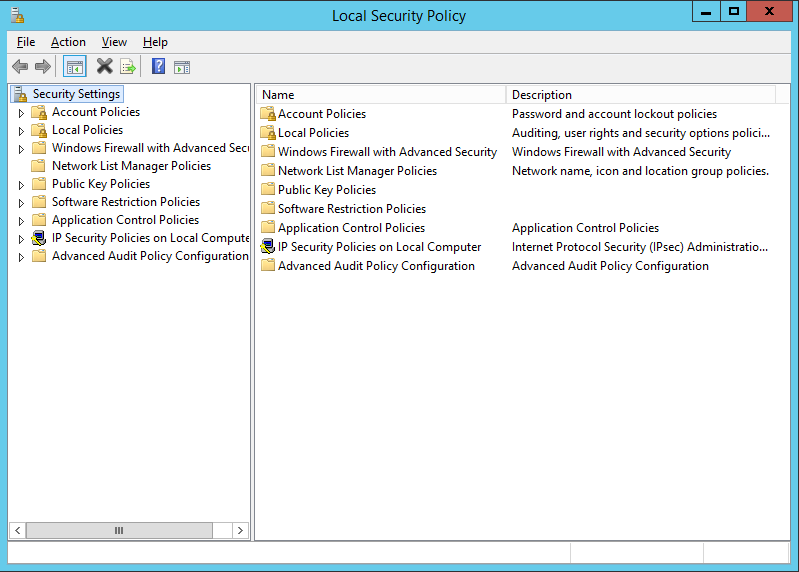
Click on the start bar and type “local security policy” and select Local Security Policy:
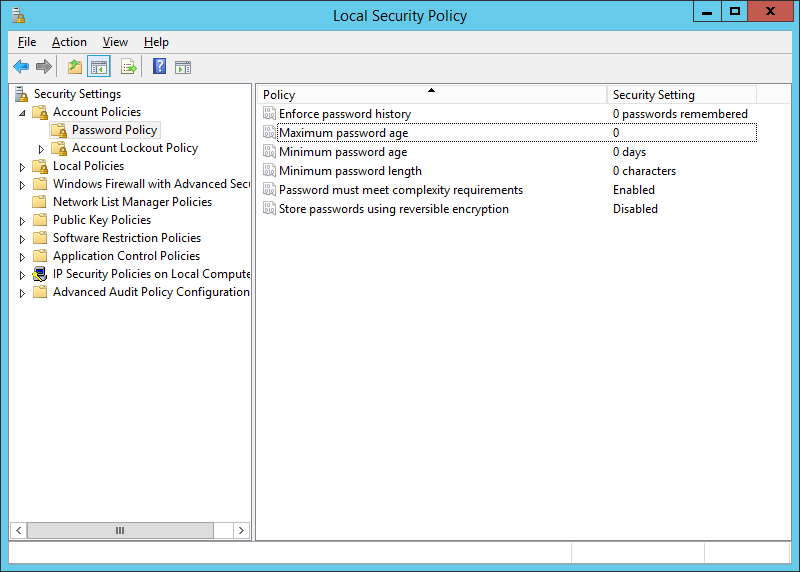
This opens the Local Security Policy Group Policy Snapin:
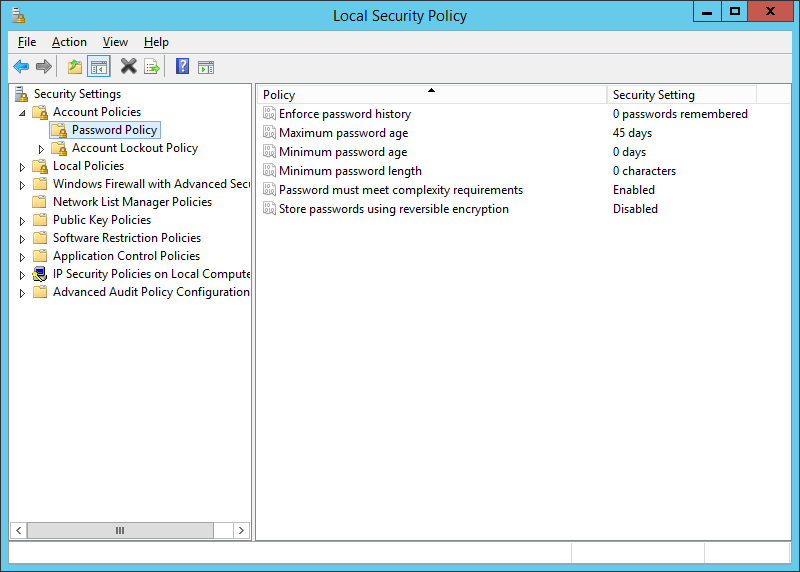
Open Account Policies and click on Password Policy:
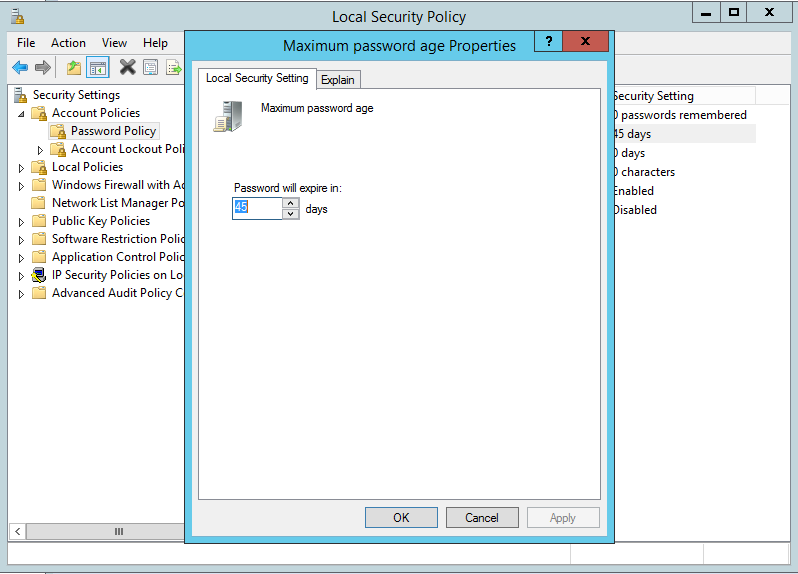
Double click on Maximum password age:
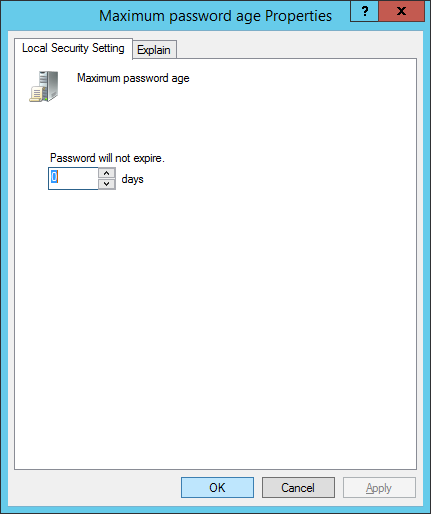
Change the default 45 days to a value in days that the password will be changed. In my case I set it to 0 as I don’t want it to ever expire. Click apply to save the changes:
The password is now set to never expire. Click OK to close the wizard.:
You will now see that the minimum password age is now set to 0:
Close the window and you have successfully disabled password expiry on your Windows 2012 R2 server.
As I stated earlier it is really not recommended to have the Local Administrator password set to never expire on a production server and this process should only be done on demo/ dev servers.
This is how I setup the email on Bookstack. I used the SMTP method as I already have smtp setup on my domain so creating a new email address was quick and easy. My Bookstack environment is installed on a free AWS Ubuntu 20.04 Instance. For more options see the official guide HERE.
The email was setup as follows:
Find the .env file by searching on your server by running the following command:
find / -name *’env
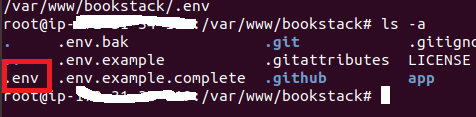
My .env was a hidden file in /var/www/bookstack
Find the file by running the following command:
ls -a
Edit the .env file:
vim /var/www/bookstack/.env
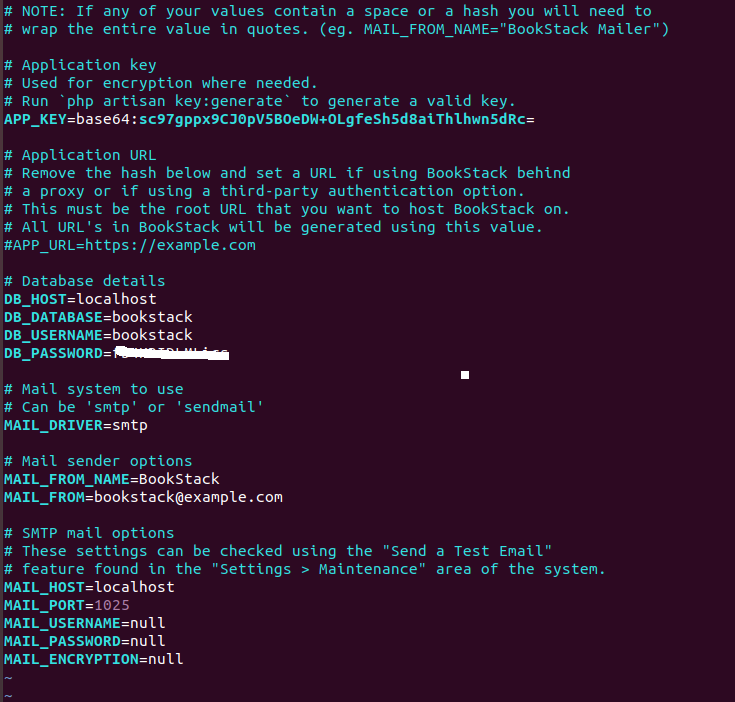
This will display the .env file:
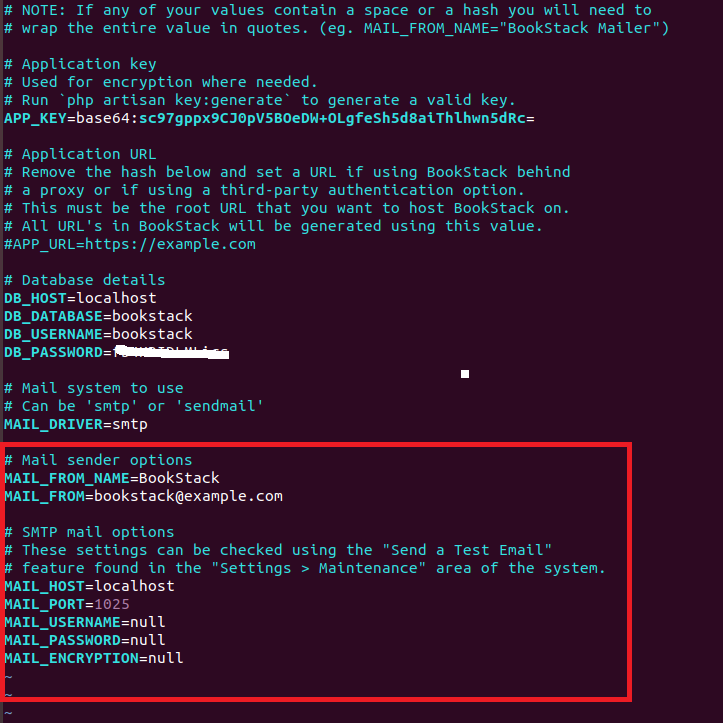
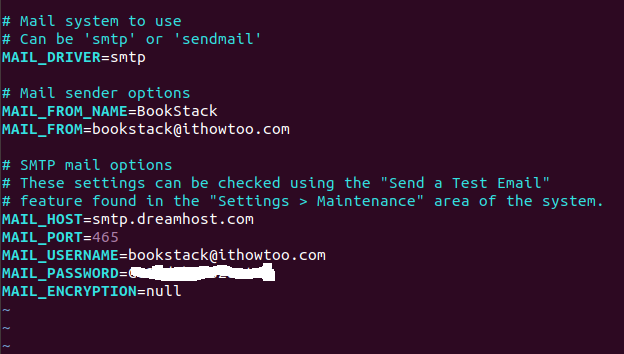
The section that need to be updated is the SMTP mail Options:
My settings were as follows (passwords redacted for security):
The settings were saved by typing esq plus :wq
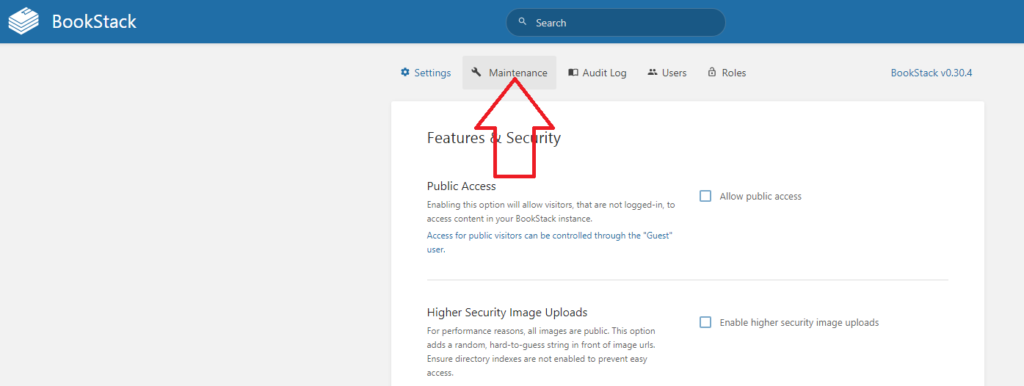
The settings were then tested by logging into bookstack as an Admin user and opening Settings:
And clicking on Maintainance:
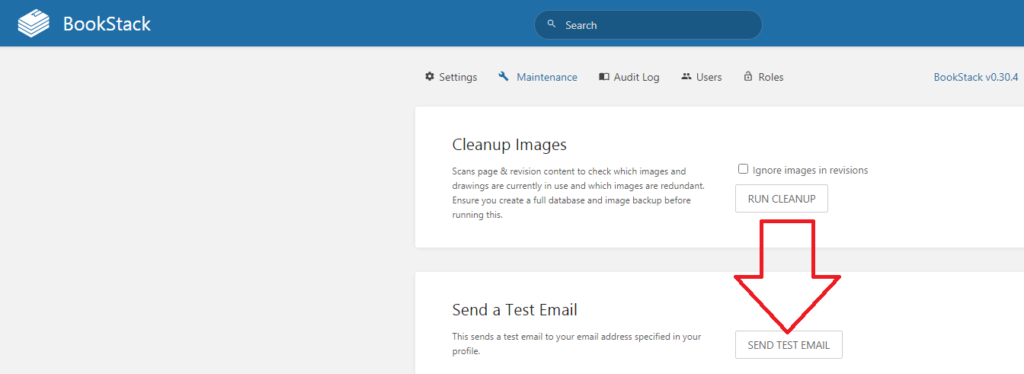
The SEND TEST EMAIL was then pressed:
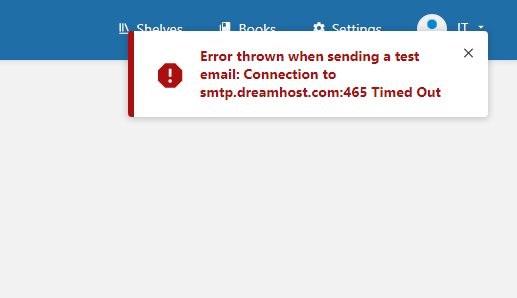
If there is an issue with the settings an error message will be shown:
I originally received this message as I had the MAIL_ENCRYPTION=null when it needed to be MAIL_ENCRYPTION=SSL.
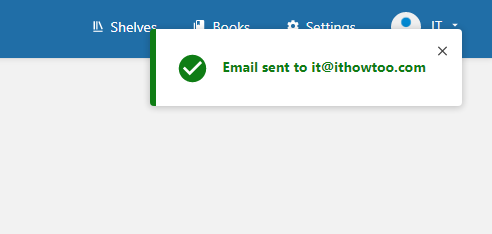
If the settings are correct then you will recieve the following message in the top right of the page:
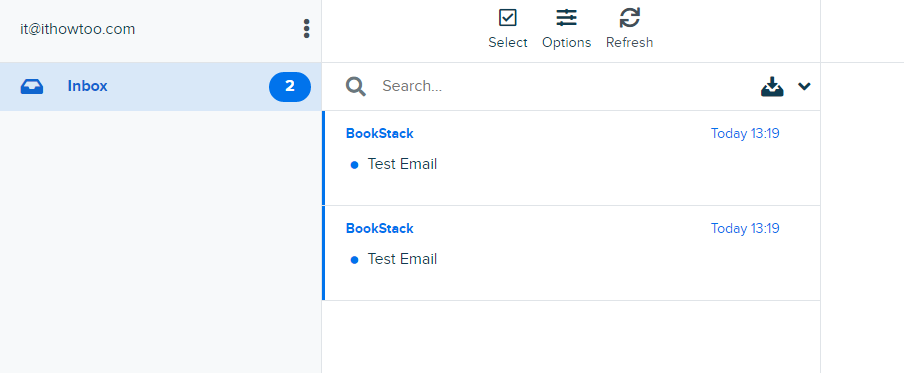
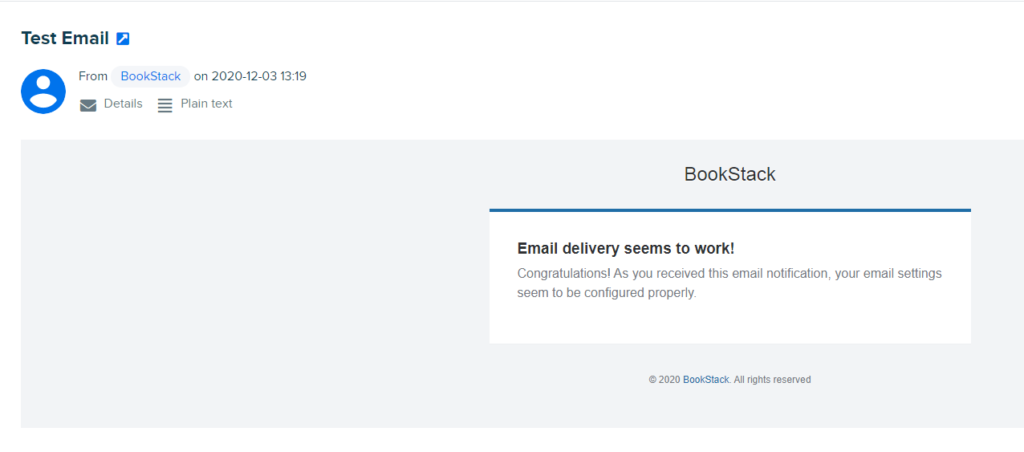
You will also receive and email in the logged in user’s inbox:
That is the email setup completed. For more Bookstack configuration take a look HERE.
Bookstack is a wiki that organises categories into virtual librarys so that you have the top level of a shelf, then on that shelf you have books and in those books you have chapters and pages. I like this visual way of organising documents as it is very visual and easy to follow.
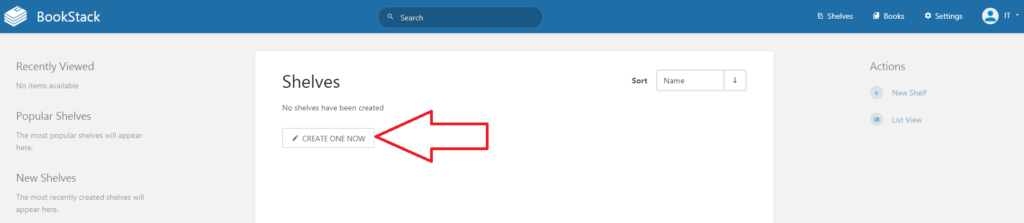
First of all you will need to create a new shelf. To do this click on the Shelves Button:
As this is a new installation there will not be any shelves created so click on CREATE ONE NOW:
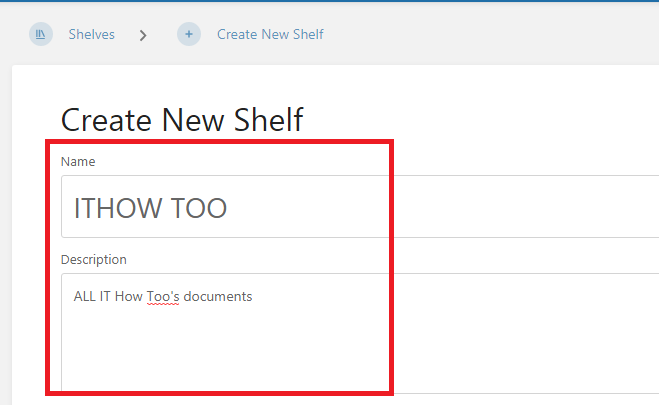
Fill in the Shelfs name and description
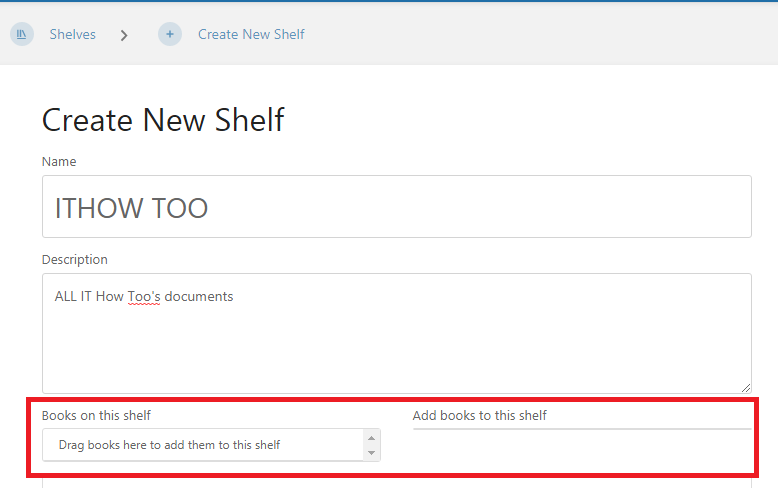
As we have no books at the moment we can ignore the Books on this shelf option:
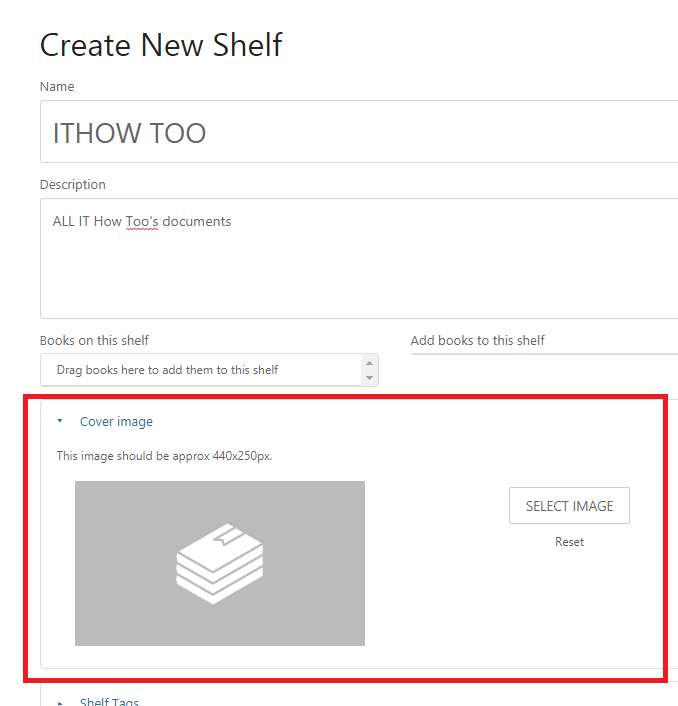
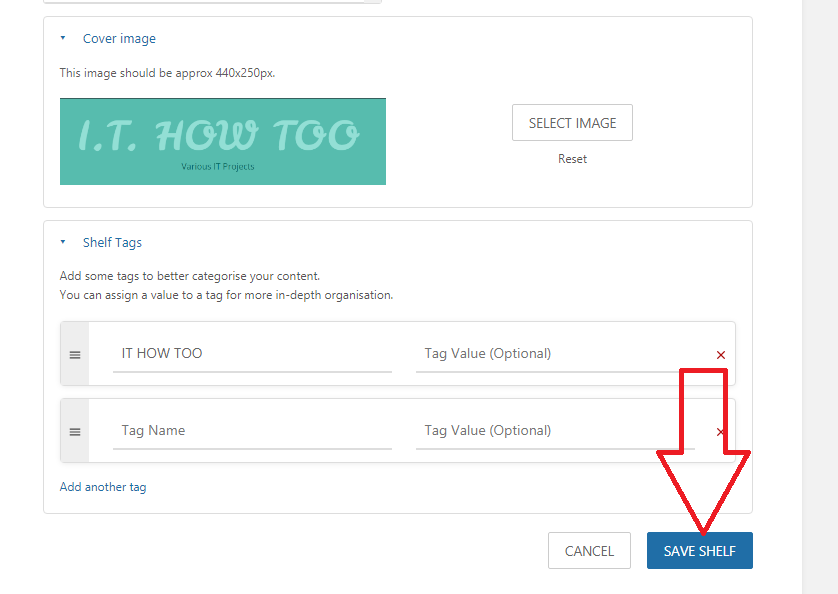
If you want to add a cover image to the shelf then expand the Cover image section and either drag the image into the section or click on the SELECT IMAGE button to search for the Image:
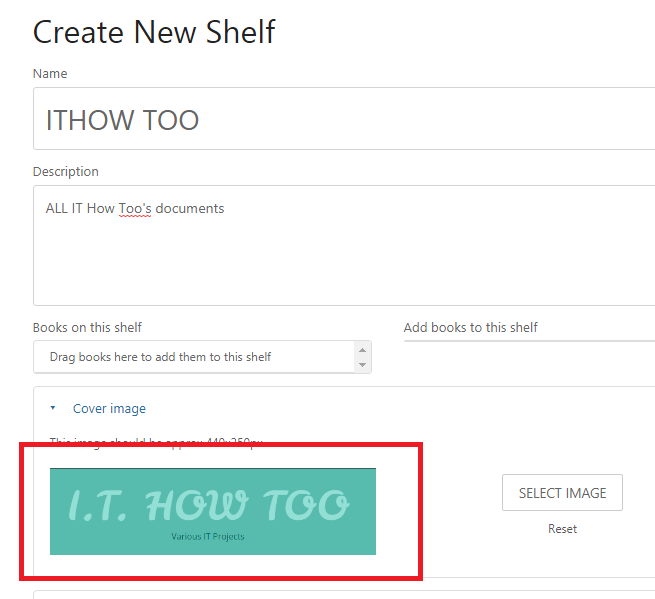
The new Image will be displayed:
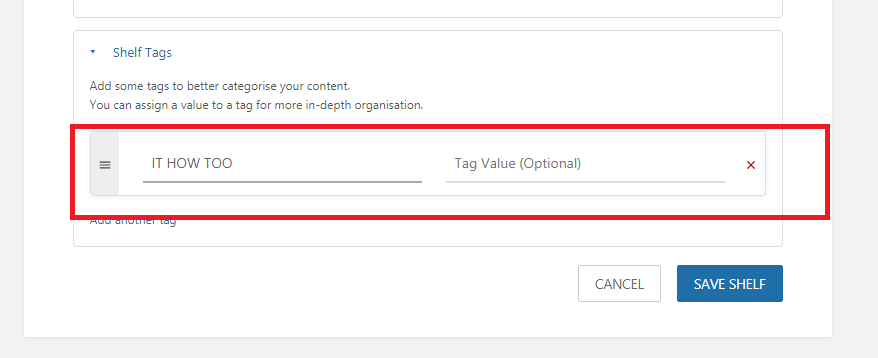
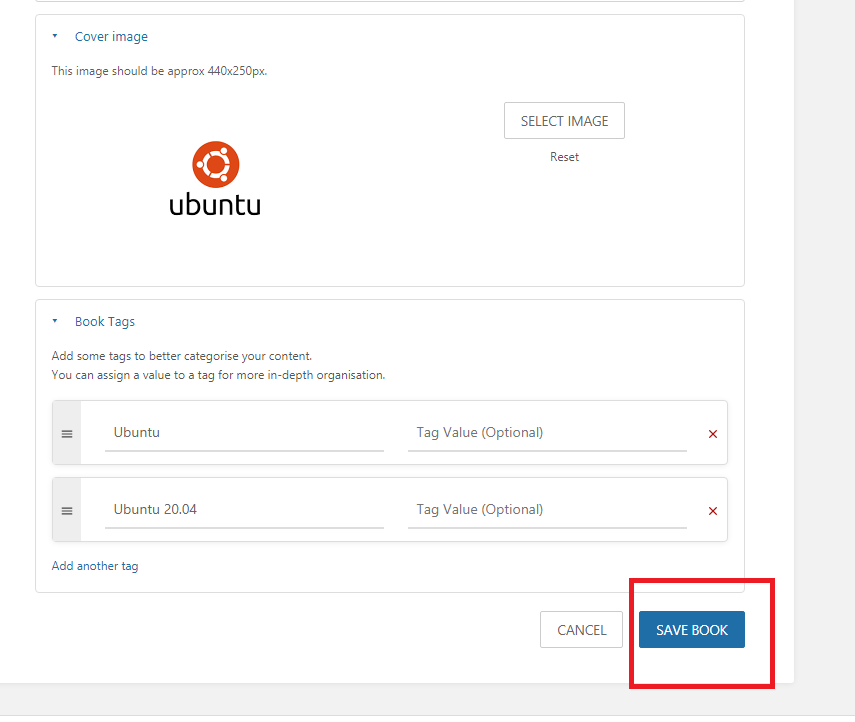
Add Tags if needed:
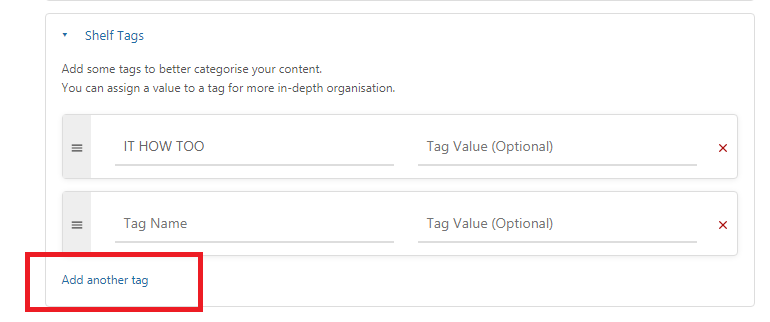
To add more tags click on Add another tag:
Once finished click on SAVE SHELF:
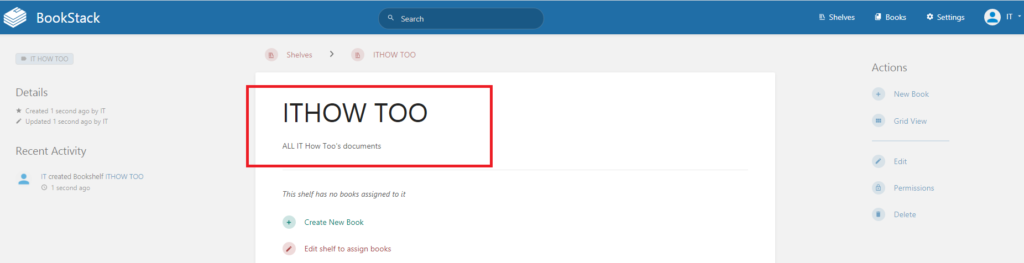
The new Shelf will now be shown on the Shelves screen:
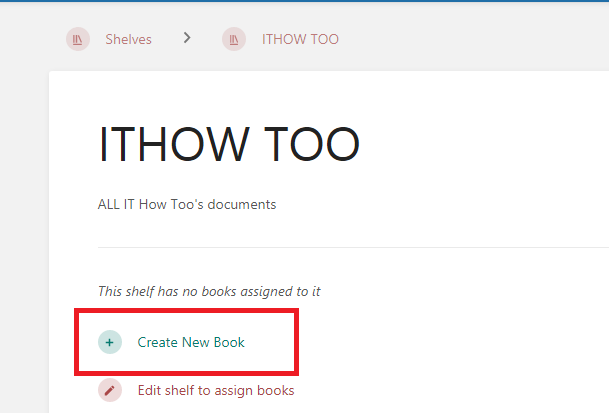
The next step is to add a new book. This can be done by clicking on the Create New Book Link:
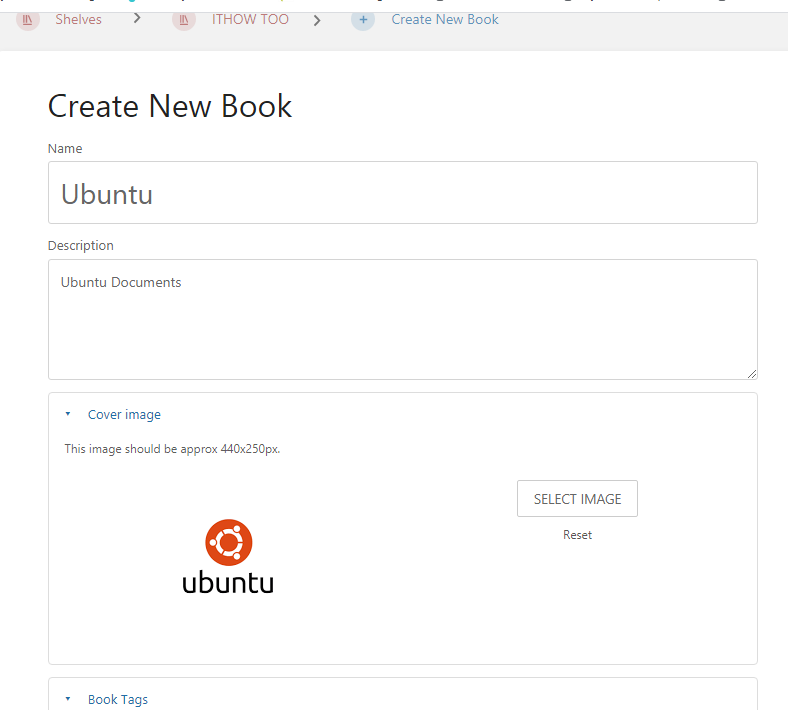
Fill in the details of the new book as you did above for the new Shelf:
Once all the details are adduced click on SAVE BOOK:
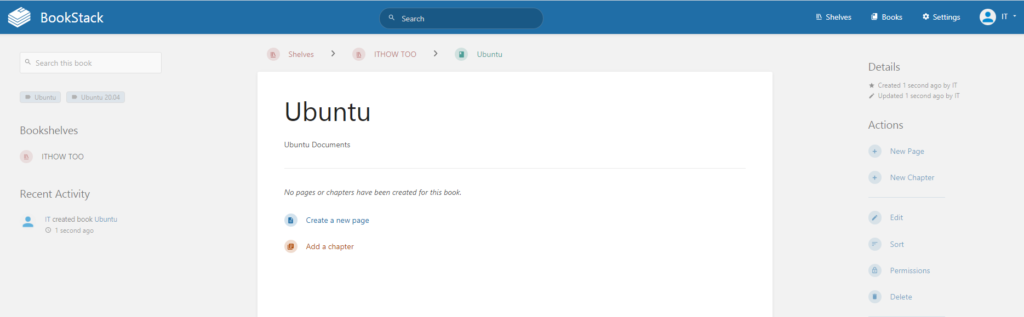
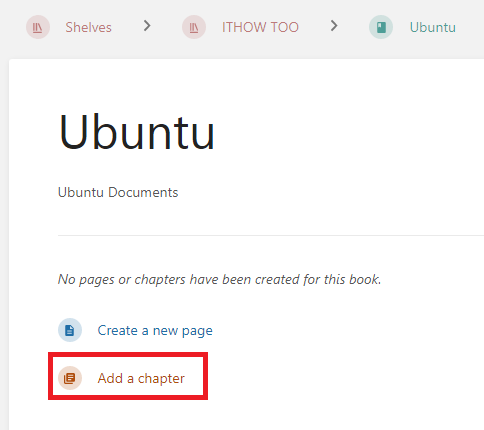
You will now be taken to the chapter setup page:
Click on Create Add a new chapter to add a new chapter:
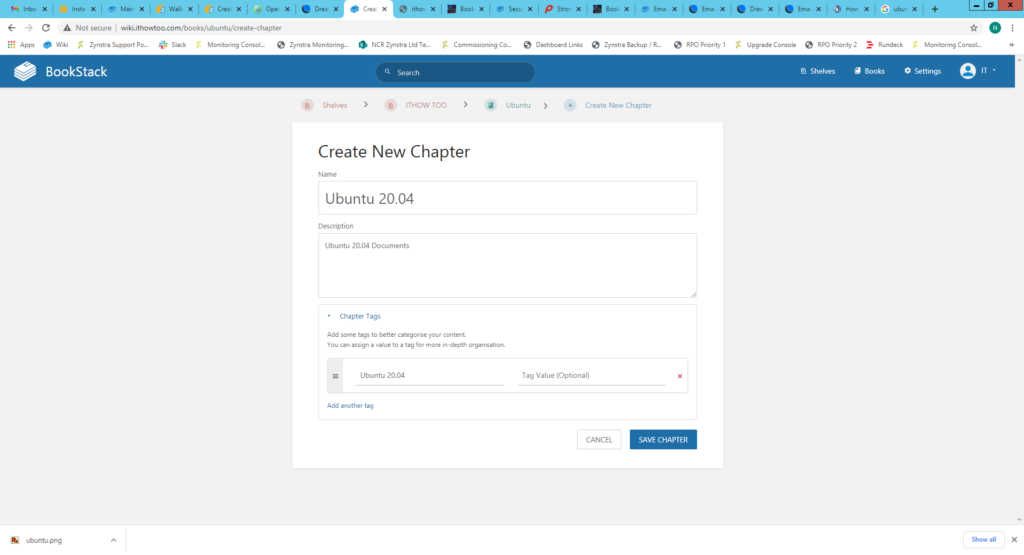
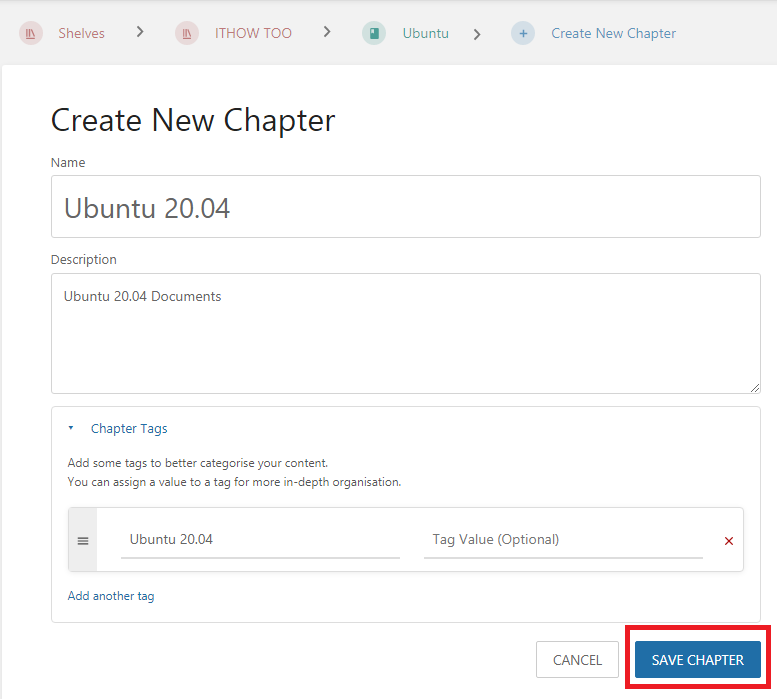
Add the chapter details:
Once all the details are added click the SAVE CHAPTER button:
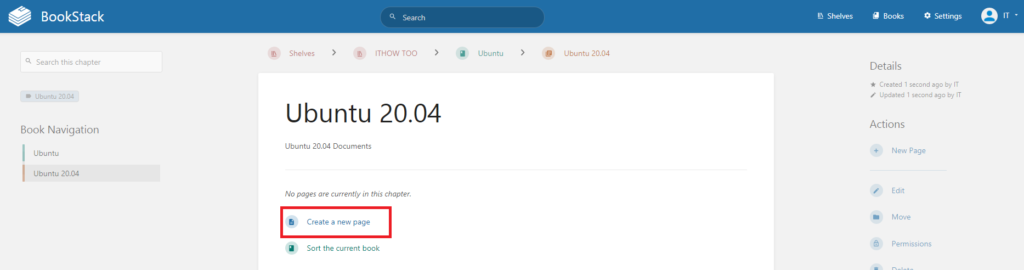
You will then be taken to the new page creation page.
Create a new page by clicking the Create new page link:
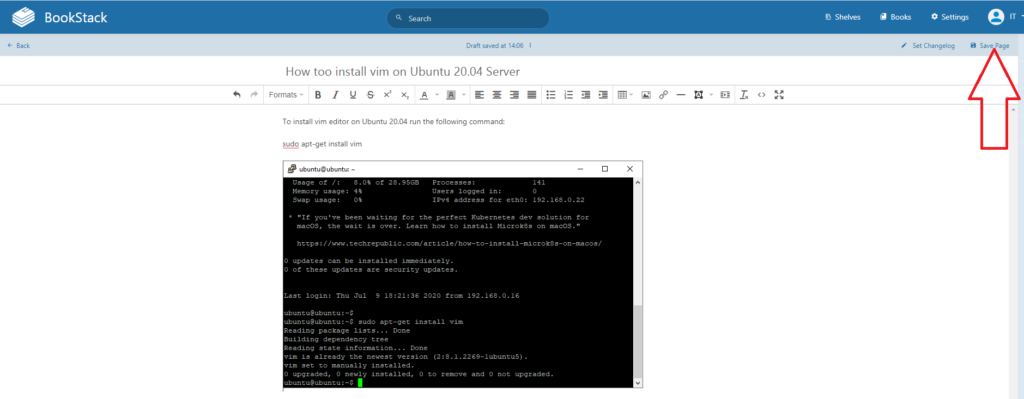
Add the title to the new page in the title field:
Add the contents of the document in the document field:
Once the contents of the document is complete click on Save Page:
This will take you to the view of the page:
You can now add more Shelves, books or pages as required in the same way as before.
For more Bookstack articles take a look HERE. For the official Bookstack documentation take a look HERE.
In order to create a user in Bookstack you need to log into Bookstack with an Admin user and do the following:
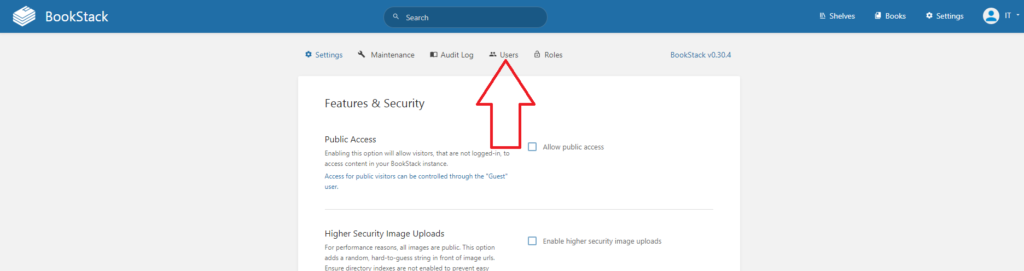
Click on Settings to open the settings page:
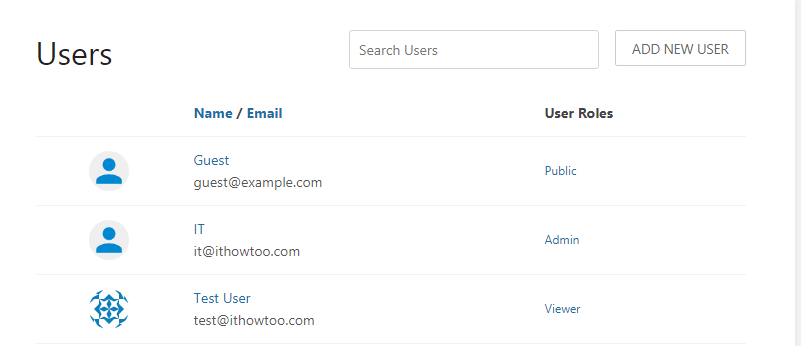
Click on the Users button at the top of the page:
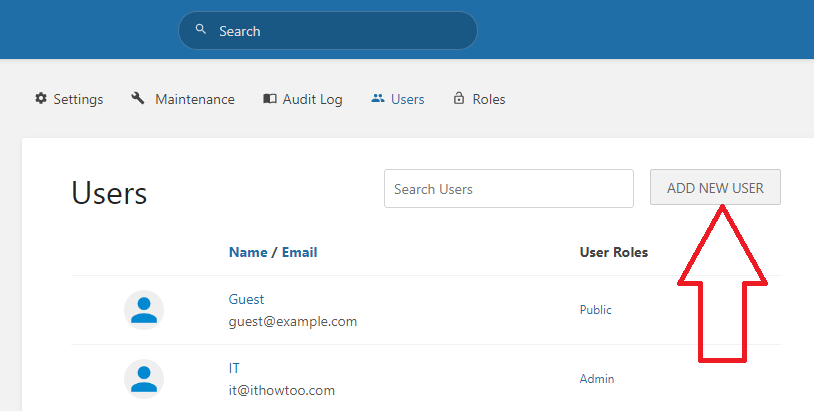
Click ADD NEW USER to open the add new user page:
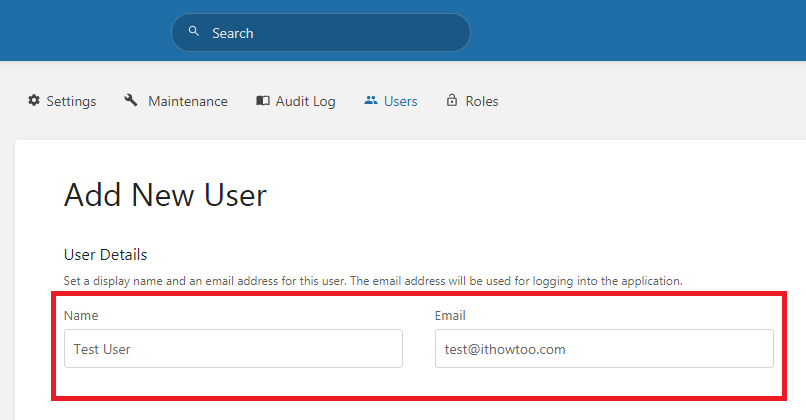
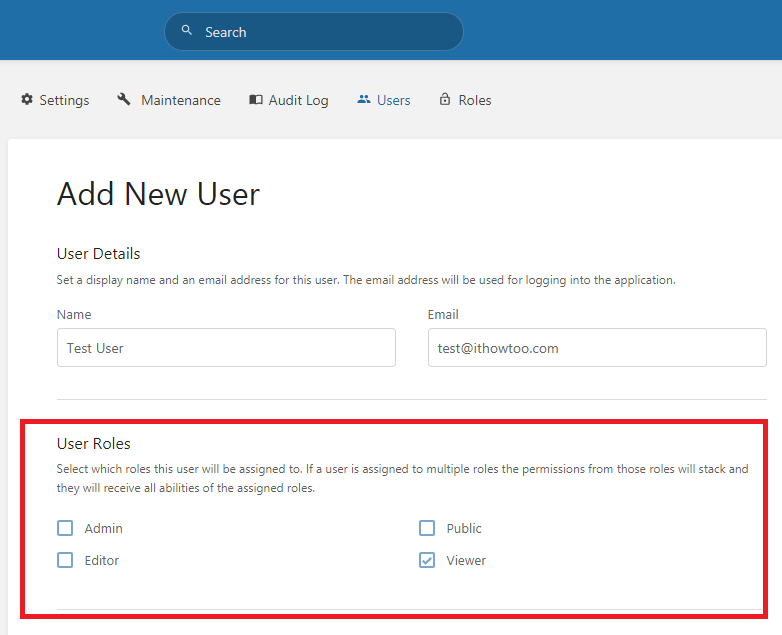
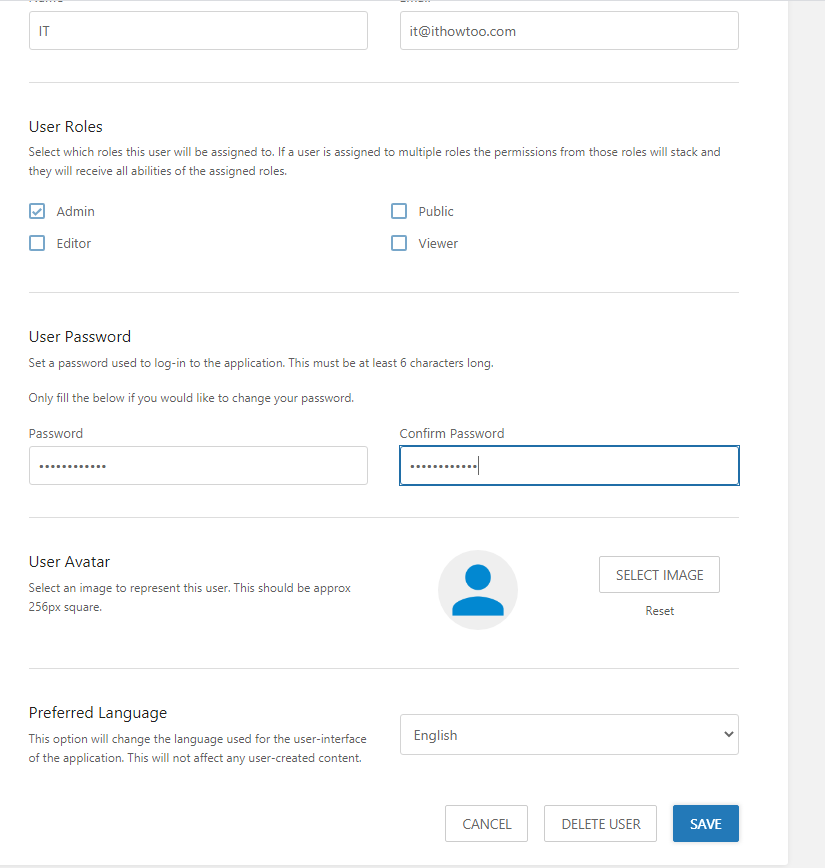
Add the new user’s Full name and Email address:
Set the users permission level. Admin has full control access, Editor can create and edit documents, Public can view Public accessible documents and Viewer can view documents:
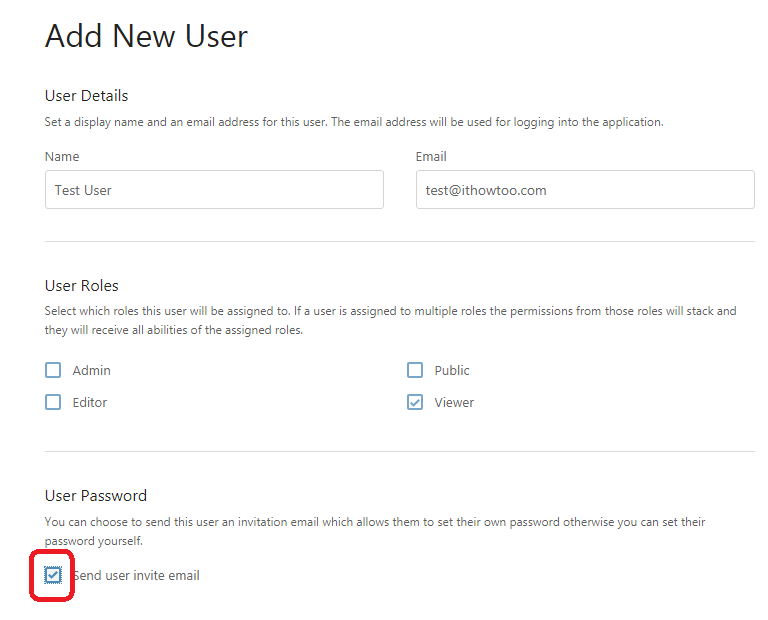
Untick Send user invite by email:
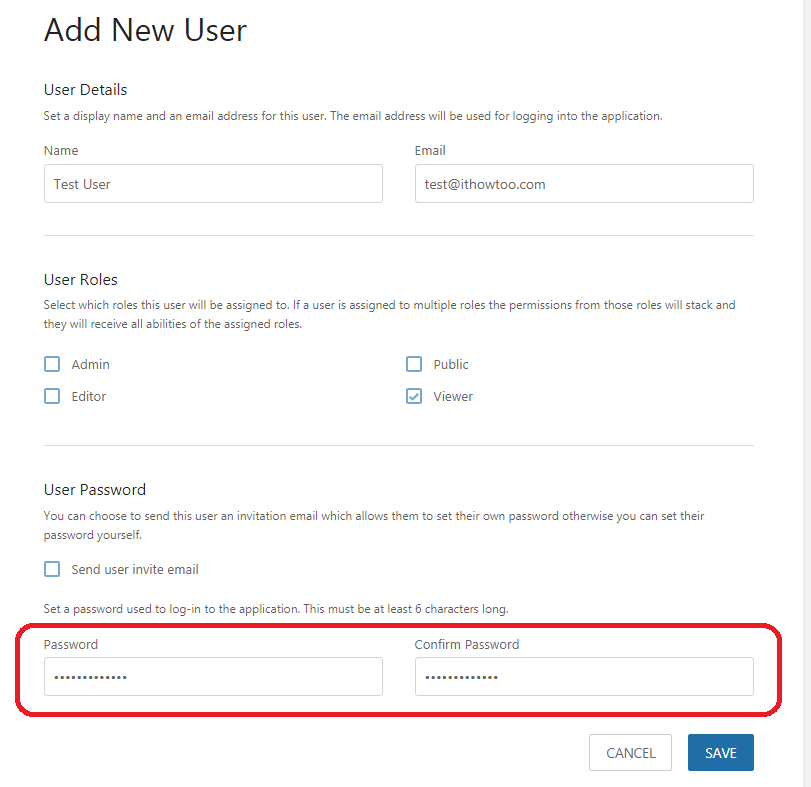
Add the password and confirm the password and:
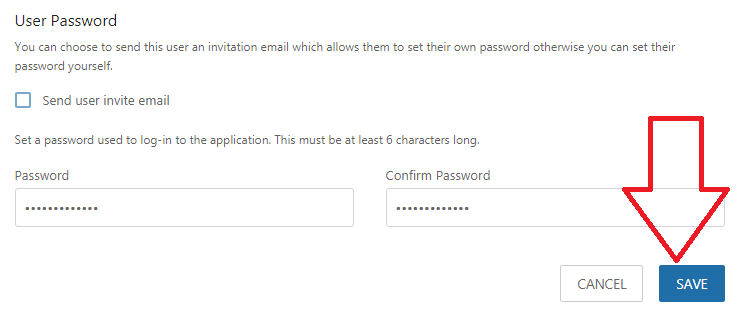
Click Save to save the new user:
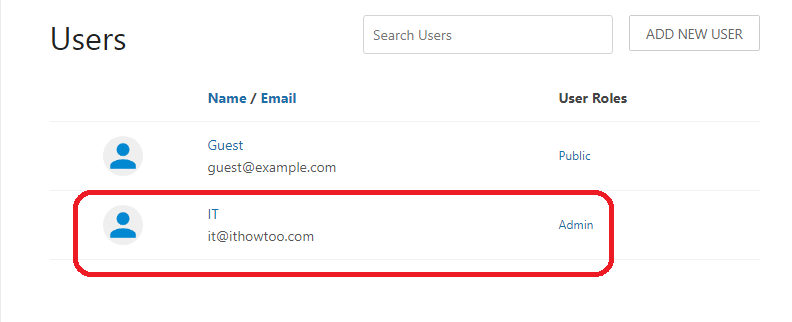
The new user will now be listed in the Users list:
You have now successfully created an new Bookstack user.
This guide is how I installed Bookstack Wiki on my AWS Free instance Ubuntu 20.04 server:
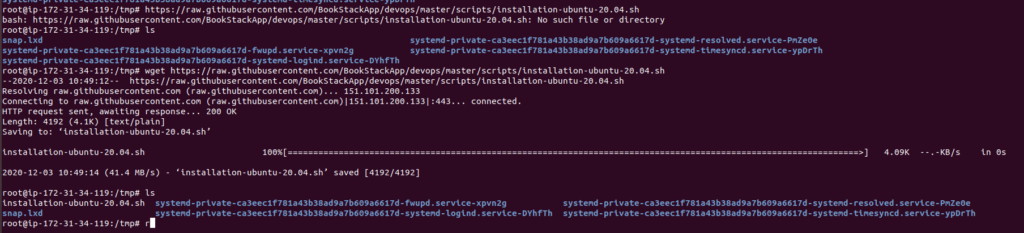
Bookstack has a handy Ubuntu 20.04 Installation script that can be run on a fresh install of Ubuntu 20.04 to automatically install Bookstack and the prerequisite software needed for it to run (Apache, MySQL 8.0 & PHP-7.4).
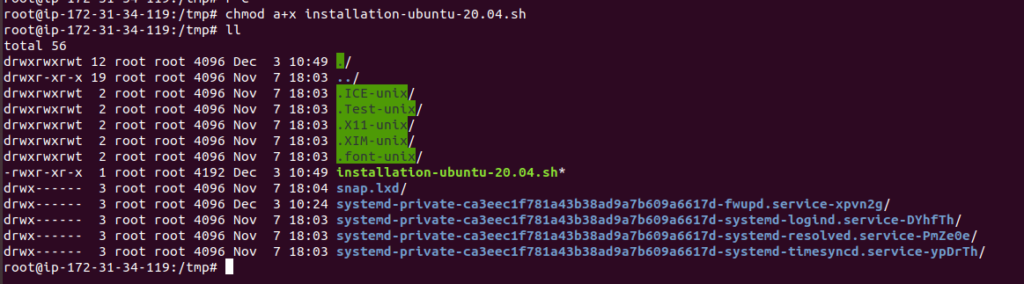
Change the downloaded script to make it executable:
chmod a+x installation-ubuntu-20.04.sh
You will now see that the script is executable:
Run the script by running:
sudo ./installation-ubuntu-20.04.sh
The script will then ask for the fqdn so add what you would like the site to be called. I used wiki.ithowtoo.com and pressed enter.
Let the script run.
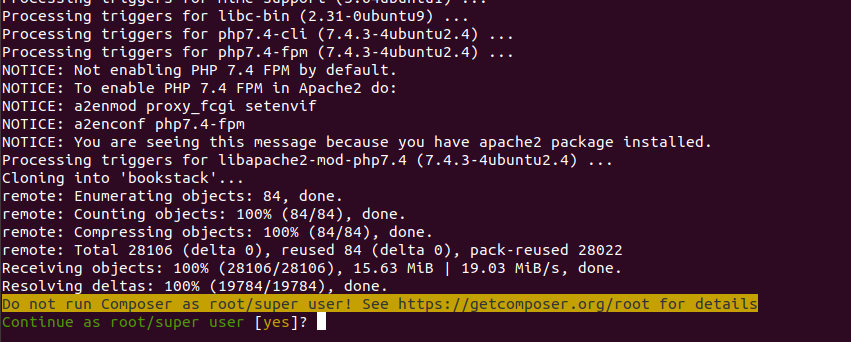
It will ask if you want to run Composer as root/super user:
I chose Yes as its the only user I have and the install continued:
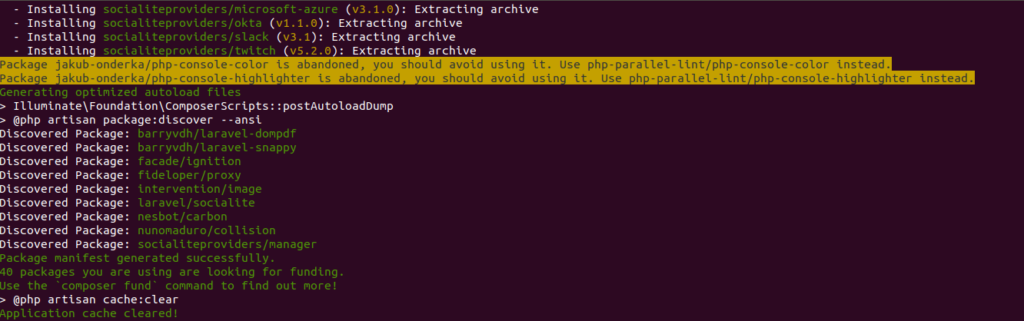
When the script has finished you will see a similar message to the one below:
From the ASW interface an inbound rule was created to allow https:
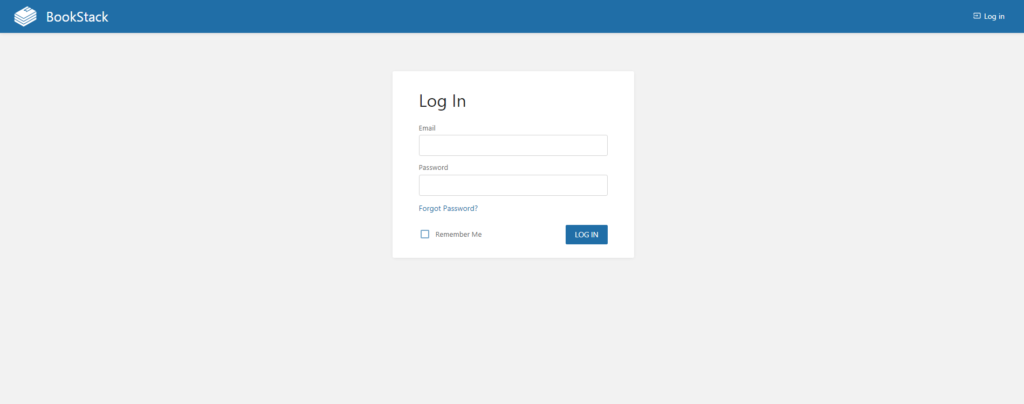
You will then be able to get to the login page:
Login using the default user and password given by the script:
User Email = admin@admin.com
password = password
On first login you will be advised to change the default password for security reasons:
Click OK.
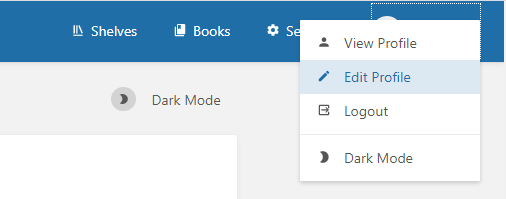
To edit the Admin user details click on Admin in the top left corner of the page:
Select Edit Profile:
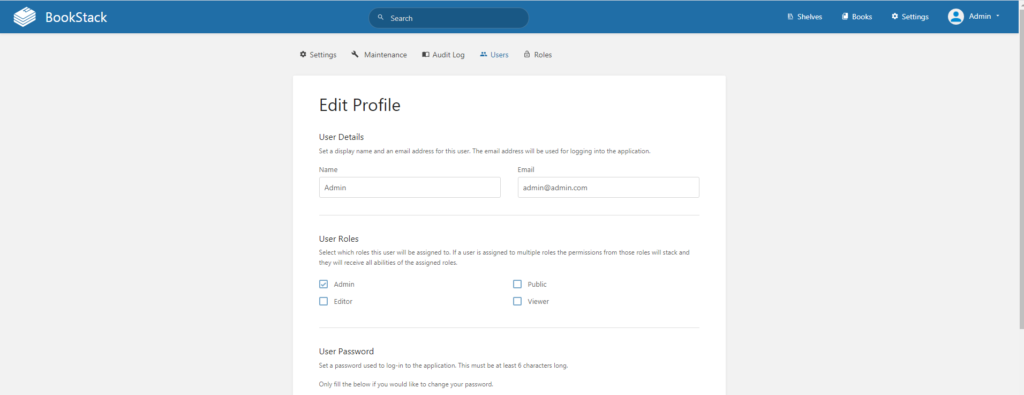
Edit the details to your details:
Click save to save the details:
You will now see your new user in the list of users as an Admin:
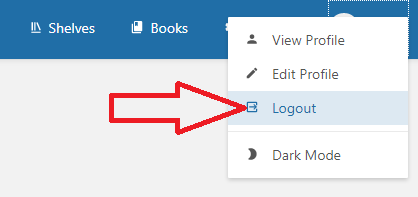
Click on the user icon in the top left corner of the page and select Logout to log out of the page and then log in with the new user to make sure everything works as it should:
I have also setup a new A record for wiki.mydomain to point to the external IP address of the server so that I can access the site via wiki.domain instead of the external IP address.
The final security measure is to set the mysql root password as it is not setup by default.
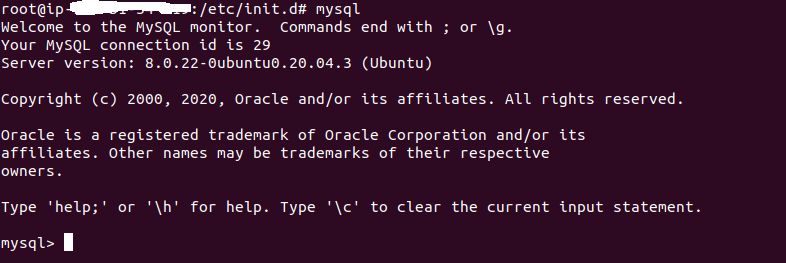
Log into mysql by typing:
mysql
You will then see the mysql prompt:
Type the following to set the root password to password:
ALTER USER 'root'@'localhost' IDENTIFIED BY 'PASSWORD';
Obviously you will want to change the PASSWORD to something more secure.
You will then need to quit mysql by typing quit. This will take you back to the normal command line:
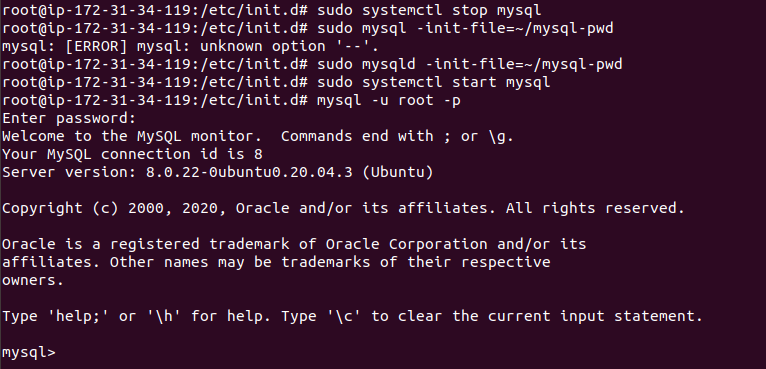
At the command prompt stop the MySQL daemon by typing:
sudo systemctl stop mysql
With the daemon stopped issue the following command:
sudo mysqld -init-file=~/mysql-pwd
Start the daemon:
sudo systemctl start mysql
You should now be able to access mysql using the root user by typing:
mysql -u root -p
You have now successfully installed Bookstack on an AWS free instance.
For more documents on Bookstack configuration go click HERE.