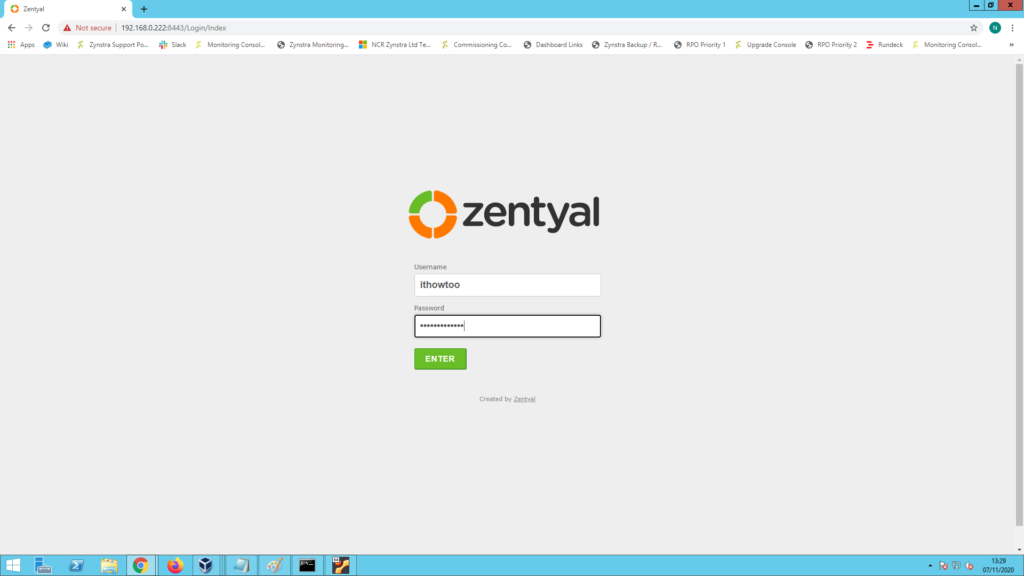
You can connect to the Zentyal Dashboard remotely using a browser which means that you do not have to be physically in front of the server too manage it.
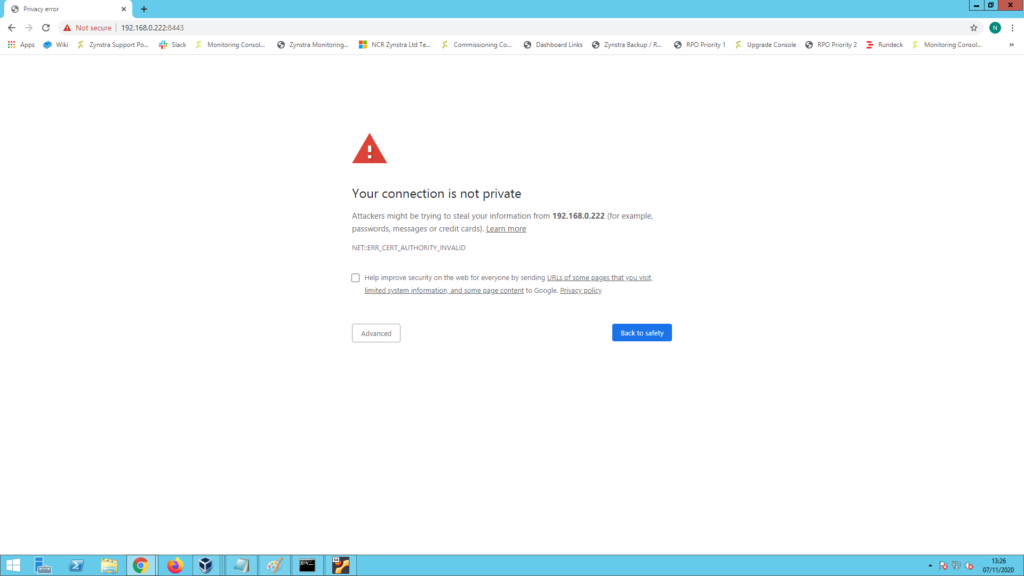
To connect go to “https://ip_address:8443”, where ip_address is the IP address or the hostname on which Zentyal is installed.
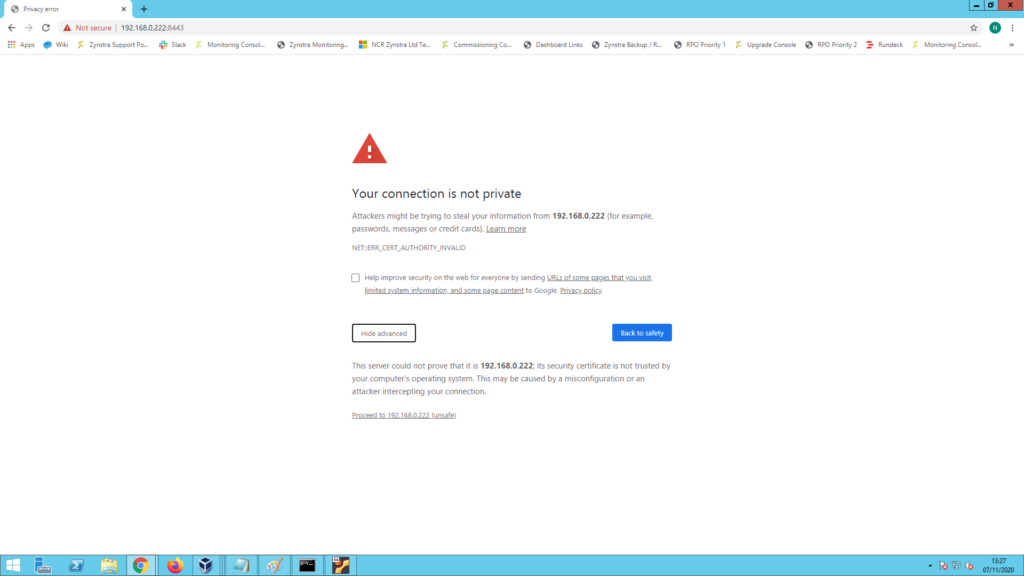
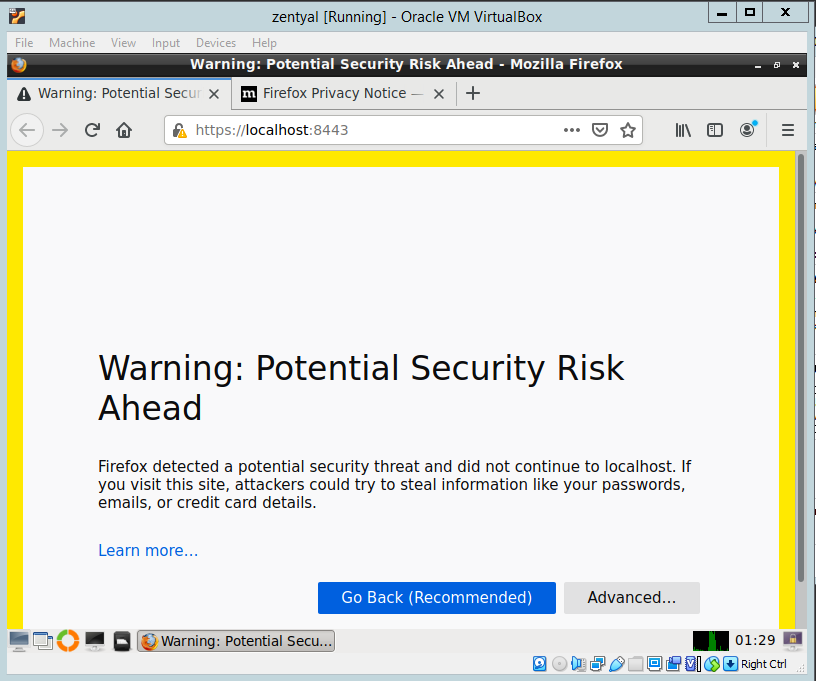
Select advanced:
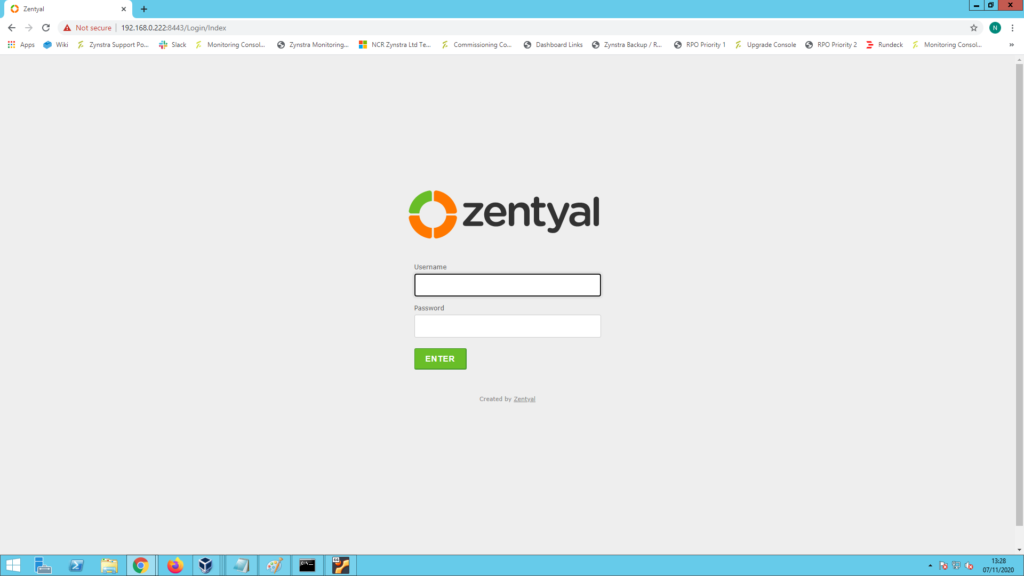
Click on Proceed to server_ip (unsafe). This willl take you to the login page:
Log in using the user and password created during server startup and click Enter to log in.
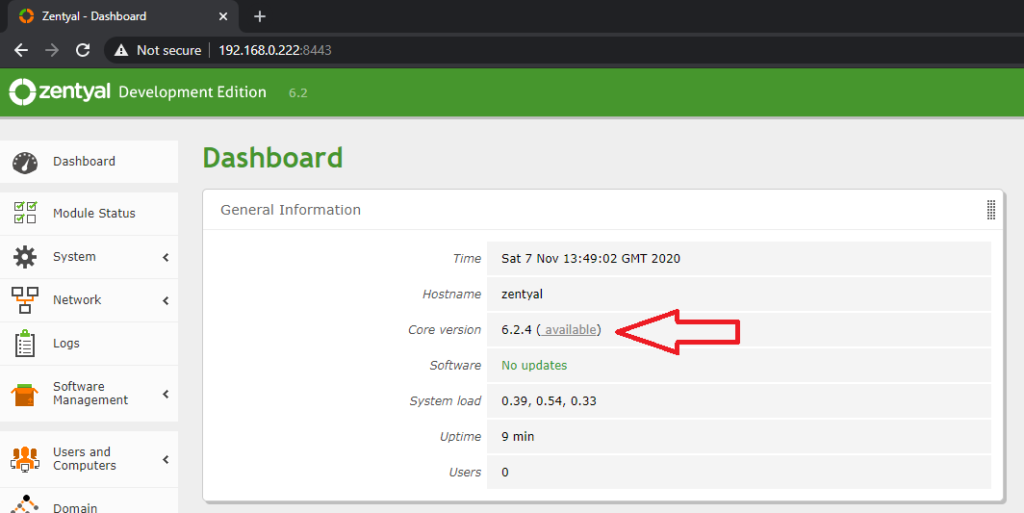
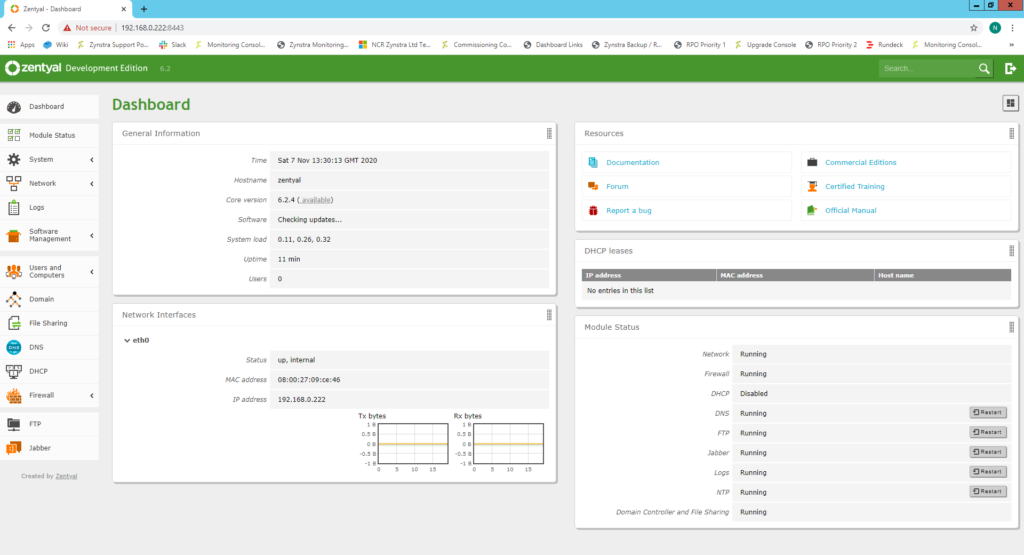
You will now see the Dashboard and can start setting up your server.
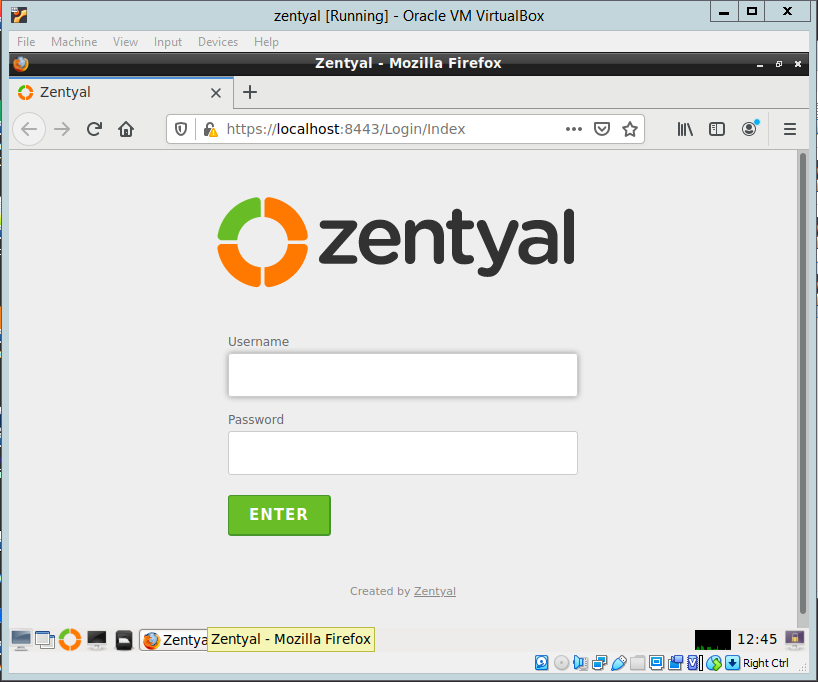
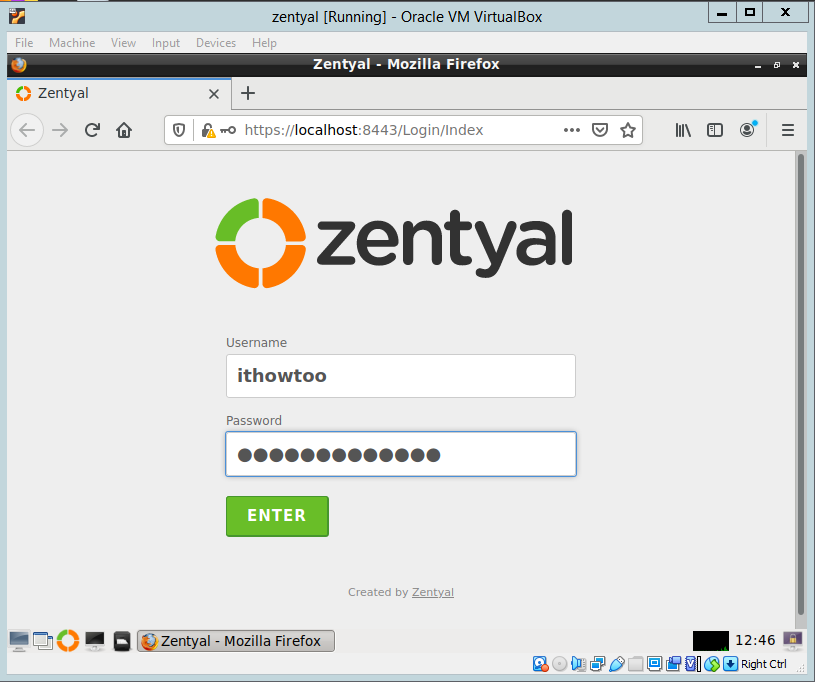
Log into the web interface in the VirtualBox VM that was created using the article HERE:
Use the user and password that were created when installing the server:
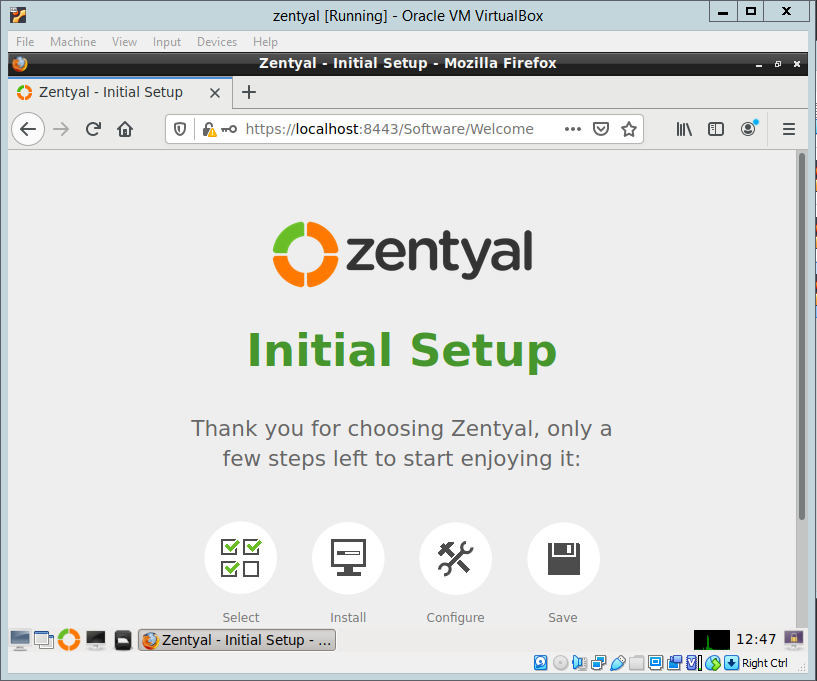
Configure Zentyal 6.2 Server:
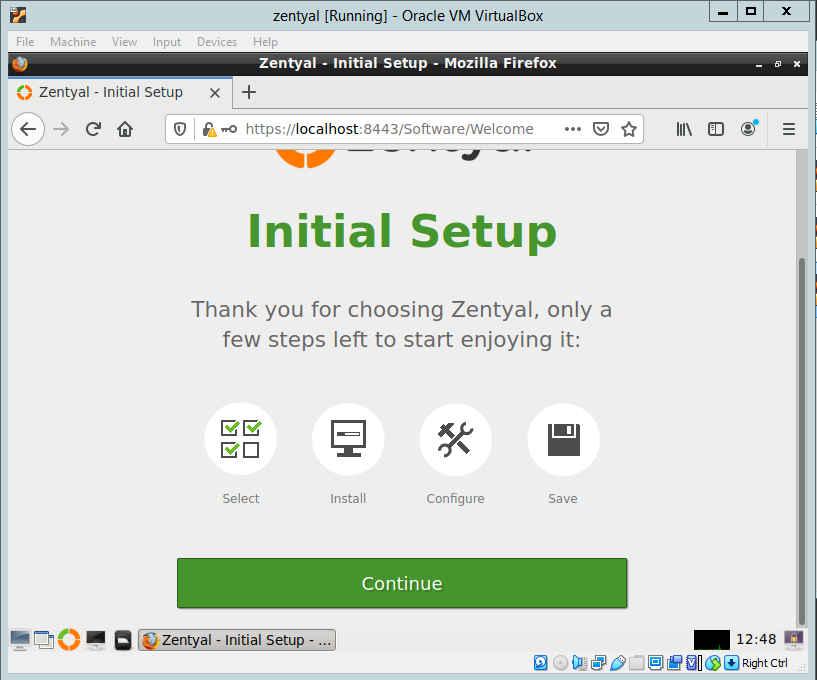
You will now be on the initial Setup Page:
Click on the Continue button:
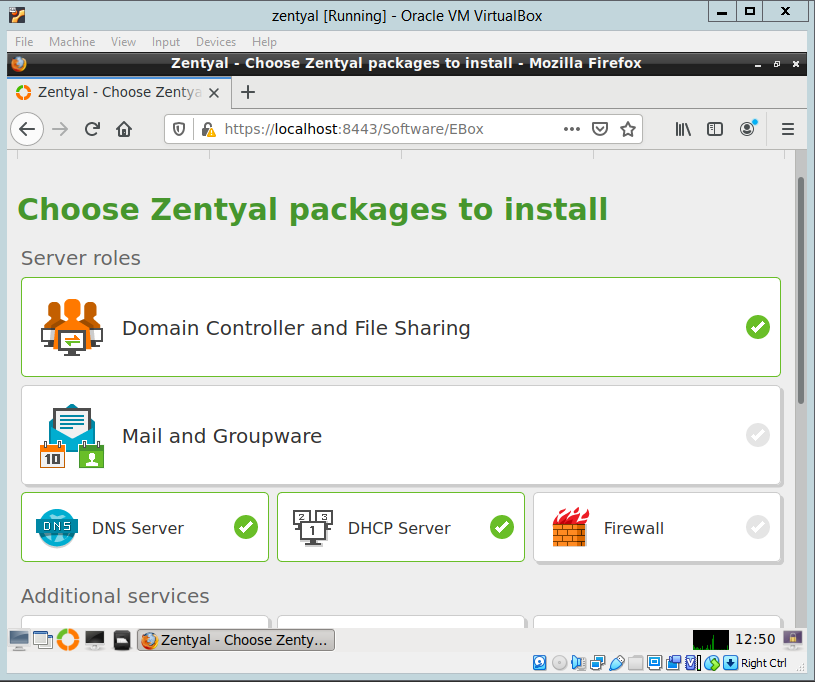
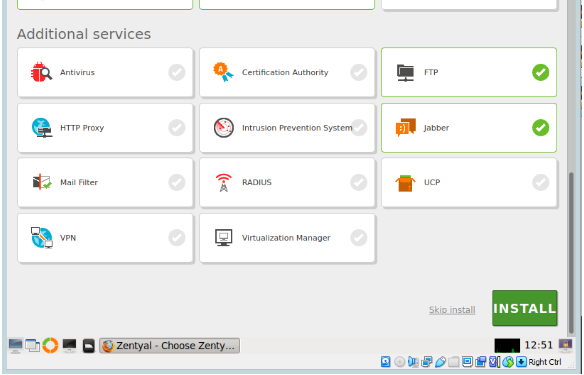
Choose the Zentyal packages to install and then click the Install button at the bottom of the page:
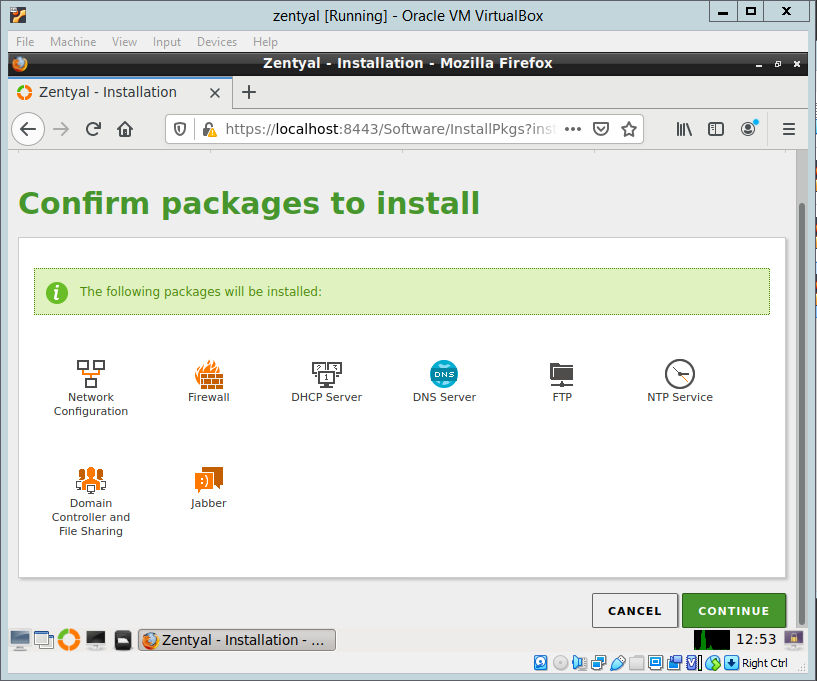
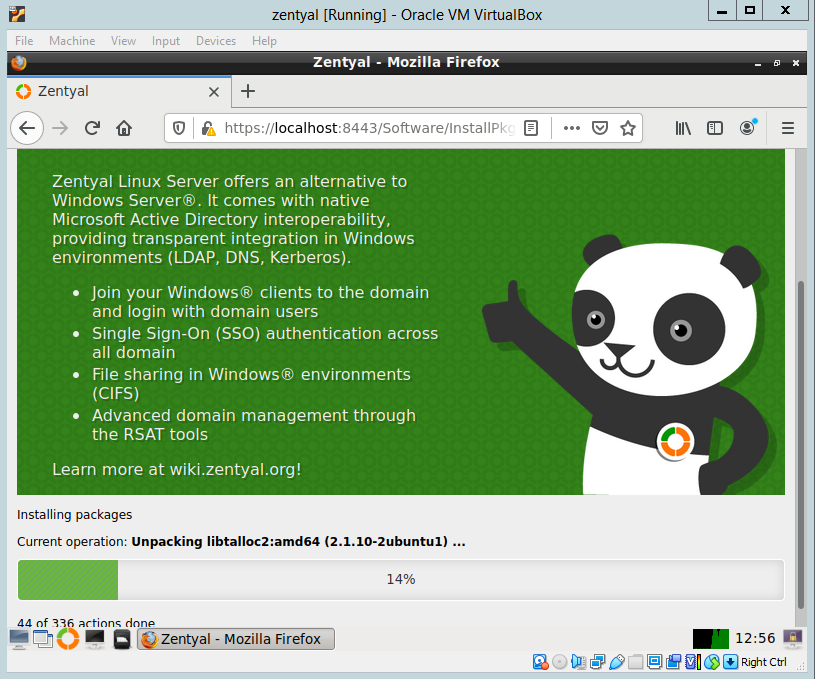
Click Continue to install the packages:
Wait while the packages install:
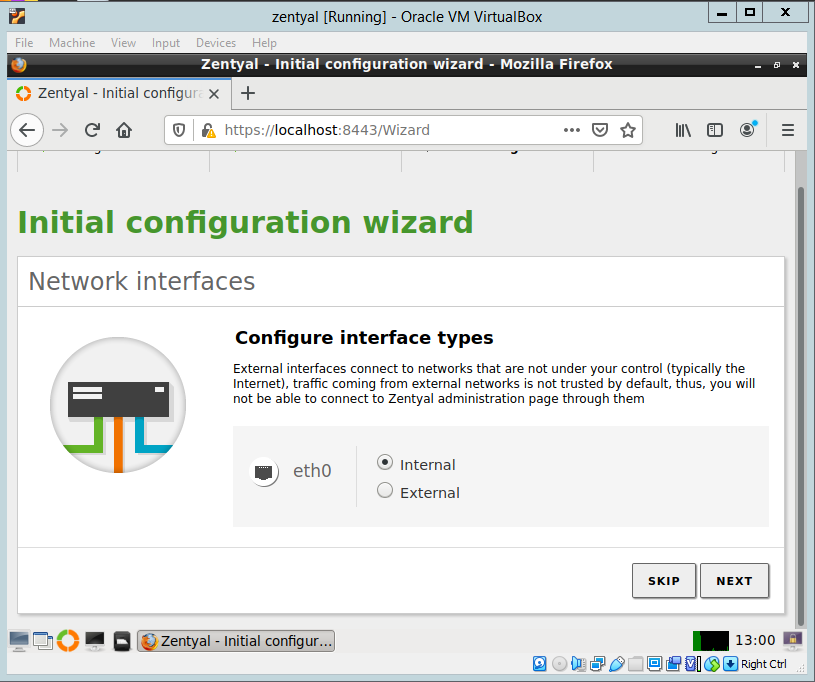
When the packages are installed click next to configure networking:
Select the method of setting the IP address for this example I have chosen static as I do not want my ip address provided by DHCP. Once the settings have been filled in click on Next:
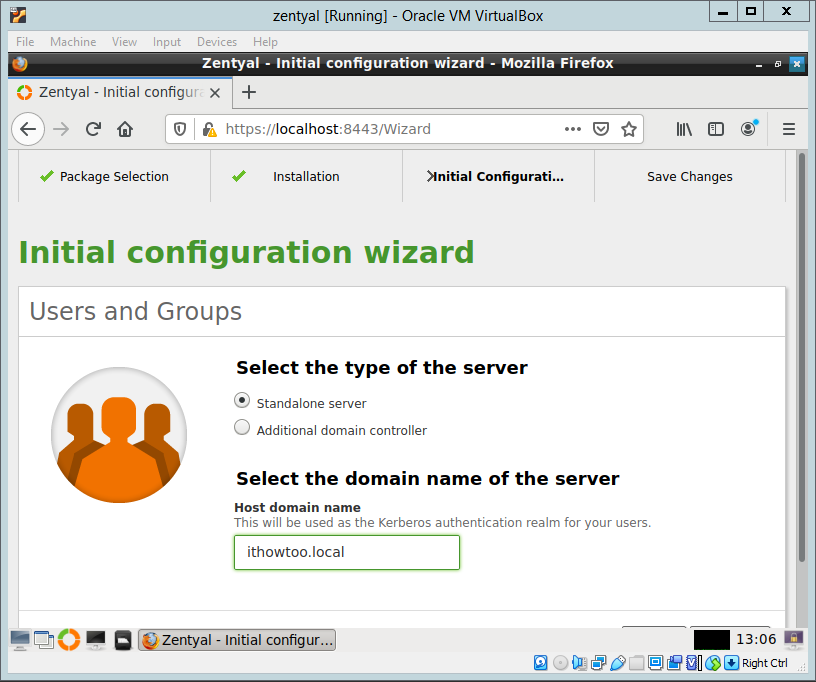
Choose the installation type and the domain name. As I have no previous domain to add the server to I chose the Standalone server to create a new domain. Click Finish.
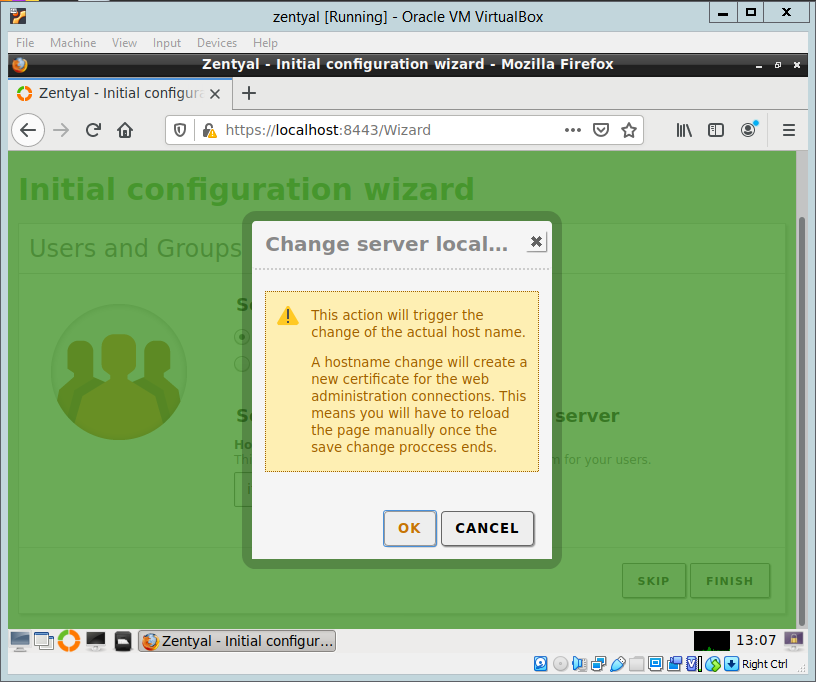
Click OK to start the configuration of the server:
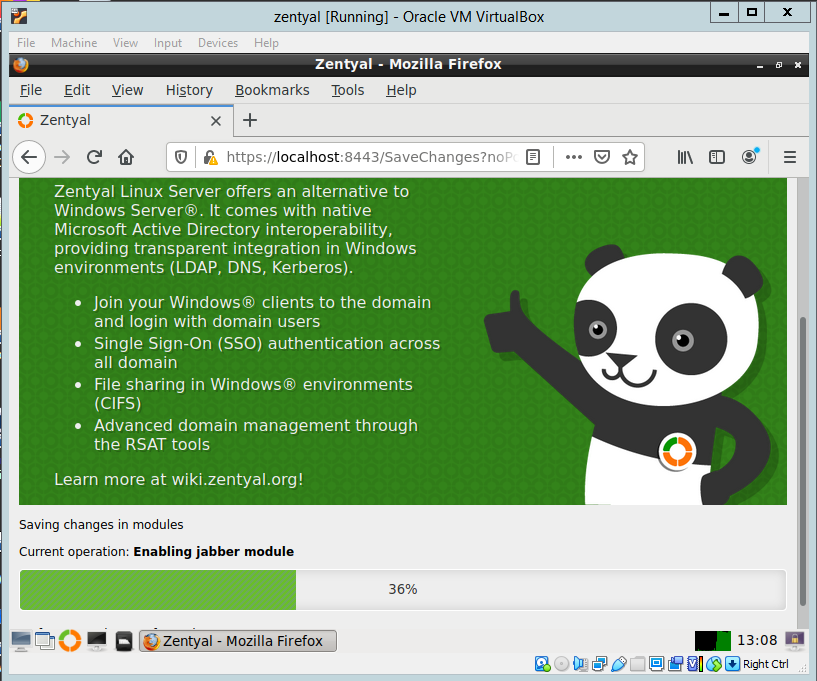
Wait for the setup to finish:
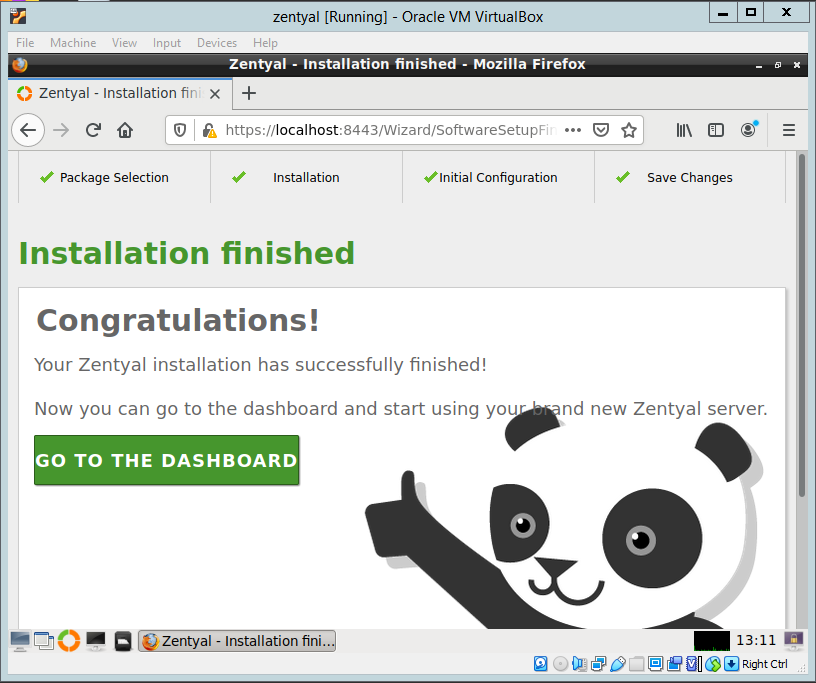
The installation of the server is now finished. Click GO TO THE DASHBOARD to close the Installation Wizard:
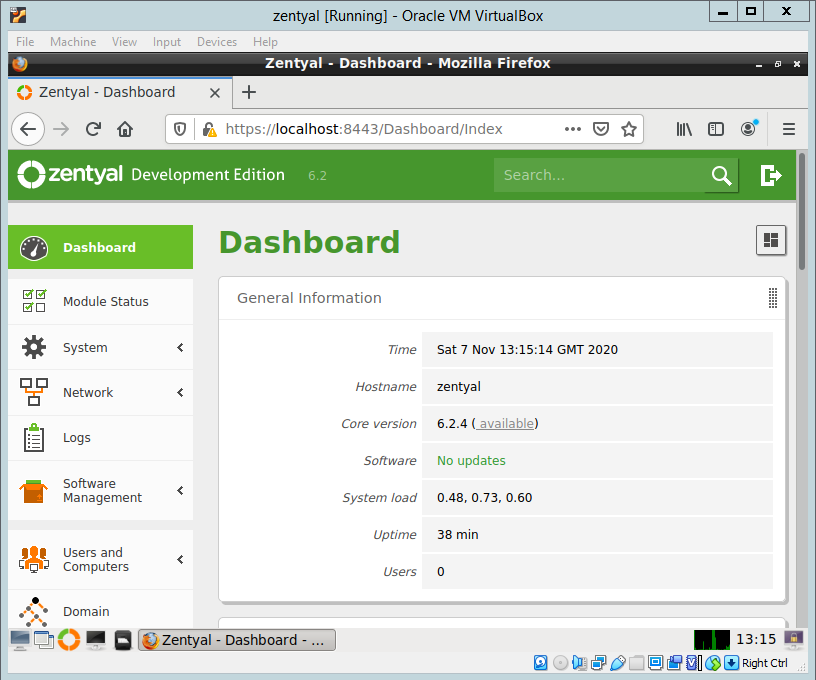
You will now see the Zentyal Dashboard. You can use the dashboard through the console or connect to “https://ip_address:8443 (where server_ip is the ip address set during setup), from a browser which is my preferred method as there is no need to physically connect to the server to do configuration:
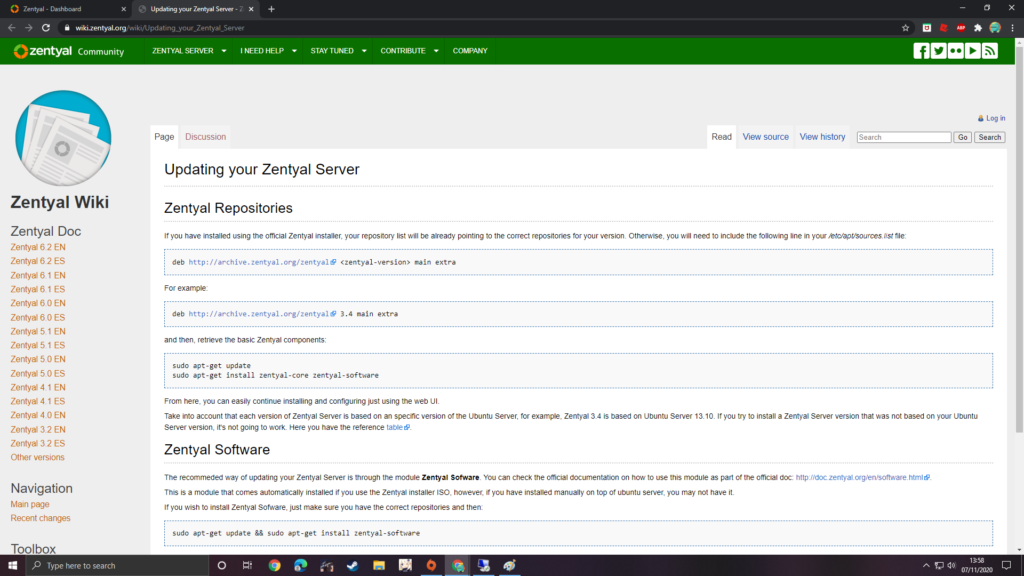
Zentyal is based on Ubuntu Server 18.04.4 LTS. More information on the pacages that are uses can be found HERE.
Zentyal is described on its web site as:
“Easy Linux alternative to Windows Server
“Join Windows® clients to the domain and manage them transparently. No disruption to your users, no user or device CALs.”
It is a really good alternative to Windows server which has been around for a while and has worked great in the clients that I have installed it in and they have no idea that their network is not running on Windows server.
I will talk you through installing it in a virtualbox VM but the installation will be the same on a physical server.
Installing the Virtualbox VM and booting from the ISO is beyond the scope of this article.
Zentyal Server Development Edition can be downloaded from HERE.
Once the ISO is downloaded and the VM is created in VirtualBox power the VM up and boot from the ISO.
Installing Zentyal Server 6.2:
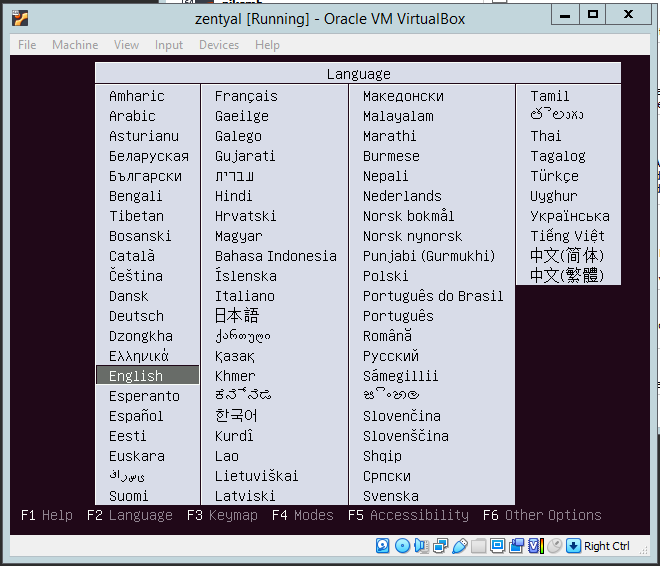
Choose the language for the Installation and press enter:
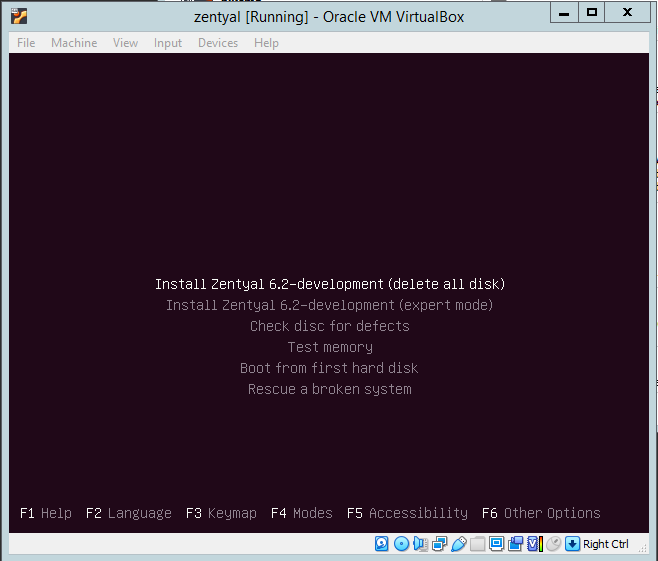
Select the default option:
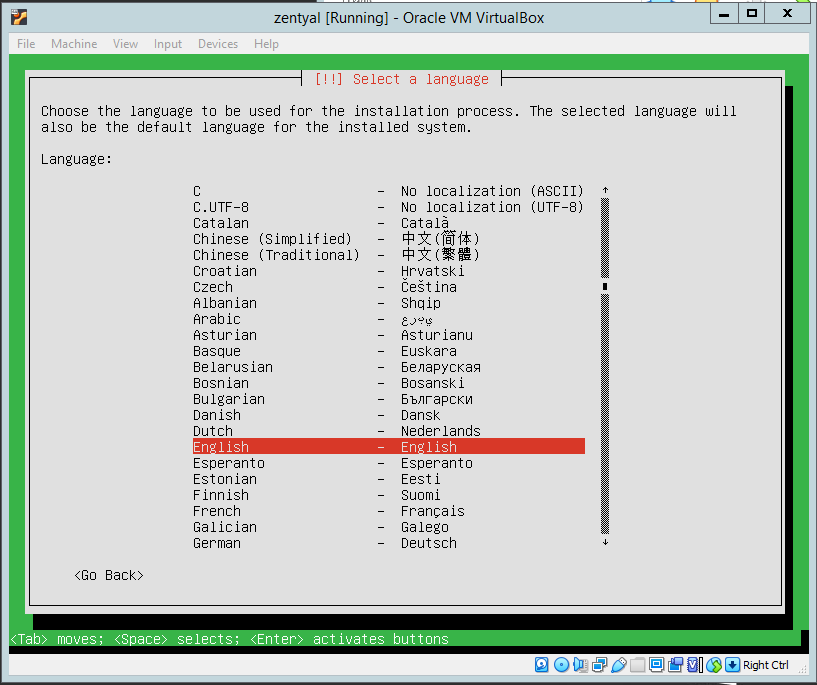
Select the system language:
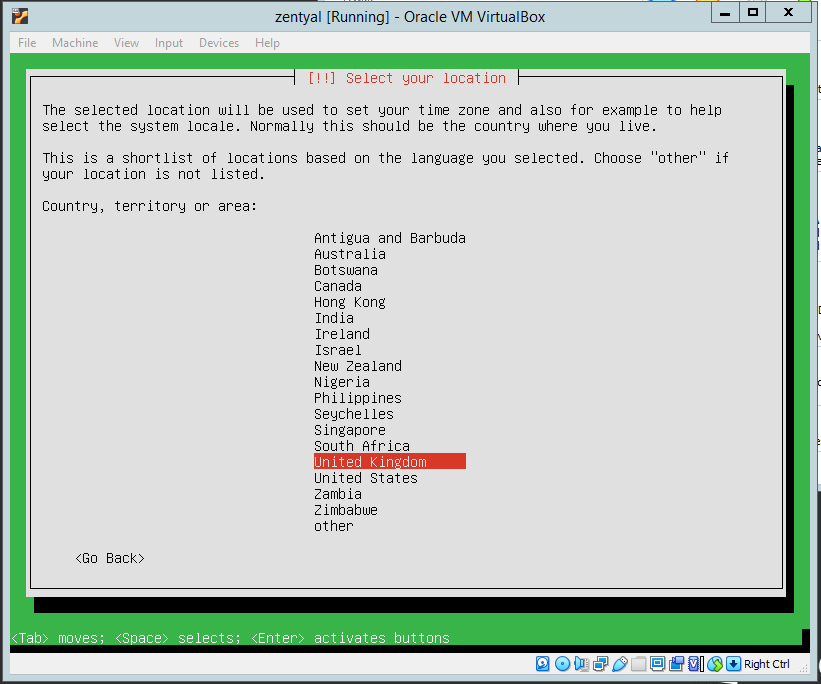
Select your Region:
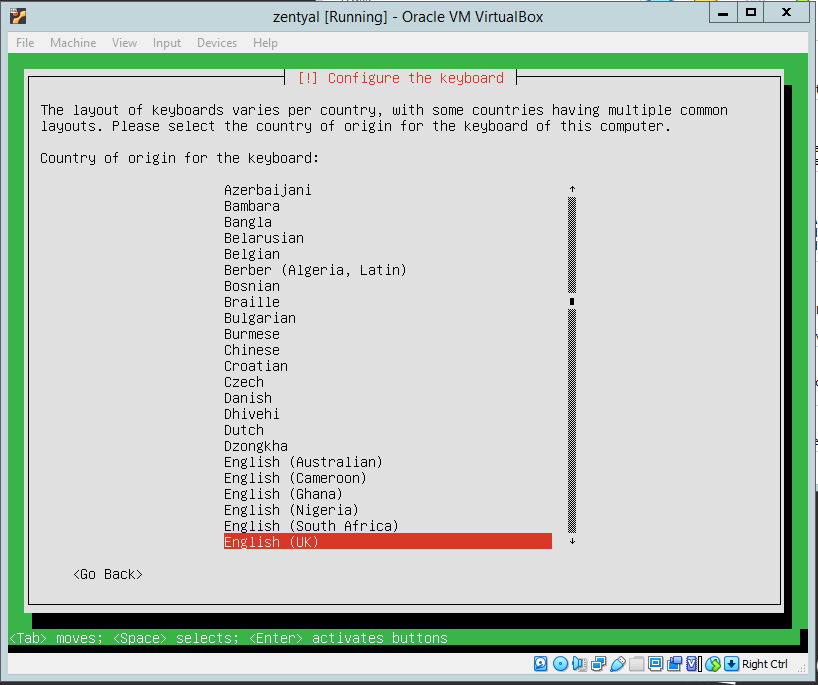
Select keyboard:
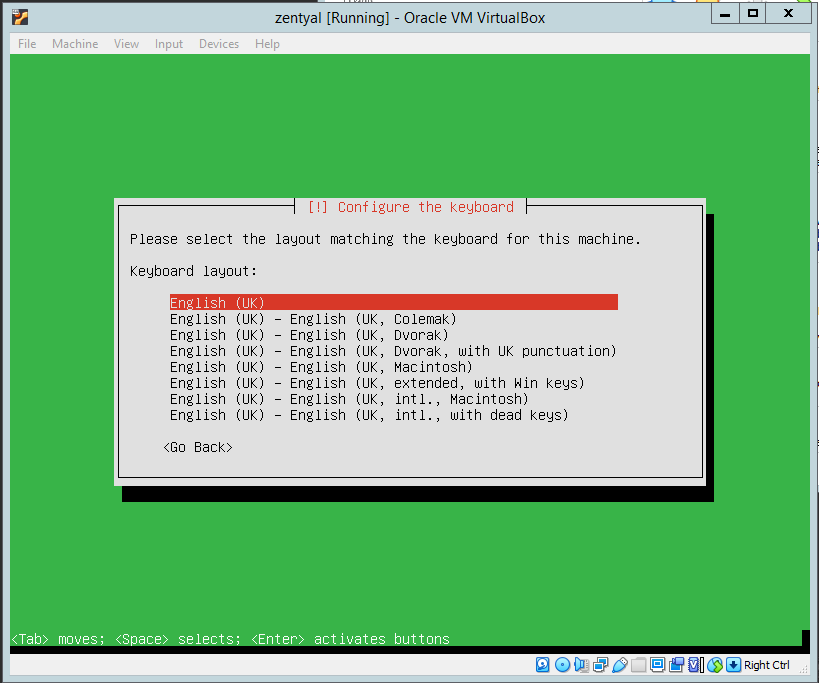
Select keyboard layout:
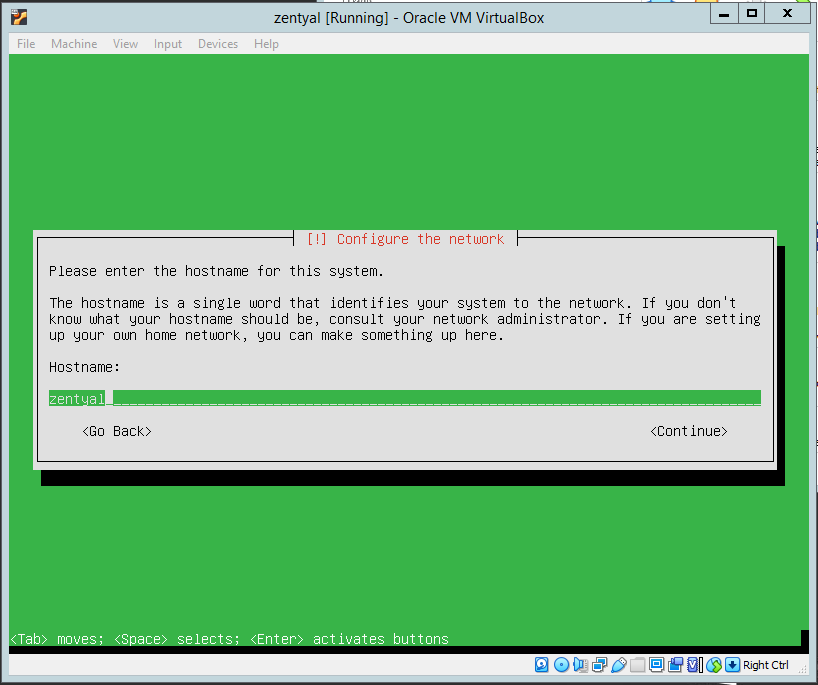
Configure hostname:
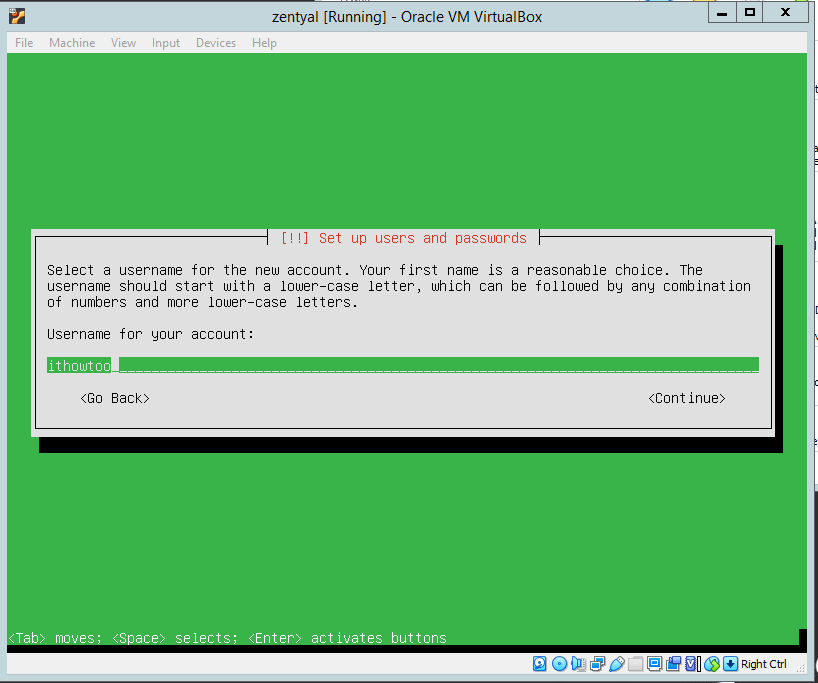
Create a username:
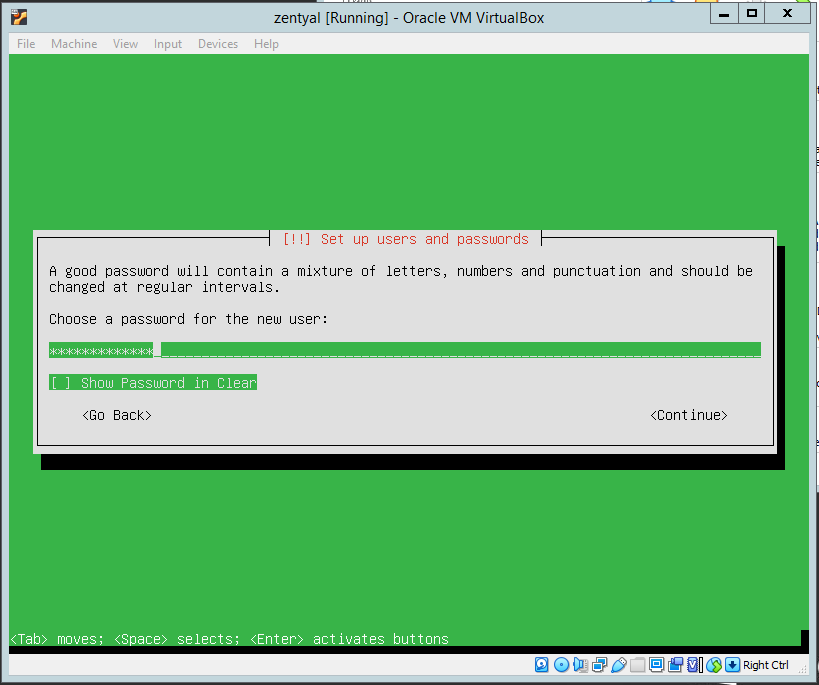
Type a password and press enter:
Re enter the password and press enter:
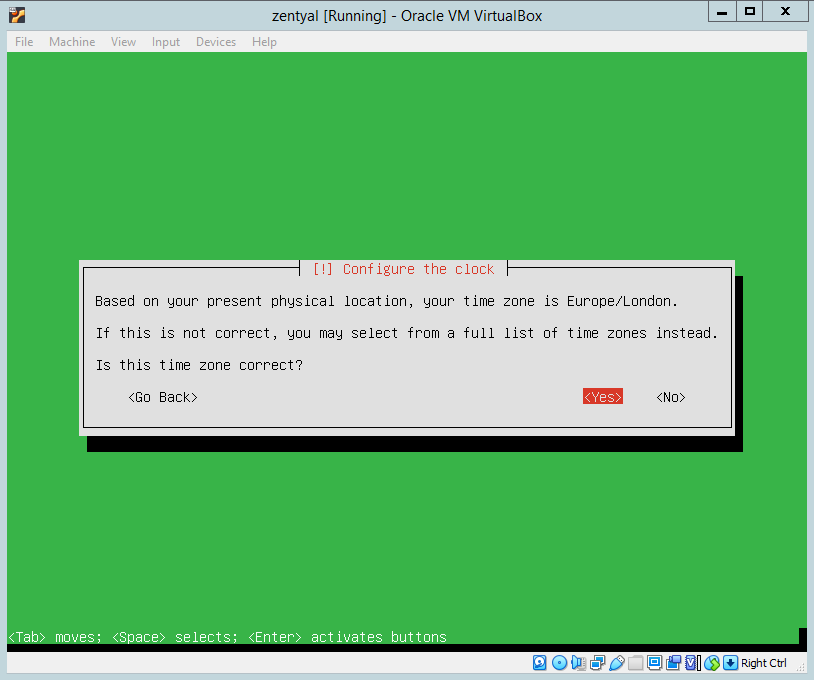
Select time zone and press enter:
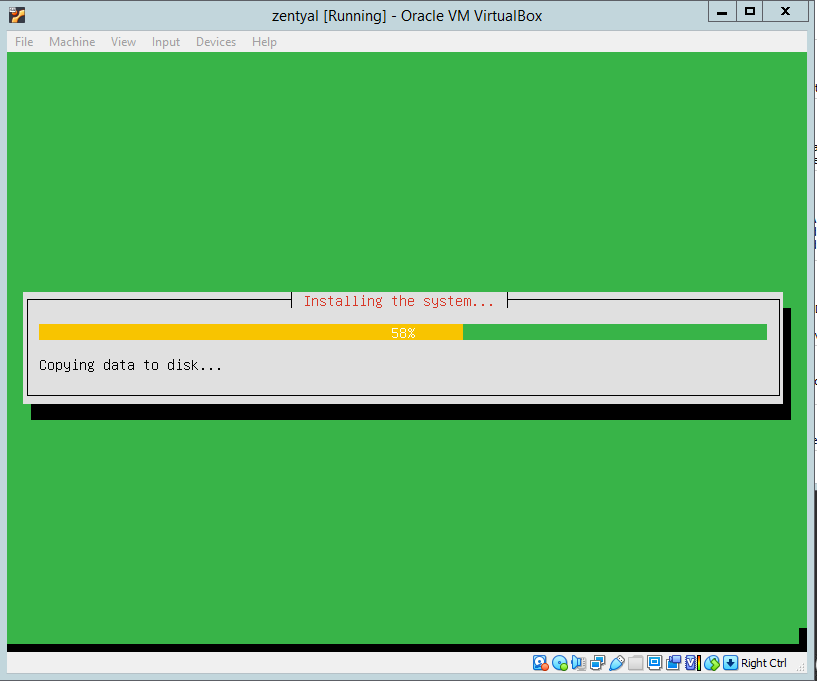
The system will then install:
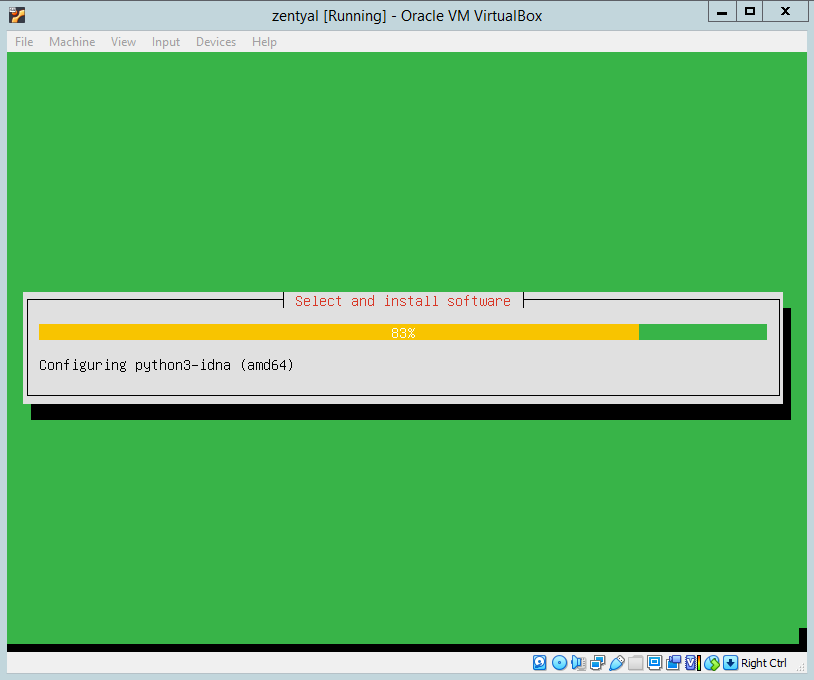
The install will they setup the Select and Install software:
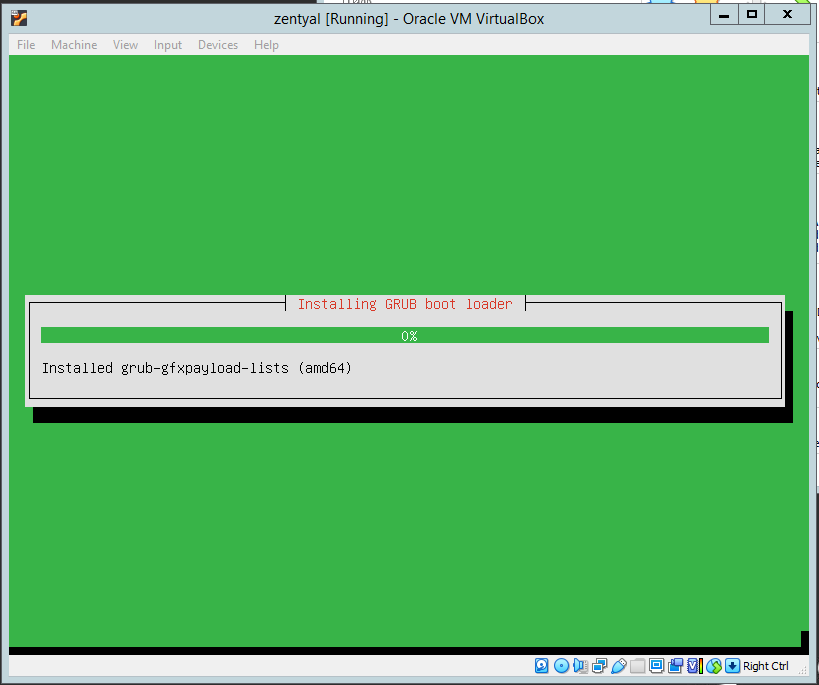
It will then install Grub:
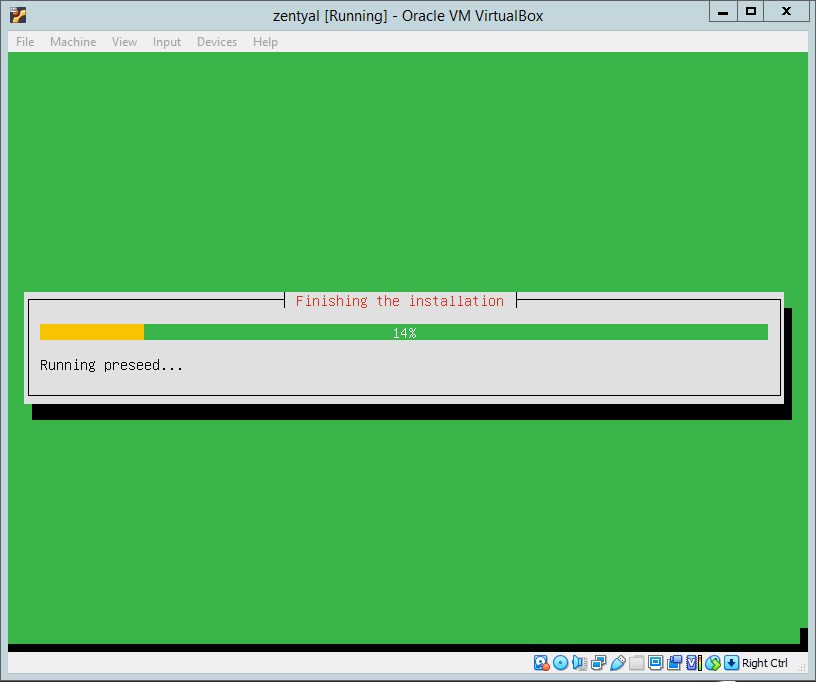
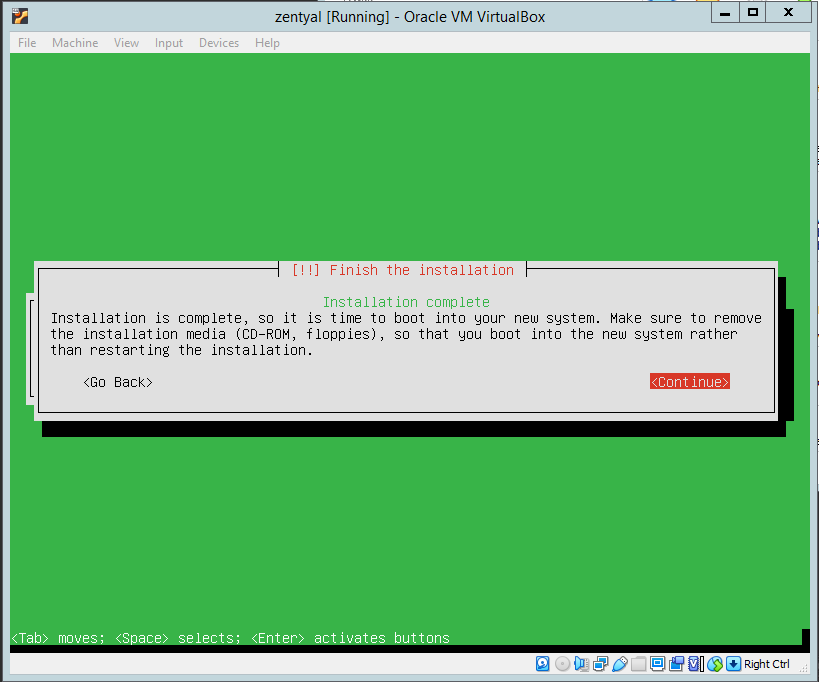
It will then finish the installation:
Press Continue when the installation completes to reboot the server:
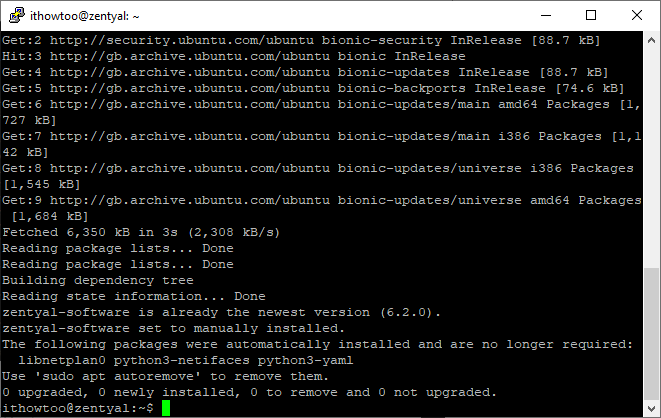
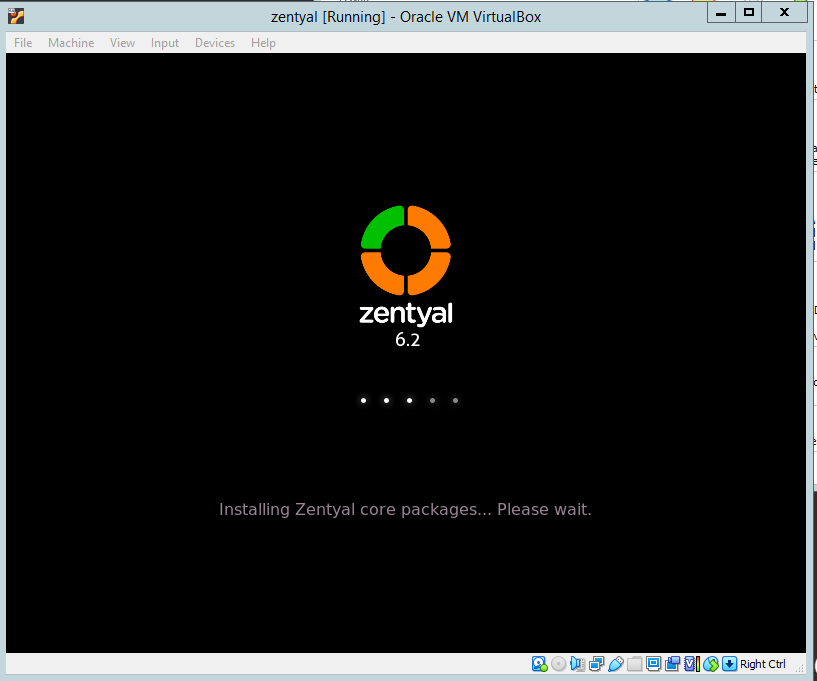
Zentyal will then start to boot and install the core packages. This step can take a while to complete:
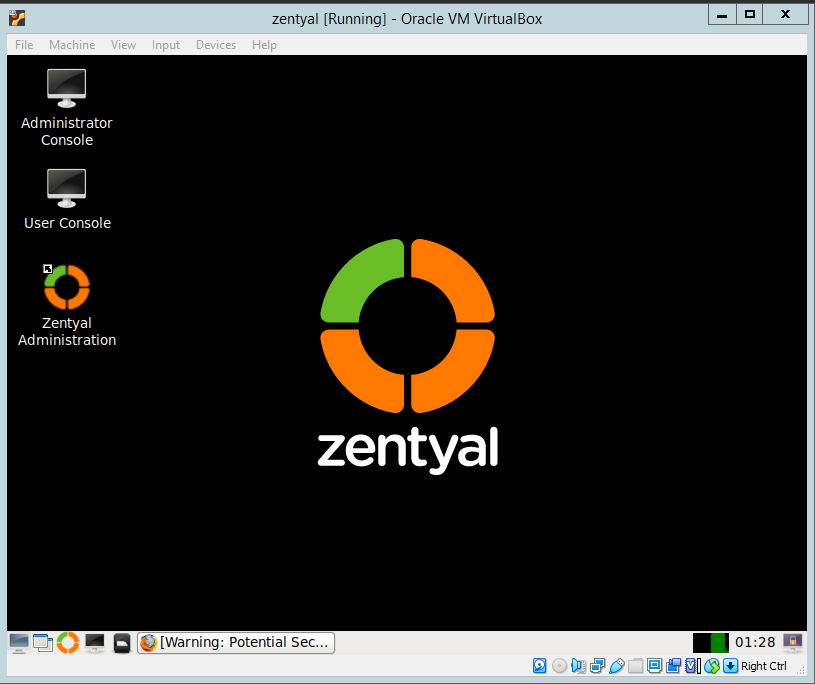
Zental is now installed:
Click on Advanced:
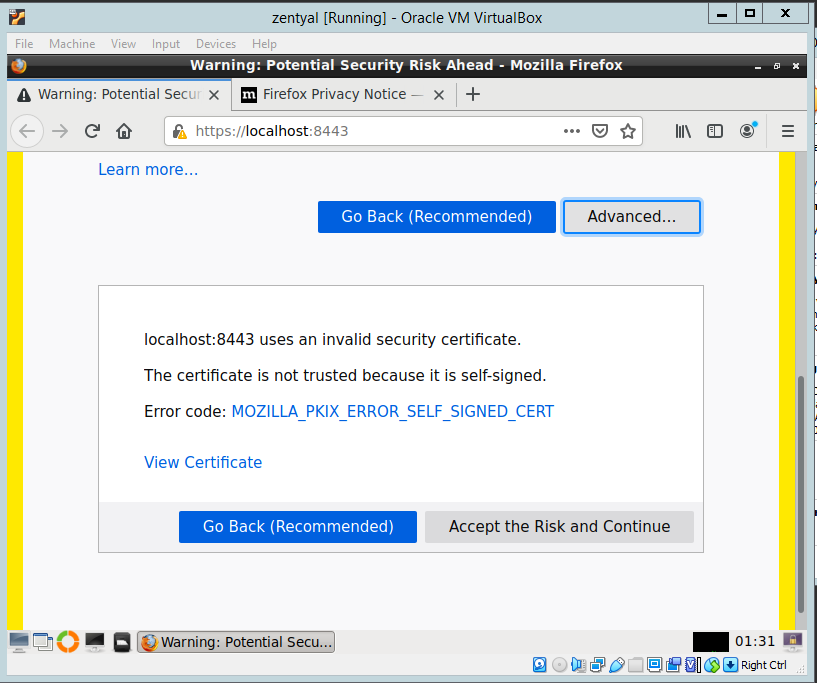
Scroll down to the bottom of the page and click the accept the Risk and Continue button:
You are now ready to log in and complete the initial setup which I will cover in another article.