Ubuntu 20.04: Installing FileZilla FTP Client On Ubuntu 20.04 LTS

Filezilla is a great free ftp client and it can be easily installed on Ubuntu with one apt command. More information about Filezilla can be found on the Filezilla Website.

Installing Filezilla on Ubuntu 20.04:

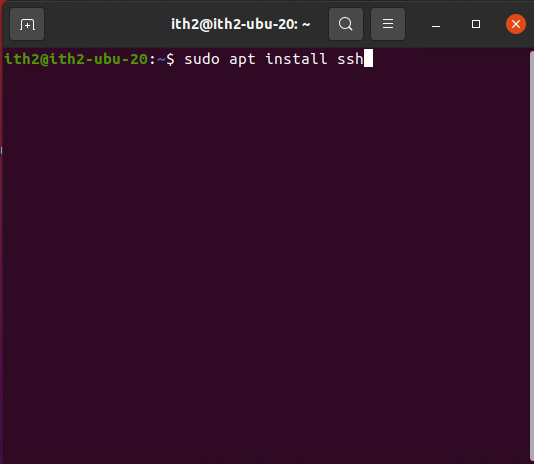
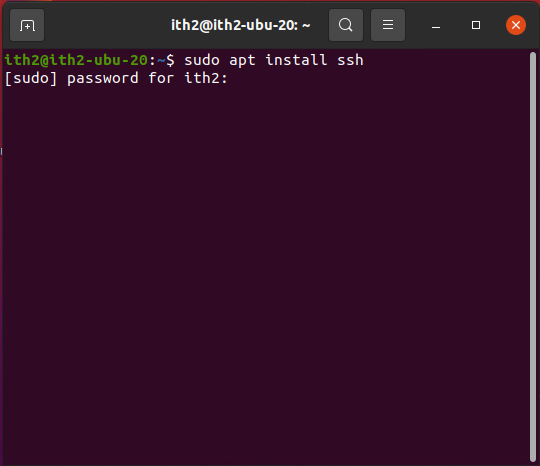
Filezilla is installed by running the following command from the terminal:

sudo apt install filezilla -y

Filezilla will then be installed and ready to use. To open it go to apps and click on the following icon:

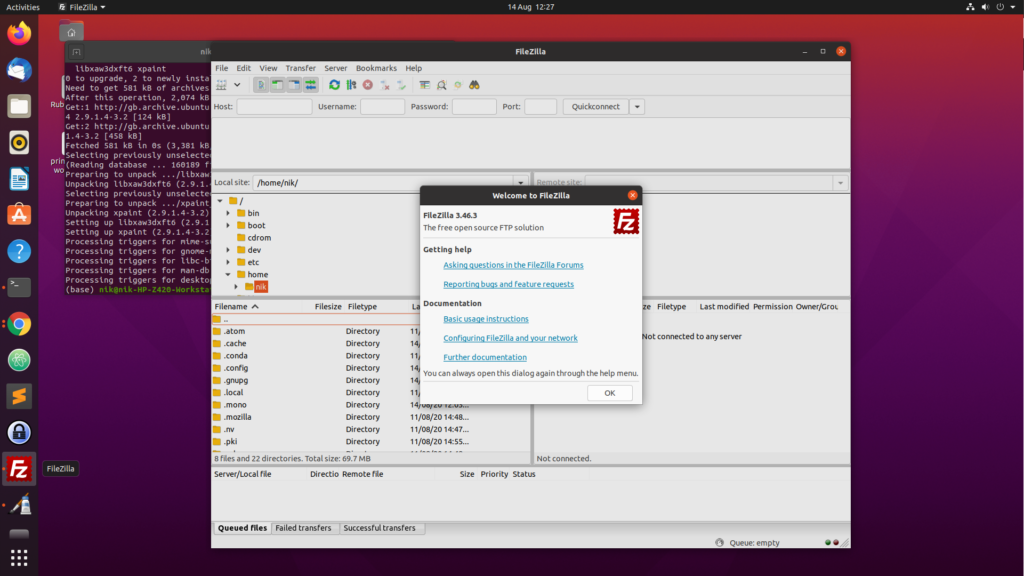
This will then open the app:

Ubuntu 20.04: Installing FileZilla FTP Client On Ubuntu 20.04 LTS

For more Ubuntu articles as how too’s click on our Ubuntu Category.

Ubuntu 20.04: How to install Ubuntu 20.04 using Windows 10 and no USB device.

I had an occasion when I was trying to install Ubuntu 20.04 onto a laptop but found that I was without a usb pen drive, external usb drive or a recordable DVD media and had no way to easily get any so I tried installing Ubuntu without installation media and this is the technique that worked for me:

To install Ubuntu without CD/DVD or USB pendrive, follow these steps:

  1. Download Unetbootin from here.
  2. Run Unetbootin.
  3. Now, from the drop-down menu under Type: select Hard Disk.Hard Disk
  4. Next select the Diskimage. Browse to the directory where you downloaded the iso file of Ubuntu.ISO
  5. Press OK.

Install Ubuntu 20.04 from the hard drive:

  1. Next when you reboot, you will get a menu like this:Unetbootin
  2. Select Unetbootin and you will get the “Try” or “Install” option there.
  3. Finally, you can install your version of Ubuntu alongside Windows.

For UEFI devices:

  • First, download rEFInd.
  • Then, extract it.
  • Now, follow the below steps to install rEFInd[source], so that, you have a boot menu to boot to Ubuntu Live environment. Summary of the installation process given in the source is as belows:
    1. Open cmd with Administrator privileges.
    2. Then,mountvol S: /S
      • (you may change S: to any available drive letter)
    3. Type cd in cmd and then drag and drop the extracted folder to the already open cmd window. E.g.,cd "C:\Program Files"
    4. Copy refindxcopy /E refind S:\EFI\refind\
      • In this step S: will be the drive letter that you used above.
    5. Change directory to rEFIndcd S:\EFI\refind
    6. Rename config filerename refind.conf-sample refind.conf
    7. Note that {bootmgr} is entered as such; that’s not a notation for a variable. Also, change refind_x64.efi to refind_ia32.efi on systems with 32-bit EFIs. Such computers are rare, and most of them are tablets. Check your Windows bit depth to determine which binary you should use.bcdedit /set {bootmgr} path \EFI\refind\refind_x64.efi
    8. Download EaseUS Partition Master Free and run it.
    9. Select your last partition.
    10. Right-click on it and from the context menu select Resize/Move partition.
    11. From the size shown beside Partition Size minus 4096 MB (to mimic a 4GB pendrive).
    12. Press tab and the rest will be auto-completed.
    13. Select the newly created partition and right-click on it. Select Create Partition from context menu.
    14. In this window, select FAT32 as the File System. Click on OK. Finally, click on Apply (present at the top-left of the window).
    15. Next, extract Ubuntu iso to this partition and finally reboot.
    16. You will be presented with a rEFInd menu. From here select the Ubuntu partition. It will boot into a Live environment. Continue with the installation. After the installation finishes boot to Windows.
    17. Run EaseUS Partition Master Free again.
    18. Right-click on the 4 GB partition and from the context menu select Delete Partition.
    19. Right-click on the partition above the Unallocated partition and select Resize/Move Partition from the context menu.
    20. Extend the bar to the extreme right by dragging the button.
    21. Click on OK. Finally, click on Apply (present at the top-left of the window).
    22. Open cmd with Administrator privileges.
    23. Then,mountvol S: /S
      • (you may change S: to any available drive letter)
    24. Remove rEFIndrmdir "S:\EFI\refind" /S /Q
      • In this step S: will be the drive letter that you used above.
    25. Reinstall grub as your primary boot managerbcdedit /set {bootmgr} path \EFI\ubuntu\grubx64.efi

The machine will then boot into Ubuntu.

For more Ubuntu posts take a look at our Ubuntu category.

Ubuntu 20.04: Install OpenVPN client and connect to VPN on Ubuntu 20.04

Ubuntu 20.04: Install OpenVPN client and connect to VPN on Ubuntu 20.04

OPENVPN is an open source virtual private network (VPN) Server. It has Workstation clients to allow Windows, Linux and Mac OSX clients to securely connect to the Server. More information can be found on the OPENVPN Website.

Clients can be downloaded from the download page of the OpenVPN website.

The OpenVPN client can be easily installed on Ubuntu 20.04 through the apt package manager.

Installing OpenVPN client on Ubuntu 20.04:

Install openvpn client using apt:

sudo apt install openvpn

I then downloaded my client.ovpn file from my clients Openvpn server and saved it to:

/etc/openvpn

I was then able to access the vpn by running the following command and imputing my username, password and google authenticator key when asked:

sudo openvpn --config client.ovpn

Once the VPN was connected I was able to connect to the remote servers from my local machine as though I was on the LAN.

For more Ubuntu articles as how too’s click on our Ubuntu Category.

Ubuntu 20.04: Enable SSH on Ubuntu 20.04.

Ubuntu 20.04: Enable SSH on Ubuntu 20.04.

I had to enable ssh on a newly installed Ubuntu 20.04 VM that I installed today so I thought that it would be useful to add to the blog. I got the information from (https://linuxconfig.org/enable-ssh-on-ubuntu-20-04-focal-fossa-linux).

Installing ssh server on Ubuntu 20.04:

ssh was installed using apt:

sudo apt install ssh

Type your password and press enter:

SSH will then be installed.

Enable ssh daemon on Ubuntu 20.04:

The SSH server daemon was enabled and started:

sudo systemctl enable --now ssh

I was then able to ssh to the VM from another machine and log in using my user.

For more Ubuntu articles as how too’s click on our Ubuntu Category.